A few days before Christmas I was invited to speak on Sean Clark’s podcast Gods Own Scale, where I covered some thoughts and reflections from the year that just passed (link below the picture, if you want to check it out).
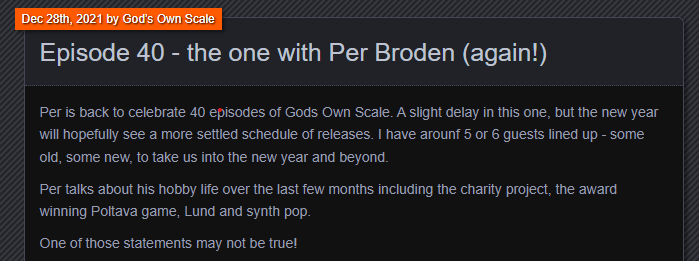
https://godsownscale6mm.podbean.com/e/episode-40-the-one-with-per-broden-again/
It is always great to catch-up with Sean and it is well worth checking up his back catalogue if you are not already familiar with it.
Anyway as a kind of complement I will do a quick overview of some of the things I did on the hobby front this year (mainly an organised listing of links to blogposts). As always in doing the review I realise that I have been doing far more than expected.
The sections are
- More 3D printing
- Commissioning some 6mm miniatures
- Sweden 1943 Project 15mm
- 6mm Projects
- The Battle of Lund 1676 6mm and the 6mm Charity Project
- Terrain Projects
- Fantasy Ice Hockey 28mm
- Other Projects
- An Awarding Year – Caesar Award (Wargaming Blog 2021) and Best in Show at Salute (6mm Poltava 1709
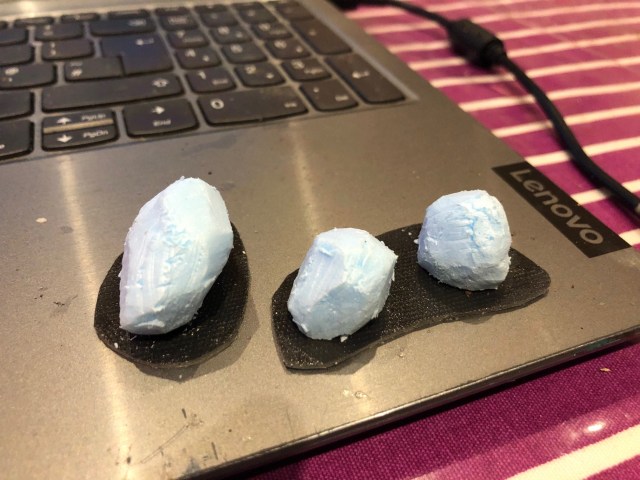
More 3D printing
I continued some exploration of 3D printing and came to the conclusion after a lot of printing that I should stop just printing and just keep things back until I intended to paint stuff, avoiding creating yet another mountain – this time in resin instead of lead. On the whole I really enjoy using the printer and the result it produced – it has not really reduced the amount of stuff I buy but has given me some options for doing alternative stuff. Here are few of the stuff I did do.


More details on this here
Commissioning some 6mm miniatures
I also commissioned some 6mm miniatures to be used as commanders for my GNW 6mm stuff. I did 5 minutures in total, the one below shows Stenbeck at Helsingborg in 1710.
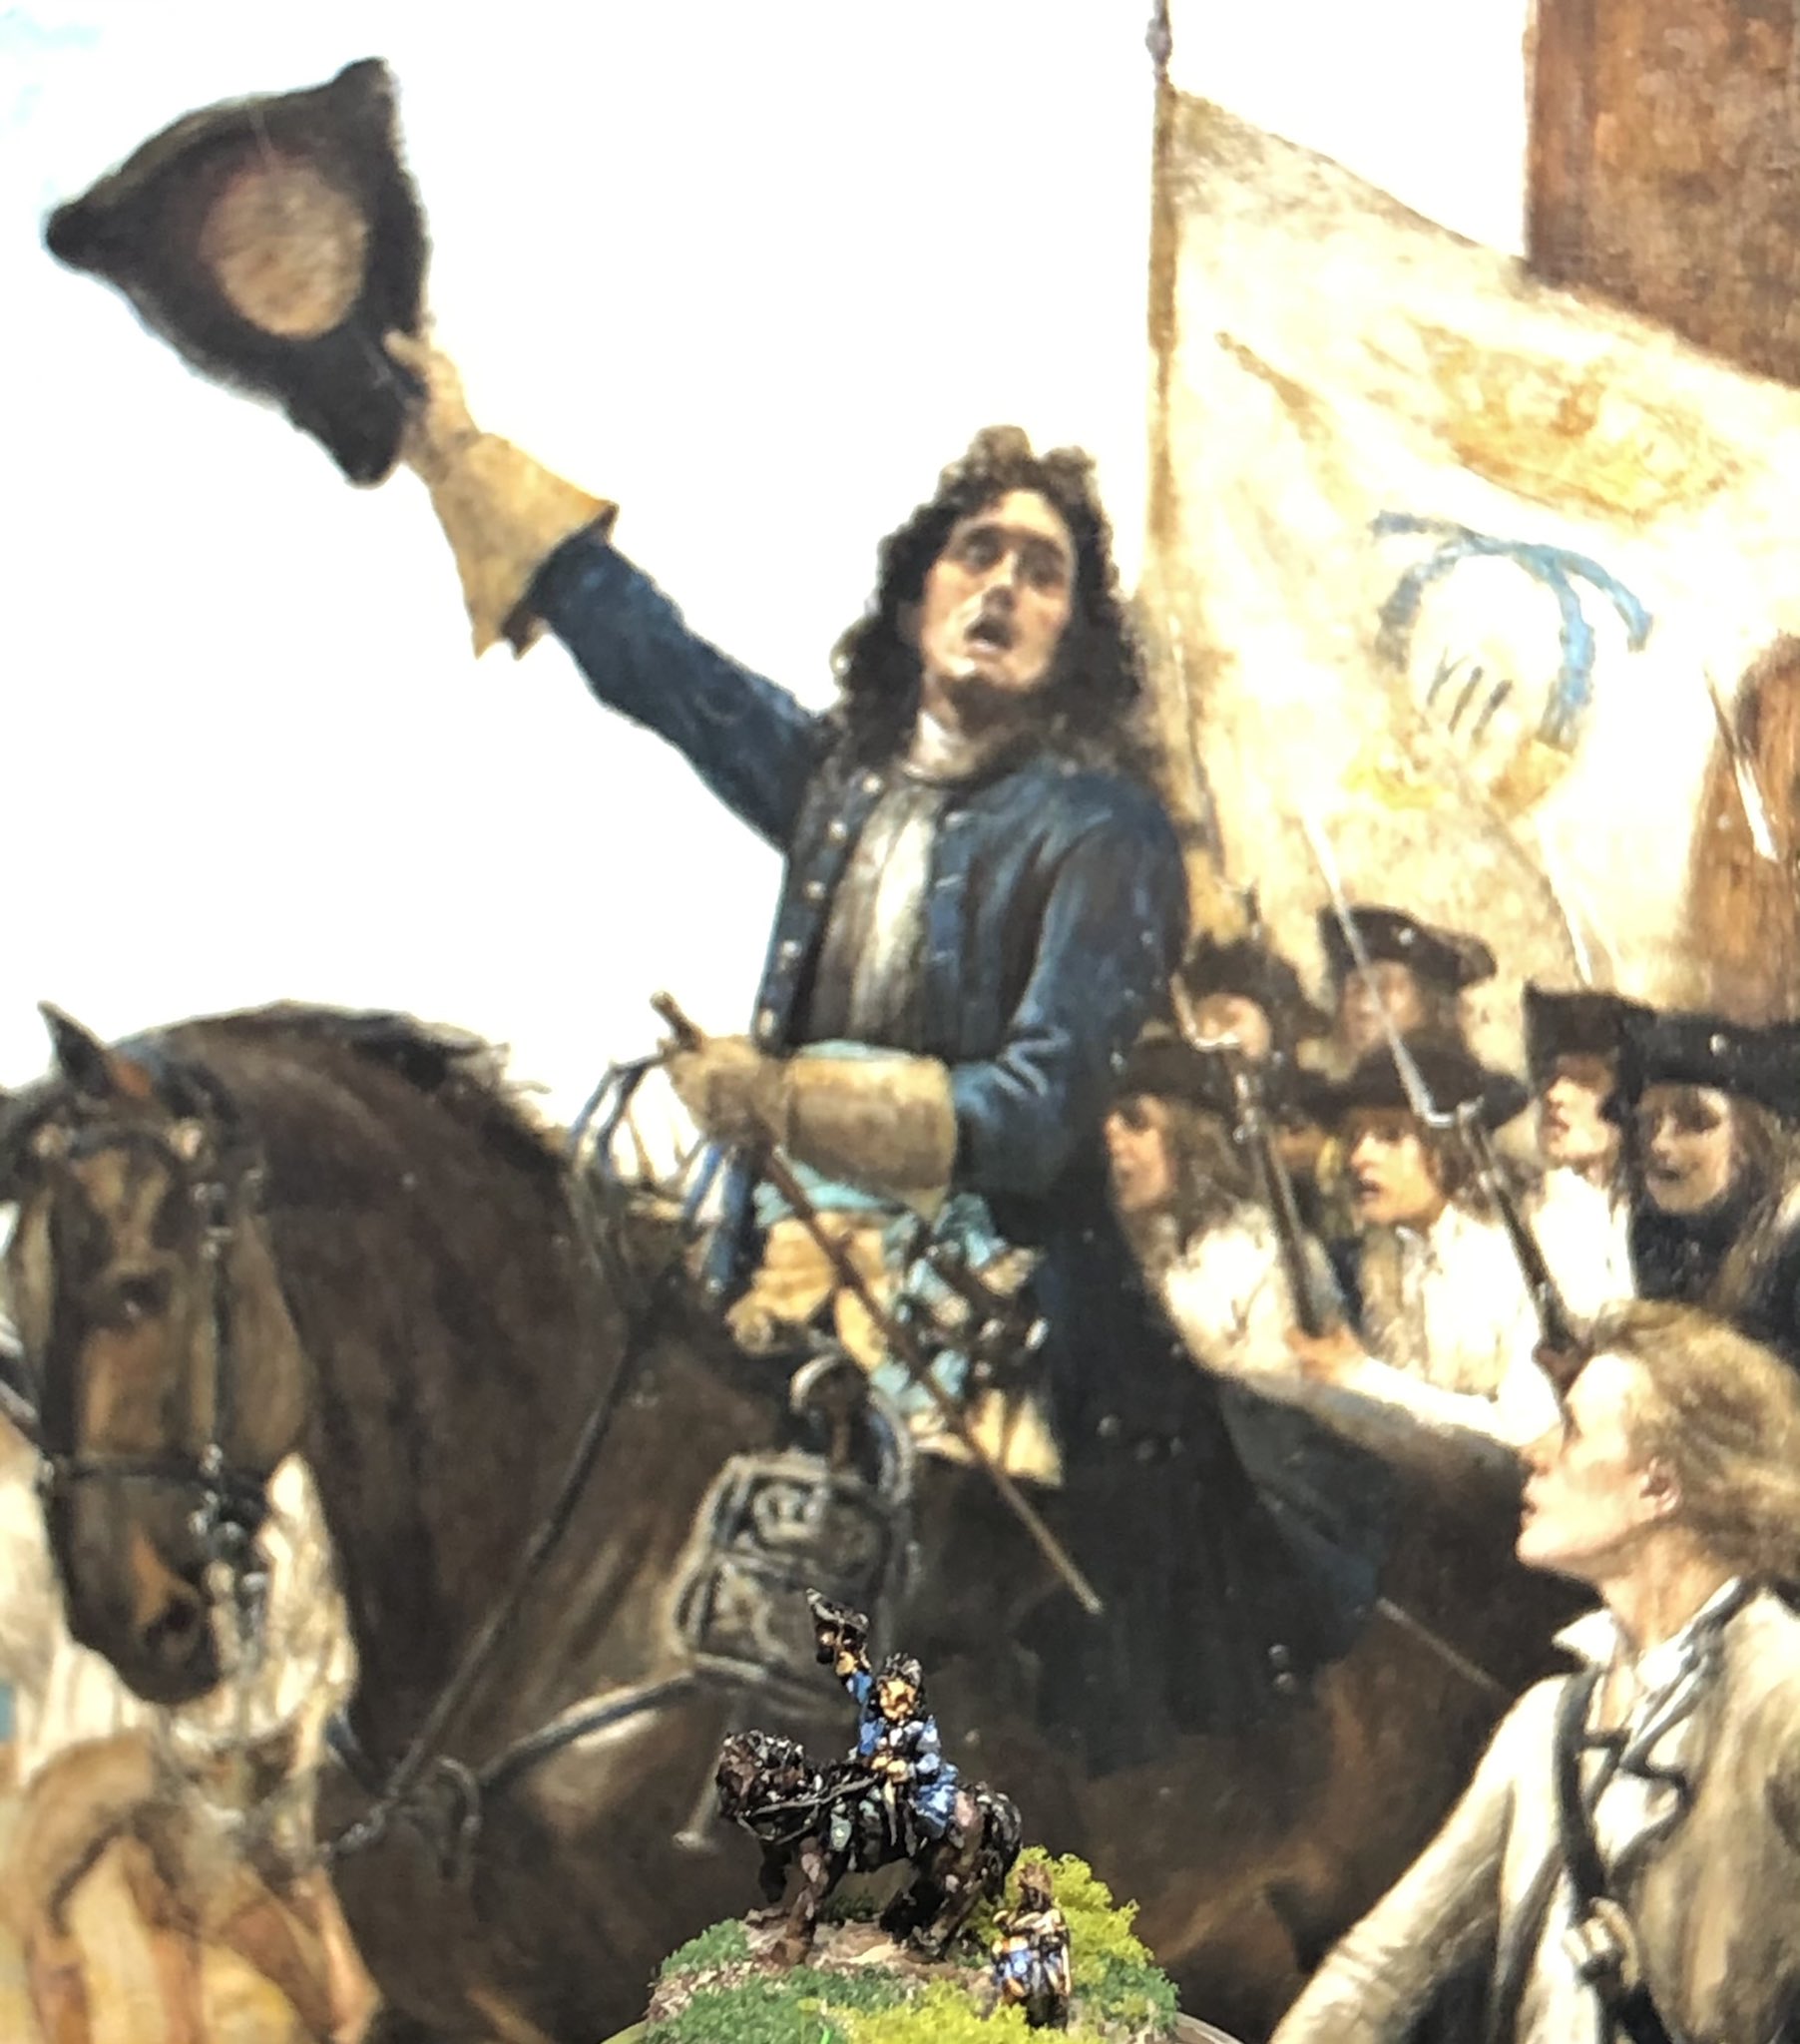
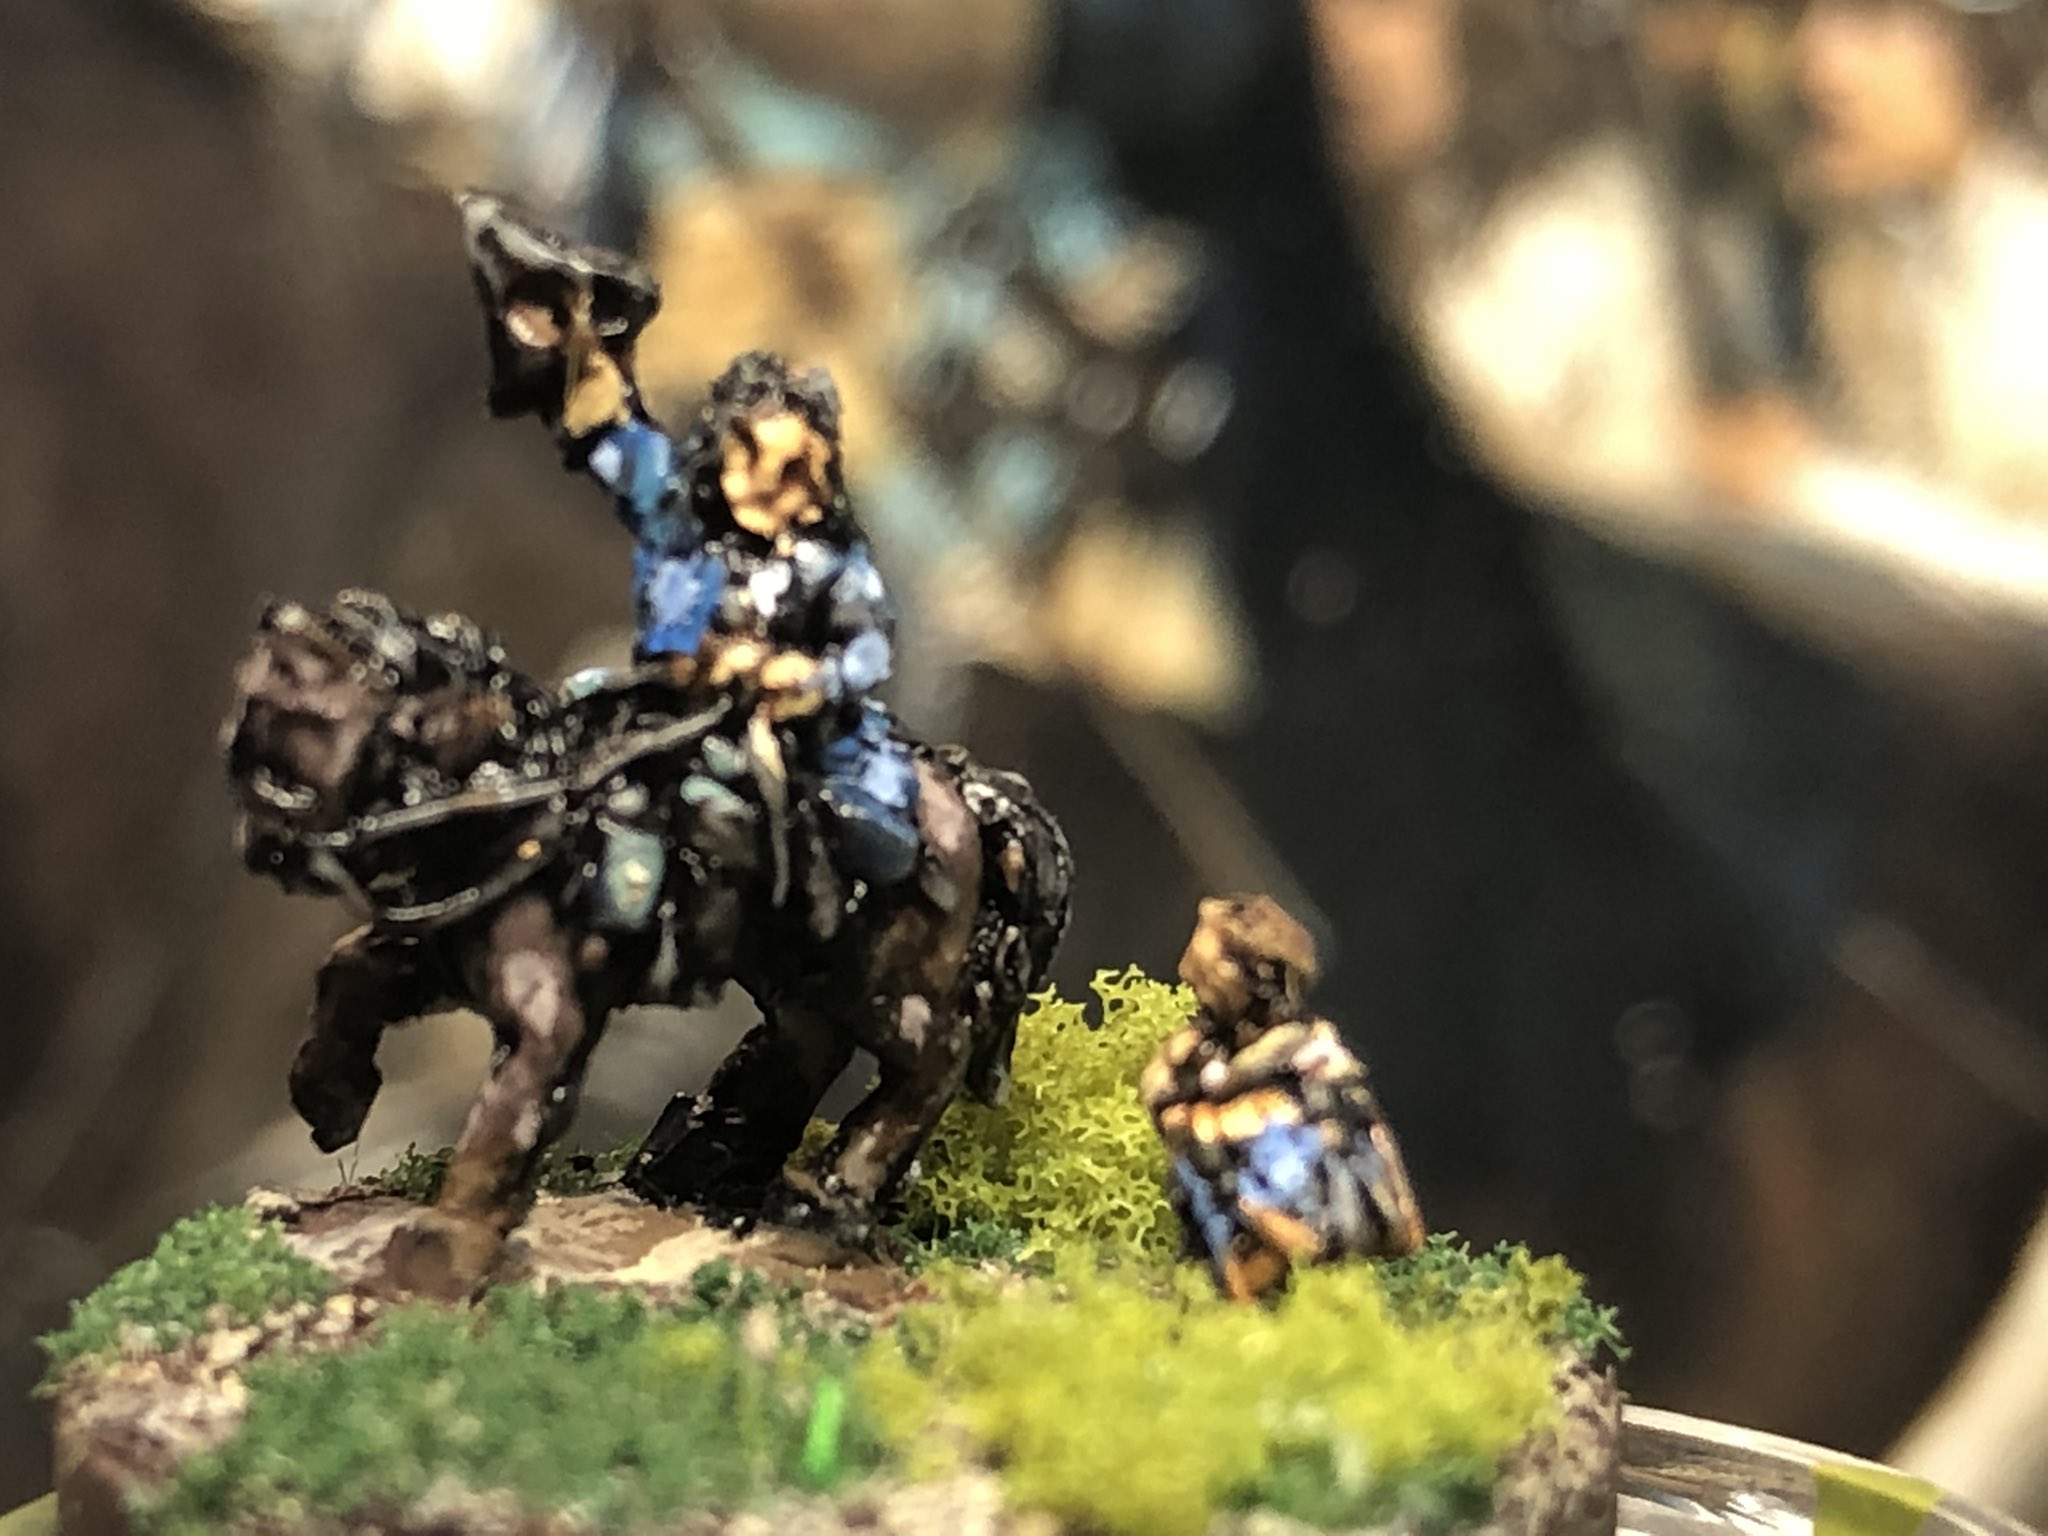
More about that here and the other miniatures that I commissioned.
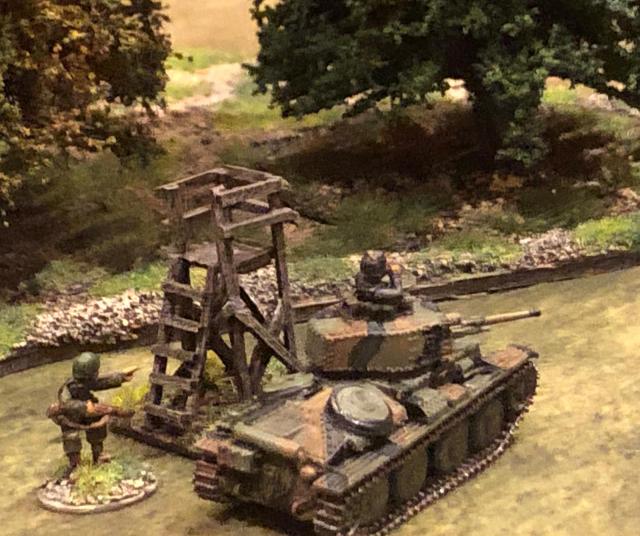
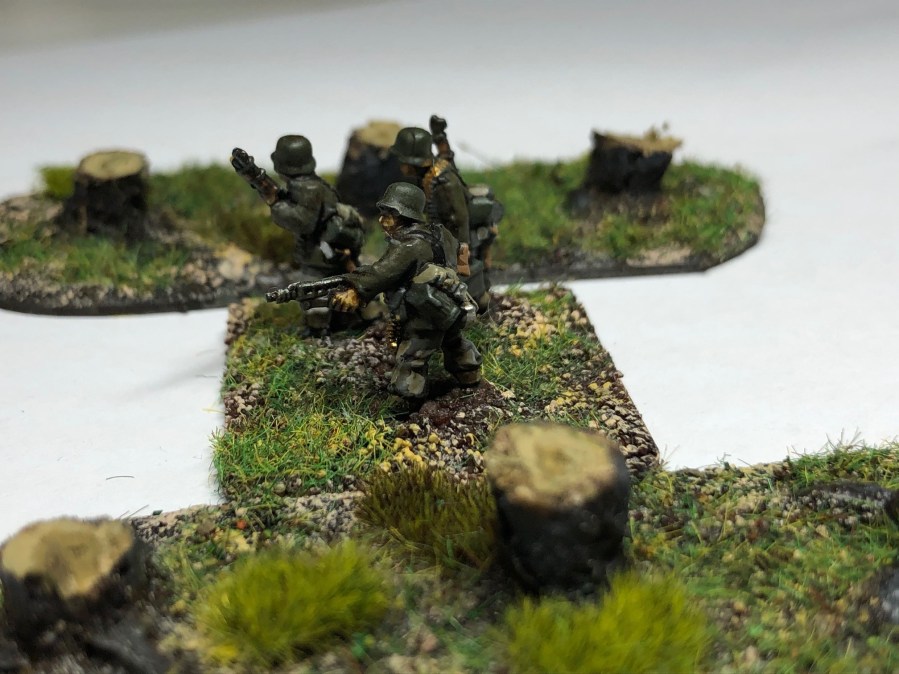
Sweden 1943 Project 15mm
Further Progress was made on my Swedish 1943 Project and I added some more tanks and armoured cars (well trucks). I also did a high level army list for O Group, the new game from Too Fat Lardies.

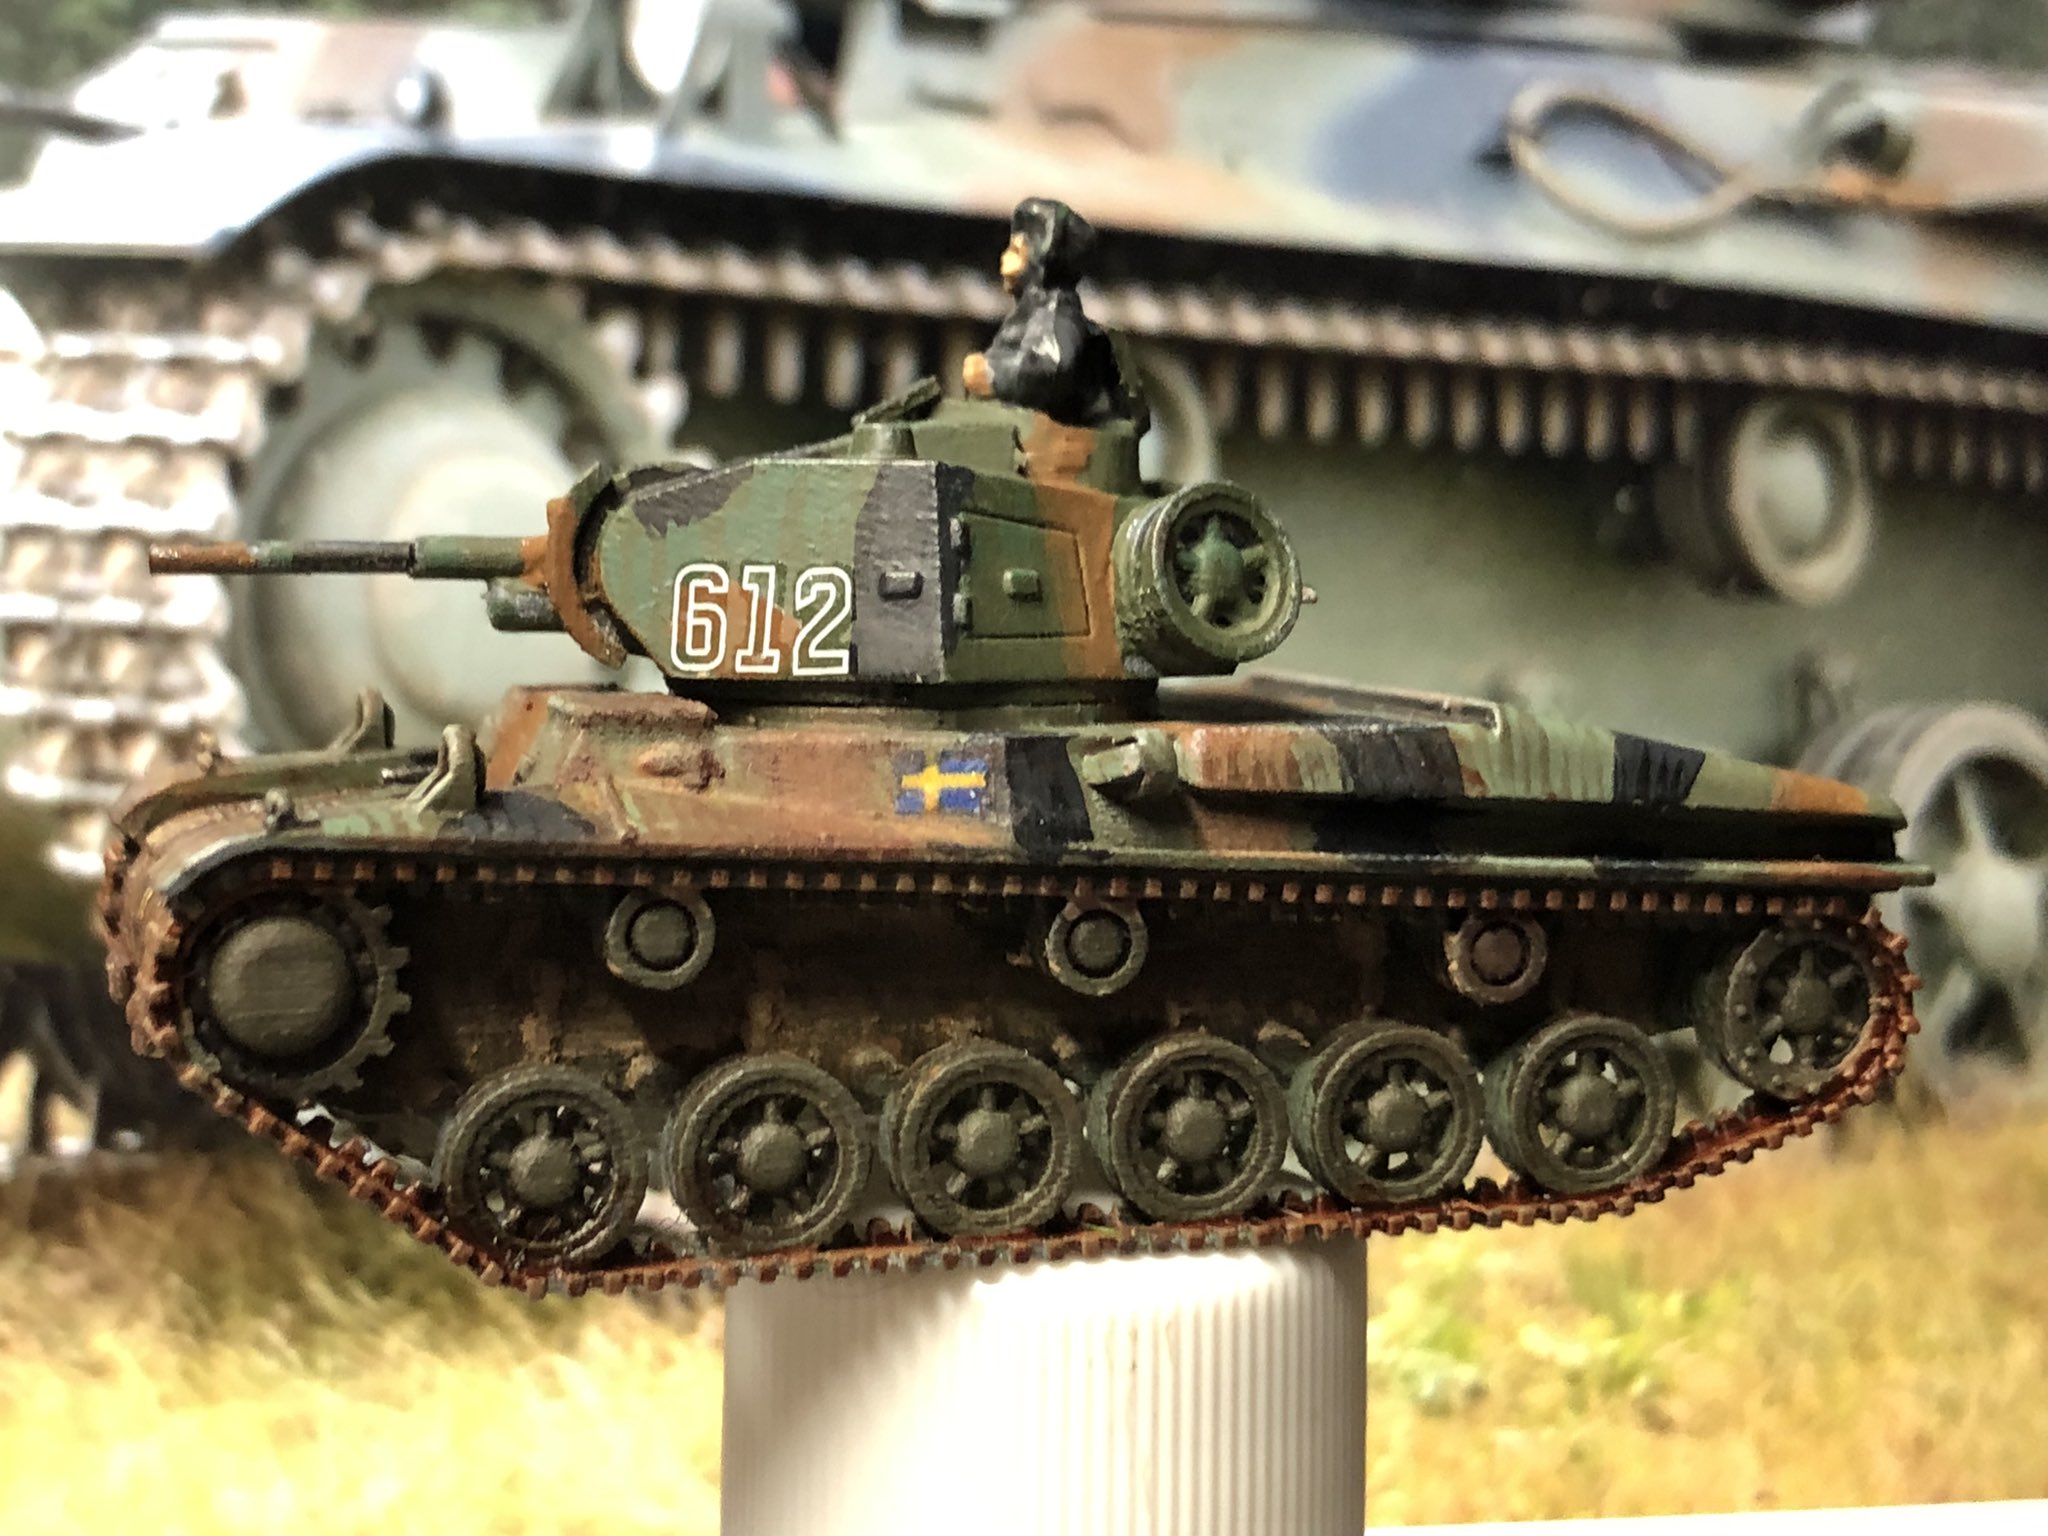
More about this project here
The only big 6mm project I did start in the year was the Forces in Holstein 1700 as part of the start of the Great Northern War. This offers two very colourful opposing armies and the potential for a very interesting wargaming experience – in reality there were no big field battles, but this project offers some exploration of this.
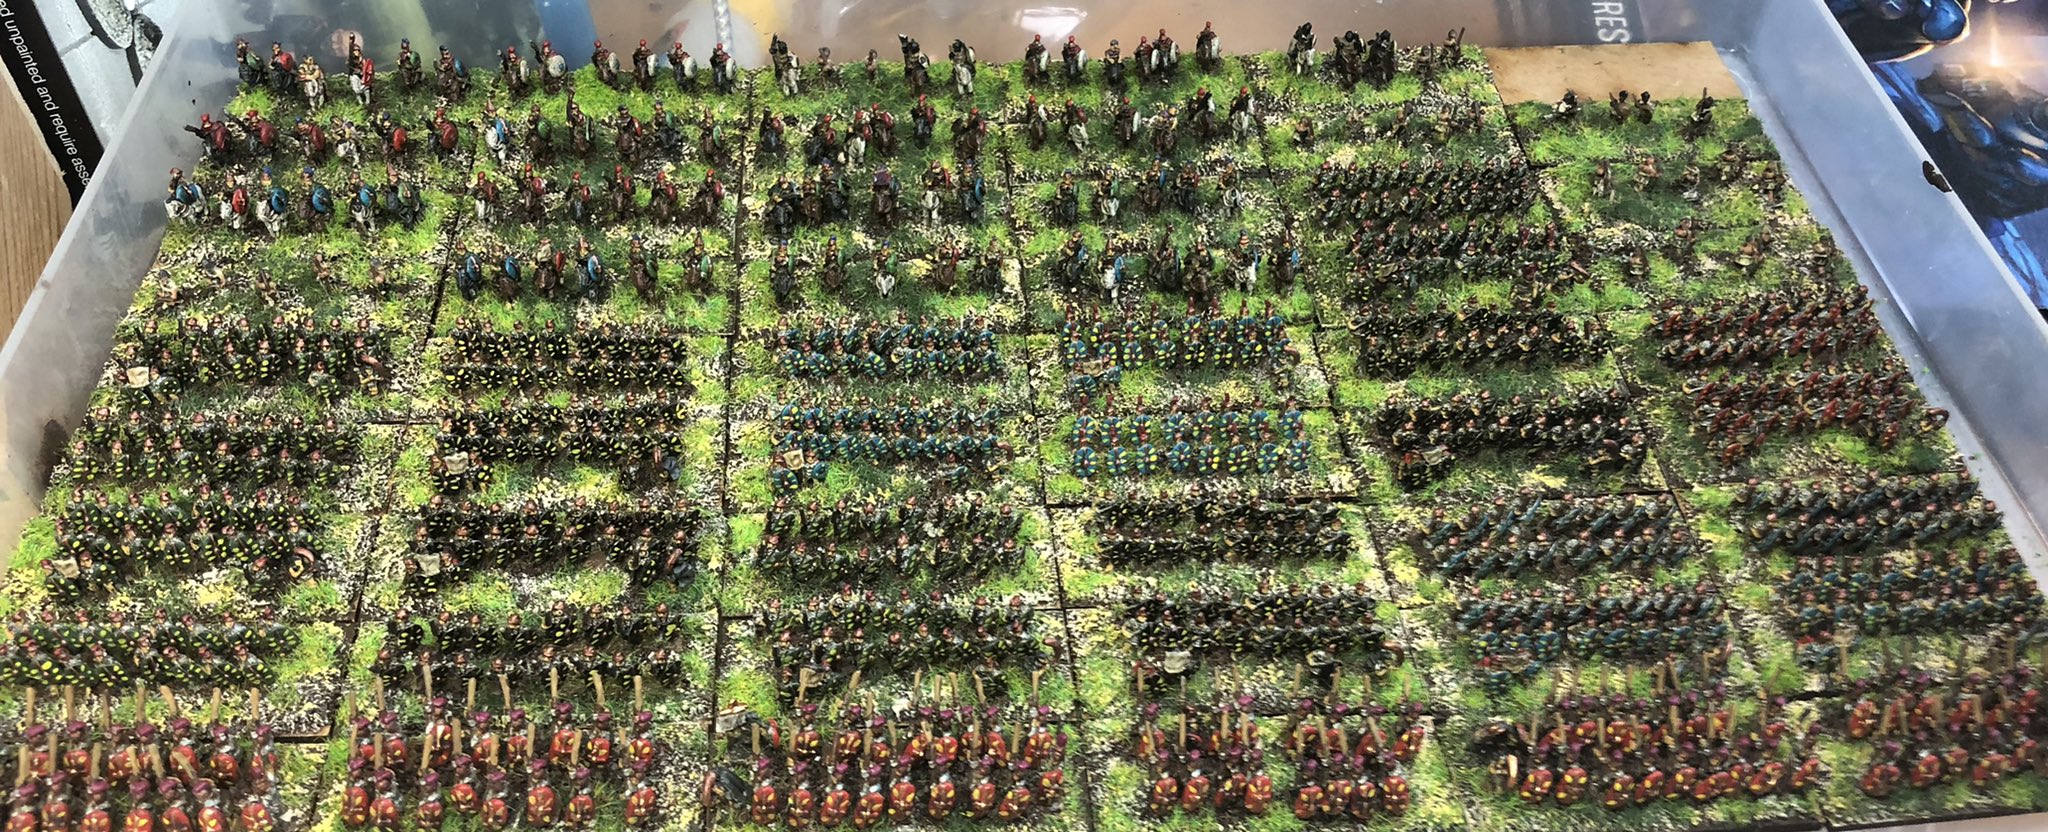
I also bought some already painted 6mm ancients that I rebased and quickly got my 6mm Ancient Punic War collection substantially increased. I also did a summary blog on a lot of the #6mmtips I have shared on twitter over the last few years. More on these projects below.
The Battle of Lund 1676 6mm and the 6mm Charity Project
This year I took the Battle of Lund 1676 to the Virtual Joy of Six event, I ended up doing a video to present the game and also talked about the Charity Project that was completed last year. There are some links to two video that was produced to support these projects.
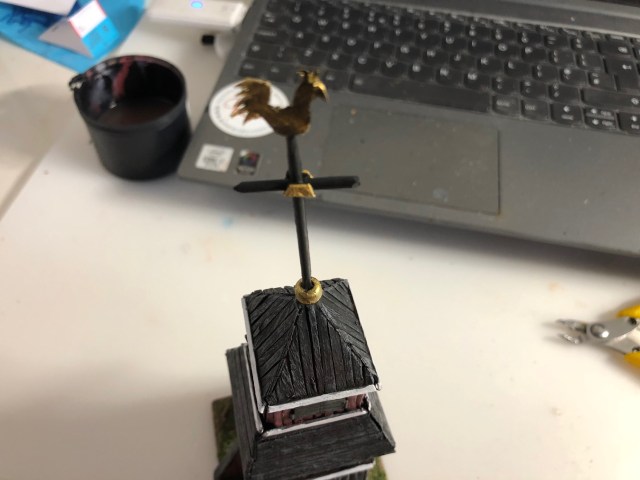
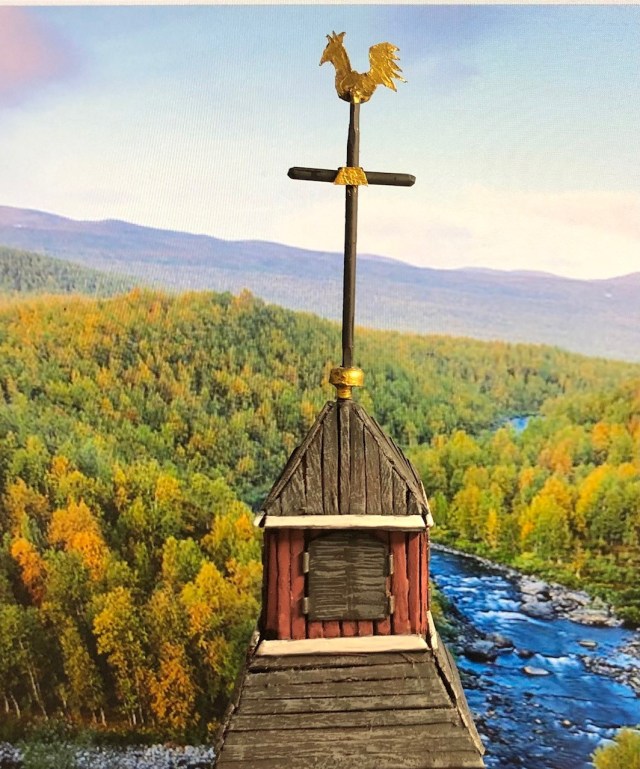
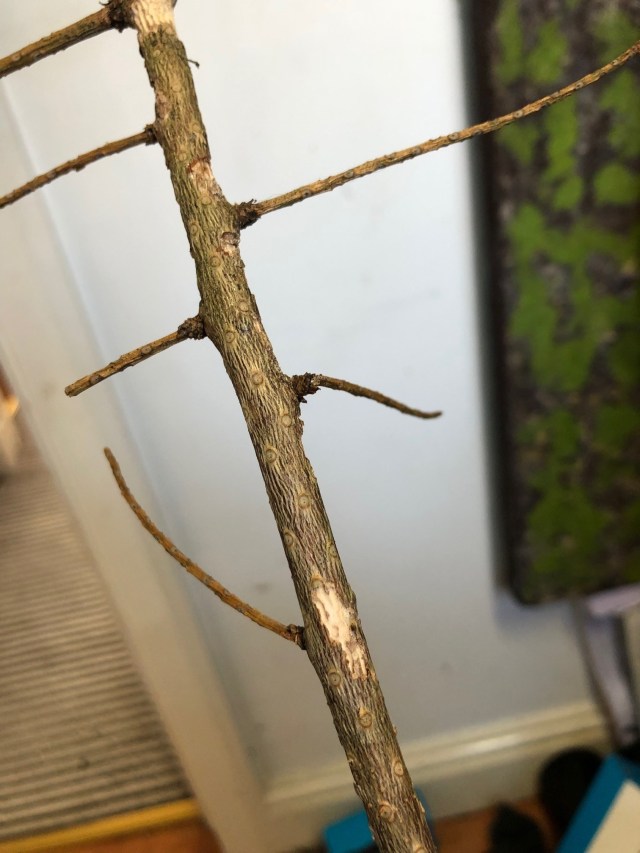
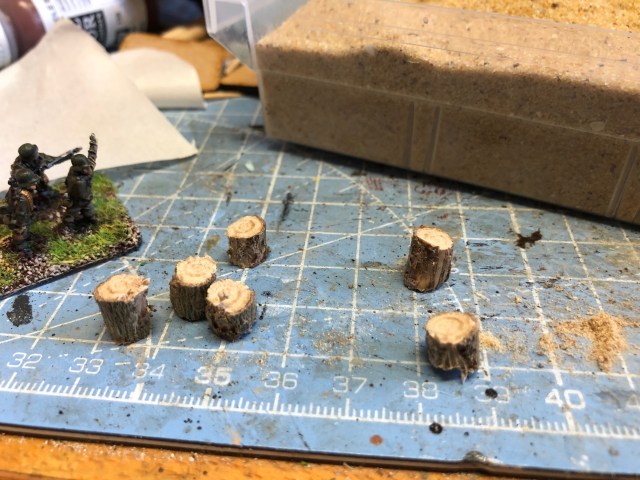
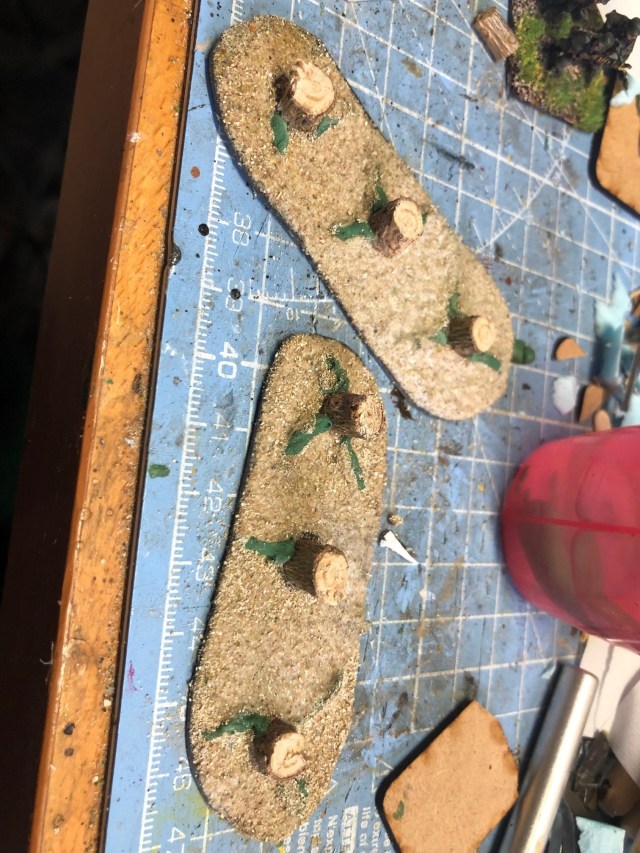
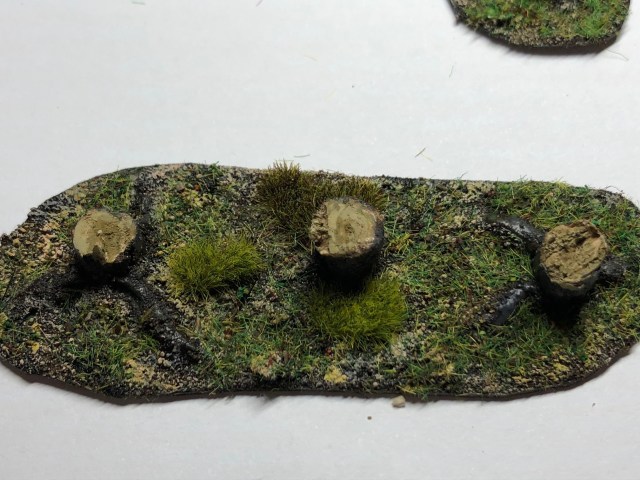
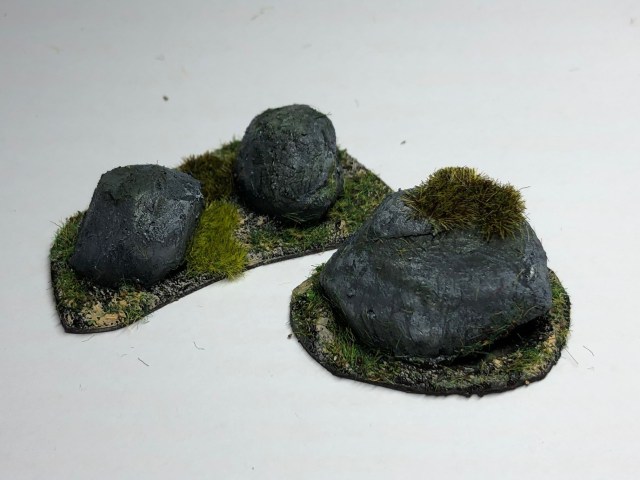
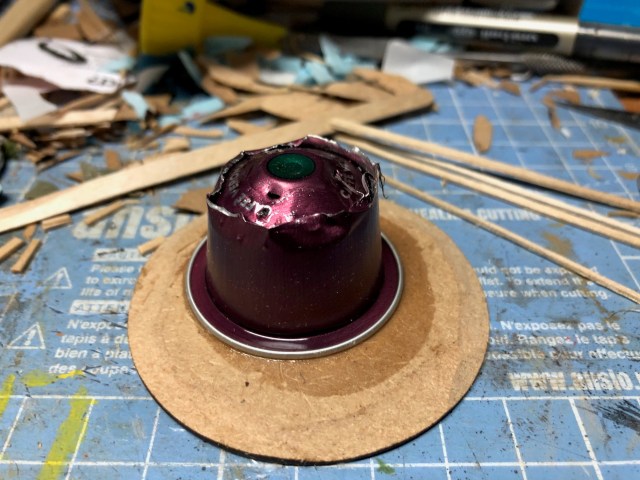
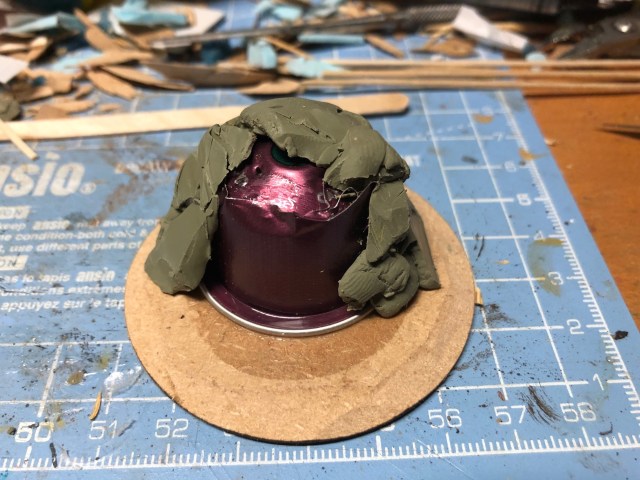
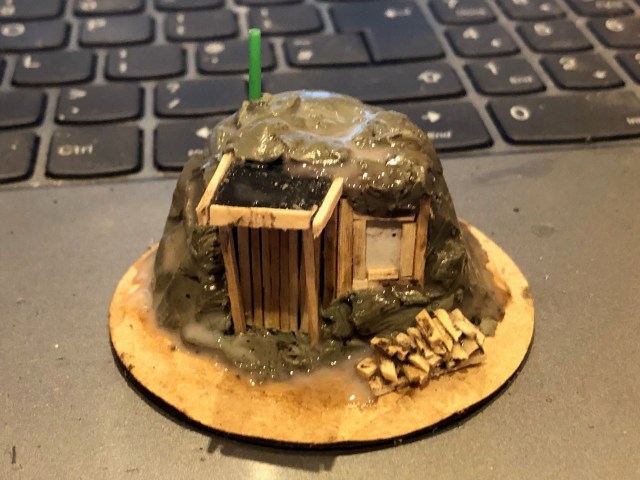
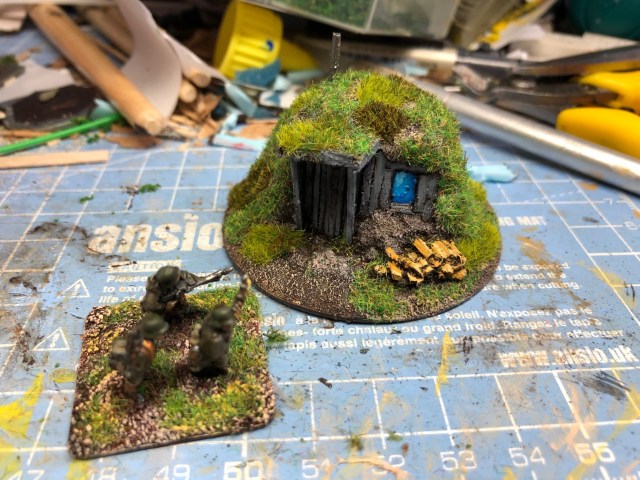
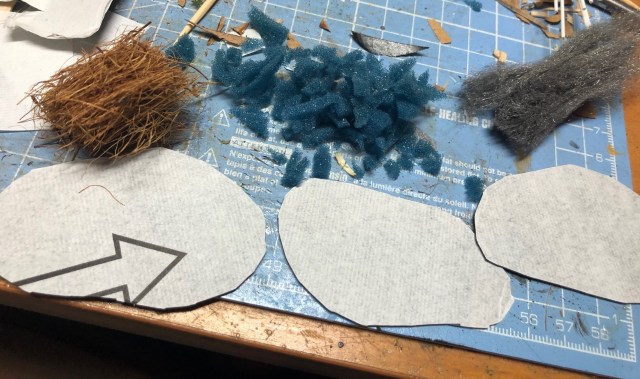
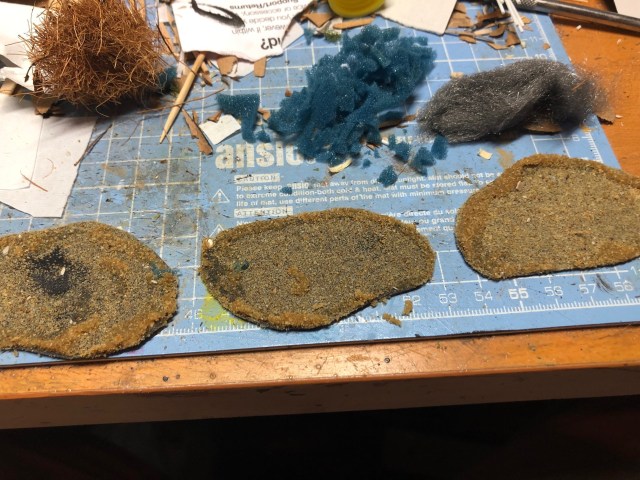
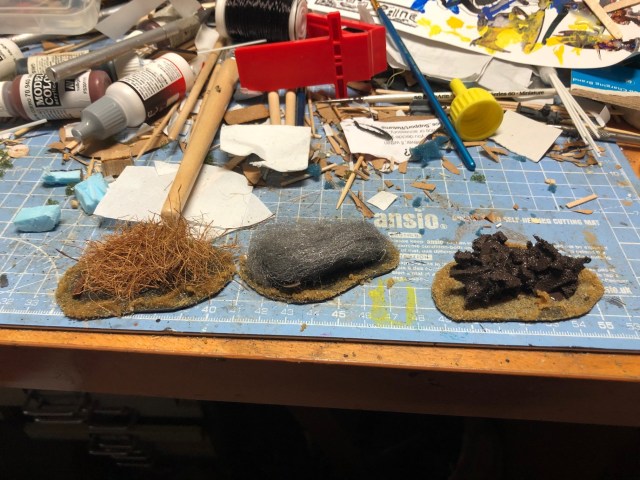
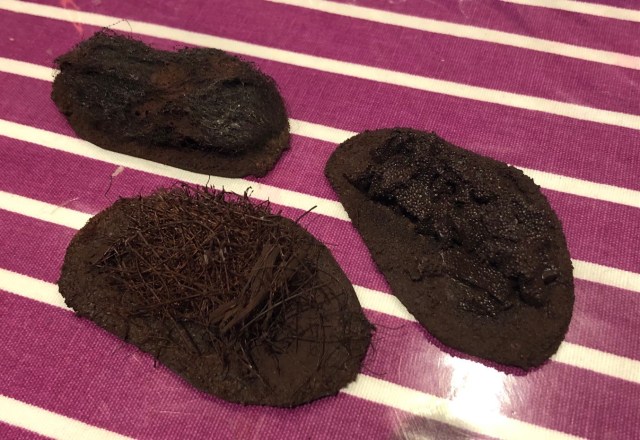
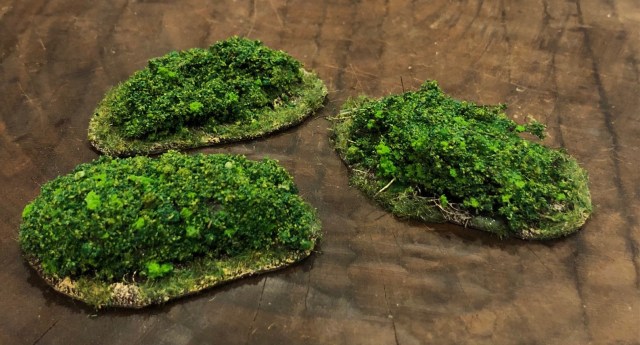
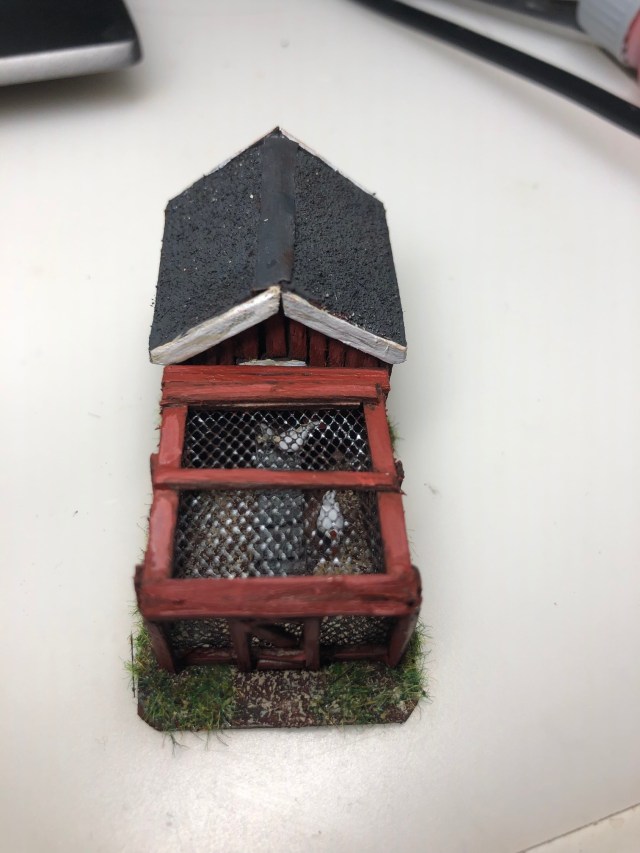
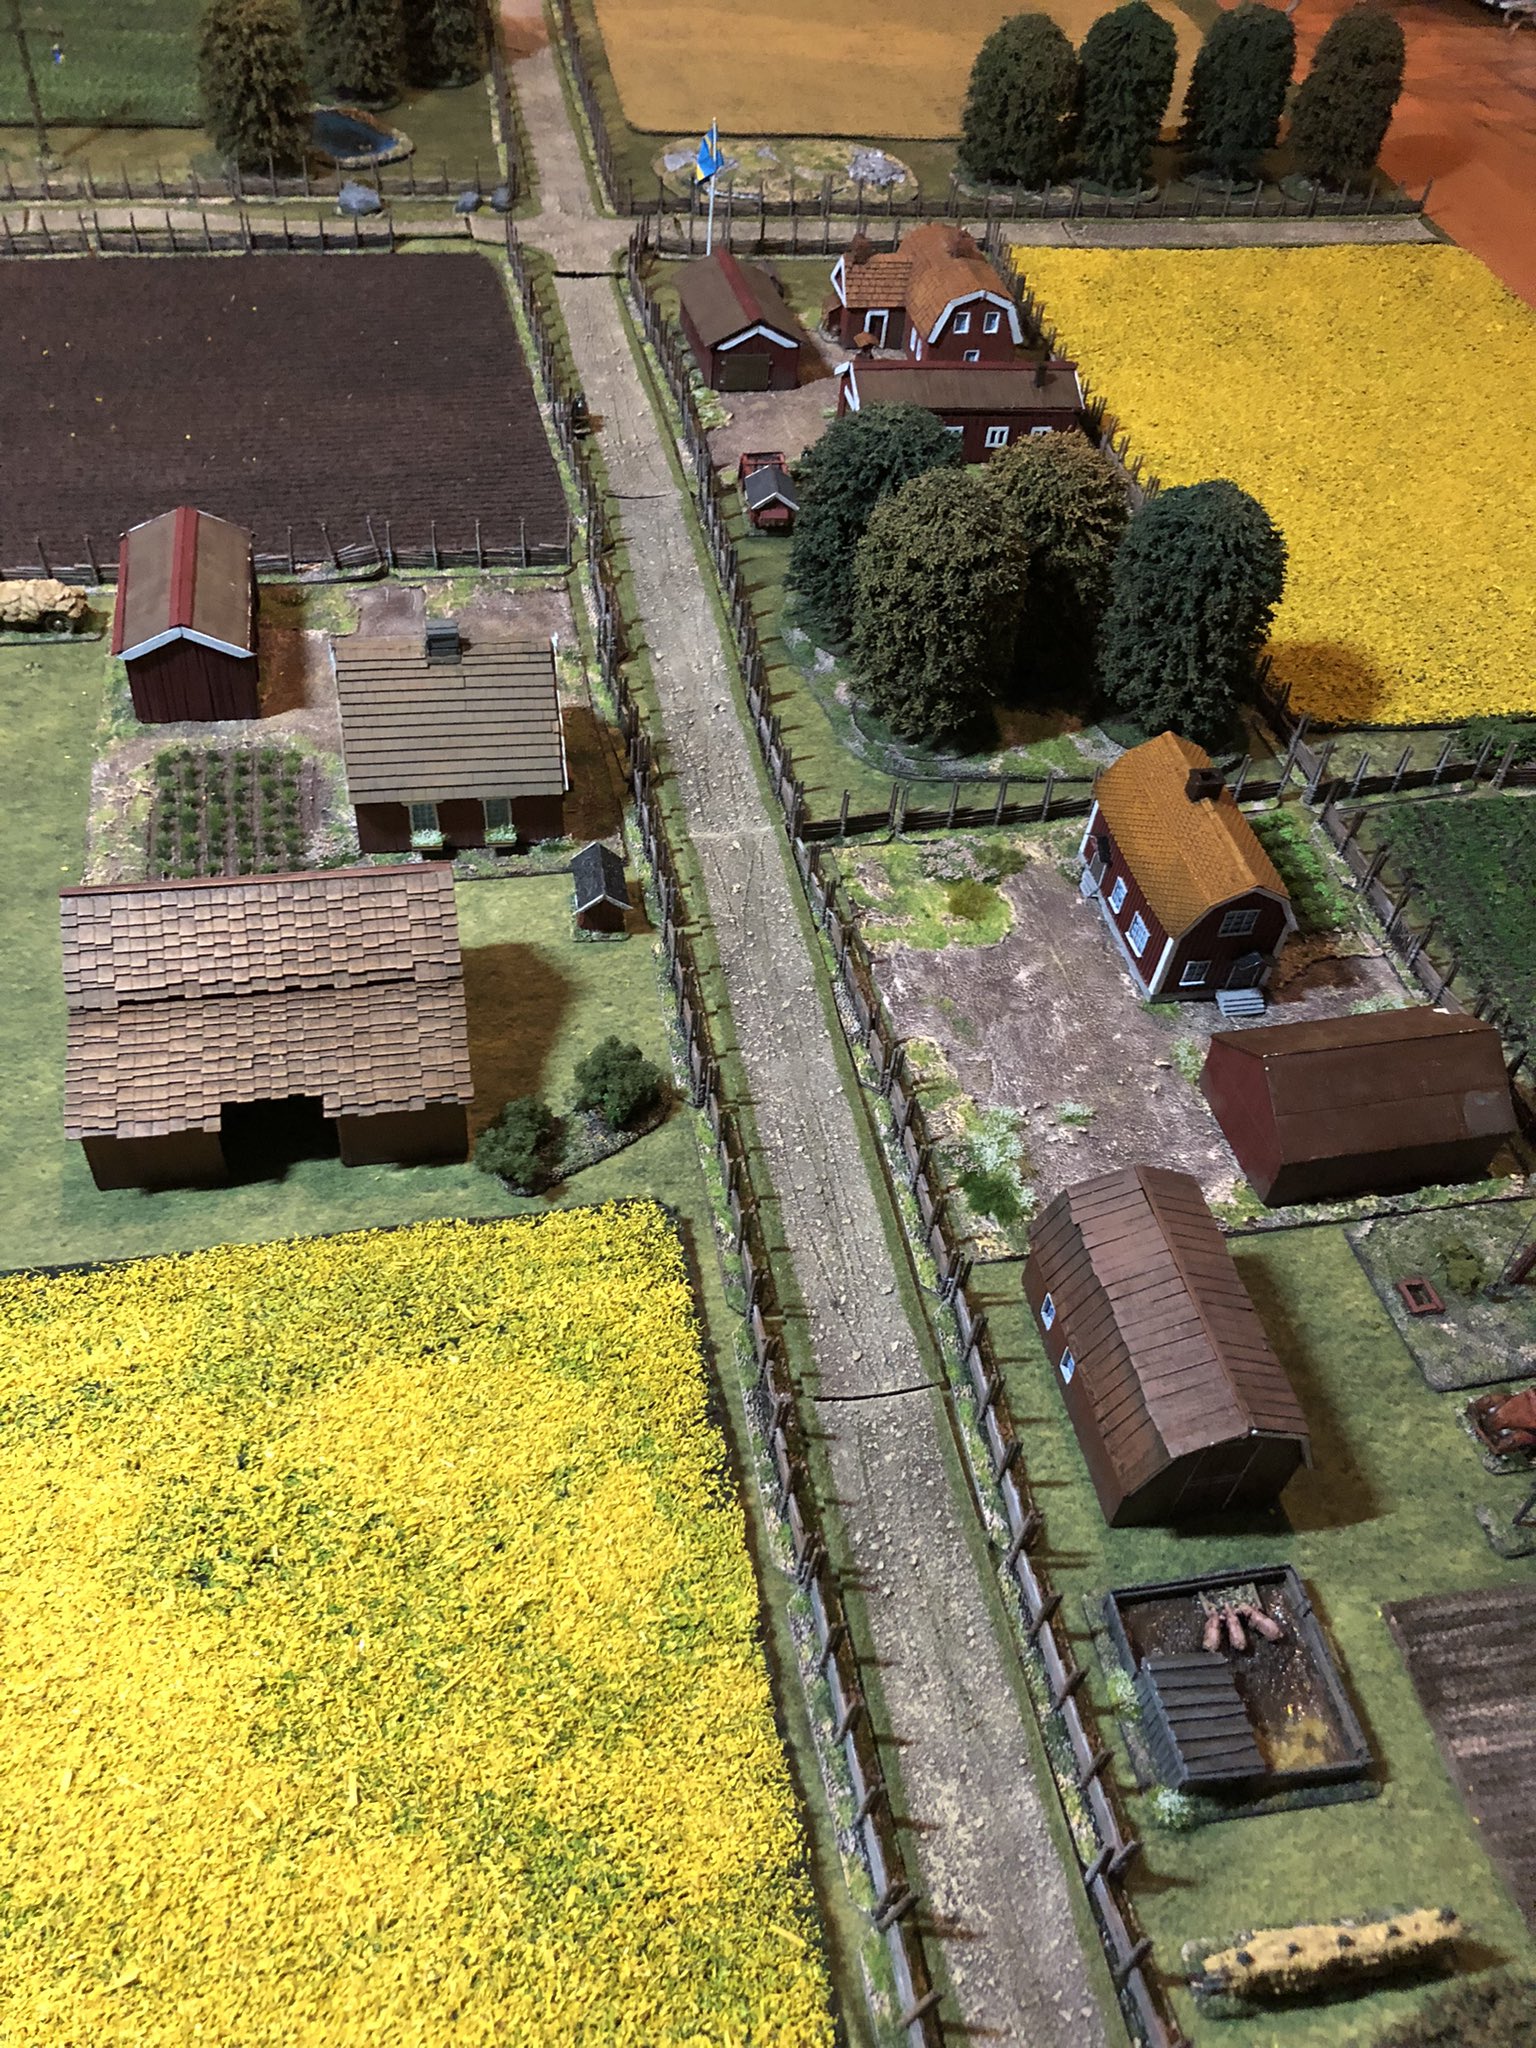
Terrain Projects
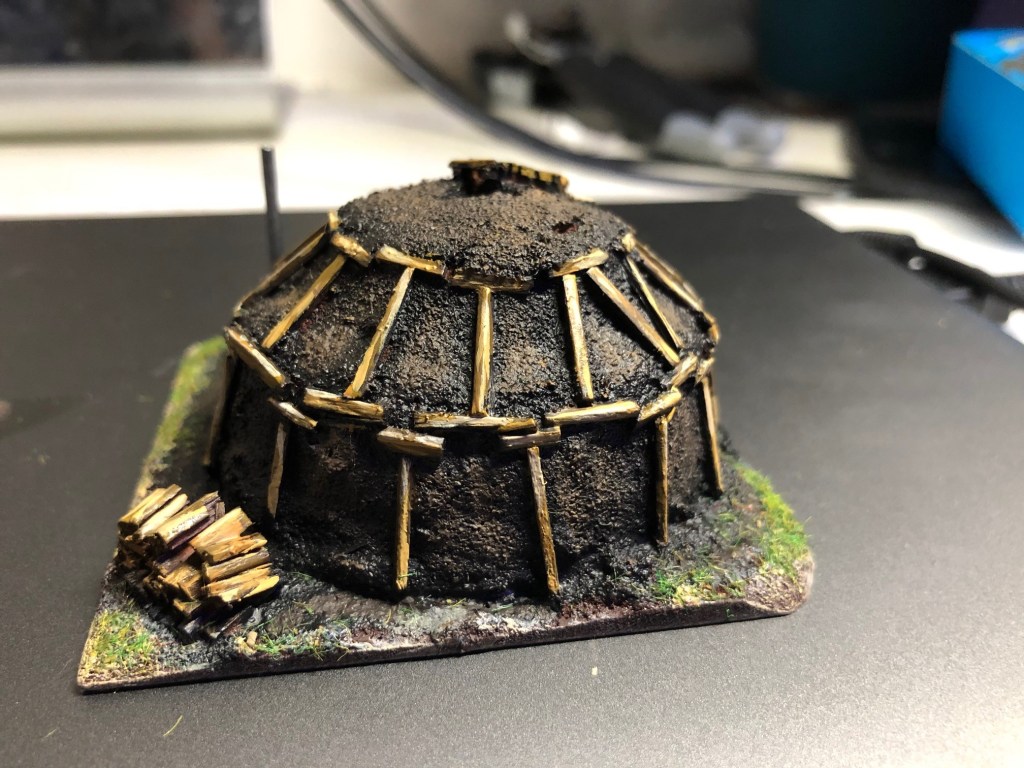
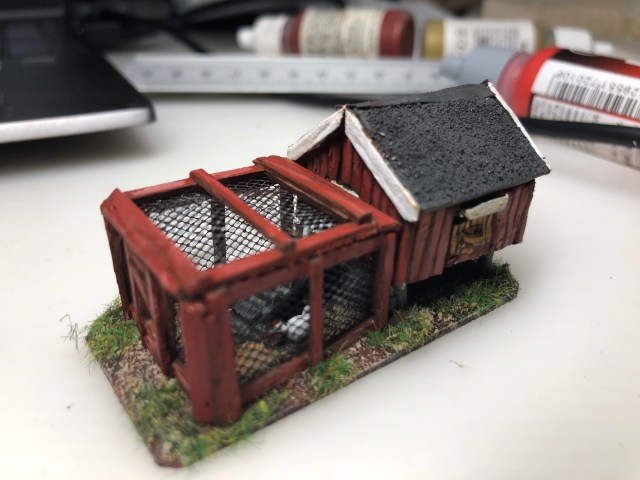
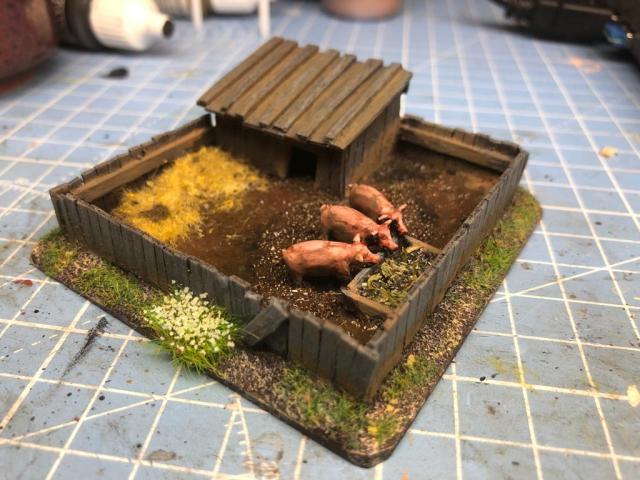
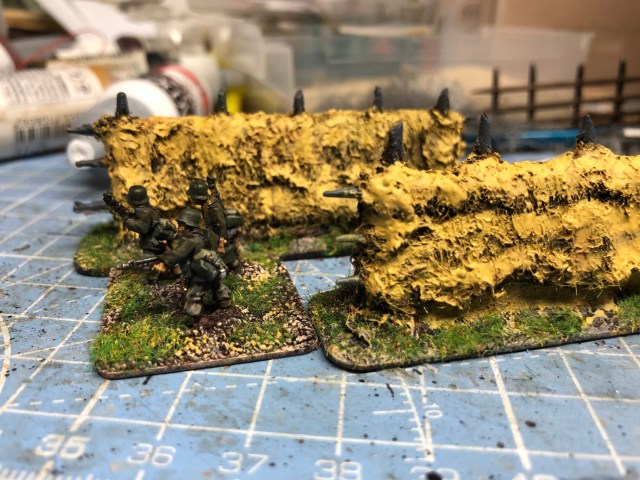
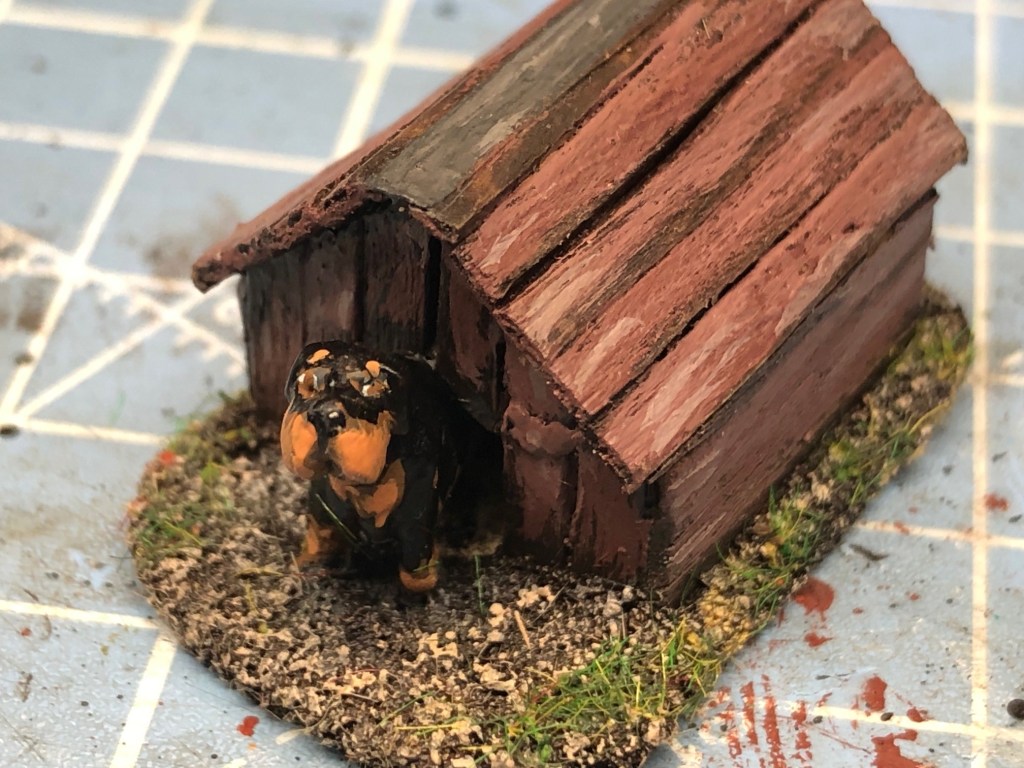
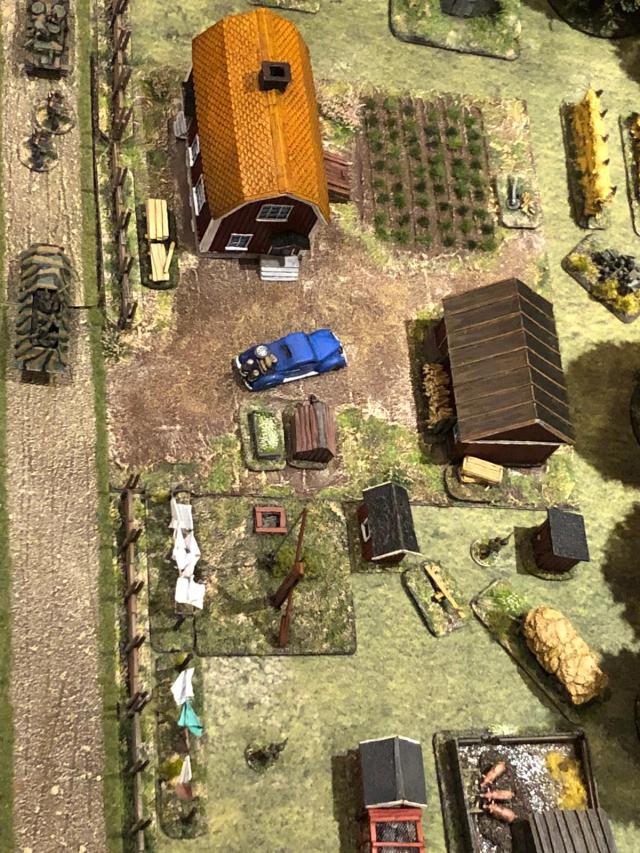
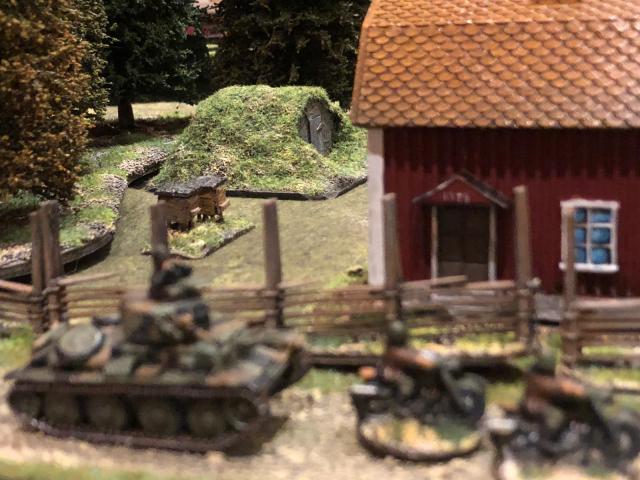
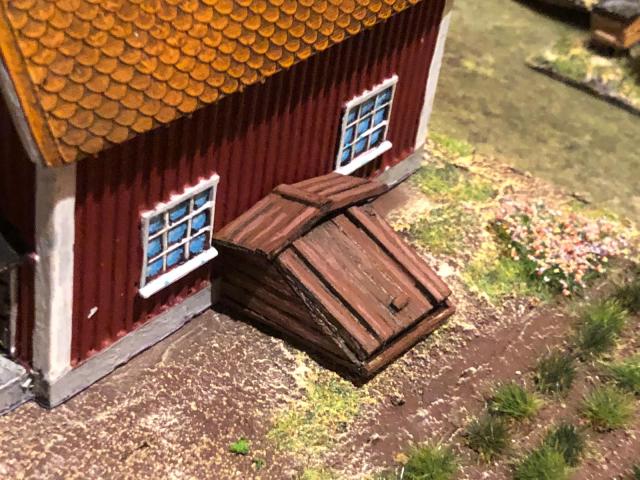
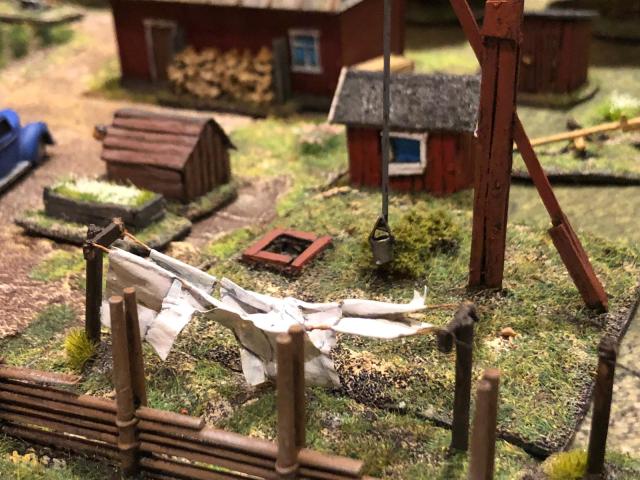
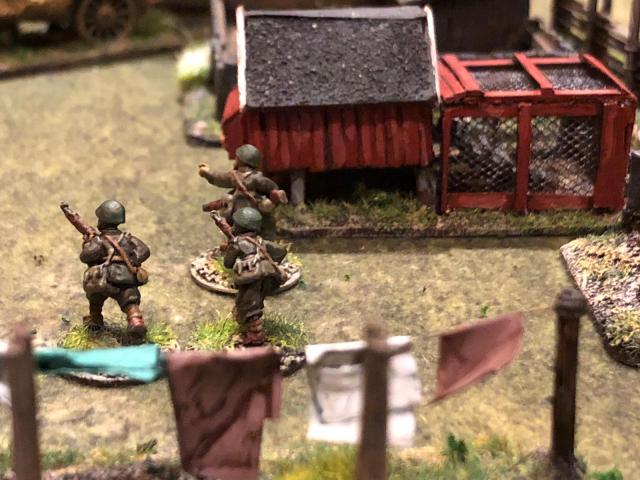
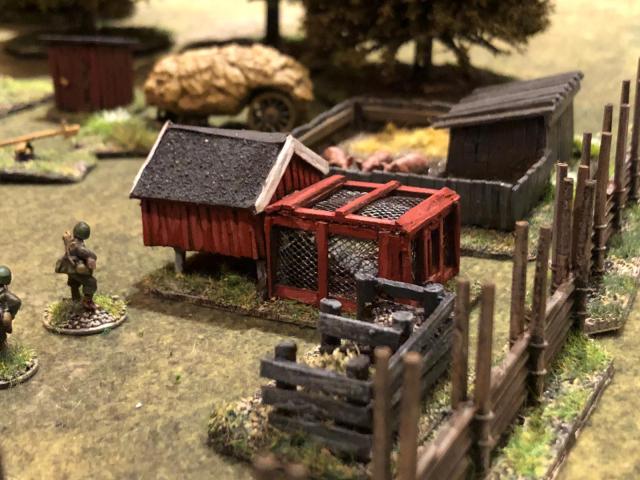
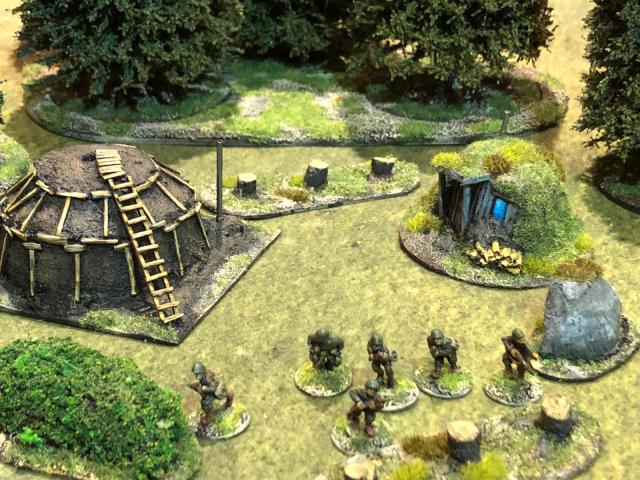
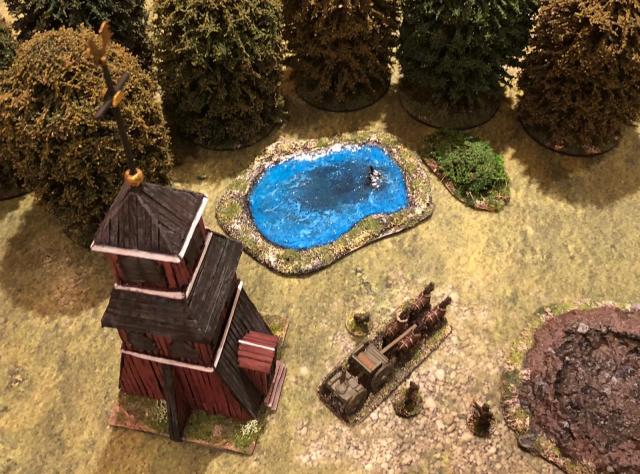
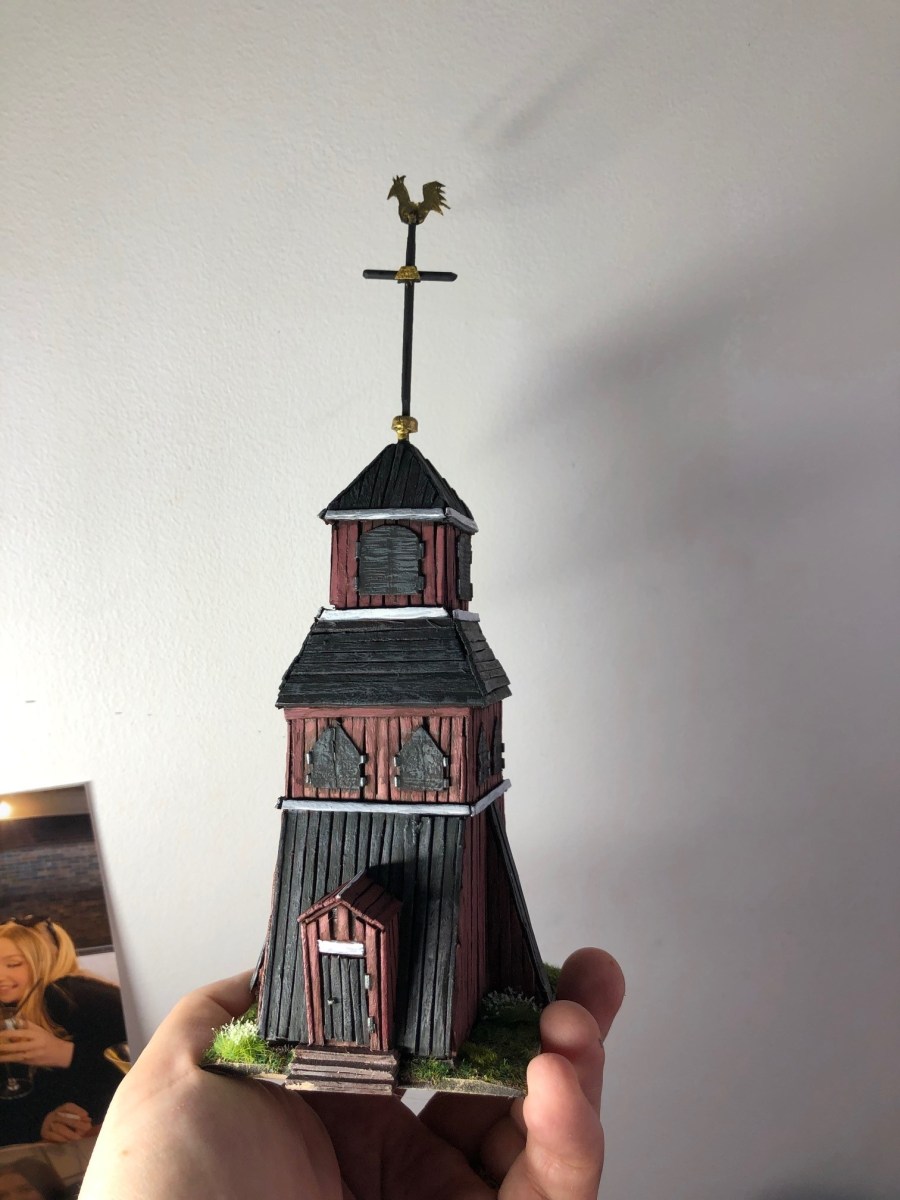
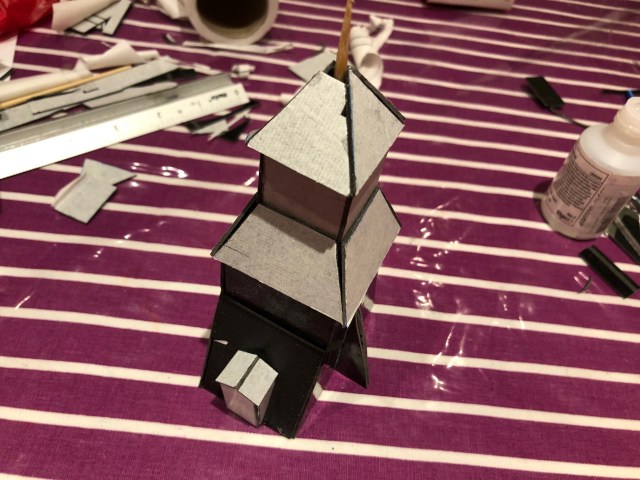
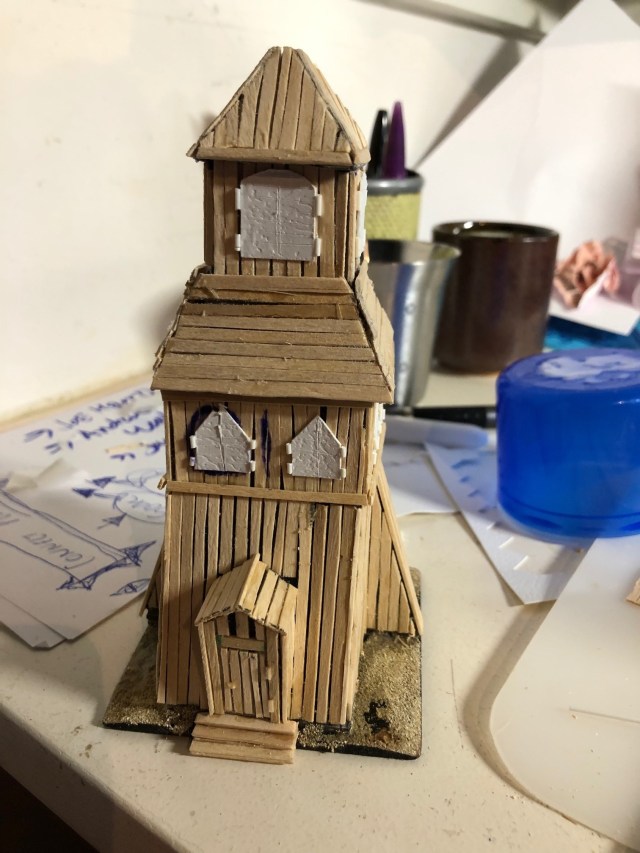
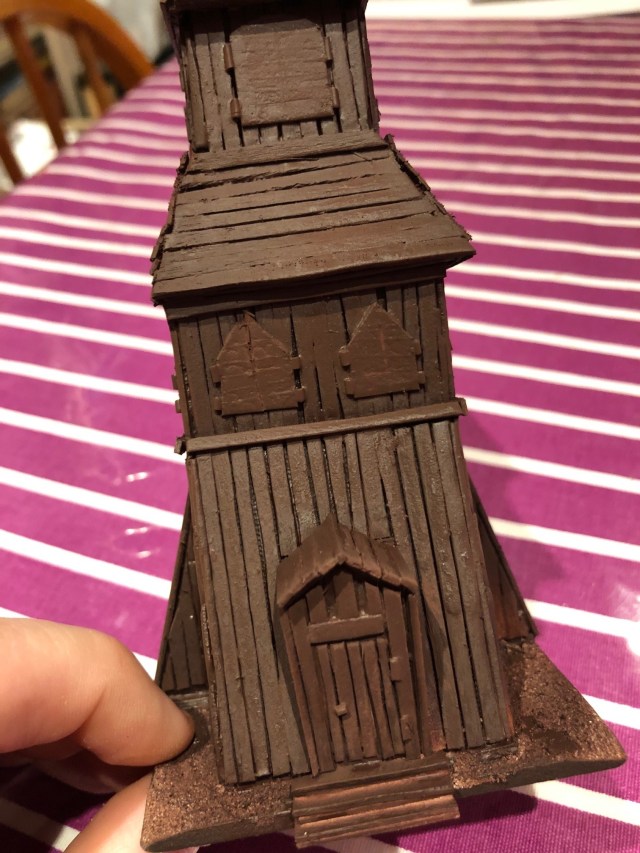
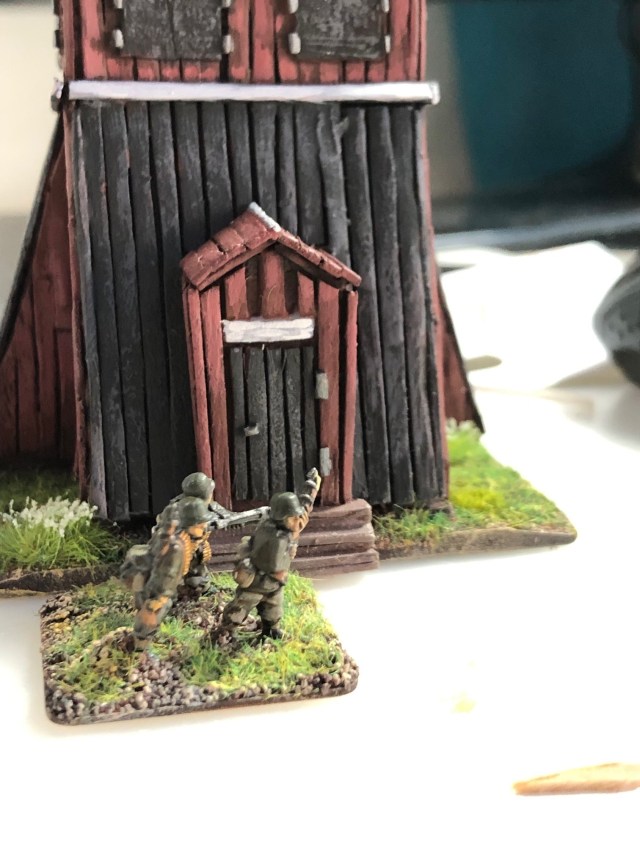
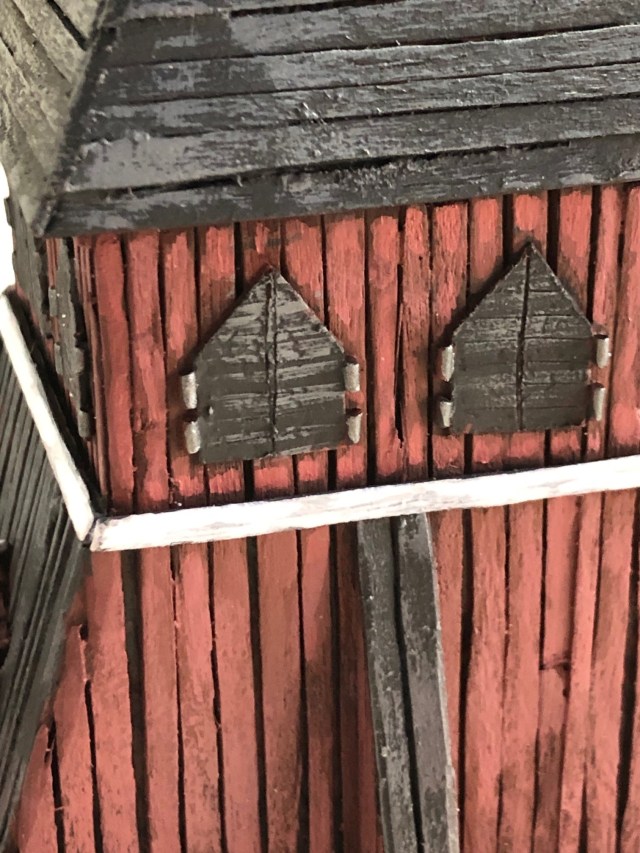
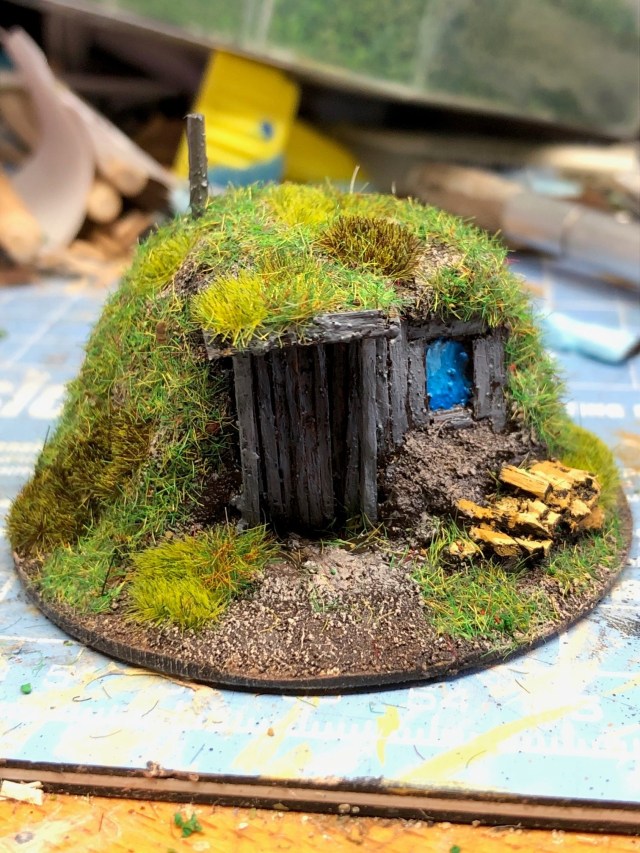
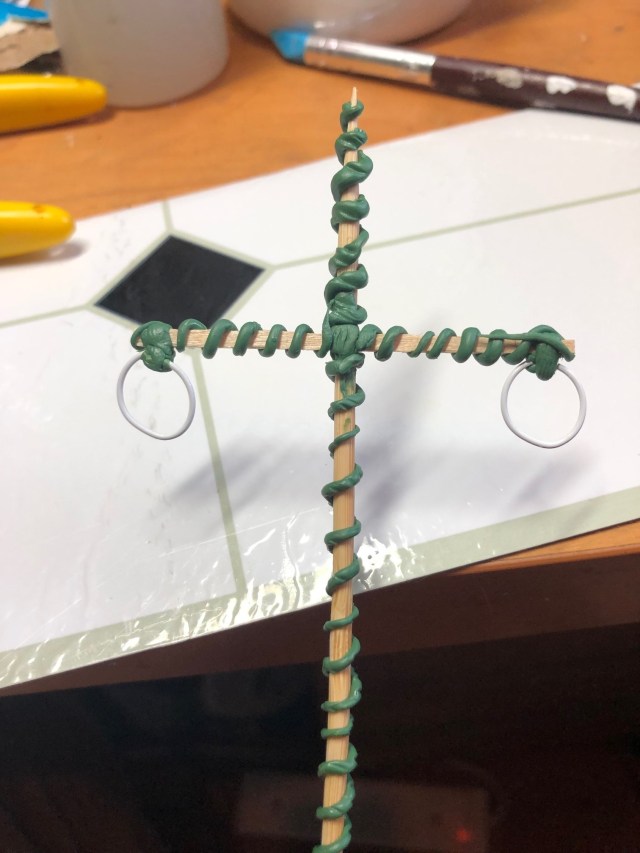
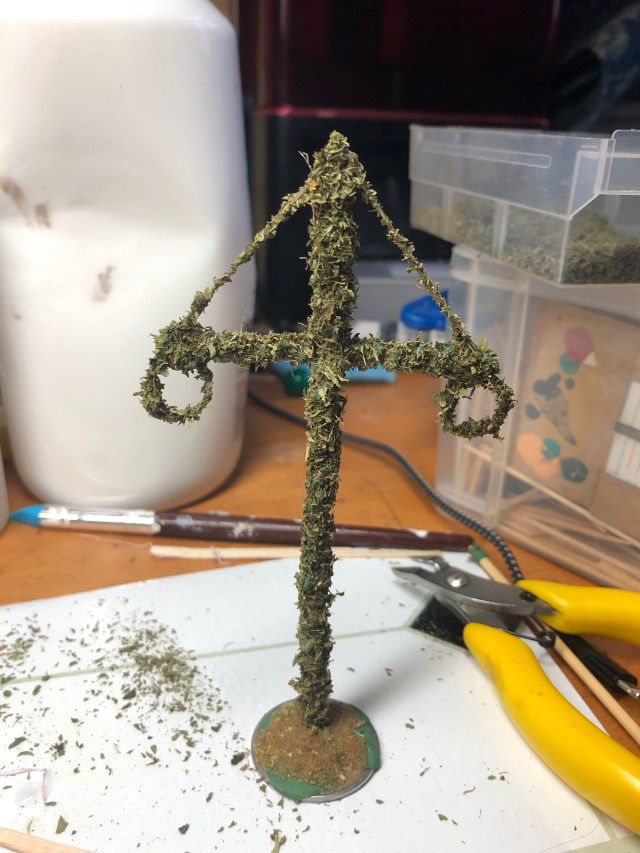
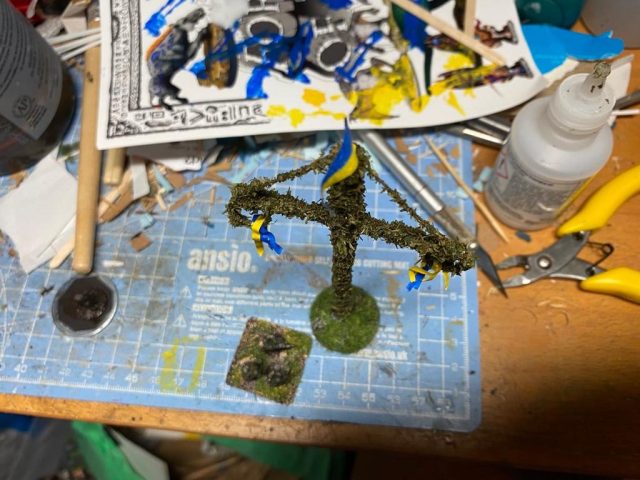
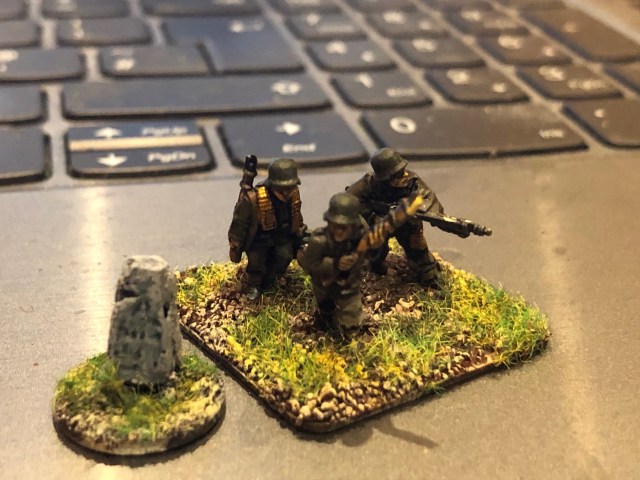
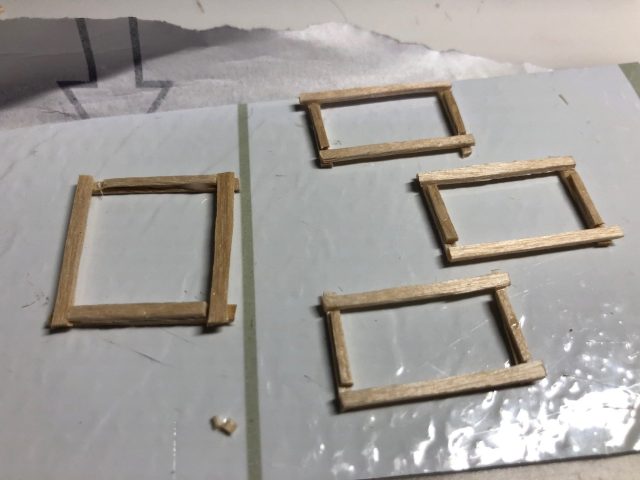
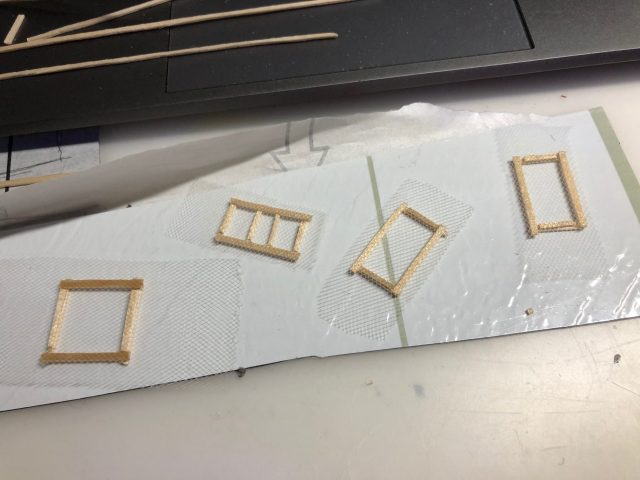
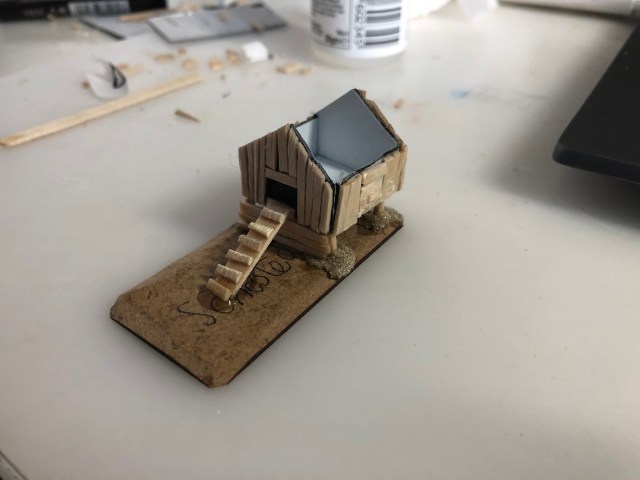
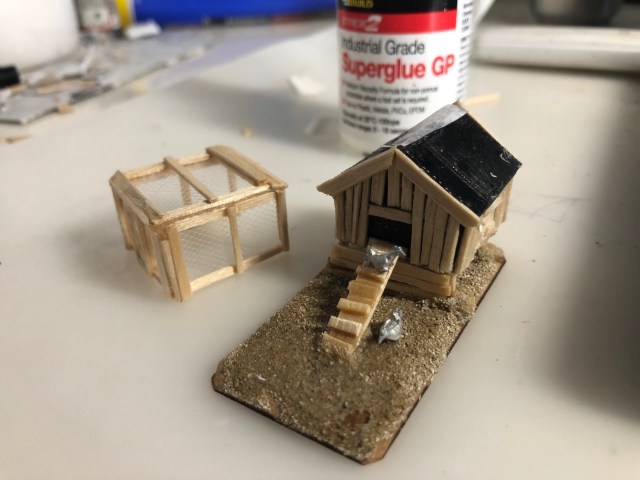
I did a lot of terrain projects this year most notably I did a lot of clutter, or immersion markers as I prefer to call them, for the 1943 table, but there are some generic ideas you could use for other theatres and scales. I also did a fair few buildings and fields.
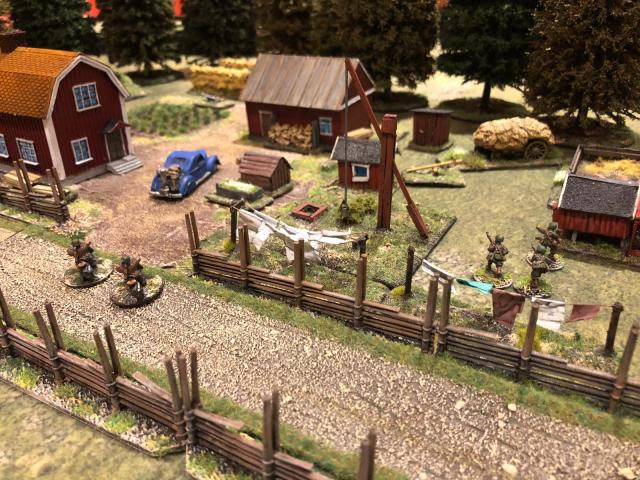
These projects has allowed me to create some really immersive battlefields, like this one. Here a little video that Des Darkin did showing off the table laid out using many of the terrain elements produced this year (thanks Des).

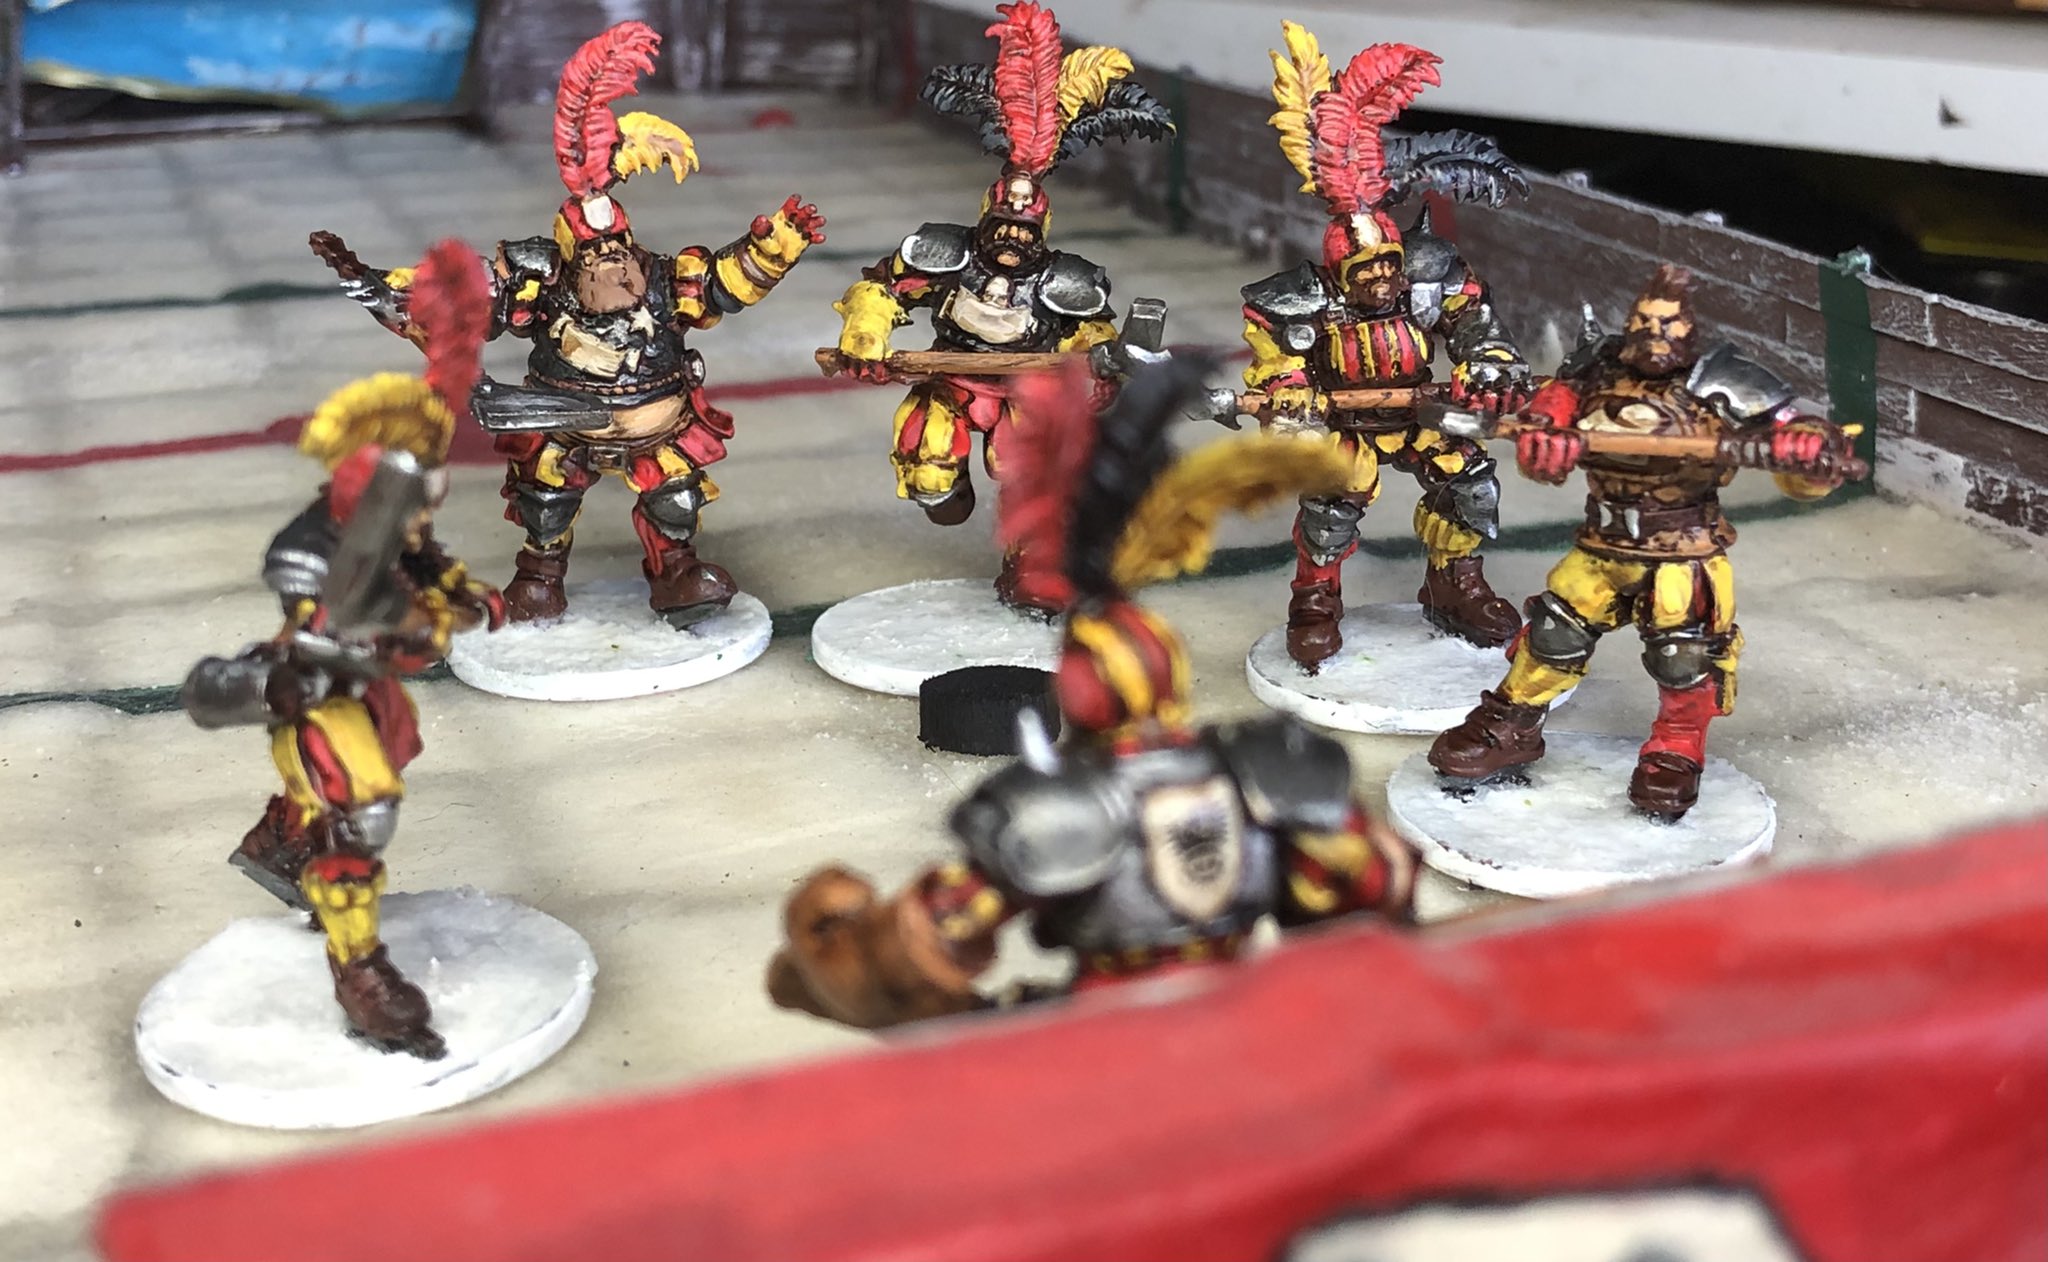
Fantasy Ice Hockey 28mm
I did some further work on my Fantasy Ice hockey project and we are developing some alternative rules to use. More on some conversions and some 3d printed models below.
Other projects
Those were my main activities for the year, here some of the smaller projects that was done
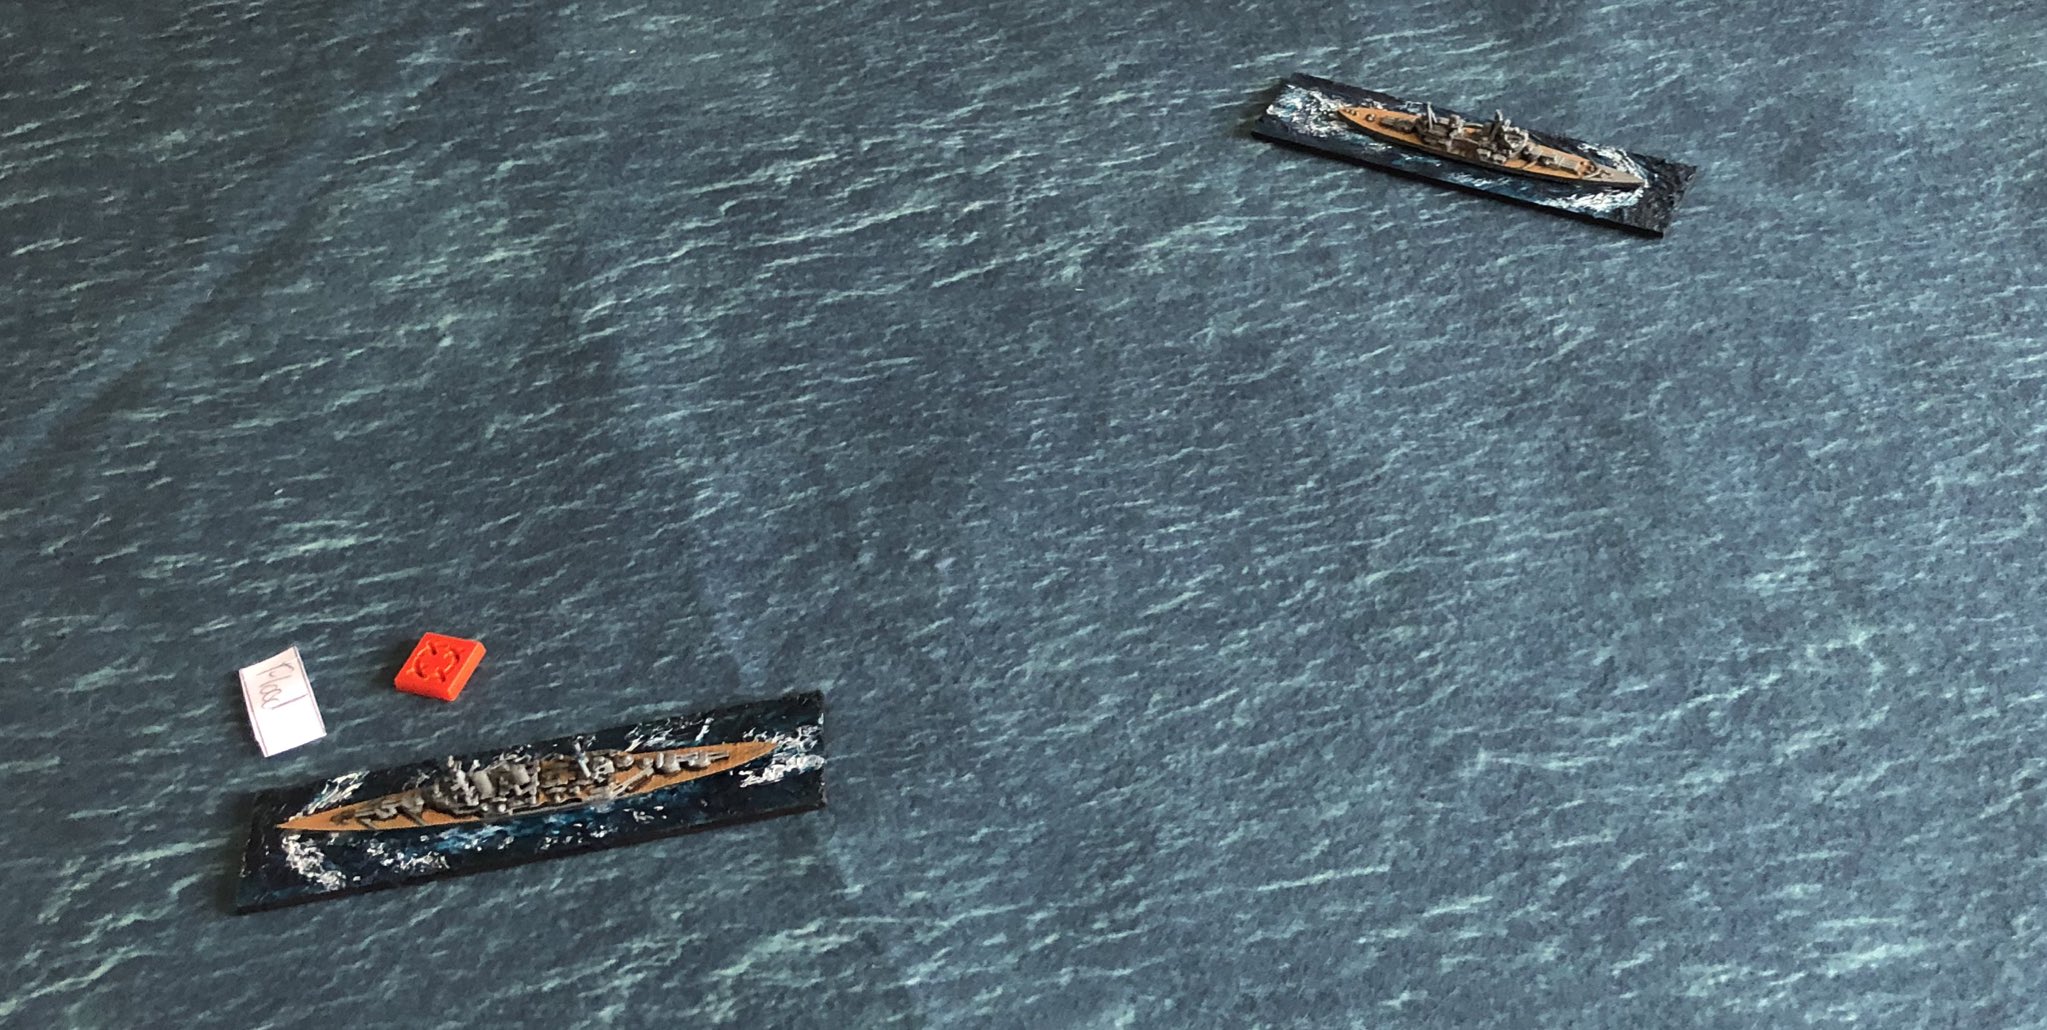
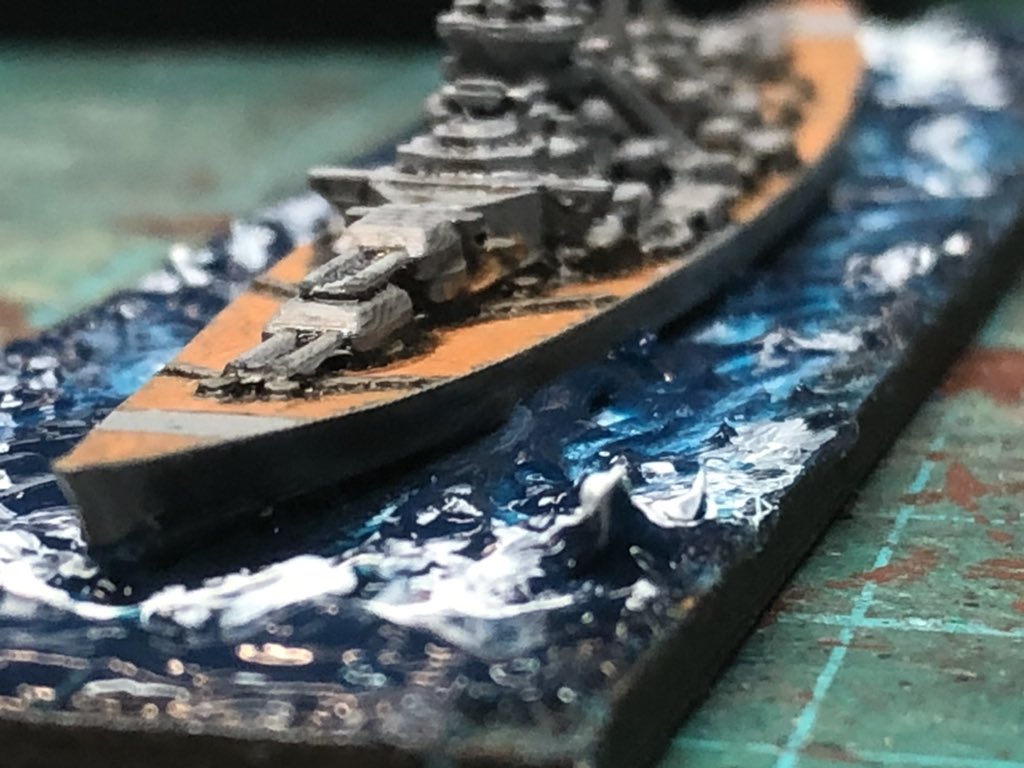
I received two awards this year, the Caesar Award for the Blog of 2021 organised by Little Wars TV and also the Best Game in Show (Presidents Award) at Salute for the 6mm Poltava 1709 table.

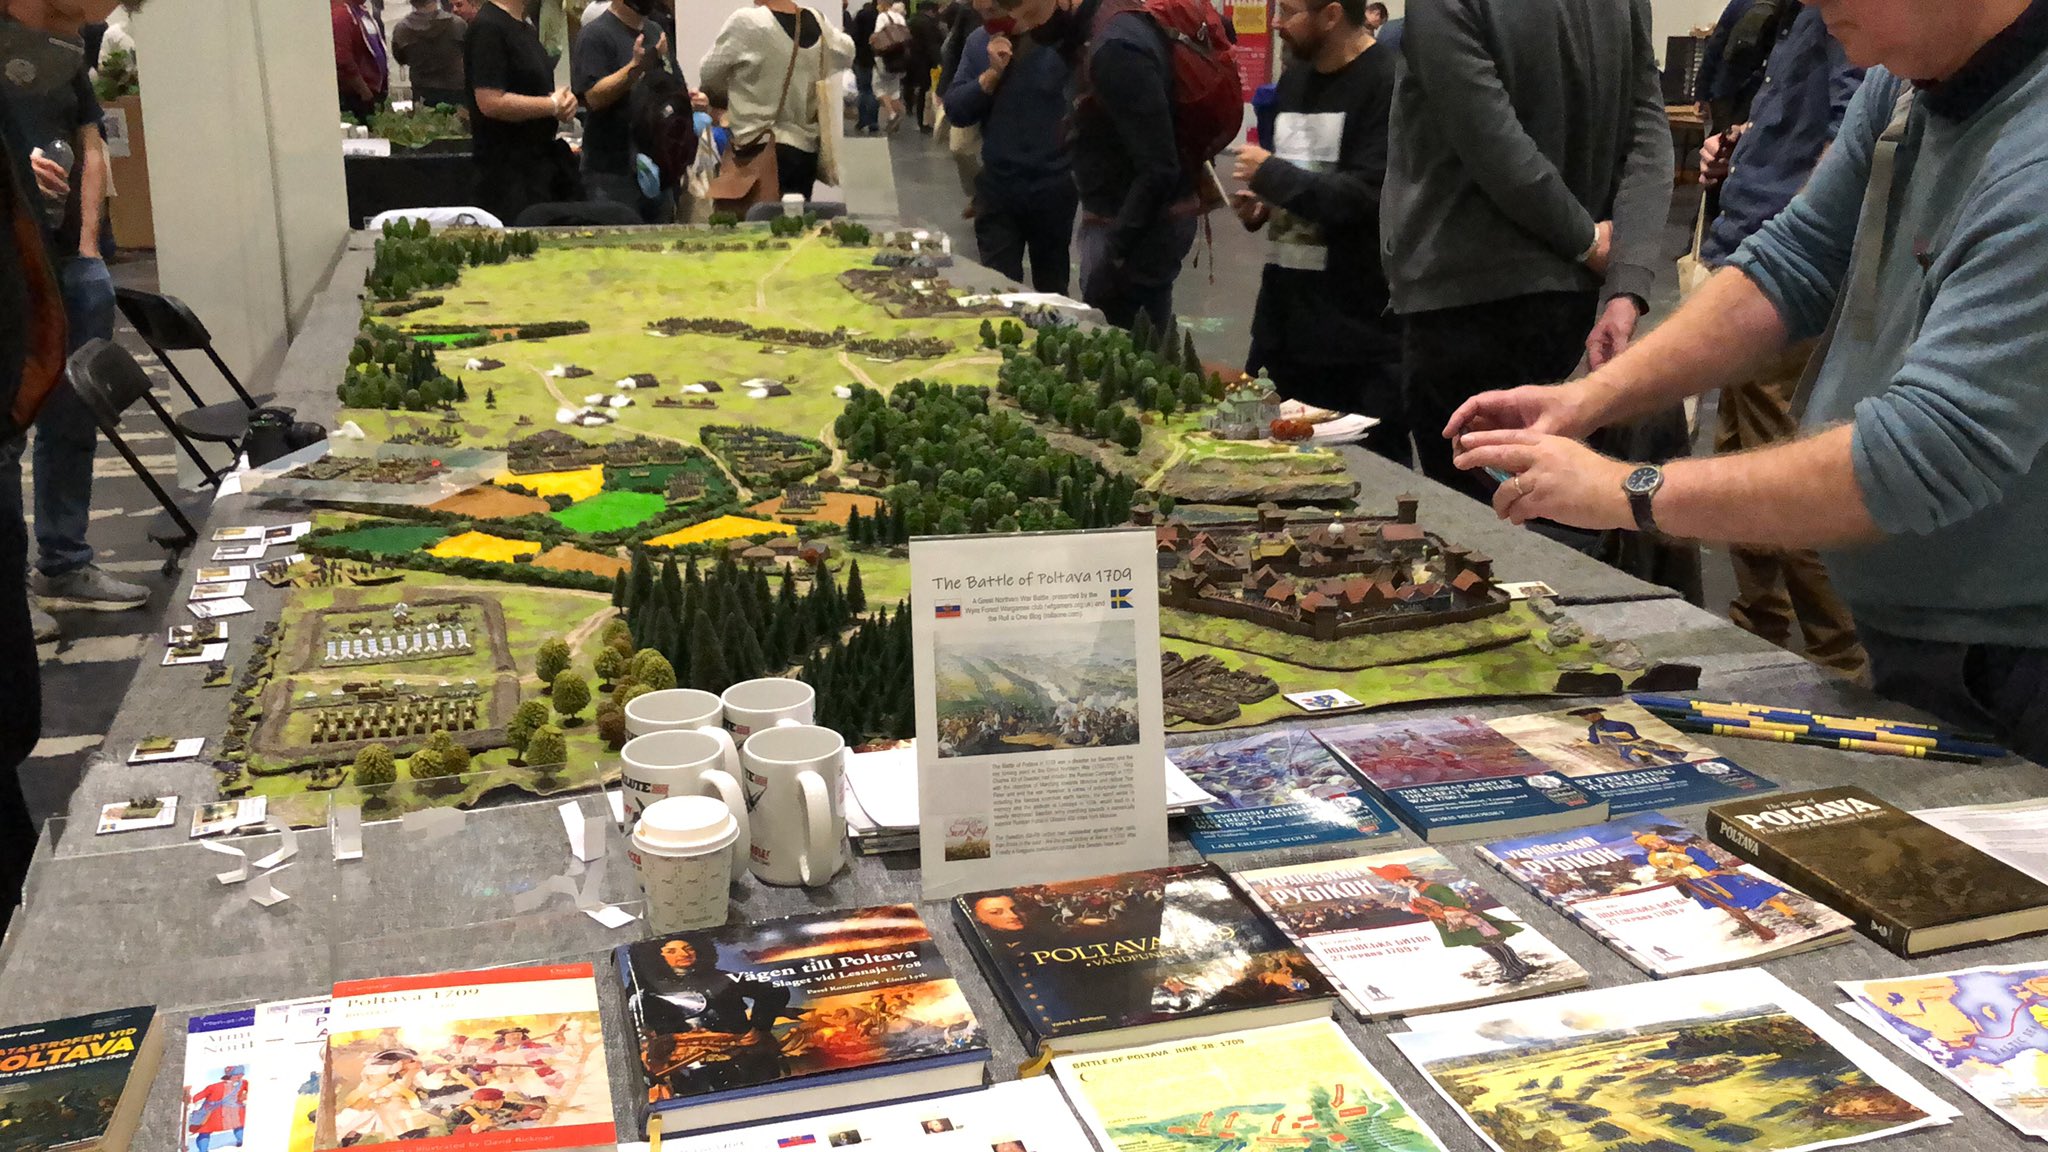
Here a video made by Alex at Storm of Steel covering the show with an interview with Nick and I discussing the battle.