This Part 11 of a series of a fair few posts, Part 1 (link here) gives an overview and the philosophy applied to the series – cheap, simple and fun.
A Well
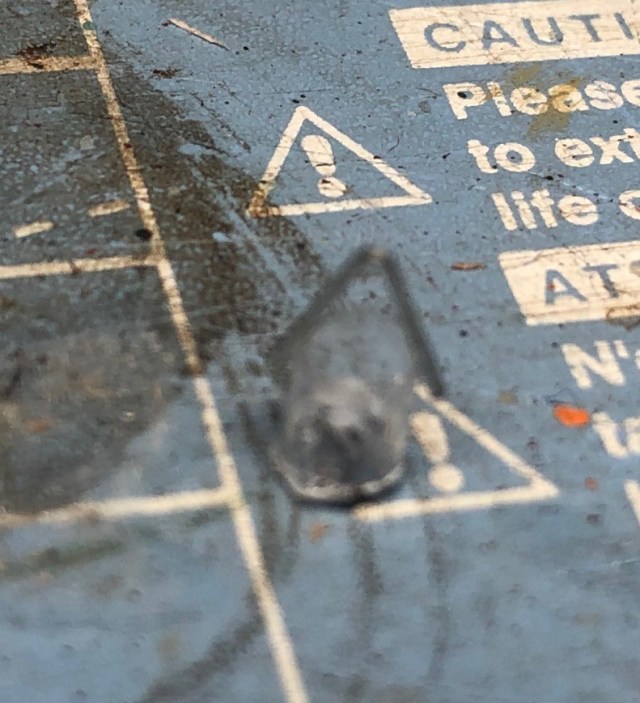
Todays little project is to build a well, with a lever like the one seen in the picture.
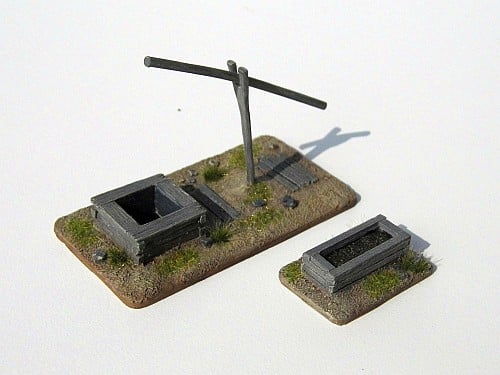
You can buy a perfectly adequate one from iron clad miniatures (also check out their terrain in many scales – I have a lot of their buildings and trench systems in 15mm and some of their nice 28mm miniatures too) – more here.
Comes with a trough too from Iron Clad at £3.50. You could use this one for a basis and add the rope and the bucket to it.
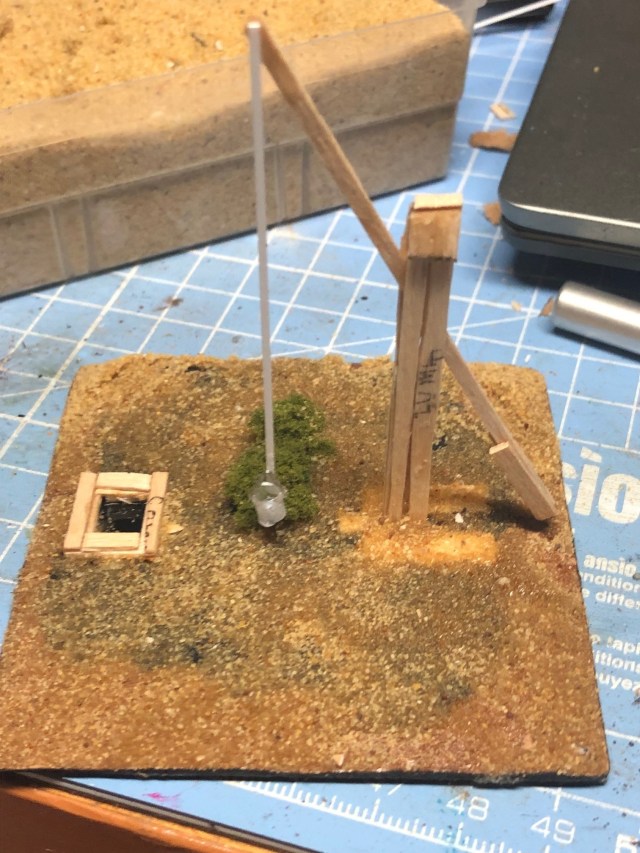
However, we have a pile of coffee stirrers that needs to be used, so we will build one from scratch. Here is a rough outline how it was done (this for a well fitting 15mm miniatures).
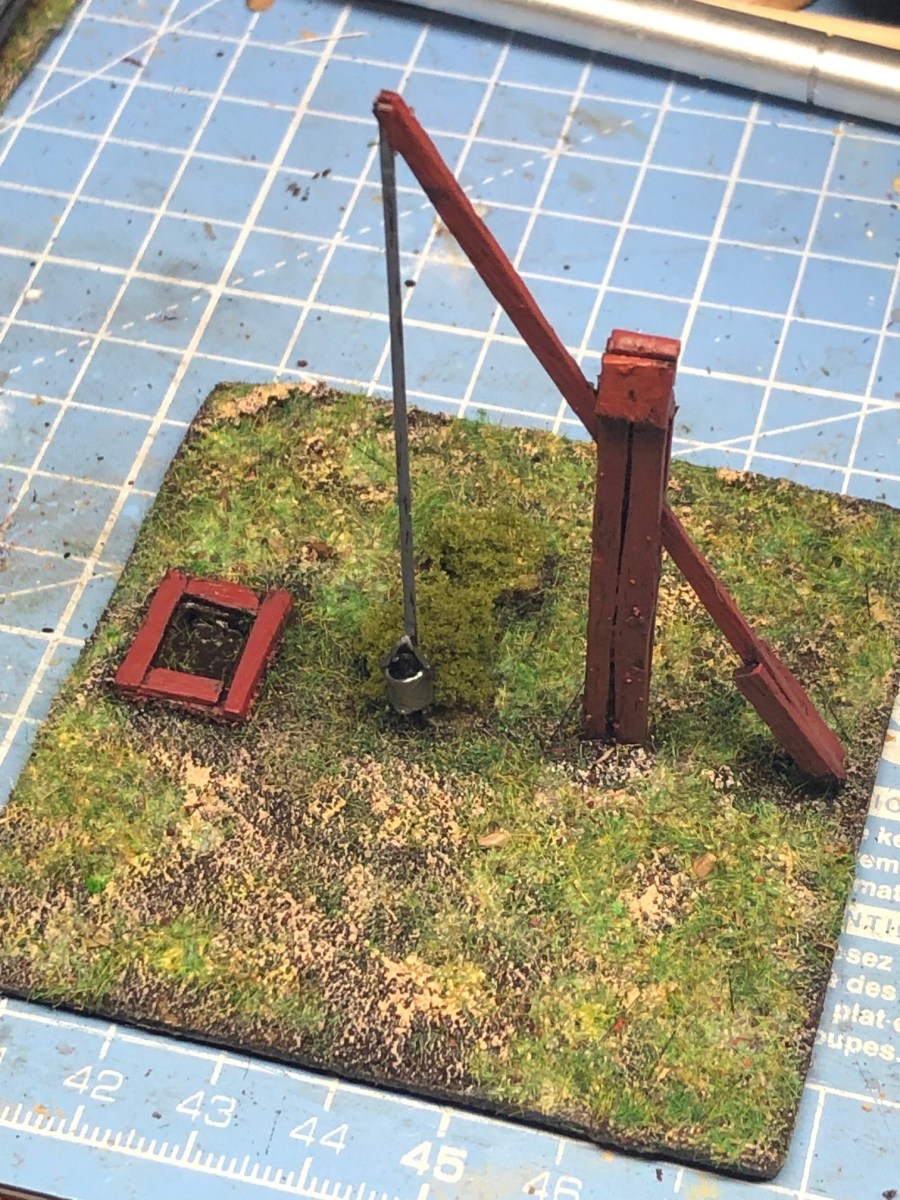
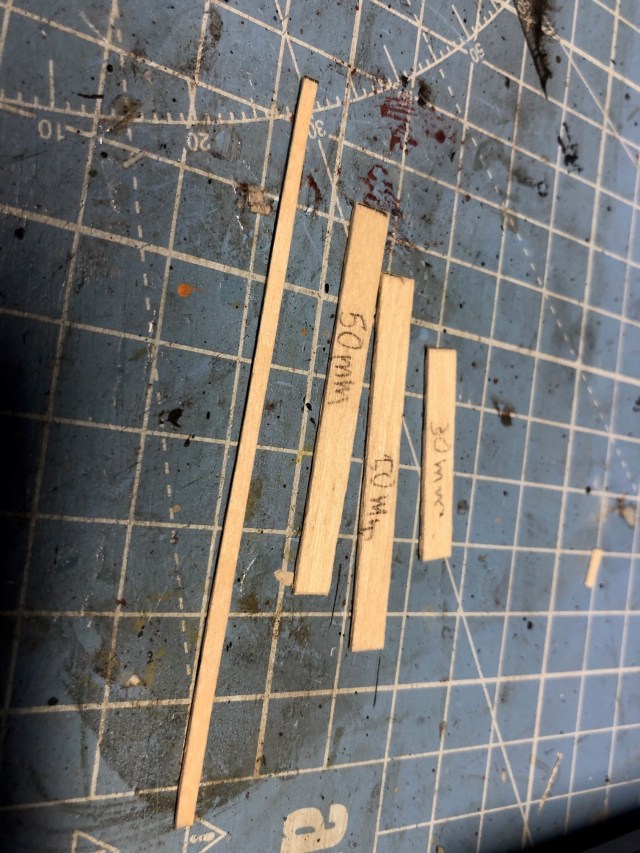
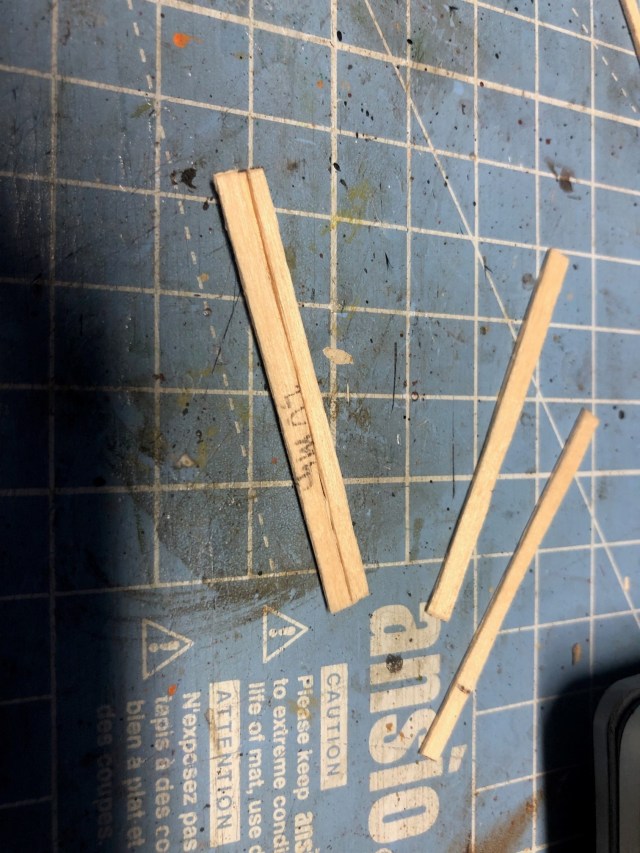
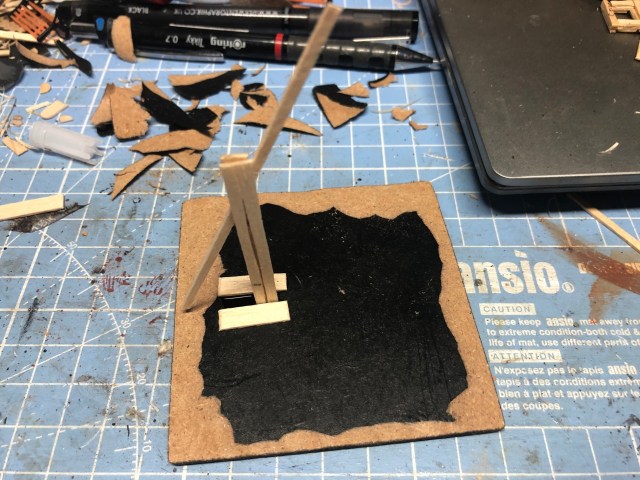
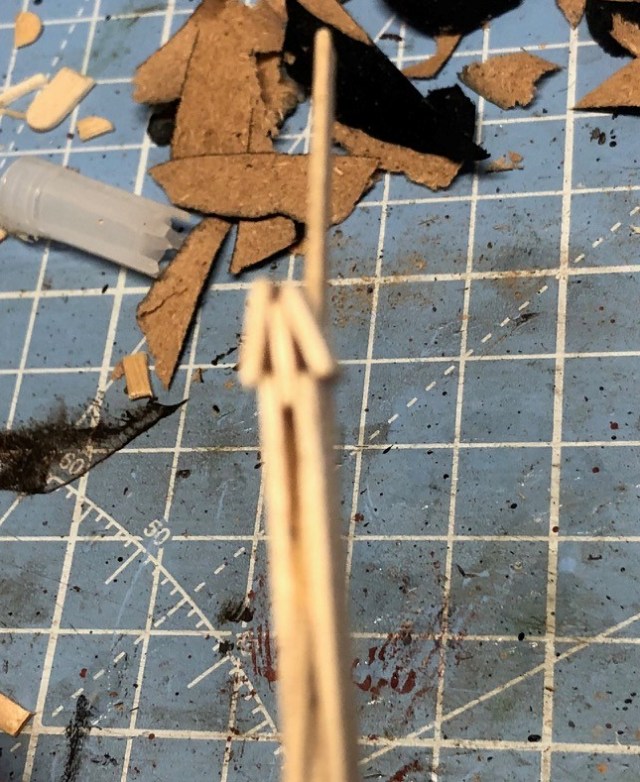
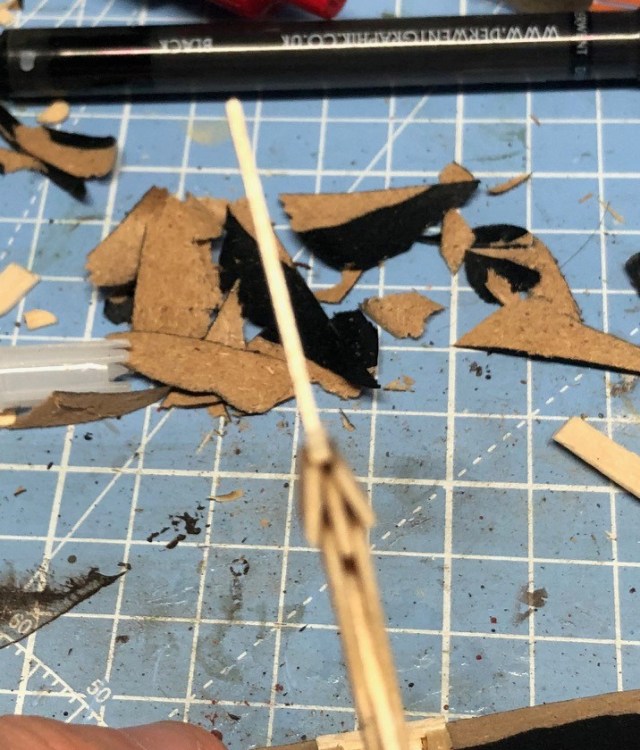
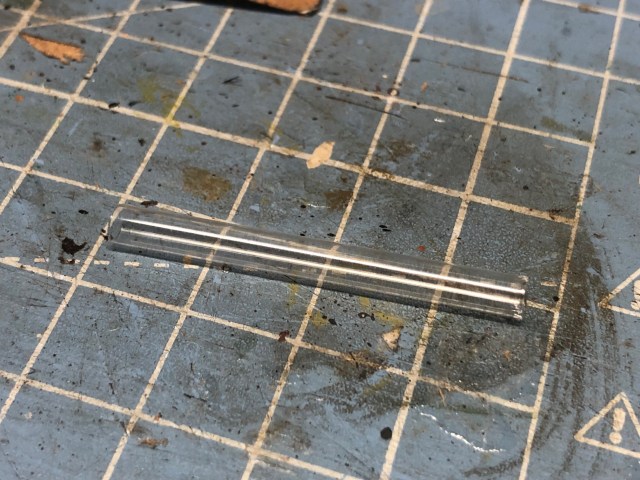
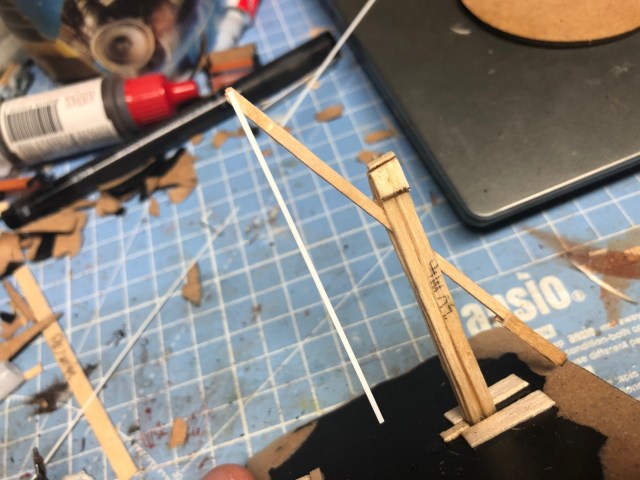
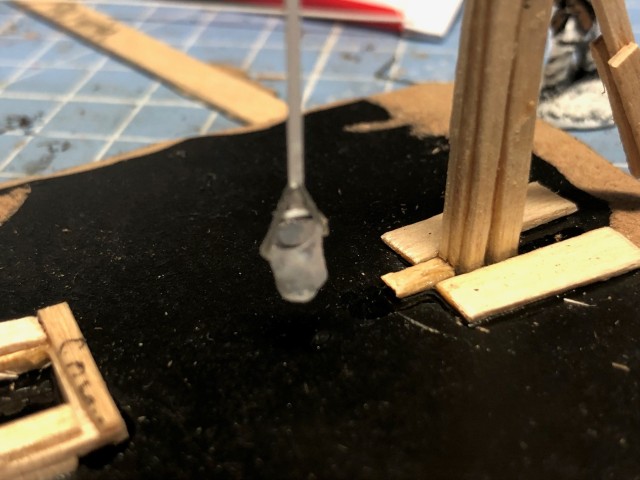
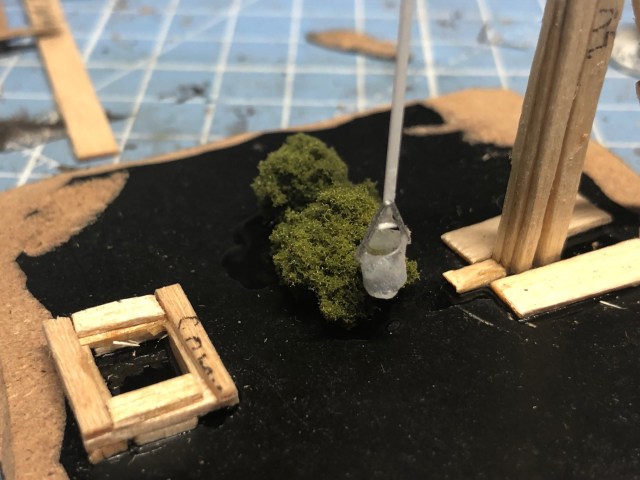
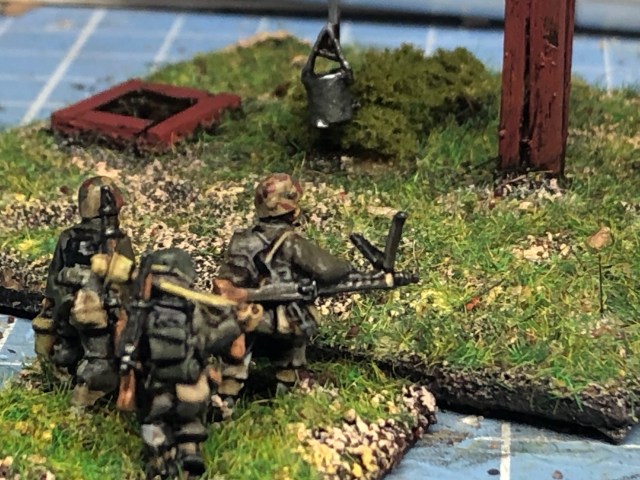
Cut coffee stirrer lenghtwise (two parts) and then cut it in a 90mm lenght, then cut uncut coffee stirrer in a 30mm and two 50mm lengths.Cut all the pieces lengthwiseStart assembling the parts with glue, look at the next picture too and you should be able to figure it out.The idea is a structure like this.Glue on the struture on a base (this one about 75mm square), note I used some coffee stirrers to enhance the strength.I then decided to add a piece between the planks a build a little roof (again using some coffee stirrer material)Then a little piece of topNext we need a bucket and for this I used one of the tube that had come with a brush (to protect it).I also needed a handle for the bucket, so why not some of those staples?So I cut out a piece of the tube and a small part of the staple and glued them together, I also put some blue tac at the bottom of the bucket.For the Rope (or sometimes a pole, but I am assuming the rope if grabbed and brought to the well and then “pulled down”, at least this is how this one is designed) I used a thin plastic piece I had, this is some kind of plastruct material but I guess you could cut any thin plastic to this effect, or use some string/thread.The add your bucket, also note that I have use some lengthwise cut coffee stirrers to create a frame for the well hole (you could also make a cover if you want).The problem with the construction was that the bucket is swingoing around as you hold it and to avoid some issues associated with this, so to mitigate this I simply put a piece of green foam next to the bucket and superglued them together – no longer a swing.Add some sand and all ready for painting – by hey please note the additional weight added to the lower end of the lever to give a counterweight to make sure the bucket goes up when the user lets go of the rope.Really happy with his and again will add character to your tableFighting makes you thirsty!
And that budget, well we are still at £17.93 as these were all free issue material, so we seem to be able to keep this under control.
Tomorrow we are making something like this, see you then.


Very nice- not got a well in my collection so I think I’ll have to try and make one of these.
Cheers,
Pete.
LikeLiked by 1 person
simple but effectful adds a little bit of height to it all
LikeLiked by 1 person
Pingback: Re-Clutter your Life (#Terraintober Immersion marker Project) Part 1 – The Pig Sty – Roll a One – Wargaming Blog
Pingback: Re-Clutter your Life (#Terraintober Immersion marker Project) Part 31 – Summary of it all. – Roll a One – Wargaming Blog