
This Part 16 of a series of a fair few posts, Part 1 (link here) gives an overview and the philosophy applied to the series – cheap, simple and fun.
When I was young boy we went to see some relatives in Finland in their country house. The little house did not have a “normal” toilet but instead they had an outhouse for the job. I was so scared of going in there that I almost shat myself outside – a little bit of a paradox. Anyway I went in to do the deed, when I sat there in my solitude I saw a bucket with some white powder and a big ladle. I found it strange to have a bucket of flour on the loo and ask my Mum why. She explain is was to keep the flies away from the “shit”. Well in reality the “flour” was lime powder and it kills the bacteria (minimising the smell) at the cost of the speed of the decomposing process.
Another thing was the bloody flies in the area and I was not used to this and there were a lot of normal flies and horseflies. One day as I came back from the toilet visit my Mum looked chocked and said “What have you done, you are white all over your body and hair”. I smiled, and according to mum, looked very prooud of myself, “Mum, I had enough of these flies, so I poured the bucket of lime over me.”.
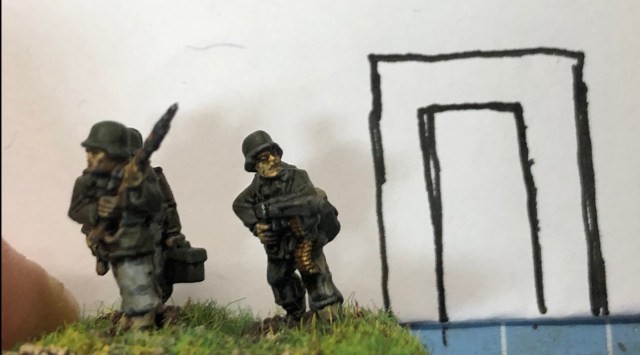
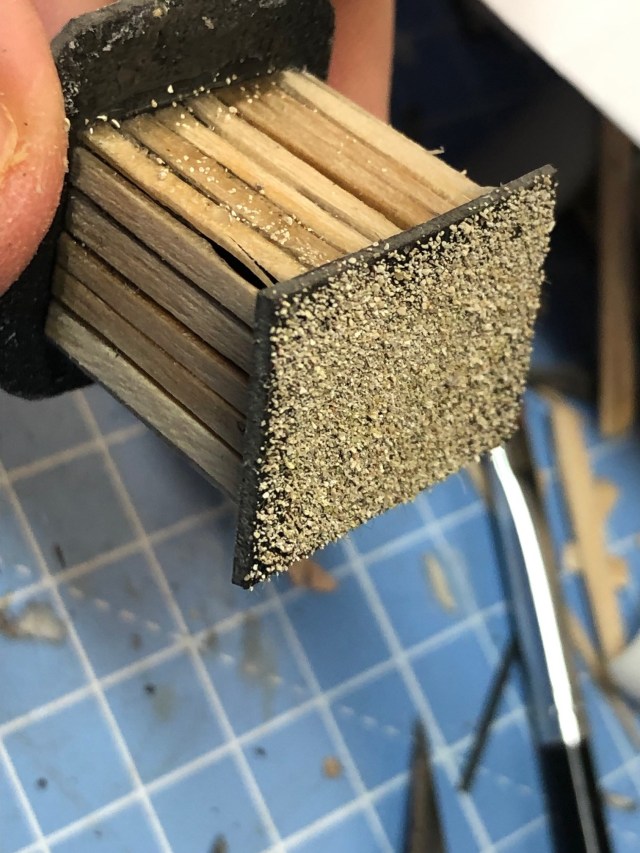
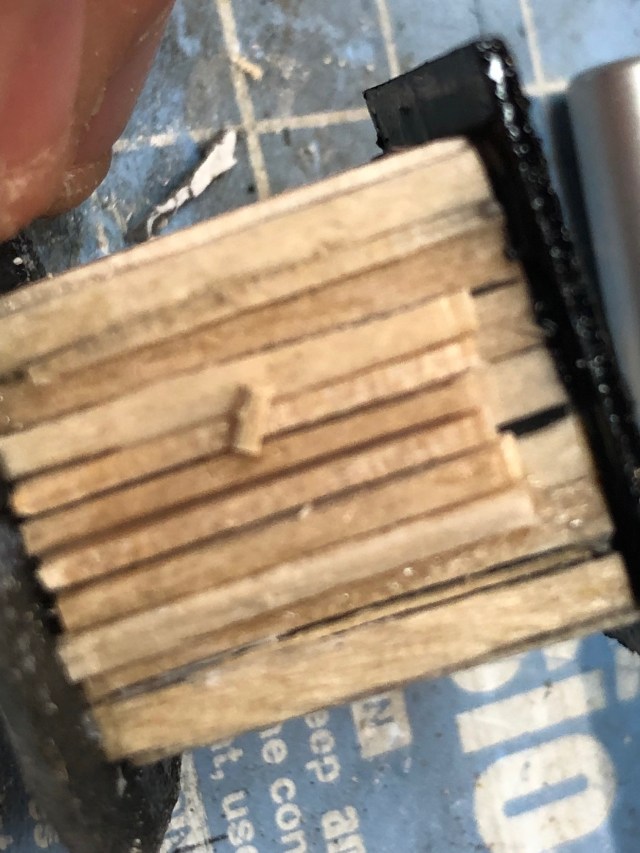
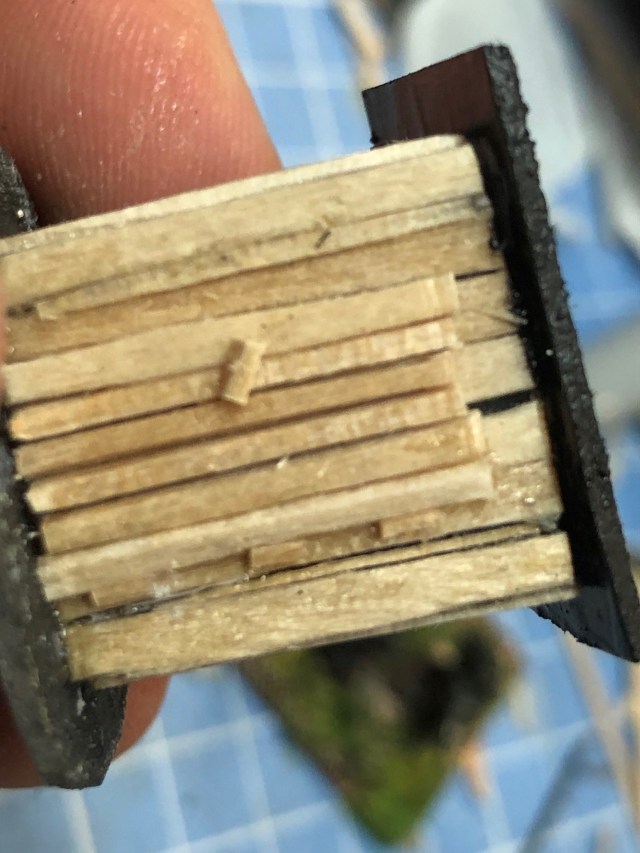
Today we are making an outhouse (you buy a nice one from Peter Pig, I have a few already). Anyway let us get going.
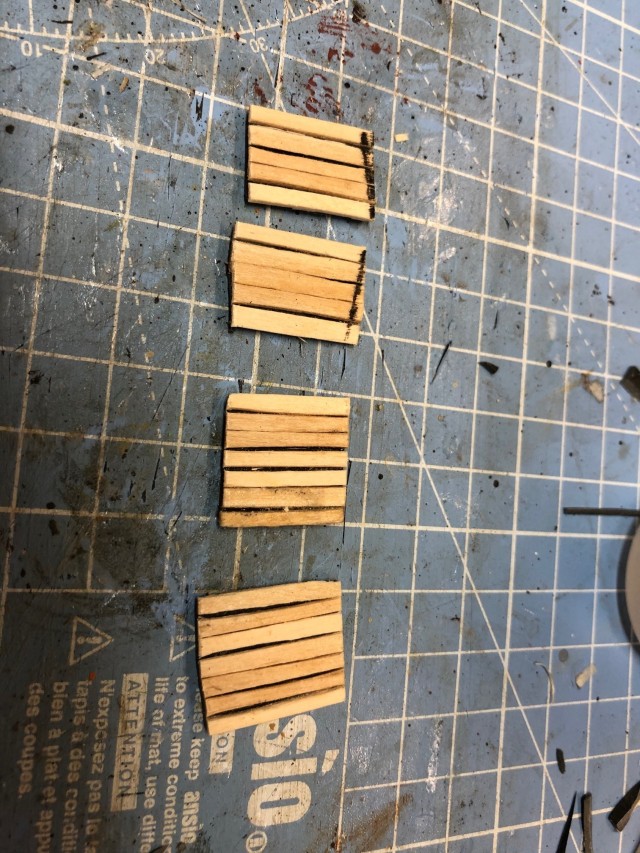
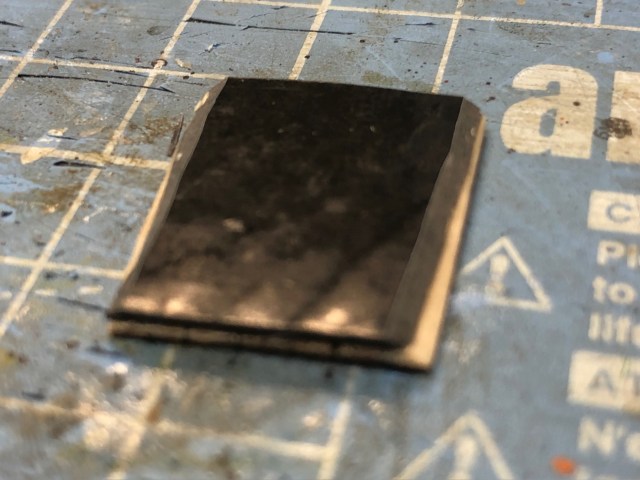
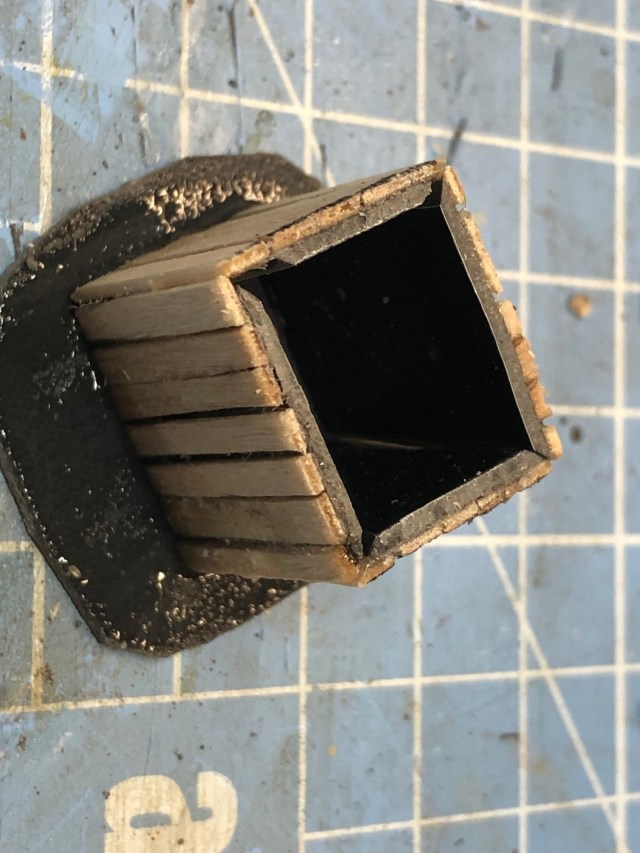
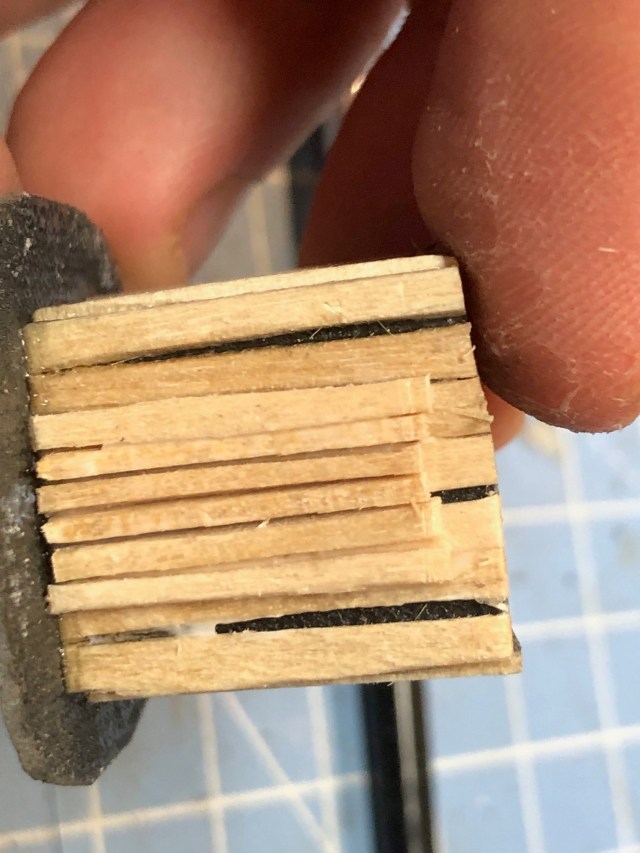
Add some planks to simulate a door

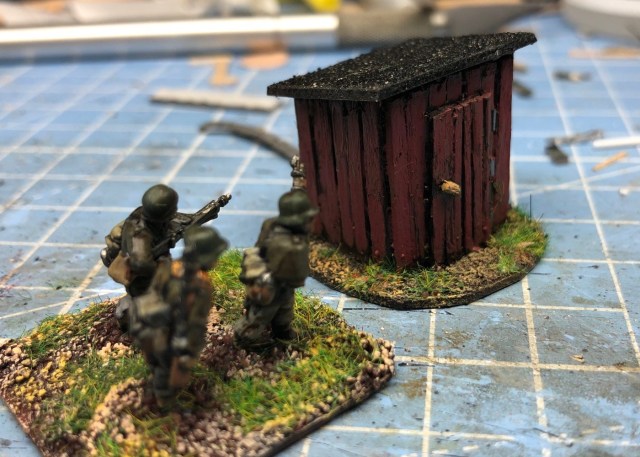
And that budget, well we are still at £17.93 we are now beyond half-way on this project and will we make it under £30.
Tomorrow we are doing a Swedish Hayrack.
/ Hope that was of some interest

Very nice bit of work- every settlement needs one or two.
Pouring lime over yourself doesn’t sound a good thing to do.
Cheers,
Pete.
LikeLiked by 2 people
Would not recommend it!
LikeLiked by 2 people
An outhouse to be proud of I think! 🙂
LikeLiked by 2 people
Thanks John, a spacious one as well,
LikeLiked by 2 people
That’s brilliant ! All it needs is a ‘busy – go away’ sign hanging off the handle…
Really enjoying the ‘clutter your life’ series.
LikeLiked by 3 people
Thank you Phil!
LikeLiked by 1 person
It must be a Swedish thing, or probably more likely a rural life thing. My Swedish grandfather and his family built a number of cabins in the mountains nearby. I’ve inherited one of them, and it has an “outhouse” inside the garage. As a kid, I remember the can of lime next to the seat, but I only had to use it when we hadn’t turned cabin’s the water on yet . Luckily we boarded up the seat long ago.
LikeLiked by 2 people
More good stuff. Outhouses were not uncommon in my youth and my family (the Finnish side) had one at the family sauna camp. No lime (and I hope you did not douse yourself with quicklime!). I think I saw some at YMCA camp and also when I was in the Army at training areas. The one thing they all had in common was the “crescent moon” on the door (which at 15mm would have been a challenge but you could do it). Maybe not in Europe?
LikeLiked by 2 people
Crescent moon and hearts too
LikeLiked by 2 people
Pingback: Re-Clutter your Life (#Terraintober Immersion marker Project) Part 1 – The Pig Sty – Roll a One – Wargaming Blog
Pingback: Re-Clutter your Life (#Terraintober Immersion marker Project) Part 31 – Summary of it all. – Roll a One – Wargaming Blog