This is a write up of my explorations of turning some of the cheap door mats to fields for your wargame. When gaming in ground scales of 1:100, like chain of command, a foot (30 cm) equates to about 30 meter in on the table. So a field measuring say 6 by 6 inches (15cm square), is hardly more than a small garden. I have a number of field tiles that I have used for my 6mm wargaming that kind of works because the grand scales are significantly smaller and a field represents areas with cultivated land as opposed to individual fields, etc.
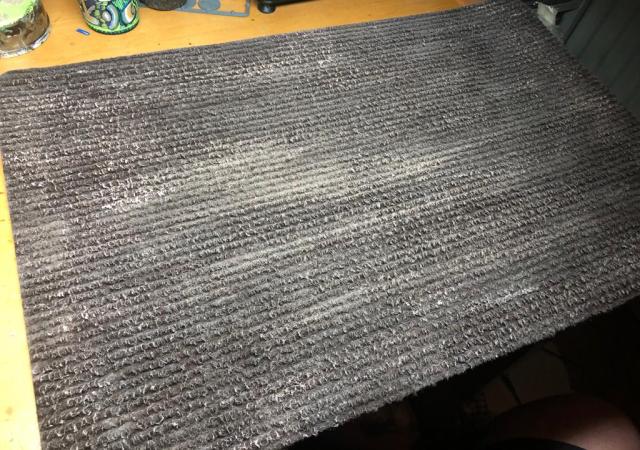
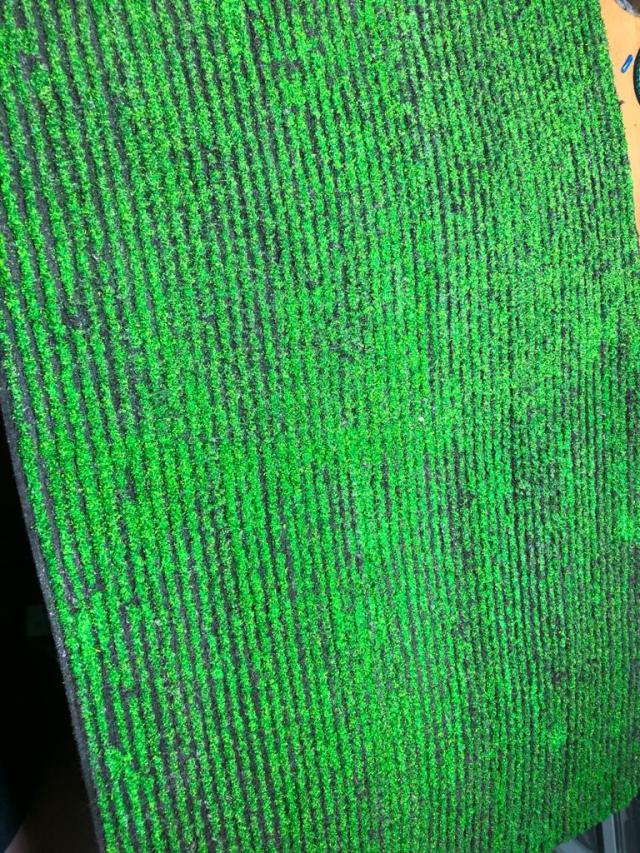
However I found this door mat from B&Q in the UK, they sell at £3 each. They measure 60 by 40 cm (this is about 2 foot by 1 and a quarter foot).

The idea with the mat is the hairy corduroy surface, this forms the basis of the furrows (the elevated aspect) and the base for the scatter (the hairiness). Oh, and a short note. people have used this kind of material before for their wargame fields – this is an attempt to apply a straightforward process with some additional elements to add some depth to the final result rather than claiming originality.

Anyway lets get started.
Step One – Shitbrown it!

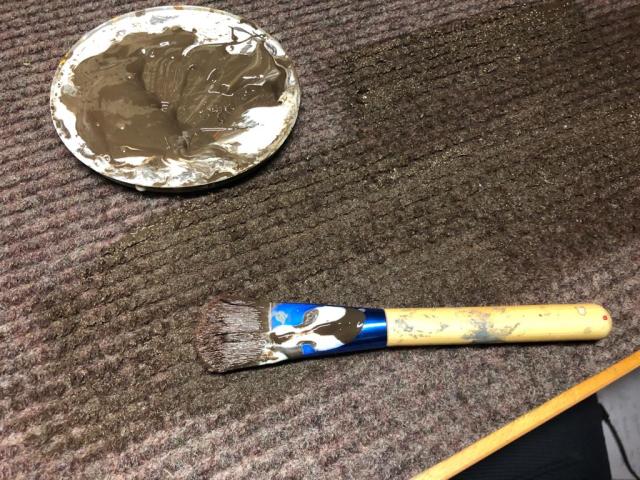
Step 2 – Highlight it with Bailey’s

Step 3 – Slap on the PVA


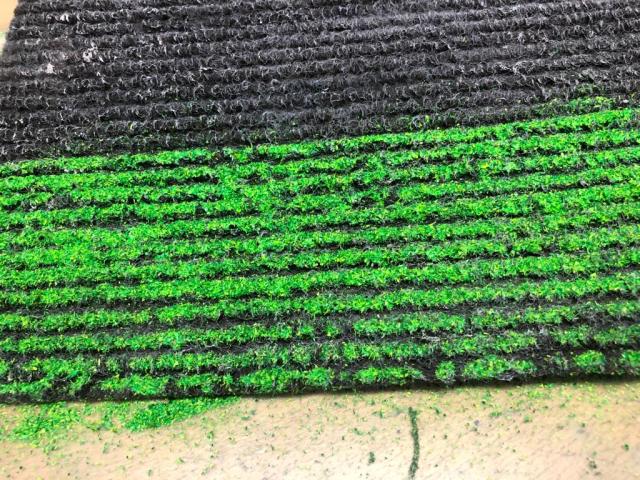
Step 4 – Apply some Scatter let dry and Seal with PVA
Next we need to apply the scatter, but what do we use?. I have used two products with good success; (i) Woodland Scenics Fine Turf and (ii) Javis Scatter. In this example I have used a mixture of different Javis scatter shades of green. Too clumpy stuff (like the Yellow Coarse Turf from woodland scenics, that would be ideal for creating yellow fields is a little bit too clumpy) is more difficult to work with and I am currently avoiding it. Would be great to find a sawdust type of yellow scatter like the Javis one for making nice yellow fields. If you use a monotone mix perhaps you could add as a final thing before sealing with PVA a drybrush stage of a light colour then the one you used.

Here is another one that was done with some single colour scatter, then drybrushed with a ligther green as an example. BUT seal it with PVA before you drybrush and do it carefully so you do not loose the scatter. An additonal step. I prefer the first approach as it saves time and gives the contrast/depth in itself.

Now of course you cut cut these into the sizes you need and that is what I will do. I intend to use these for 15mm groundscale games, making each filed 60 by 40 meters but also for some smaller scale games.
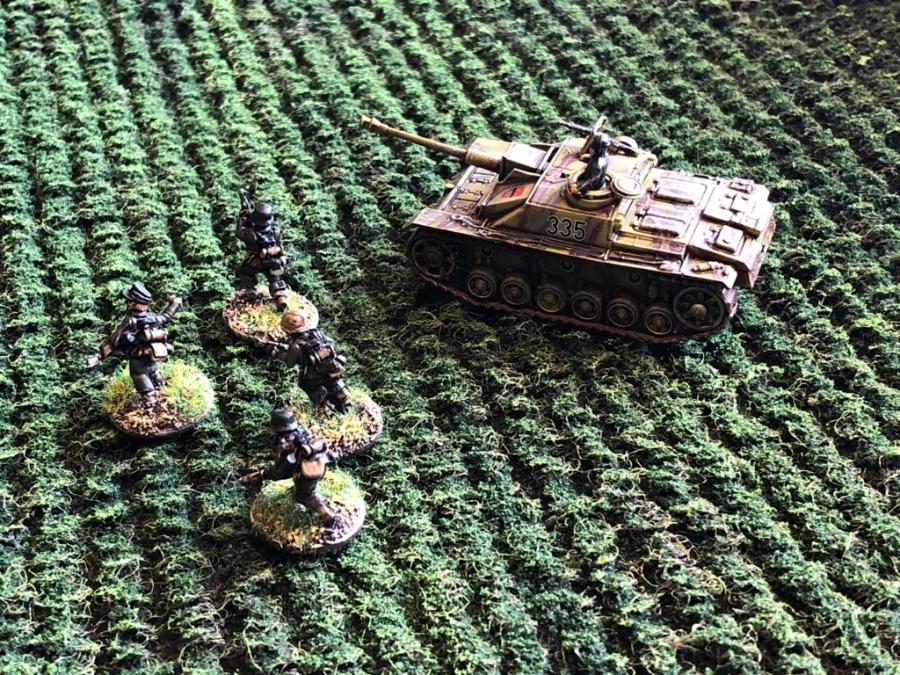
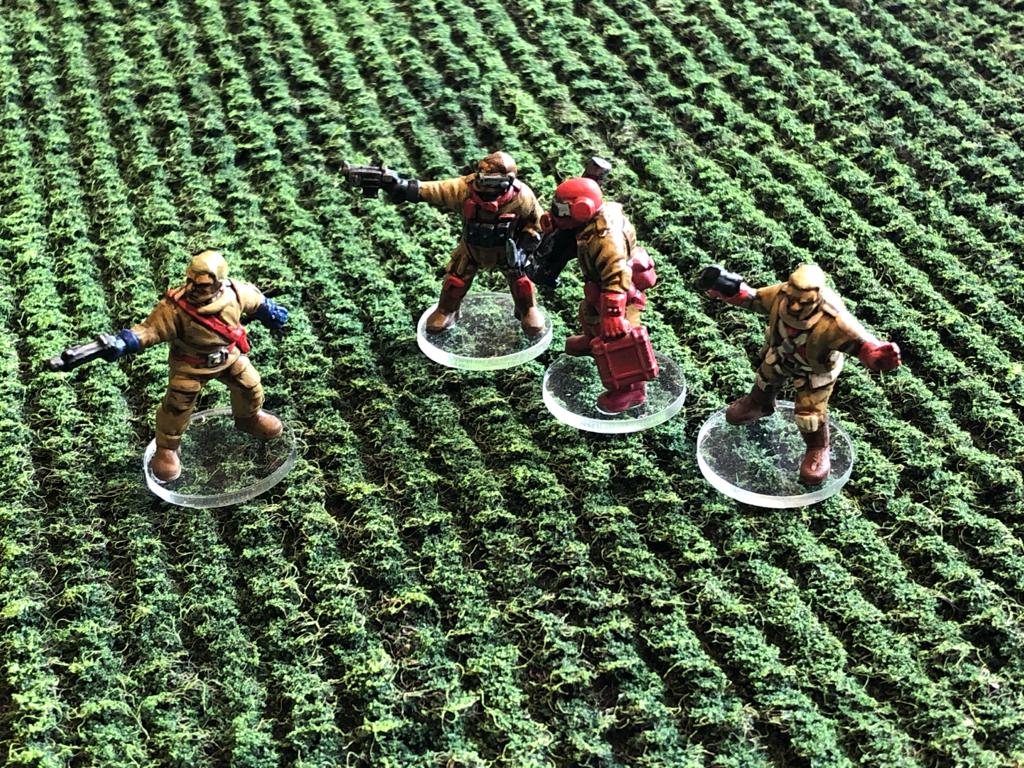
Here is a little bit of how they look versus 6mm, 15mm and 28mm miniatures (not the best light). I think they kind of work with all scales perhaps best with the 15mm.


/ Hope that was of some interest, and if you do come across a sawdusty yellow flock or scatter let me know.

They look great
LikeLiked by 2 people
Many thanks, simple and fun!
LikeLiked by 1 person
Nice tutorial – I have done similar with cheap small towels and washcloths from Walmart – but this is a great way to go big! Live this and filed away for future considerations, thanks for sharing Per.
LikeLiked by 1 person
You are welcome Mark.
LikeLiked by 1 person
Time to visit the bargain store and see what they have in stock.
Thanks for the hints and tips.
LikeLiked by 1 person
They always have good things for your projects and Thanks.
LikeLike
Those look nice. I’ve seen similar mats for sale in town so I think I’ll give them a second look now.
Cheers,
Pete.
LikeLiked by 1 person
I just trialled some yellow fields as well, using a similar technique, great size and cheap.
LikeLiked by 1 person
Pingback: Further Explorations with the £3 Doormat -Yellow Fields – Roll a One
A great tutorial, and I agree with everyone else they look great. 15mm looks the best as you said. Part of me got to wondering if you cut them into strips then spread them out, as in miss a row width then they might work for 28’s.
LikeLiked by 1 person
Probably.
LikeLike
Pingback: Hobby Round-up of 2021 – An eclectic mix – Roll a One – Wargaming Blog