
This Part 2 of a series of a fair few posts, Part 1 (link here) gives an overview and the philosophy applied to the series – cheap, simple and fun.
The Root Cellar
Today we are looking at a common feature in the Swedish, and other, landscapes of old and still being used in many places- the root cellar. This, like the pigsty yesterday, will be brilliant in my rural games.
A root cellar (American English) or earth cellar (British English) is a structure, usually underground or partially underground, used for storage of vegetables, fruits, nuts or other foods. Its name reflects the traditional focus on root crops stored in an underground cellar, which is still often true. A wide variety of foods can be stored for weeks to months, depending on the crop and conditions. The structure may not always be underground. (from Wikipedia, more here)
I remember at my cousins family place there was a root cellar just a little bit away from the main house, behind some bushes. It served as a command post during the fighting against the evil empire when we were rebels on the jungle planet Zargosa, or something similar, and also provided cover whilst we were fighting each others with our peashooters (have not seen anyone playing with one of those for a very long time).
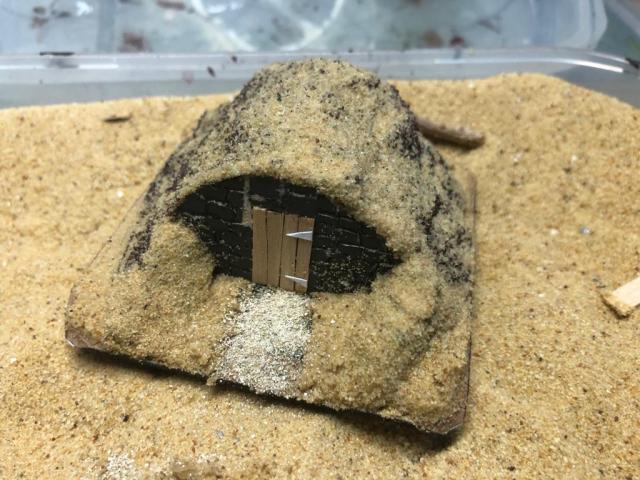
So there are many versions of these and I browsed on the net and wanted to make something similar to this one.
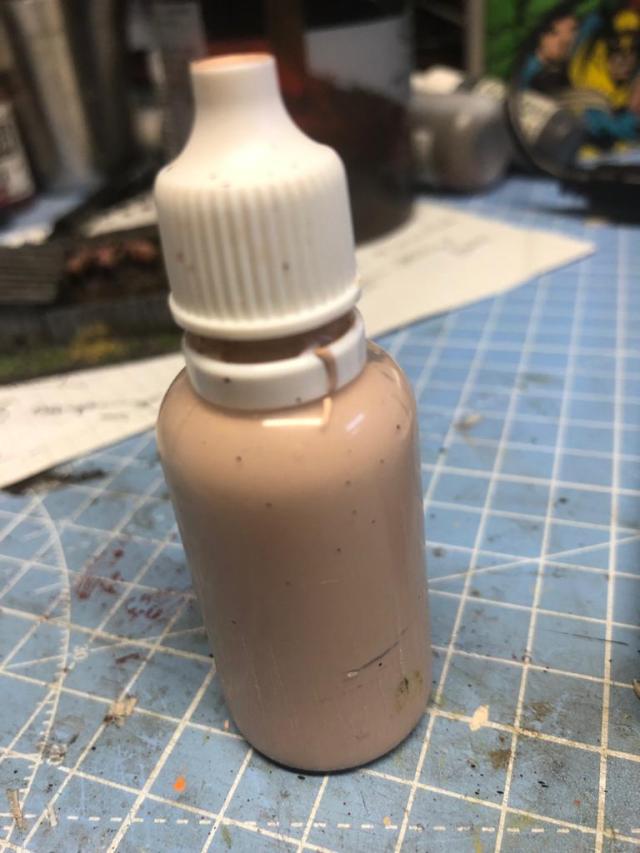
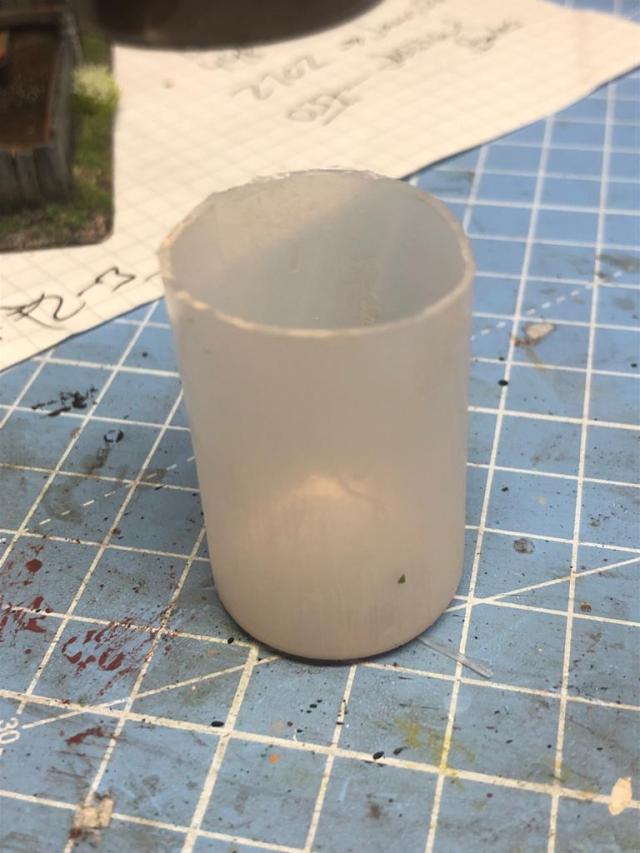
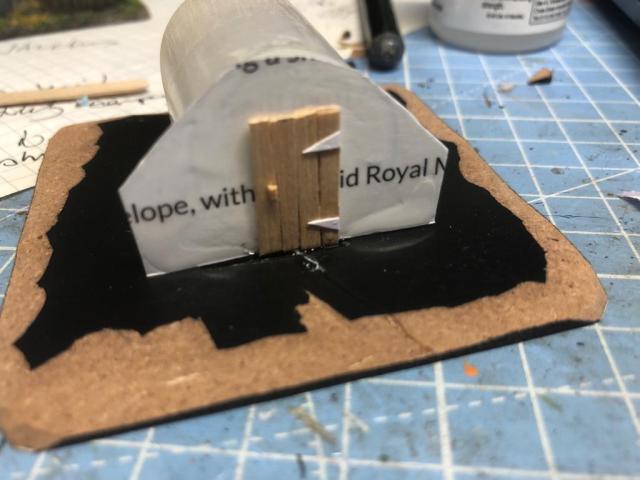
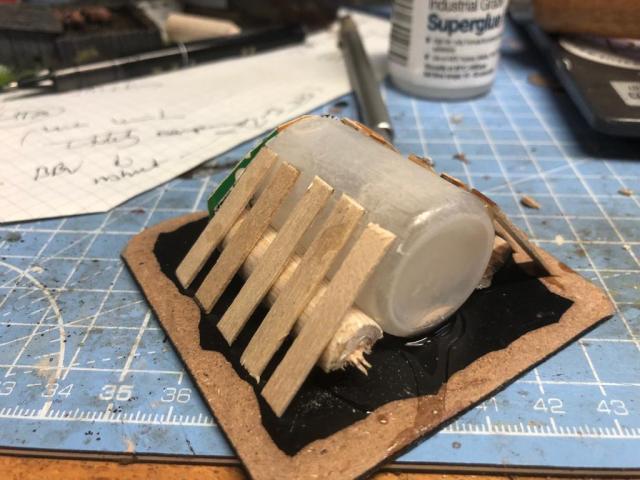
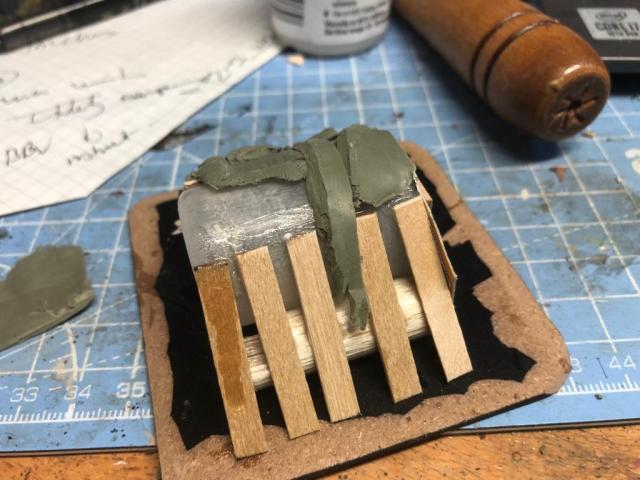
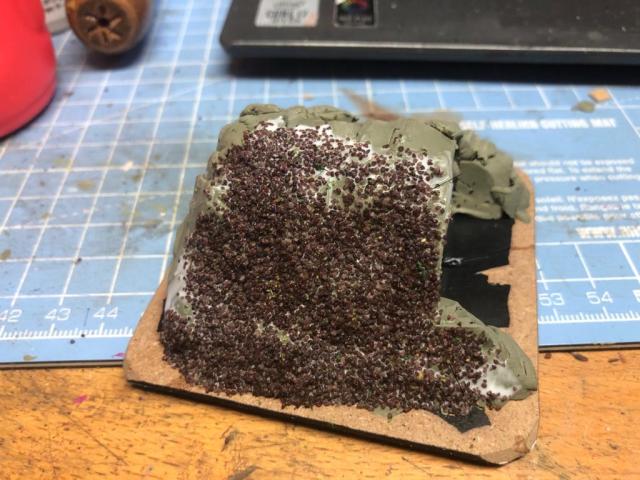
To do this project you need a cylinder of some kind, I used an old paint bottle (Vallejo type) that works brilliant at the scale I am working at 15mm (for 28mm you might want to consider using one of those new 33cl longer soda cans), some modelling clay apart from the standards stuff we discussed in Part 1.
Anyway a high level discussion on how I went about this project.


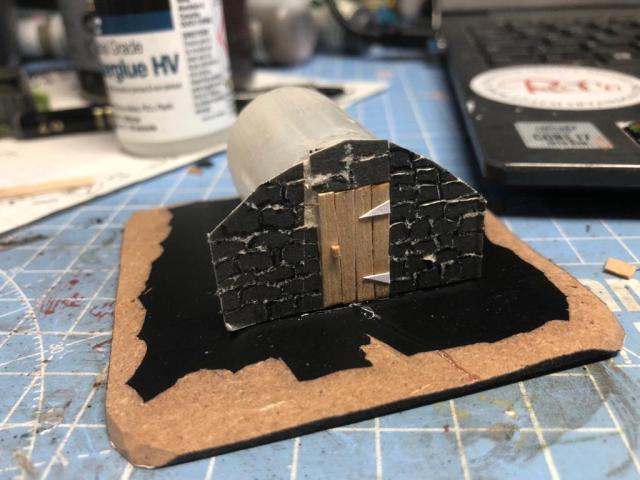
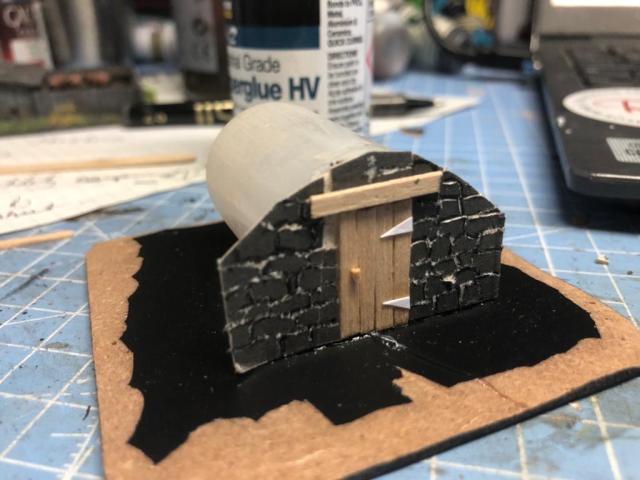

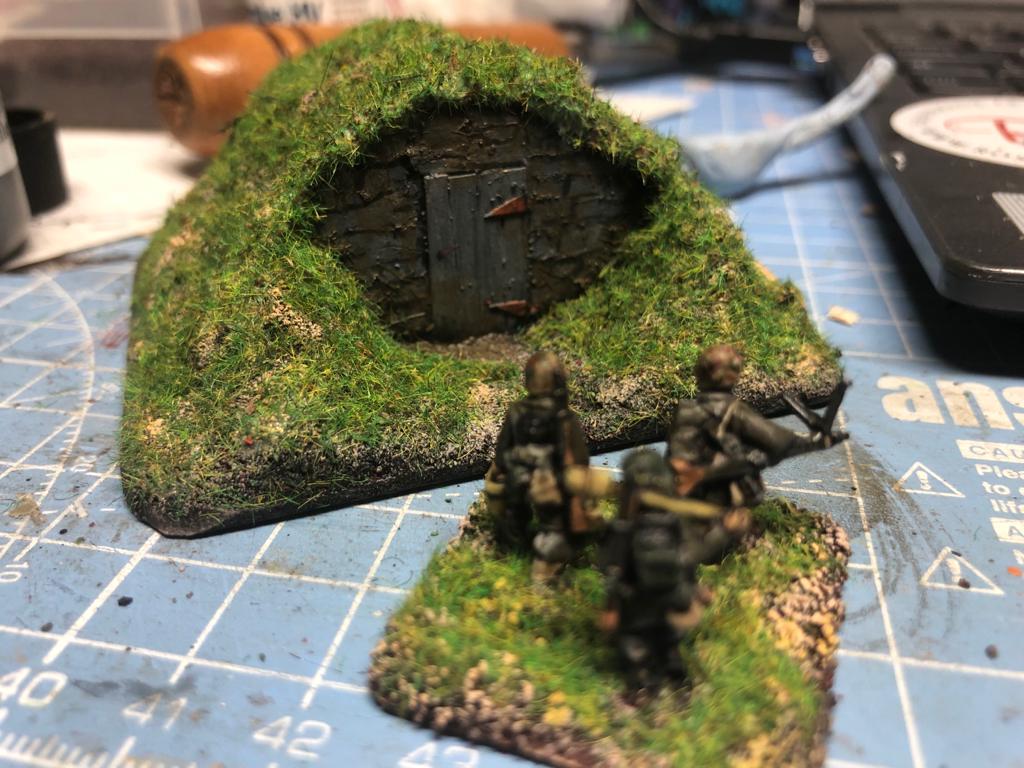
When dry just paint it brown, drybrush the front in grays, add some rust colour to the hinges and a bit of weathering, then flock it with your normal grass basing mix. Good to go. I think it will be a good thing to put on the table, and perhaps it could be used for a halfling house in 28mm?
And that budget, well we were at £14.93 yesterday and did not really spend any additional resources on this than those allowed or already bought. So we are still at £14.93.
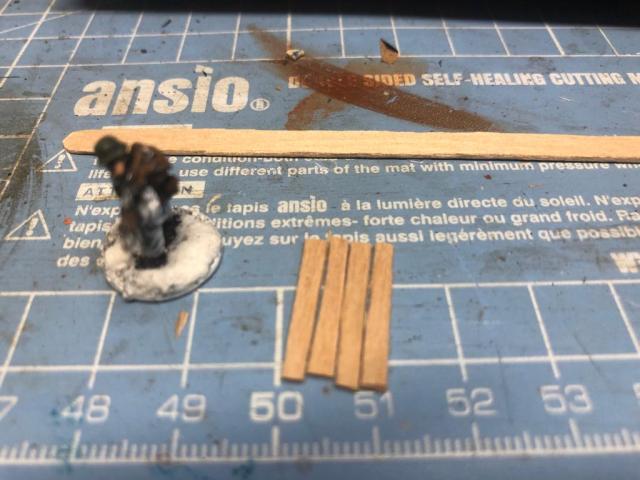
Tomorrow we are making some log piles.

/ Hope that was of some interest

That looks really good, Per! 🙂
LikeLiked by 2 people
Thank you!
LikeLiked by 2 people
That looks great
LikeLiked by 3 people
Many thanks
LikeLiked by 1 person
Nice little piece to add to a village bord there- great work.
Cheers,
Pete.
LikeLiked by 3 people
Thank you Pete
LikeLiked by 2 people
Out of the 3 you have done so far this October, this one is my favourite.
LikeLiked by 2 people
Many thanks, I have done 7 now.
LikeLiked by 1 person
Nice root cellar!
LikeLiked by 1 person
Thanks!
LikeLiked by 1 person
Pingback: Re-Clutter your Life (#Terraintober Immersion marker Project) Part 1 – The Pig Sty – Roll a One – Wargaming Blog
Pingback: Re-Clutter your Life (#Terraintober Immersion marker Project) Part 31 – Summary of it all. – Roll a One – Wargaming Blog