Spent this weekend pimping up some MDF buildings from Sarissa precision (more here) to fit into my Swedish 1943 project, that I have been working on slowly over the last few years – exploring a what-if invasion by Germany in 1943 through Norway. It is a passion project and I have enough buildings to create a few farms but wanted to add some more.
This is the village so far

These were the houses I bought this time around.
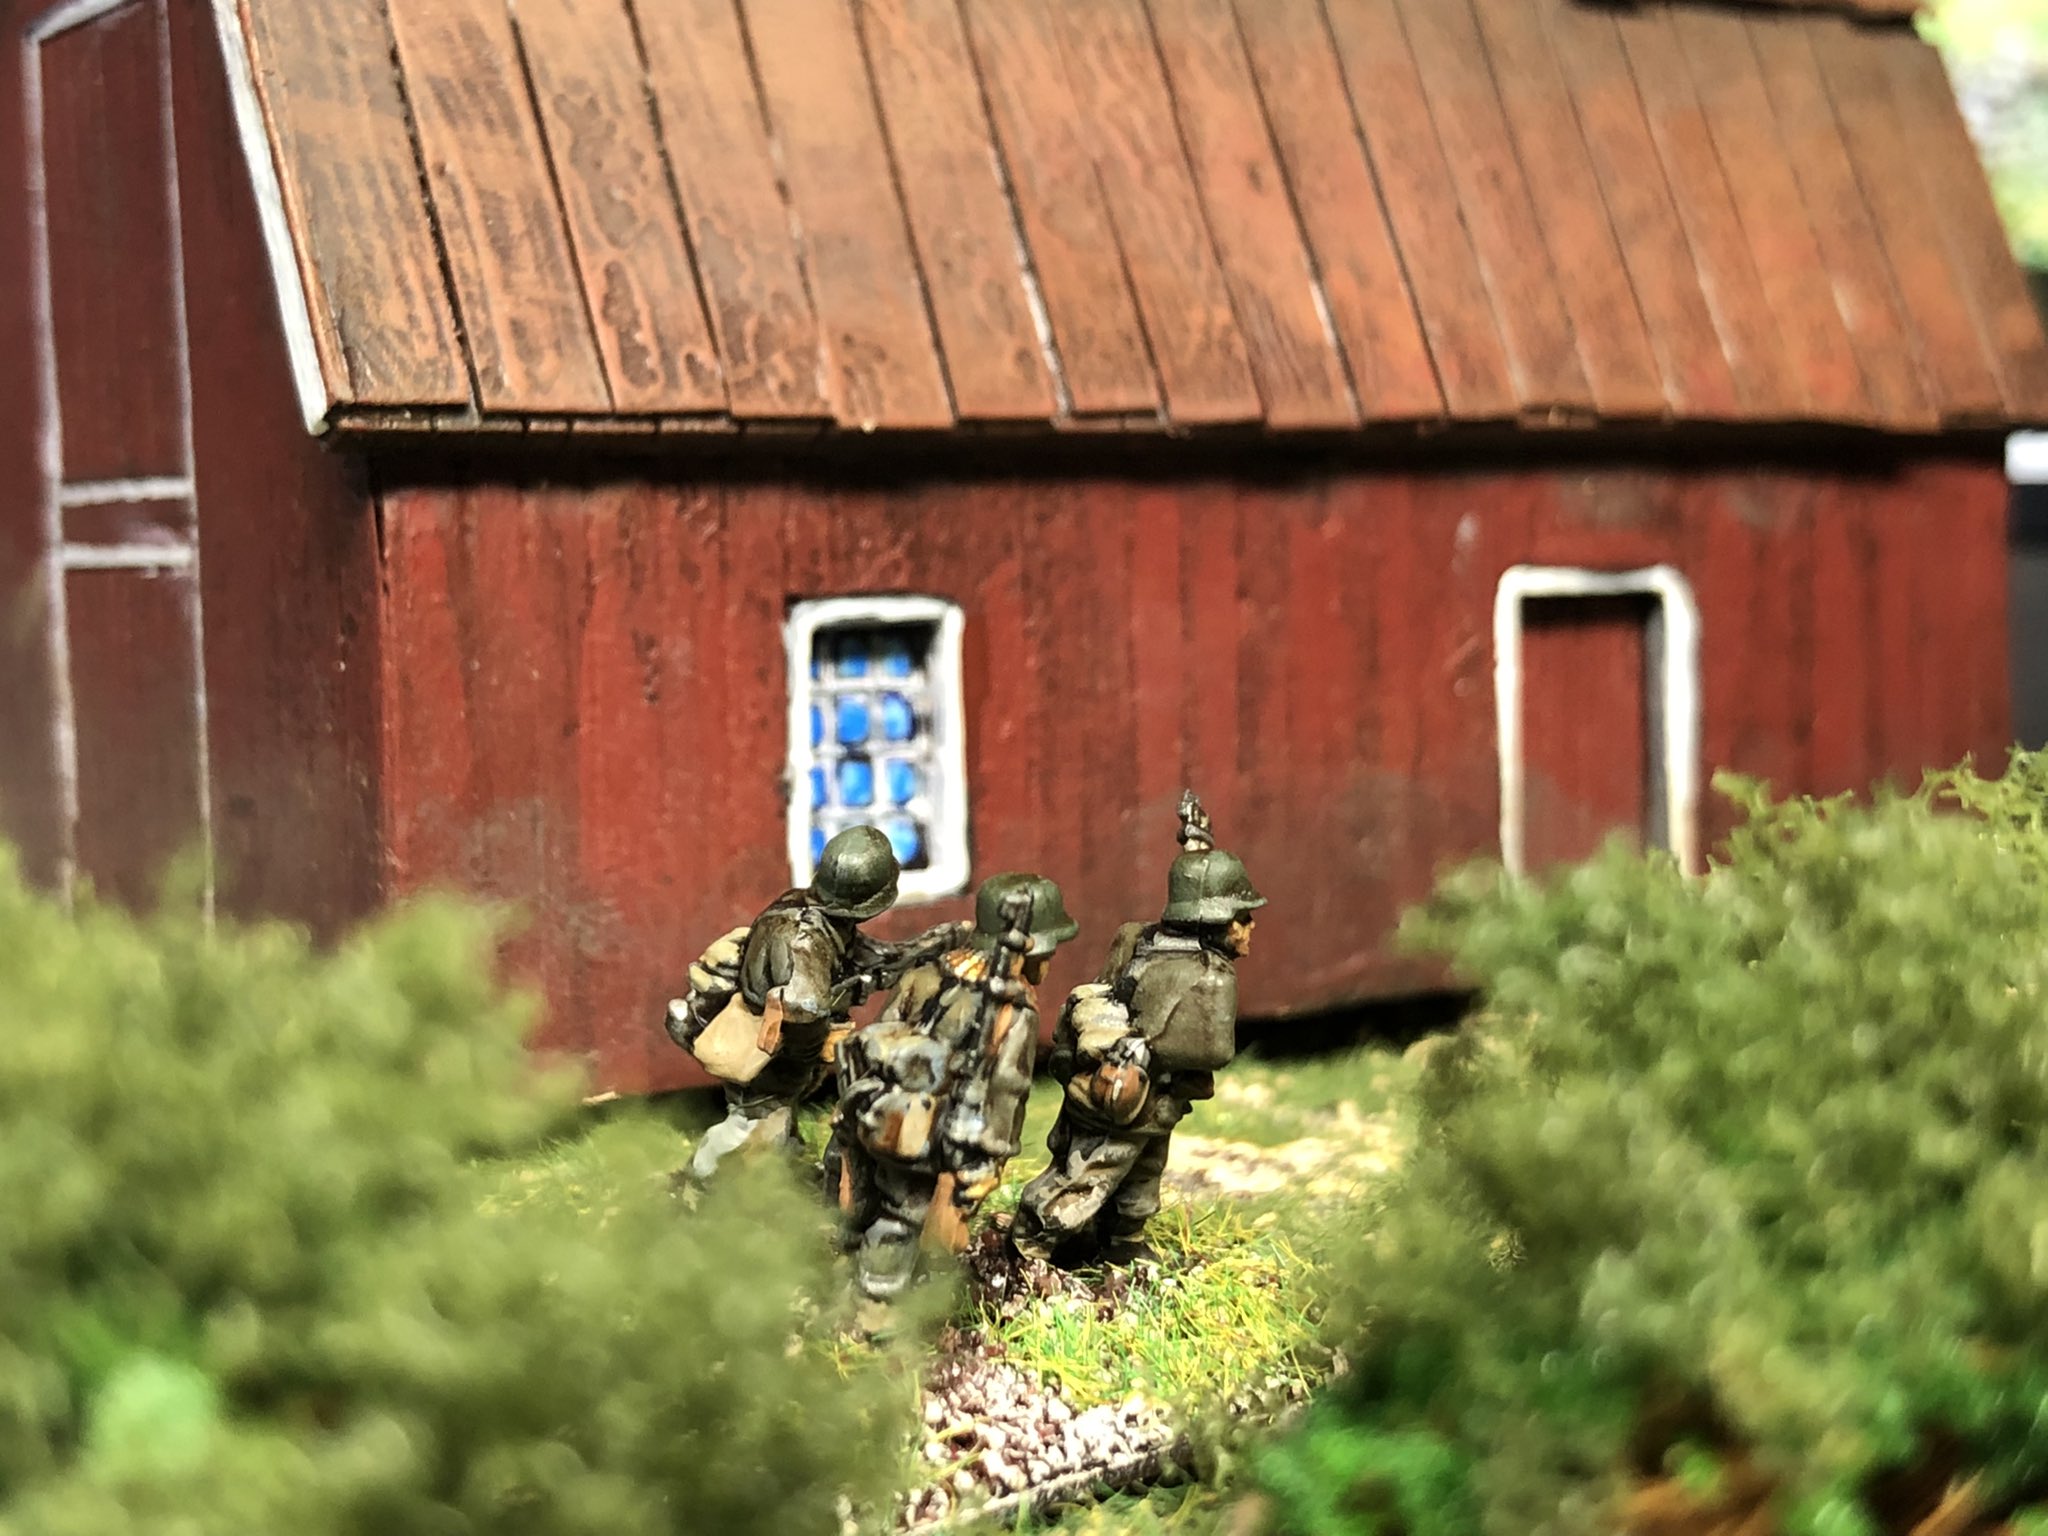
As I have explained before I want to create a certain look to make the building fit into the environment so a Normandy type building will not really do. In Sweden most house at this time, and still are in Dalarna, are made of wood and painted either Red or Brown (most commonly red). I have opted to go hard on the red with white details as a unifying and most common look.
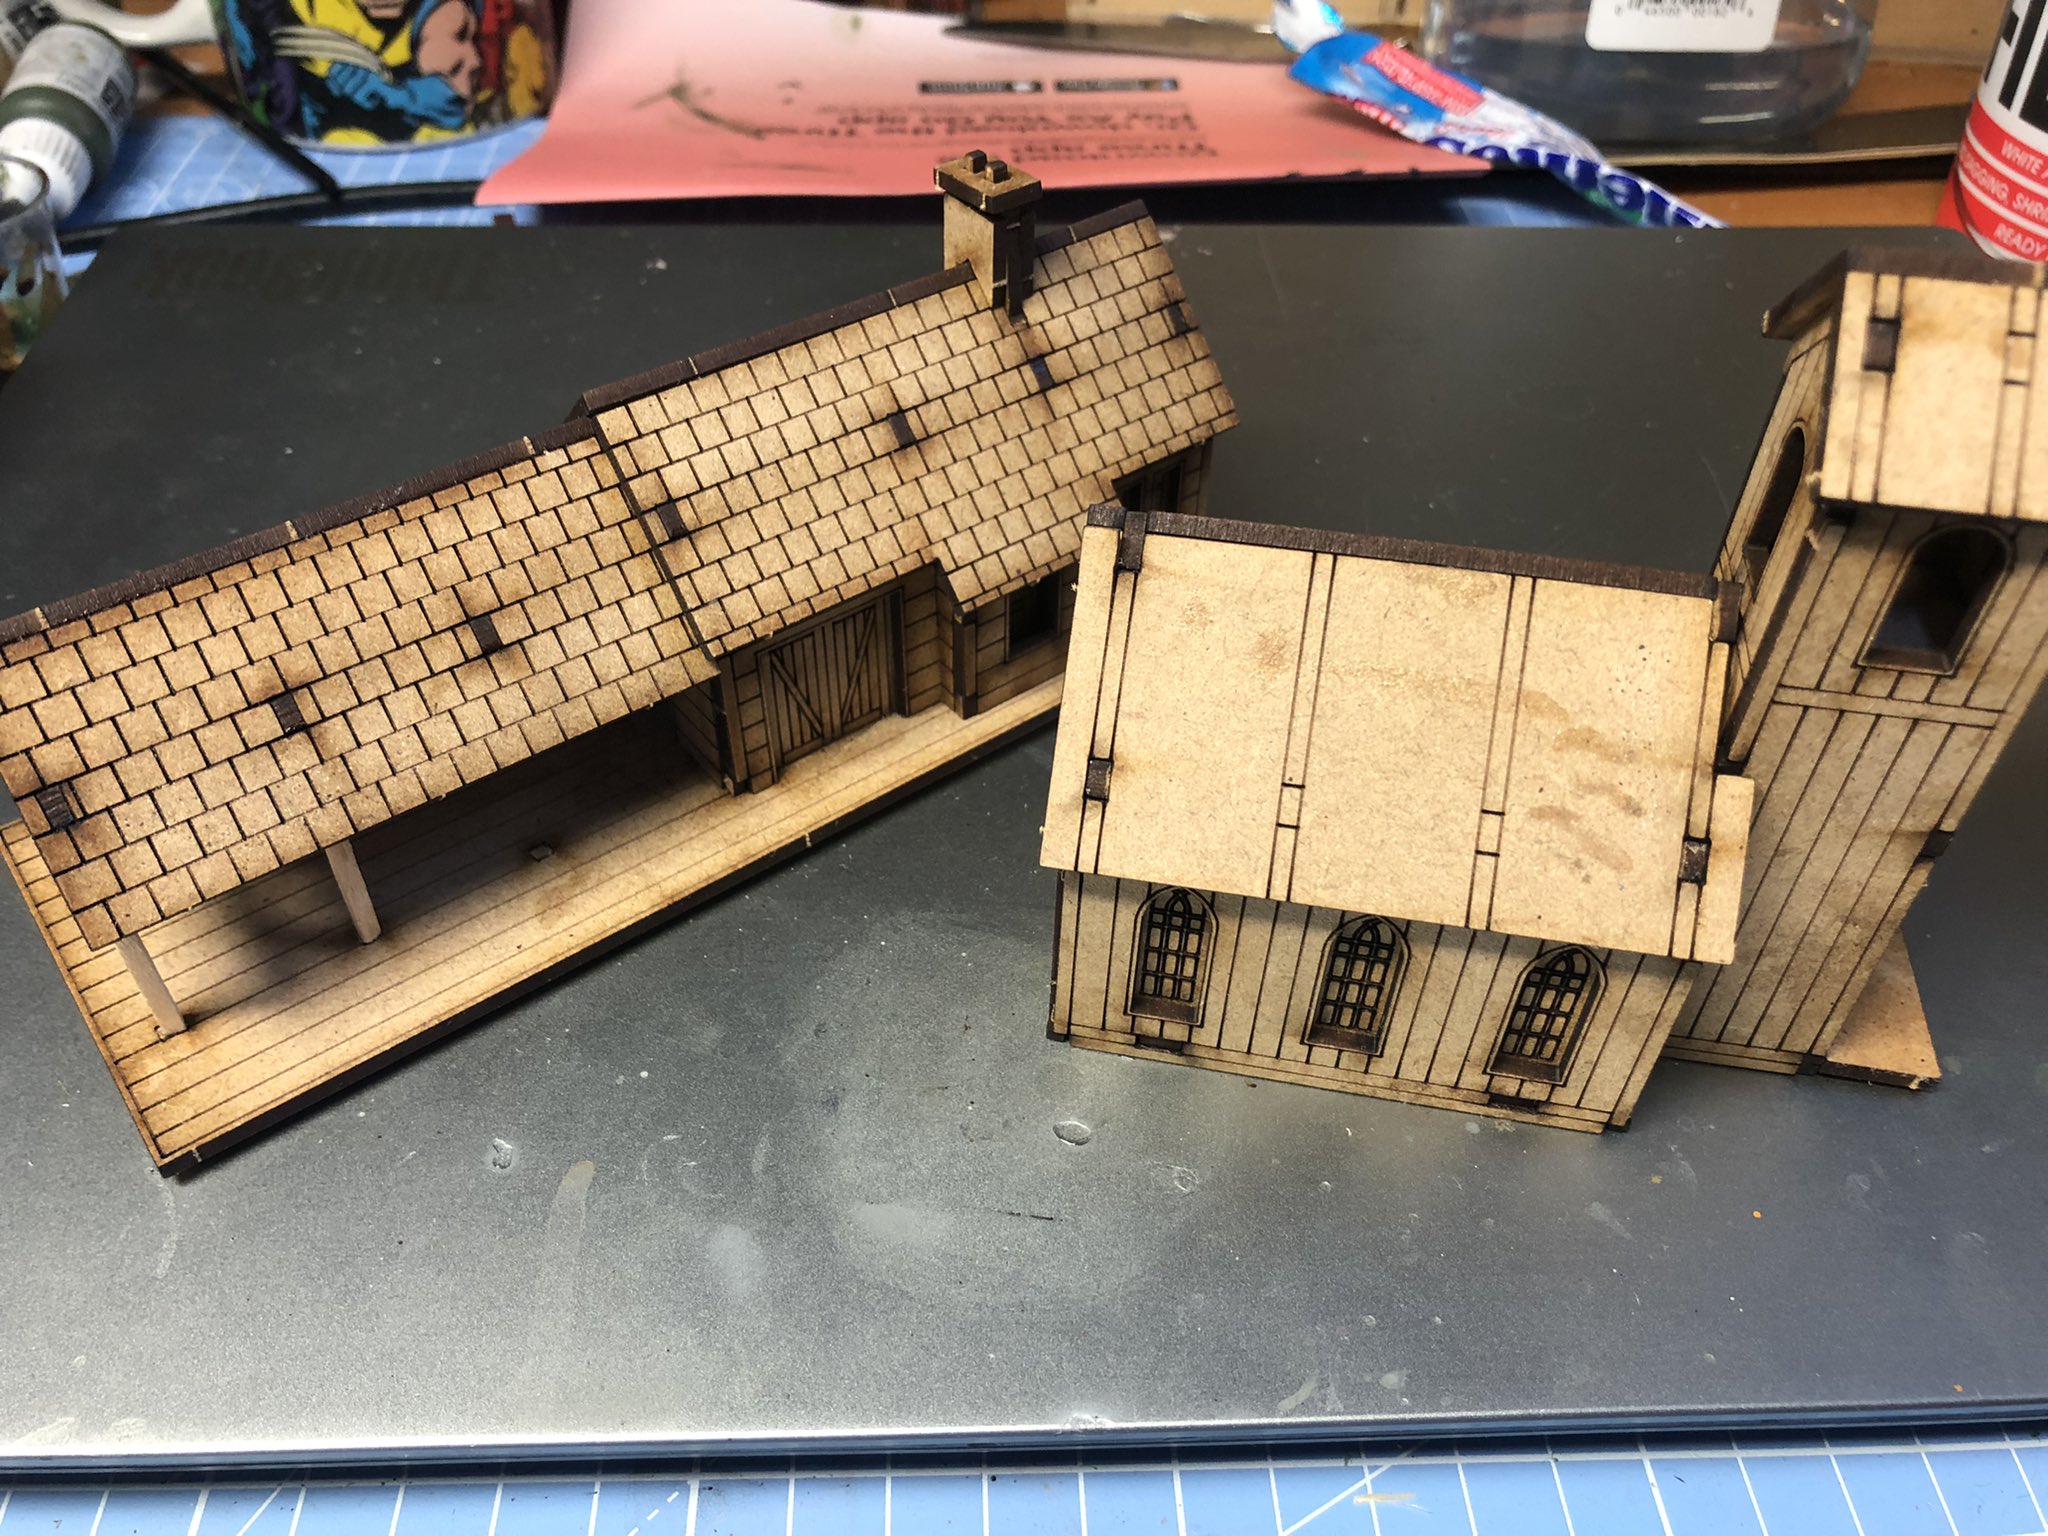
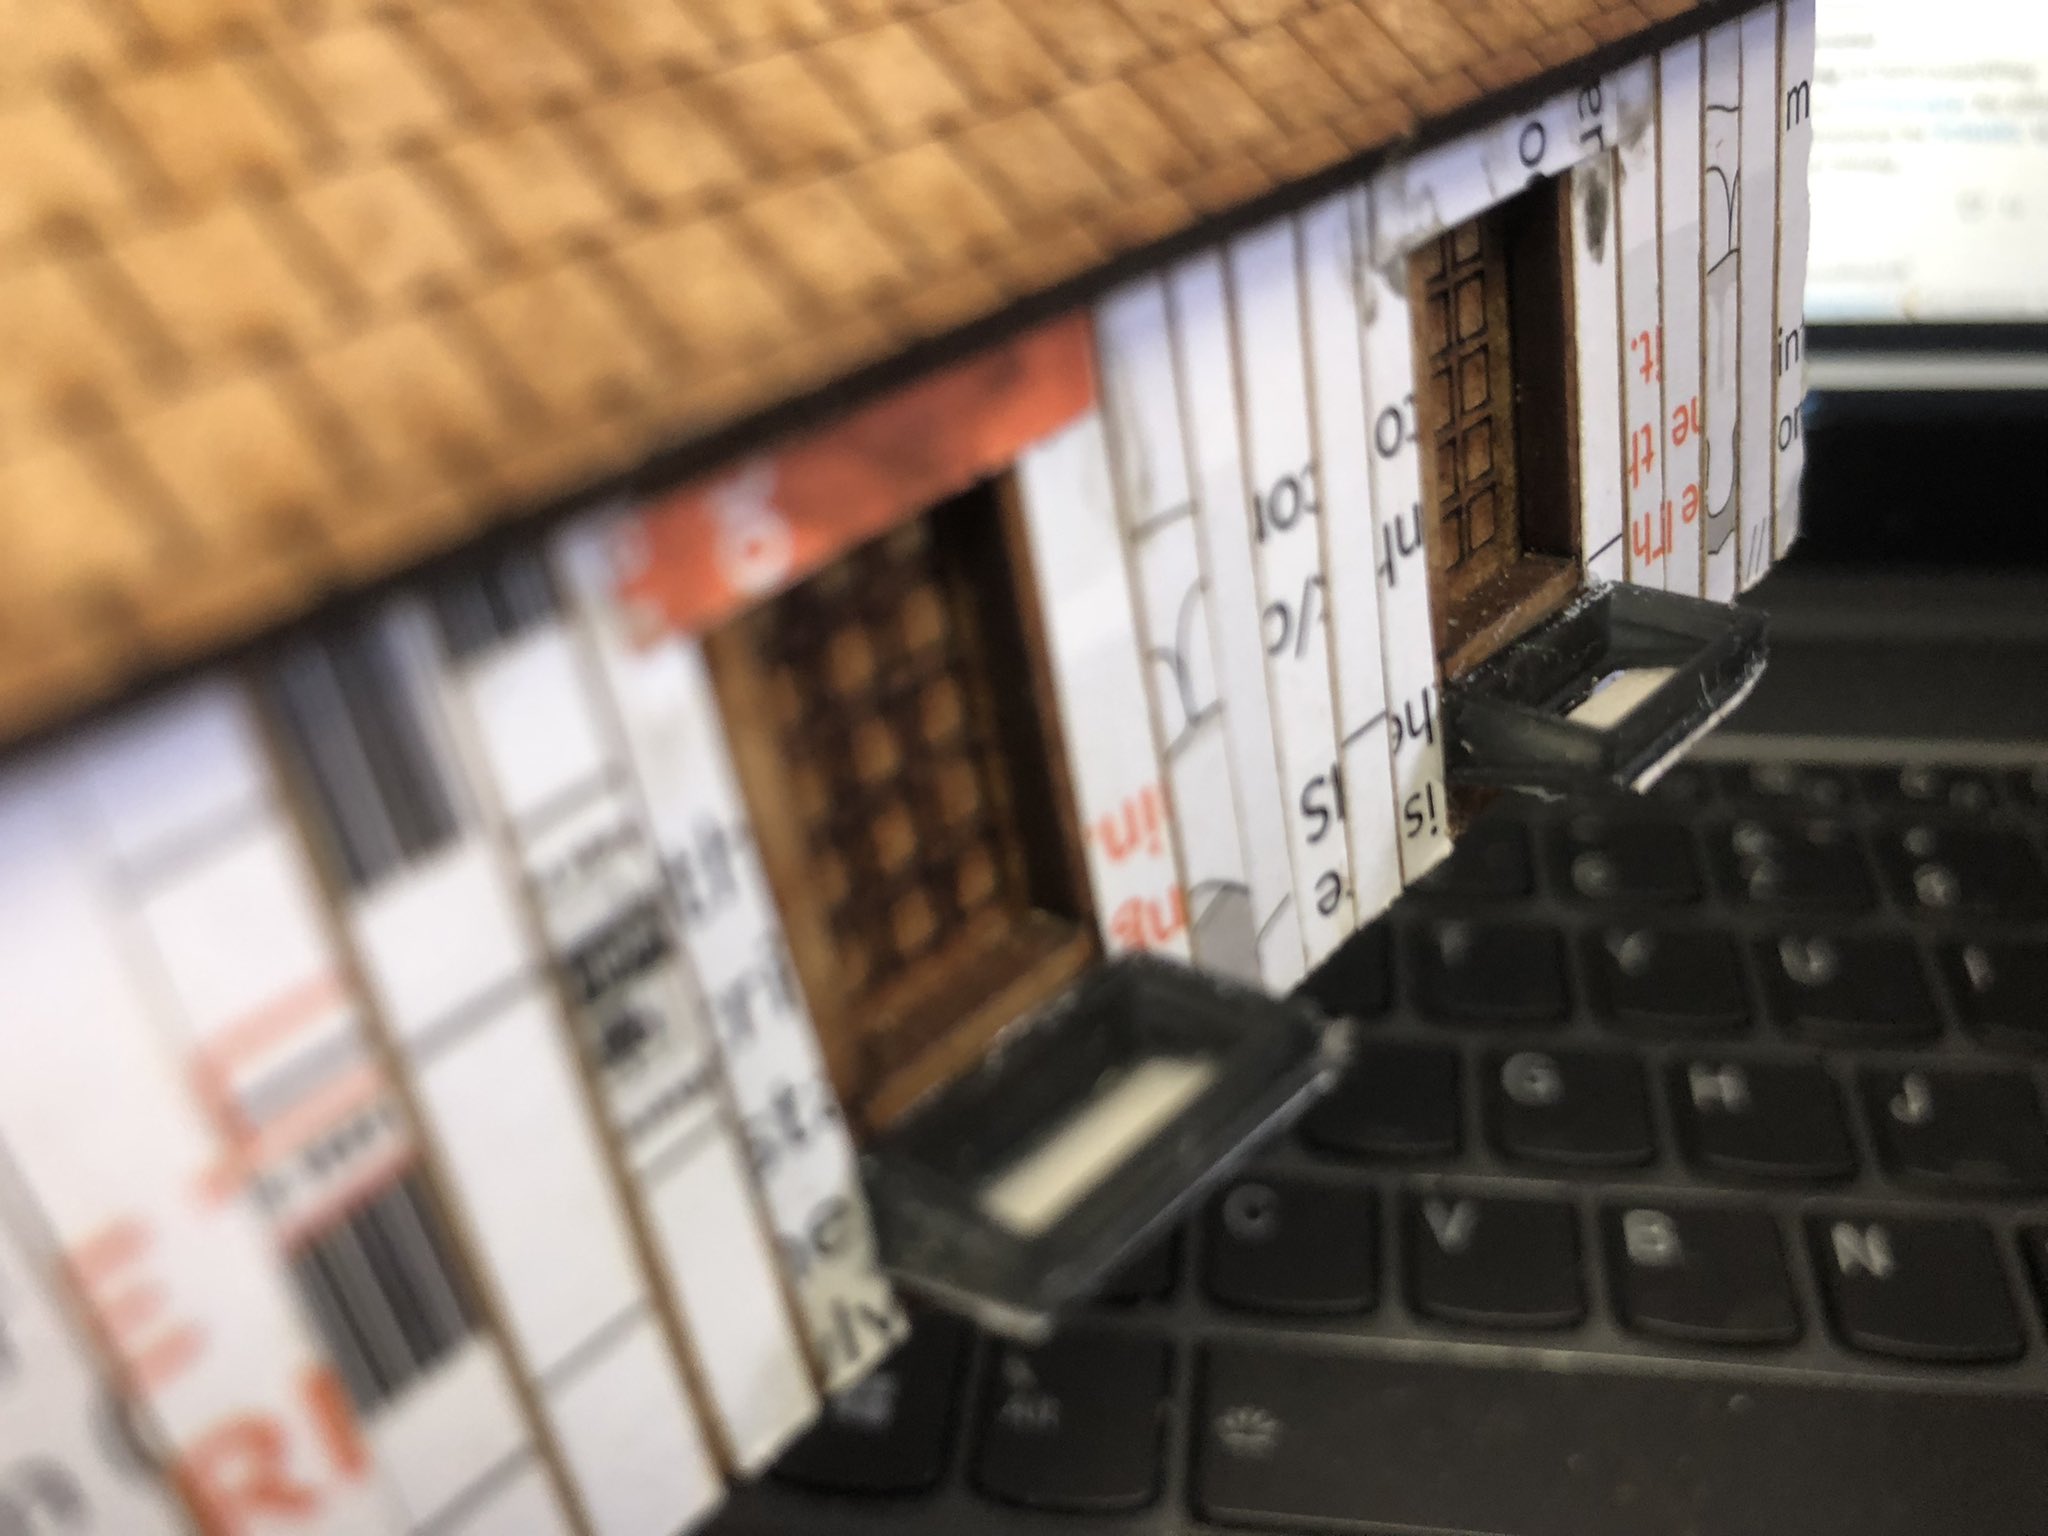
The first two buildings were the stable and the barn and the first step on these was to plank them and add tiles/roof, I did this using thick paper/card. This is just to create a little bit of structure to allow a plank pattern to show throgh as opposed to a flatish MDF surface. Note that I plank vertical.
This leaves them looking like this.
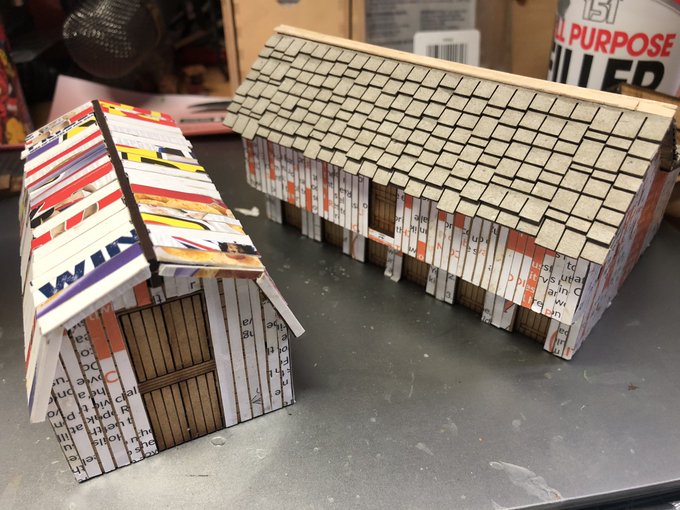
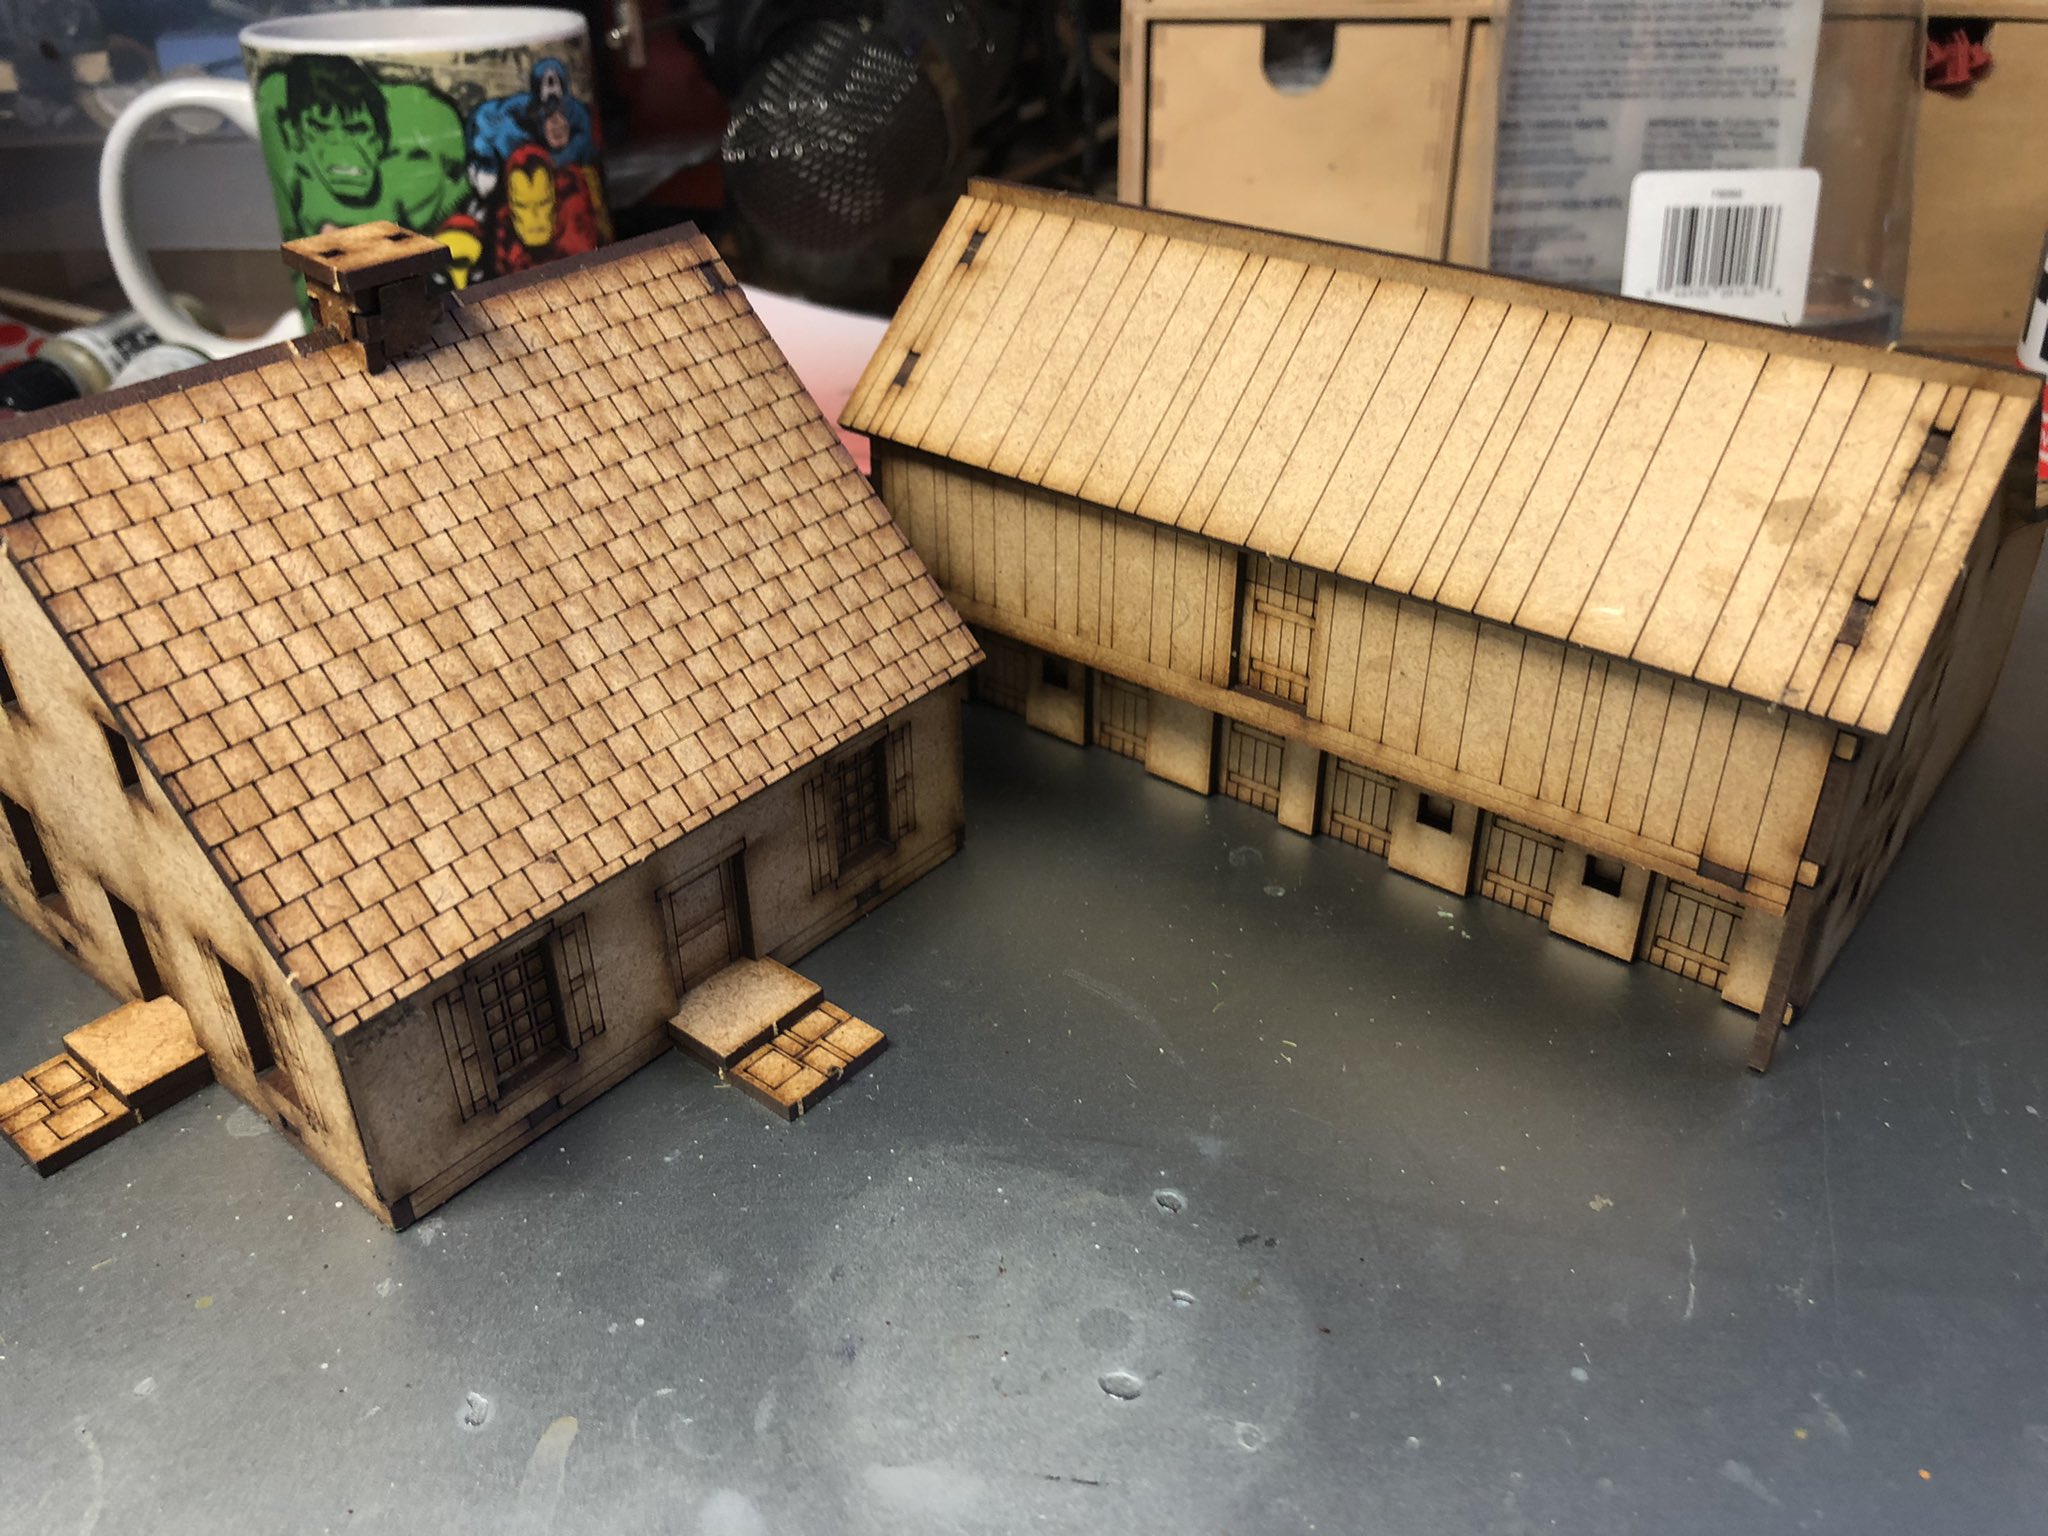
I painted them in Hull red and then another layer of red mixed with hull red (vallejo paint) added some white detail and quick weathering. They really look the deal, if I can say so myself.
Next up the two houses
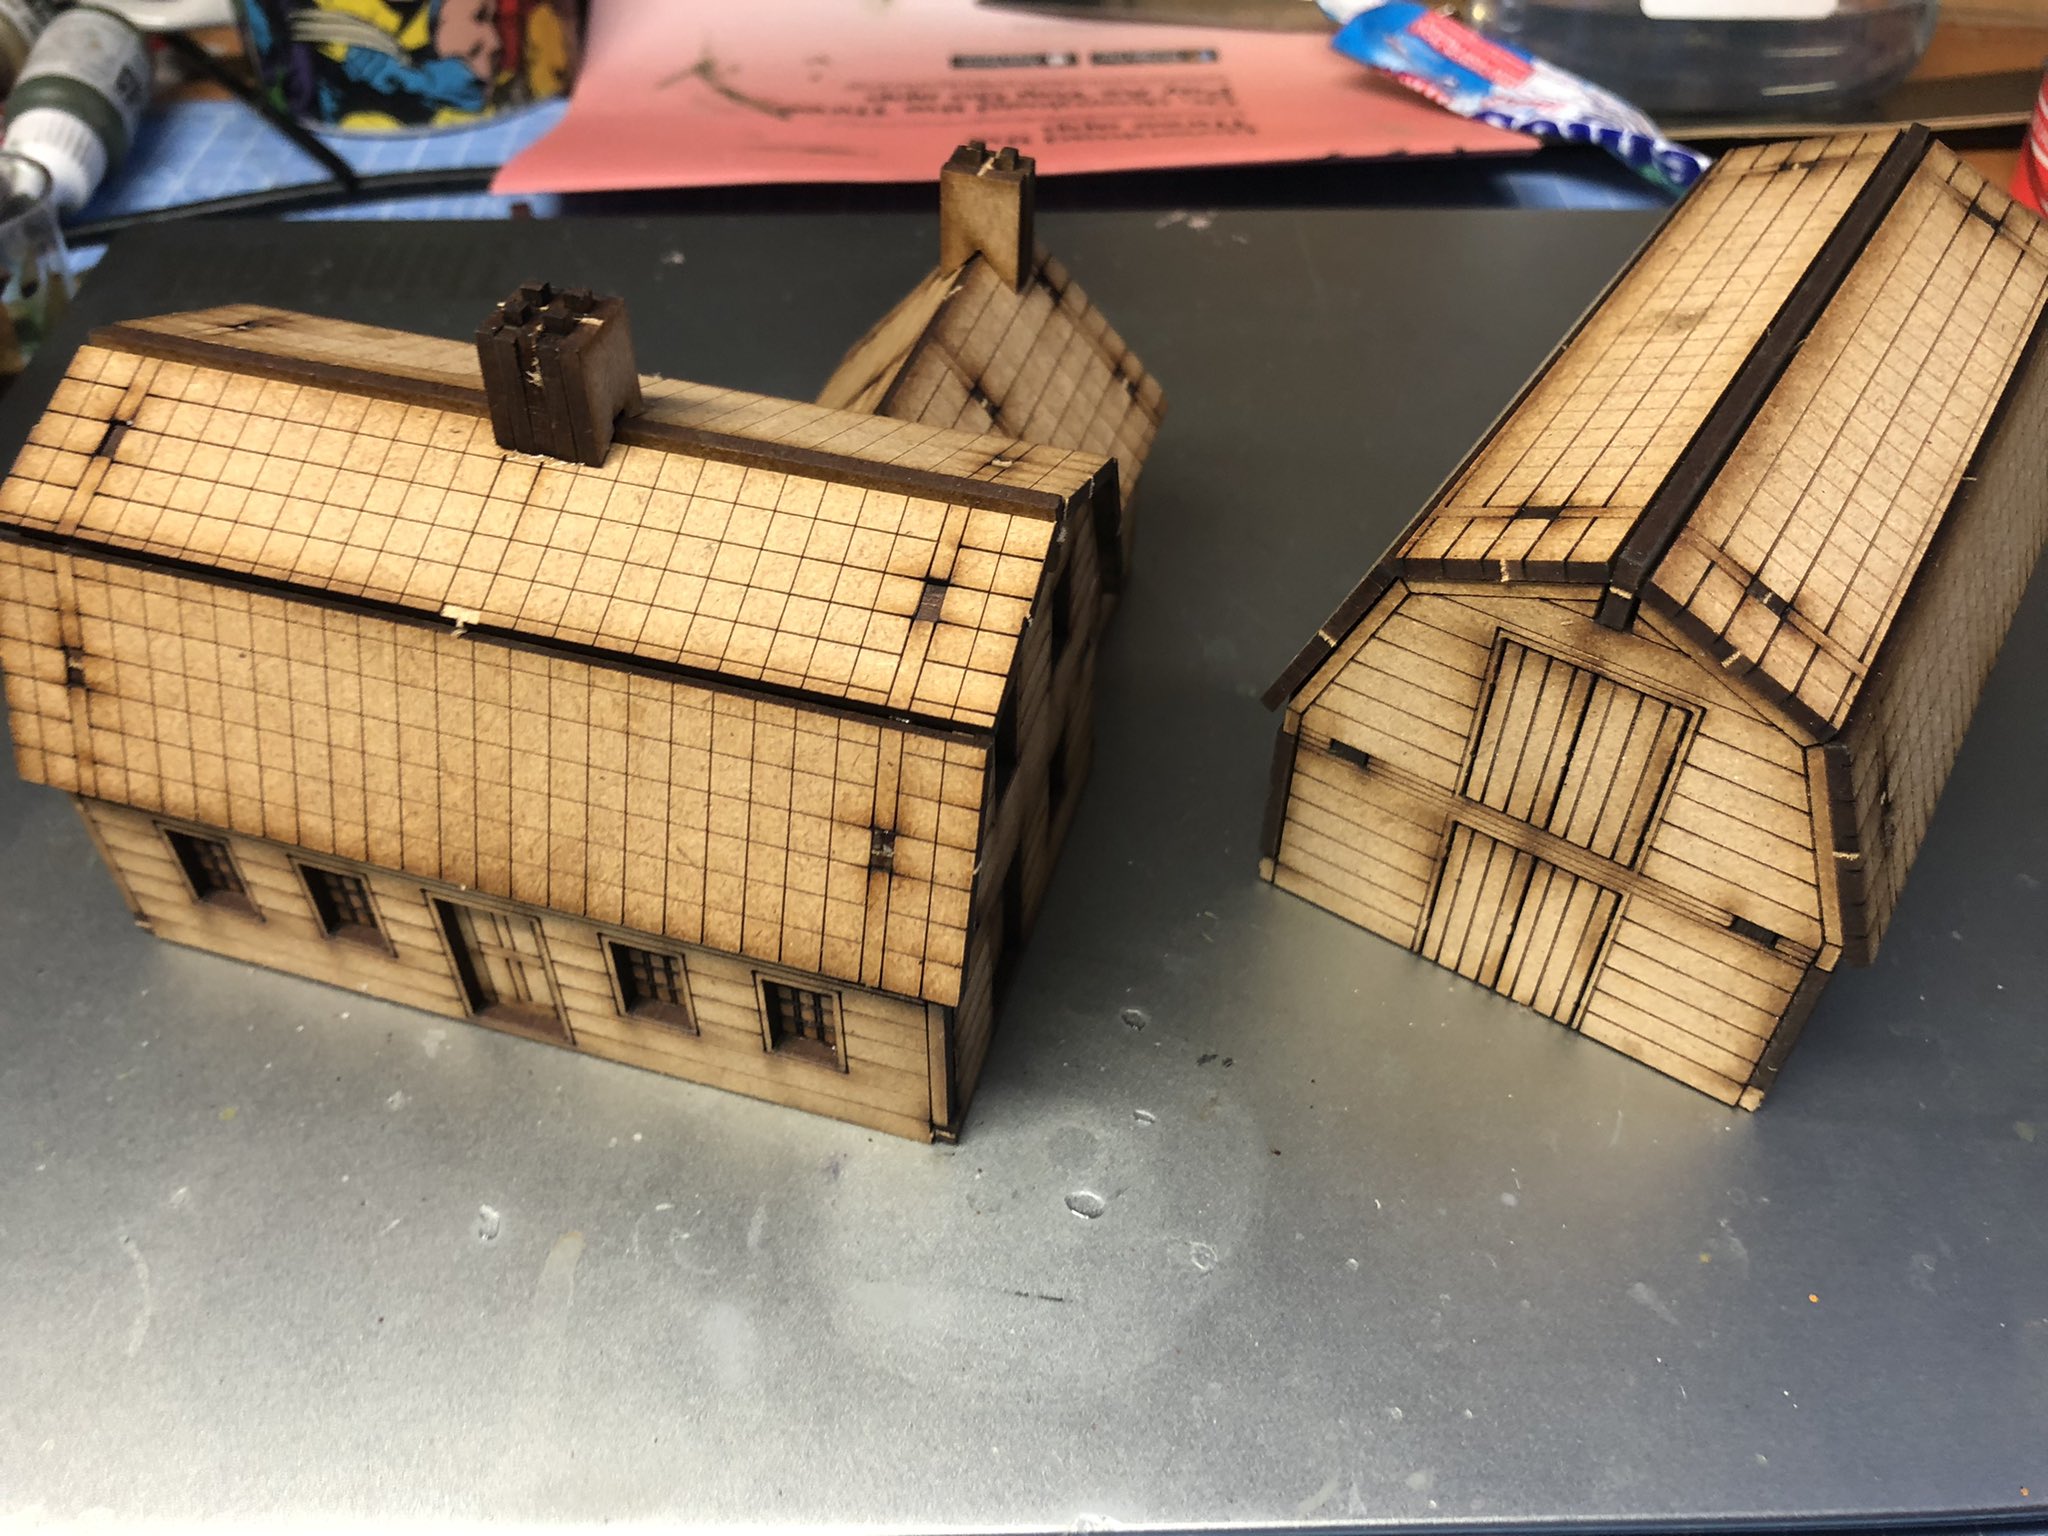
First the “Dunkers Church”, with some detail being added after planking and coffee stirer detailing, including a bird house (My great Grandad apparently had a bird house on the back of this house that he was very fond of)….
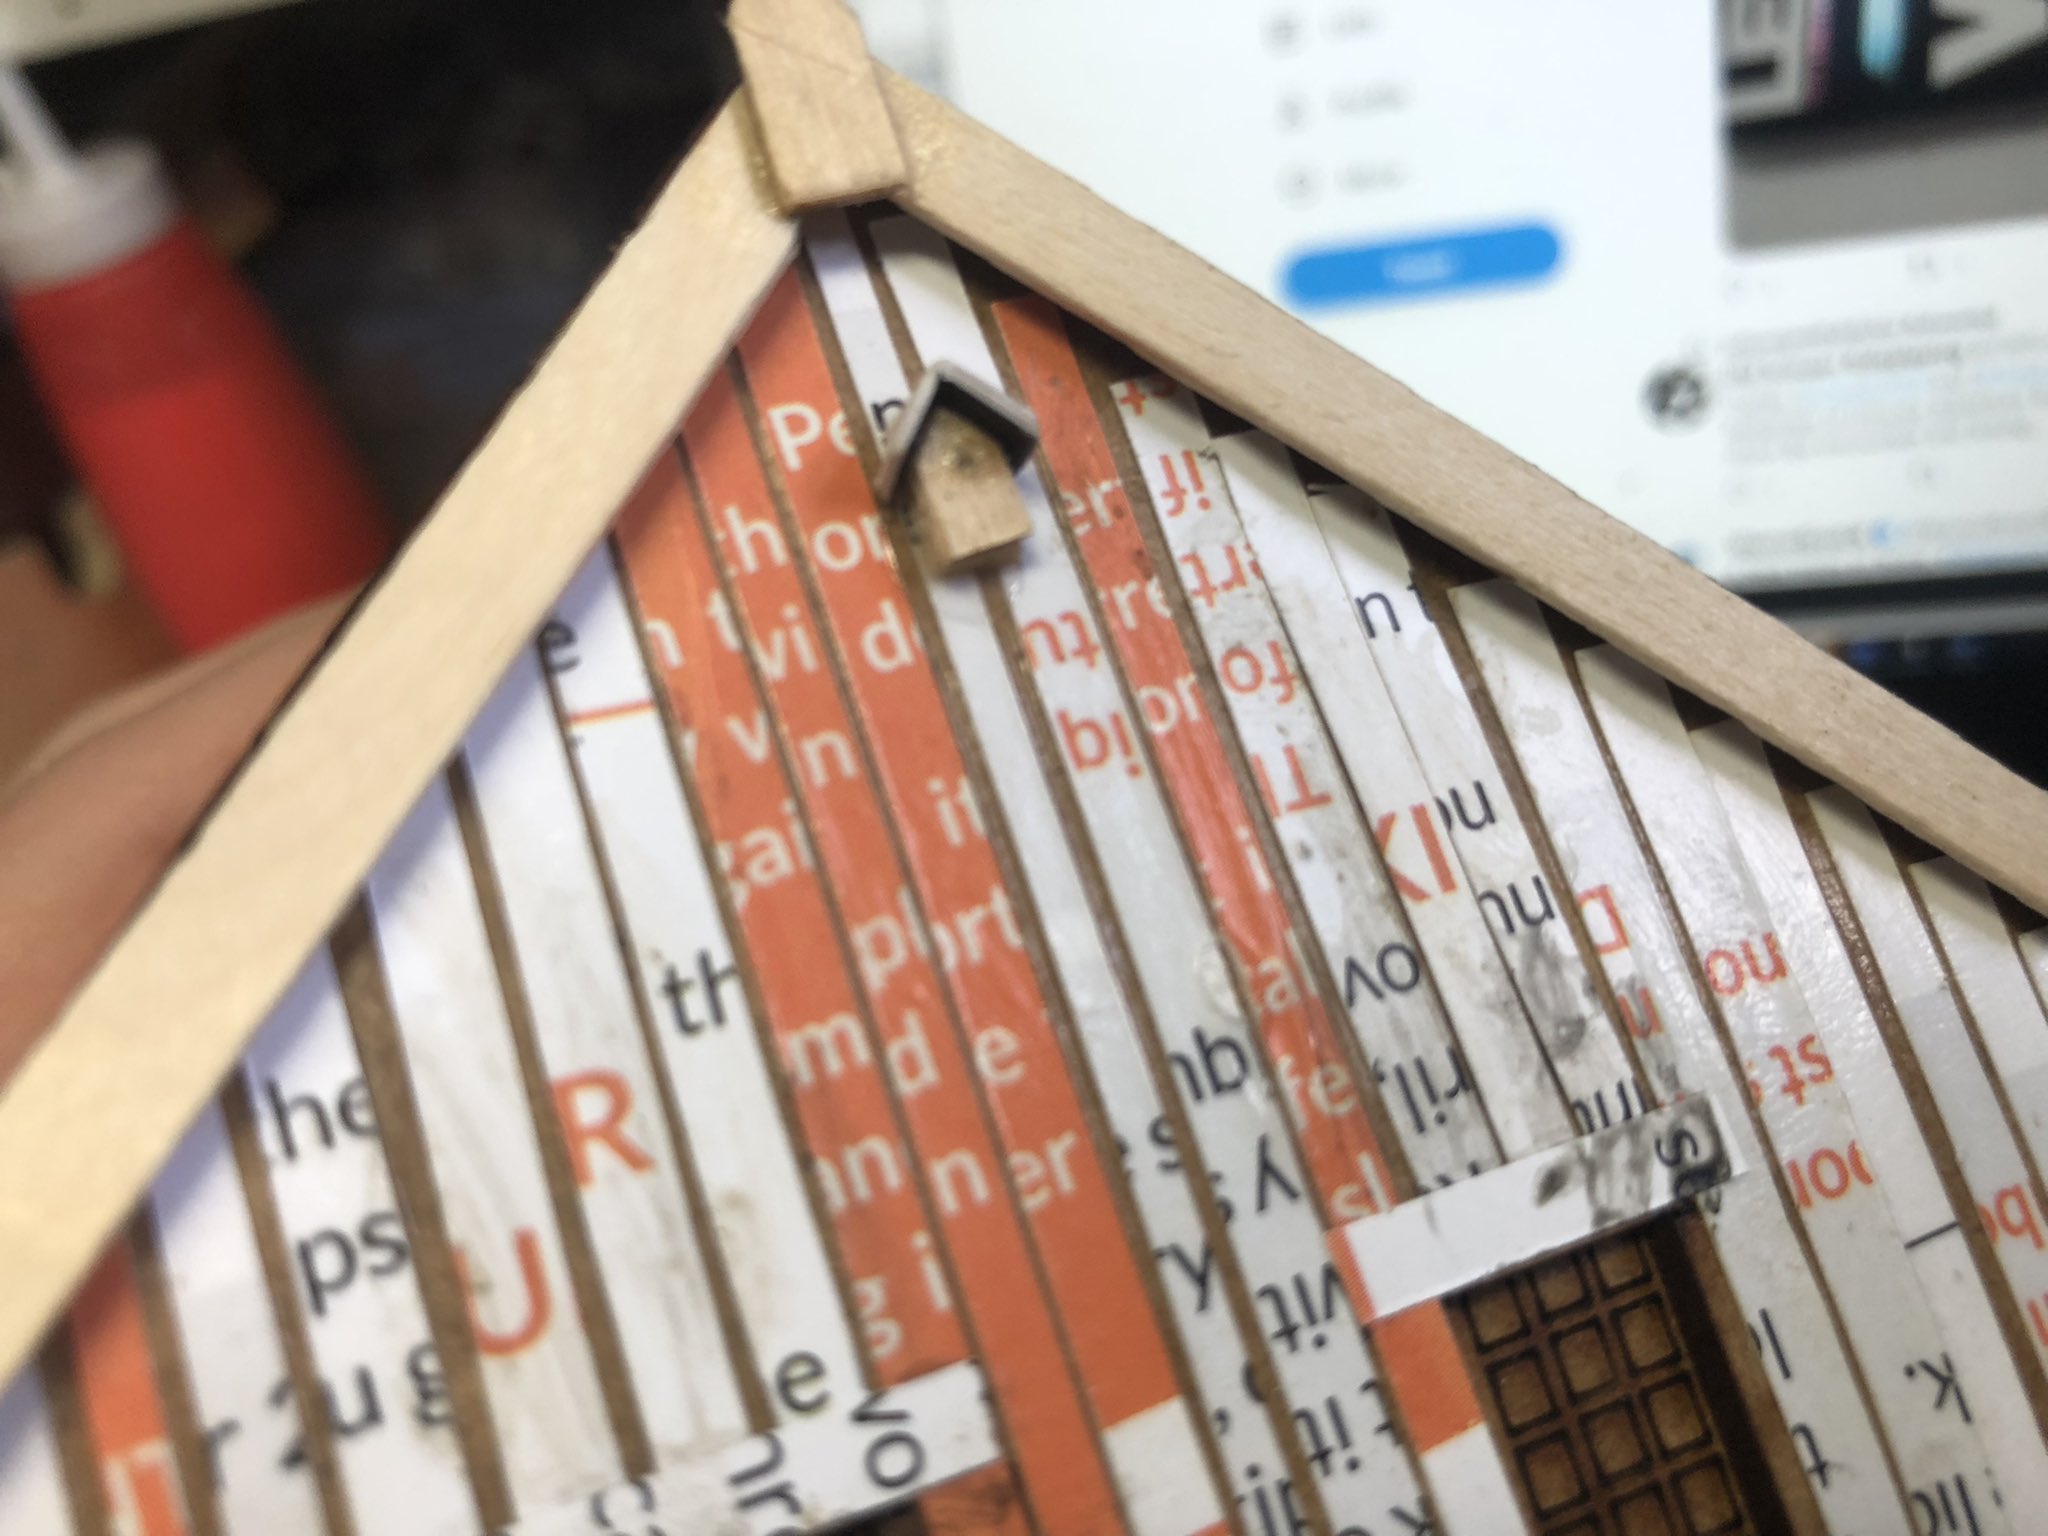
Some planters outside the windows (these will be filled with plants later).
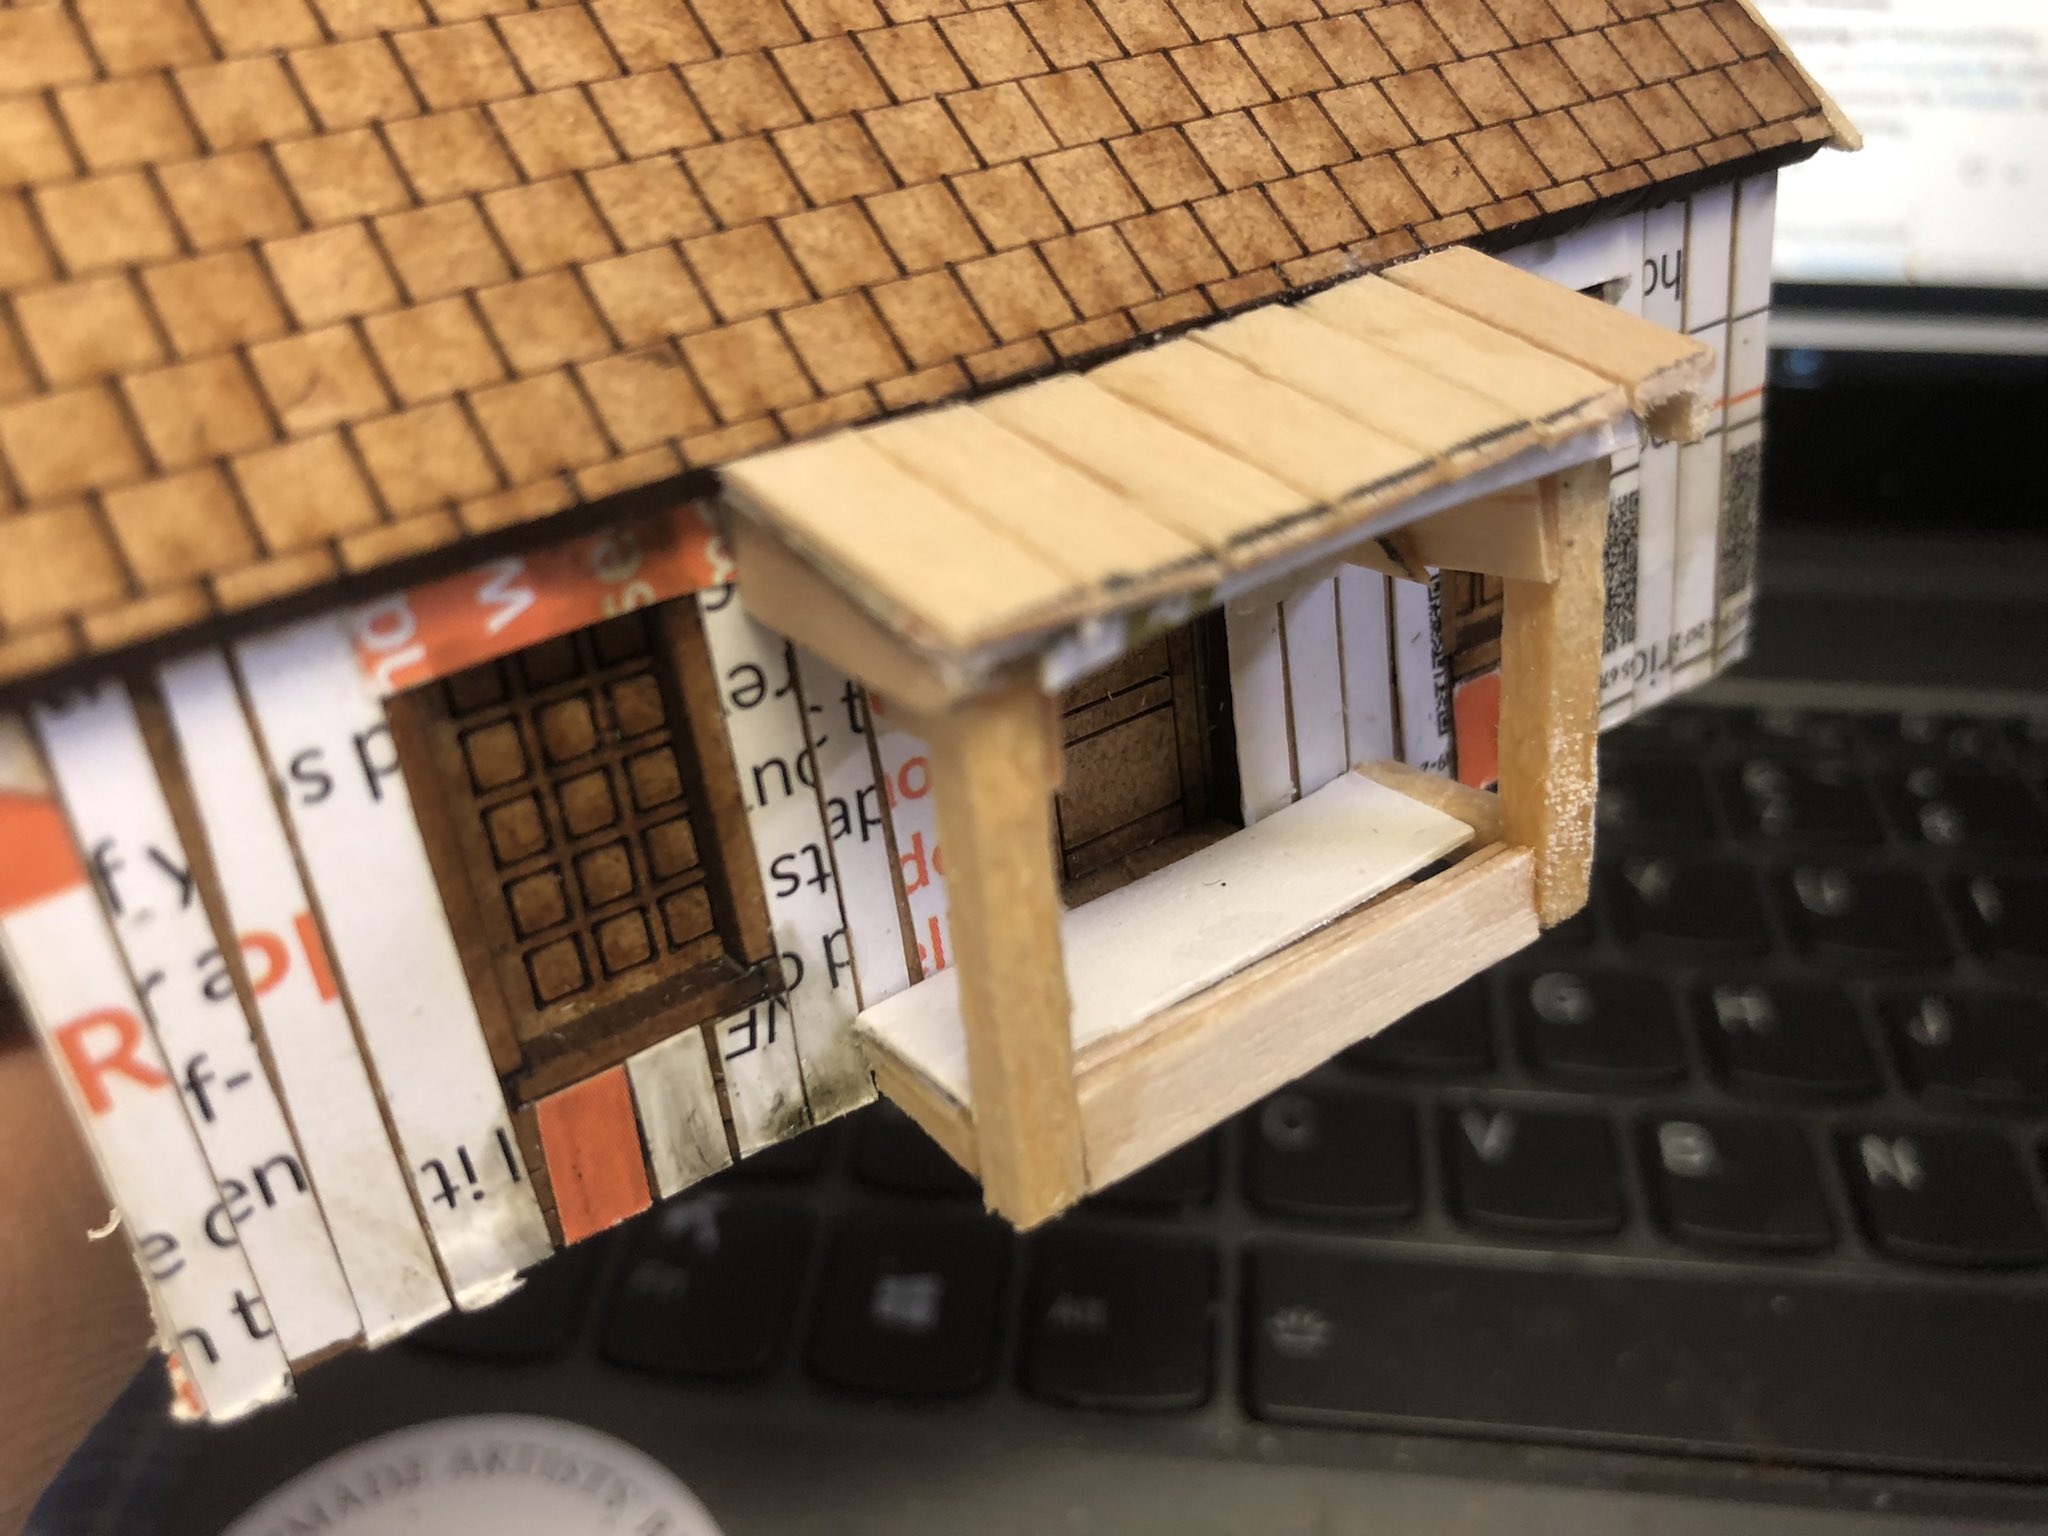
The house will need some roof tiling – I am waiting for some from Sarissa, so it will be painted next time.
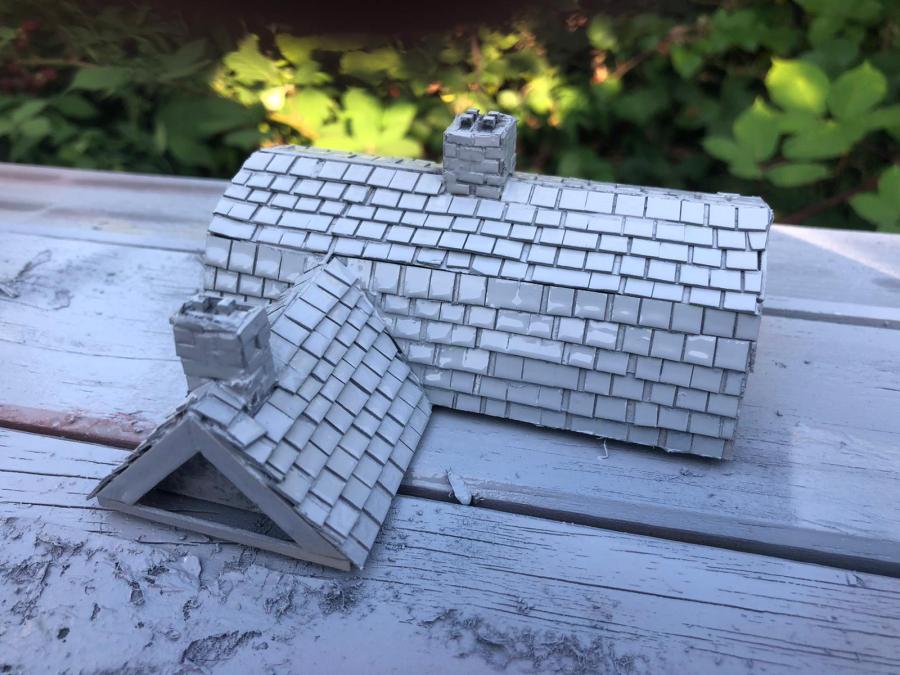
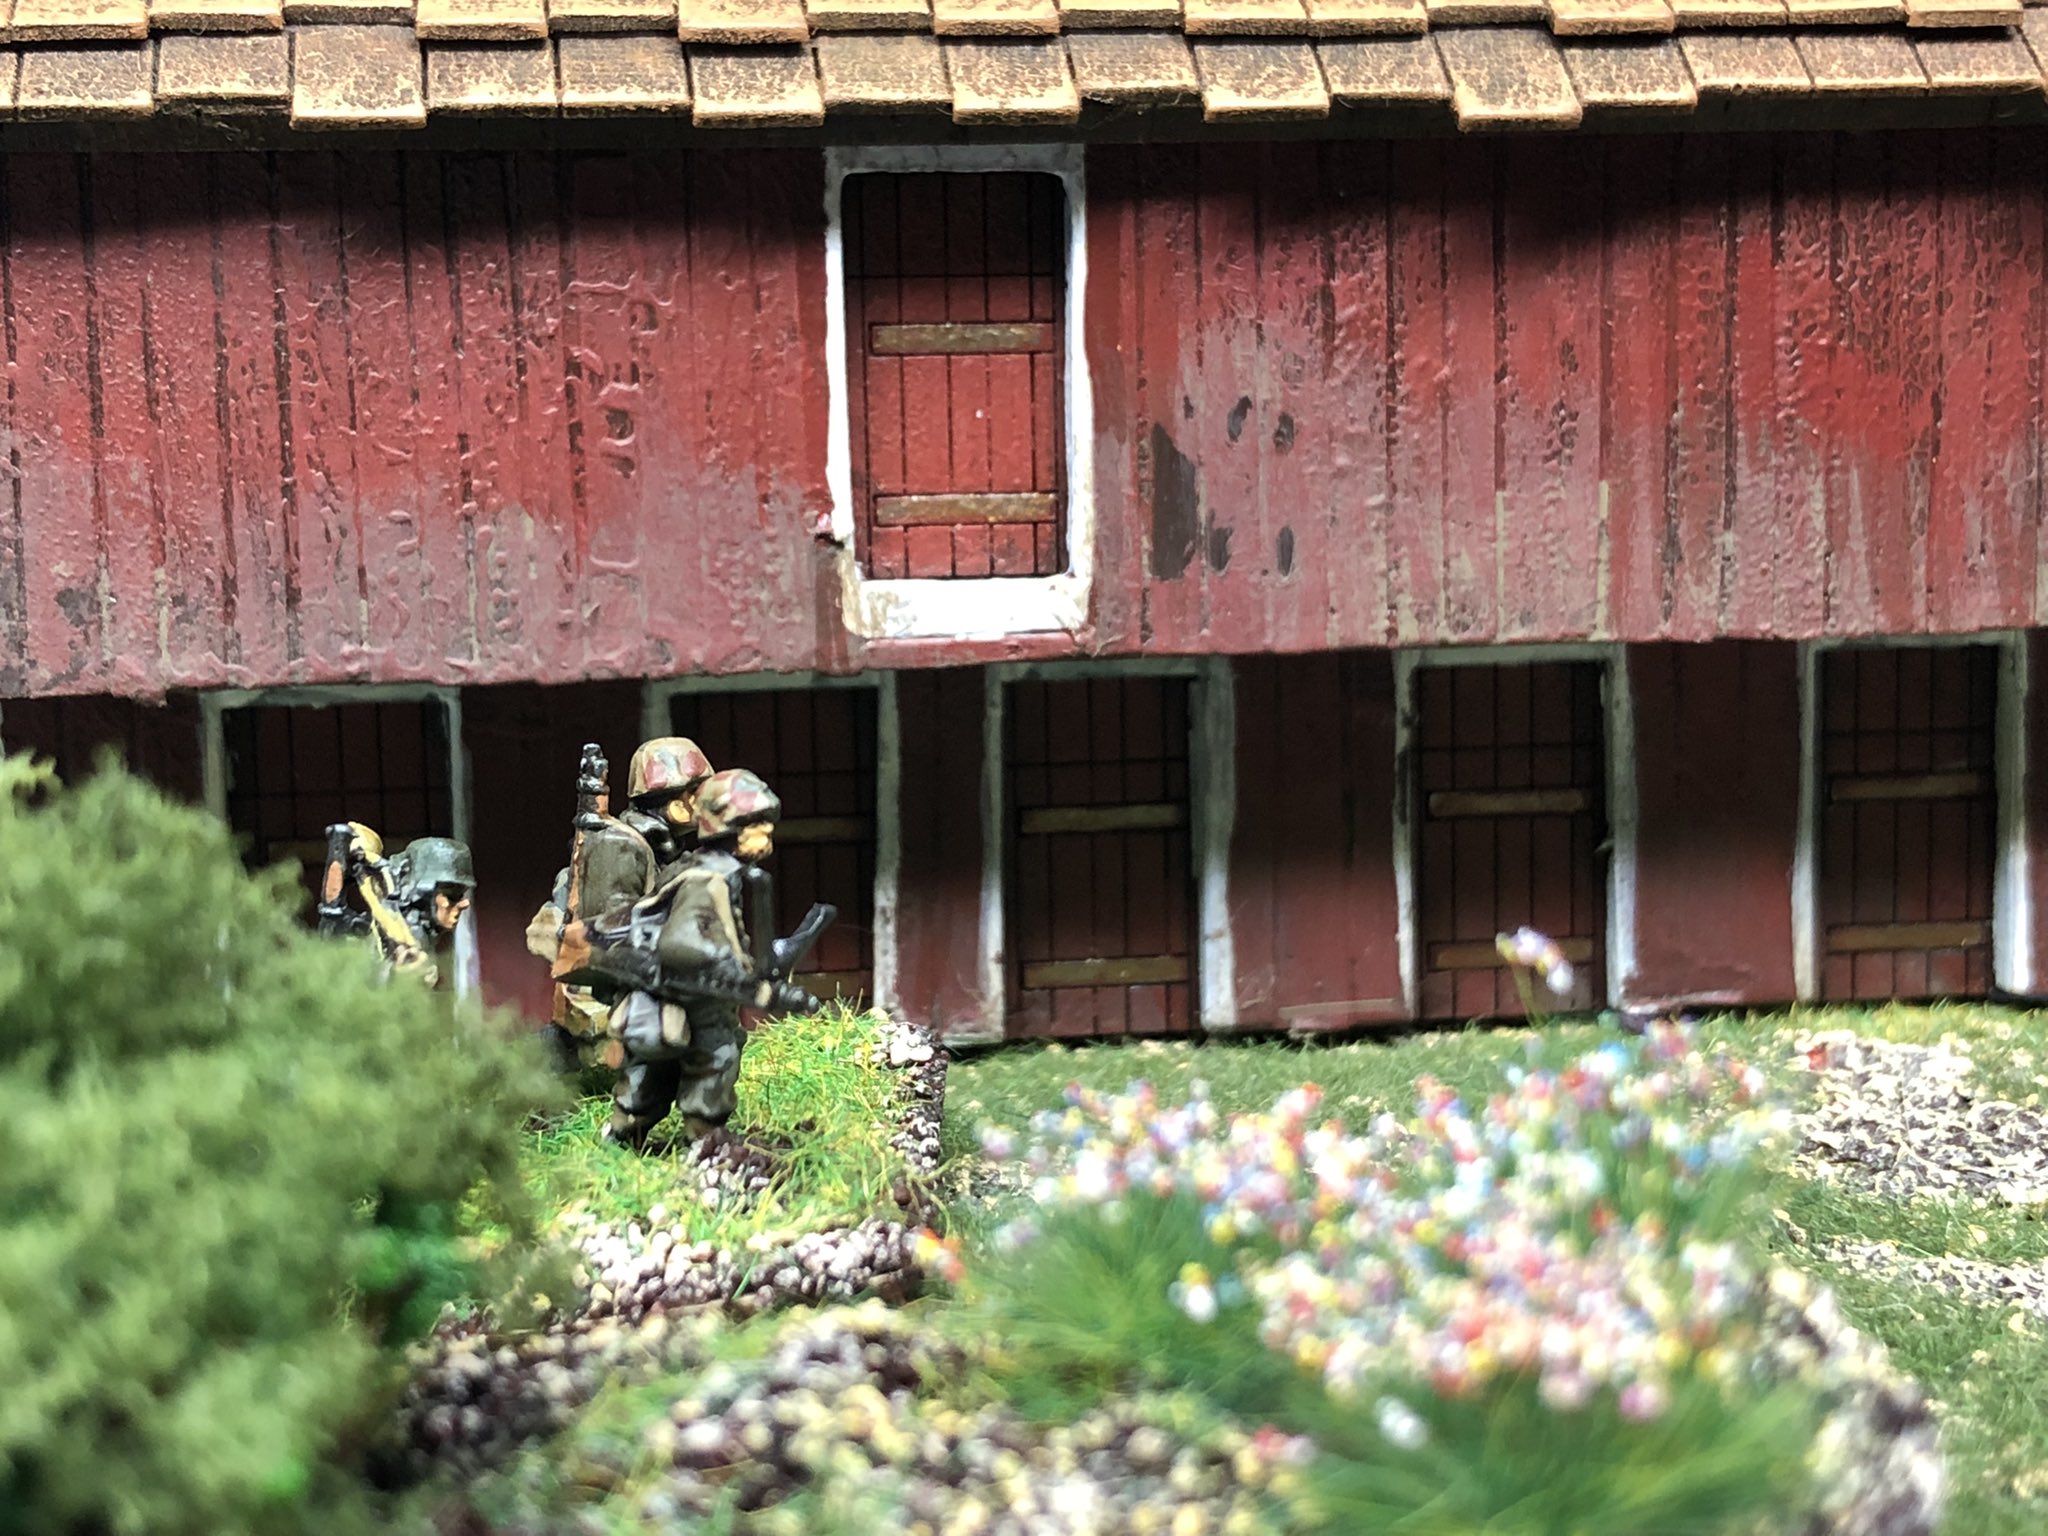
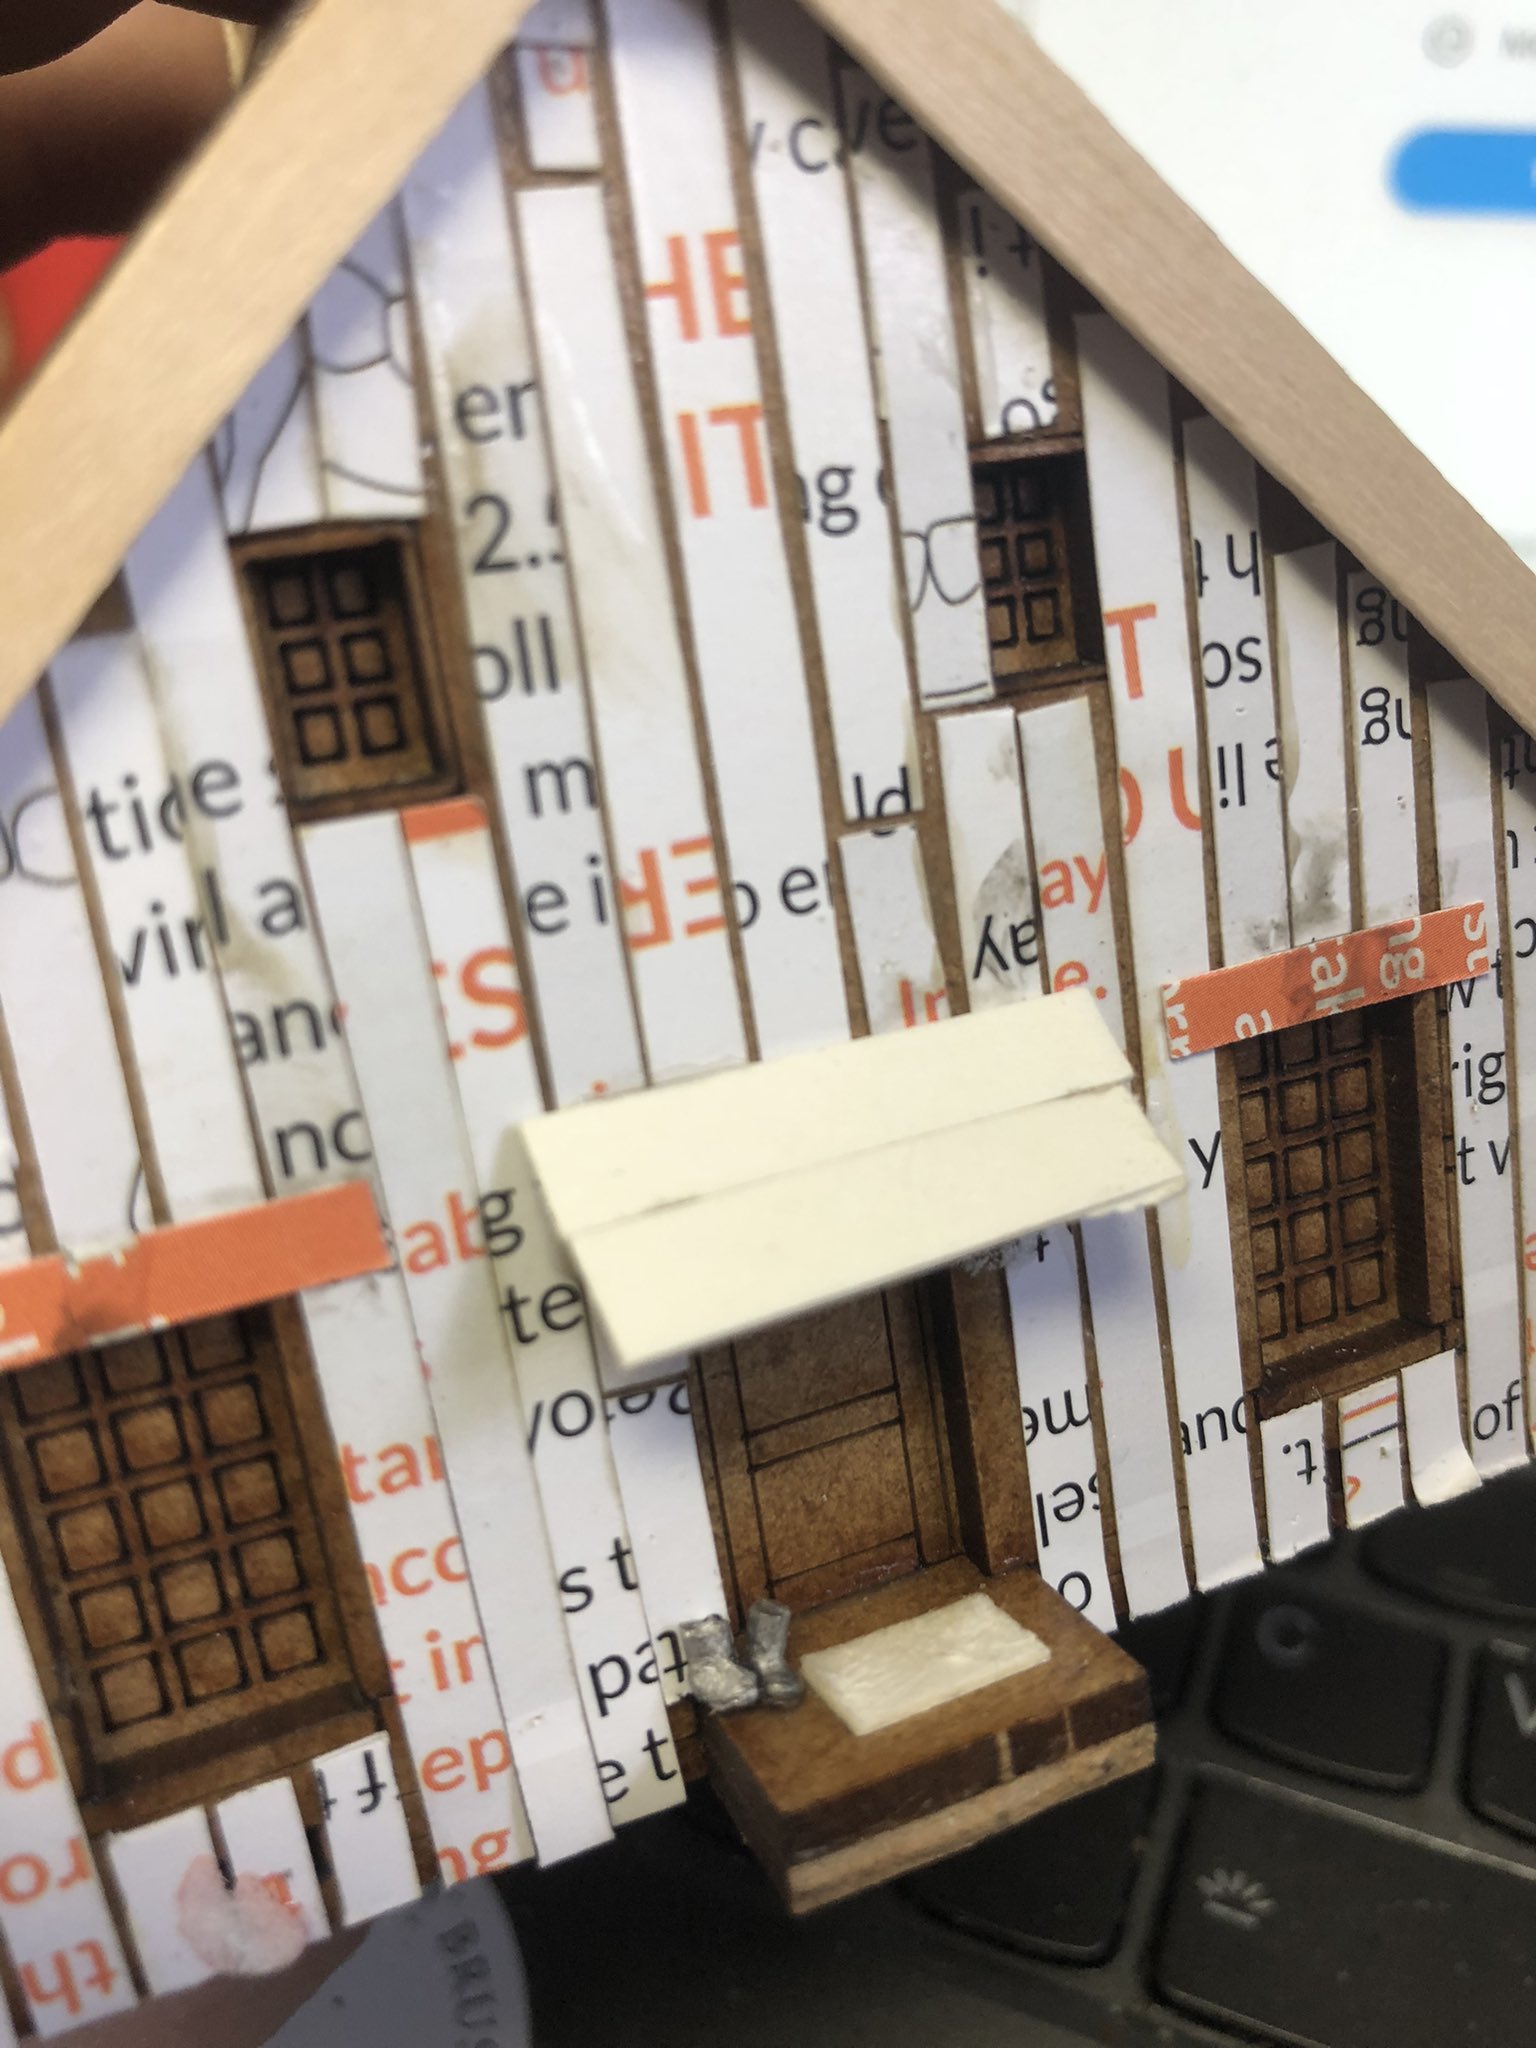
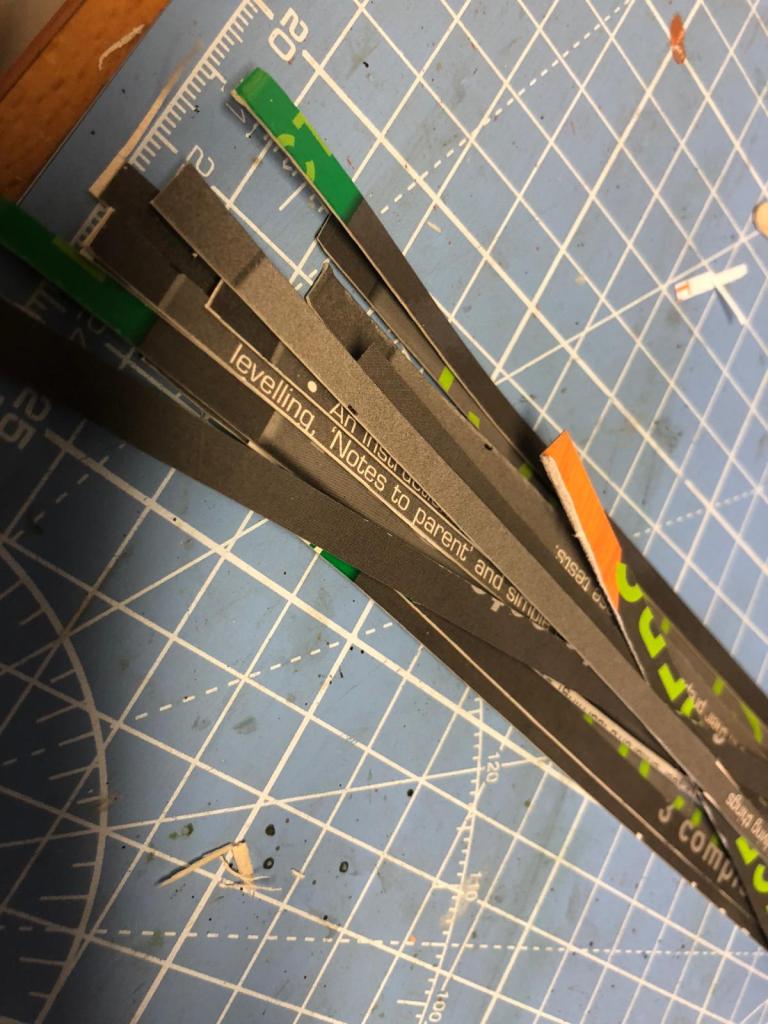
As for the Dutch House (done in the same way as the others), I wanted to use this one to illustrated how you can make tiling a roof a little bit quicker than adding tile by tile, as I used to do. You can of course get tiling cardboard from Sarissa for about £4.5 per roof as was used for one of the barns as shown before. Anyway here is how I do it, you need cardboard (like a cereal pack), a sharp knife/scissors, ruler (metal works best), masking tape and a little bit of time.
First take a piece of cardboard and mark up the width of the tile you require, I used 5mm for 15mm (this is actually a 0.5 meter tile in scale but it kind of works you might want to go finer)
Cut out strips with hobby knife or scissors
Put the strips together between two strips of masking tape, leaving a very small gap between the tiles.
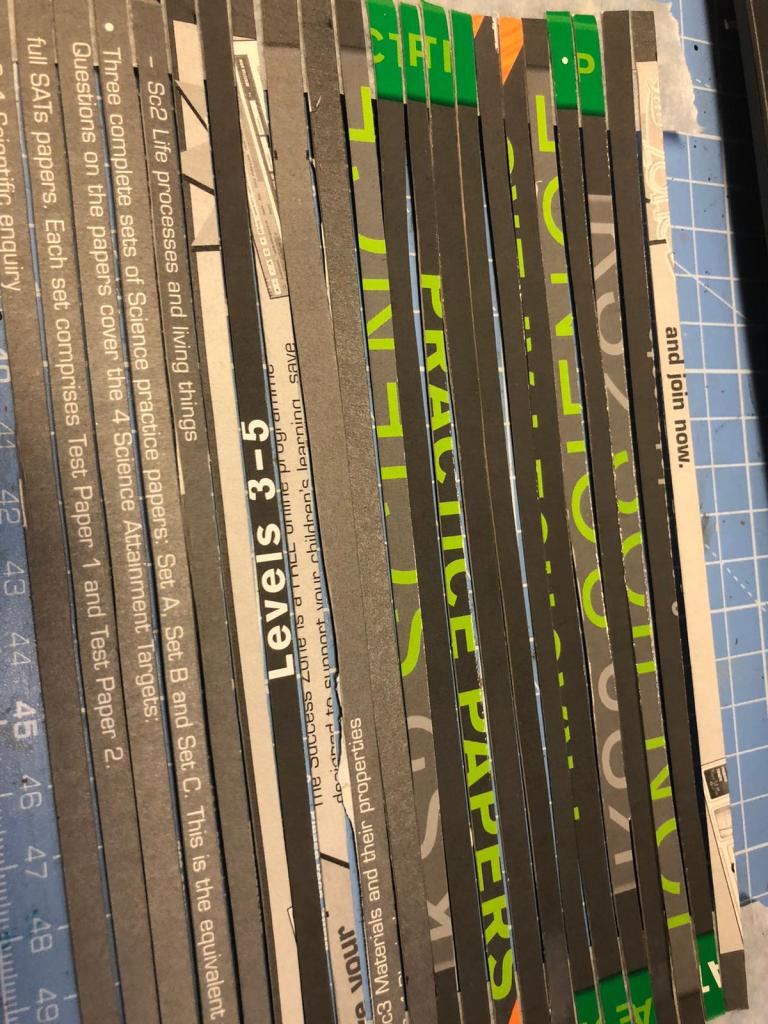
Use scissors or a sharp hobby knife with a ruler firmly pressed against the sheet and cut strips the other way to create strips like this (a row of tiles being held together by the masking tape, as shown below).

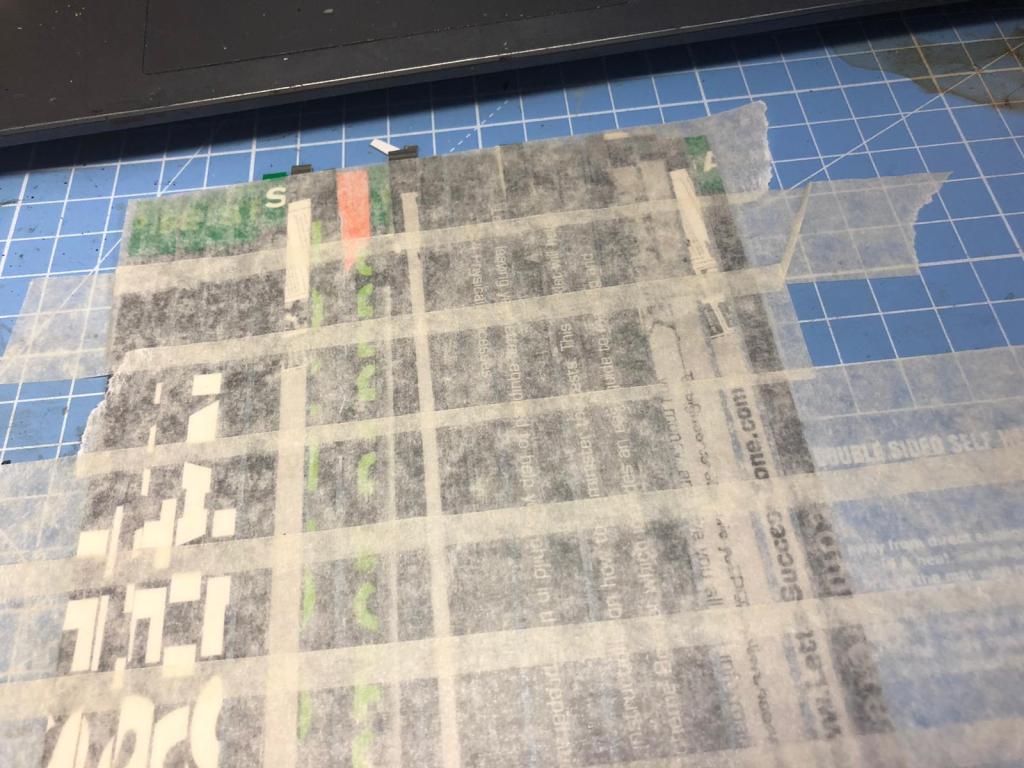
Now use this to clad your house (use Superglue due to the masking tape not being that PVA compatiable), start from the bottom and pretest each level before you glue it. DID I SAY USE SUPER GLUE. Have good ventilation with the glue.
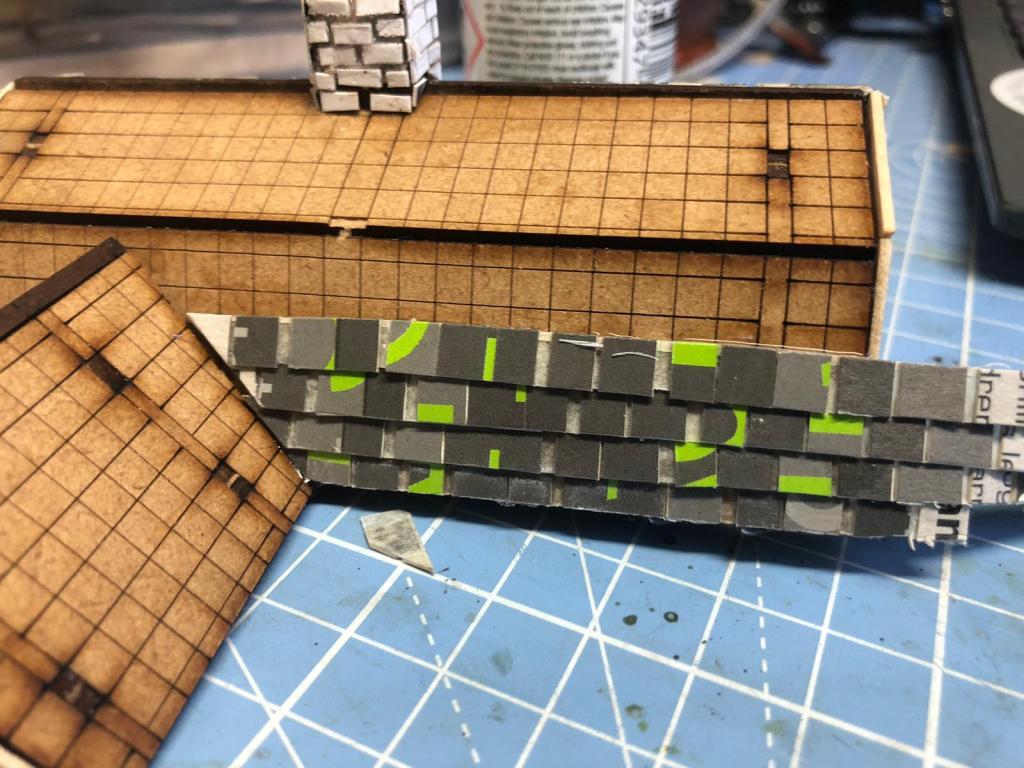
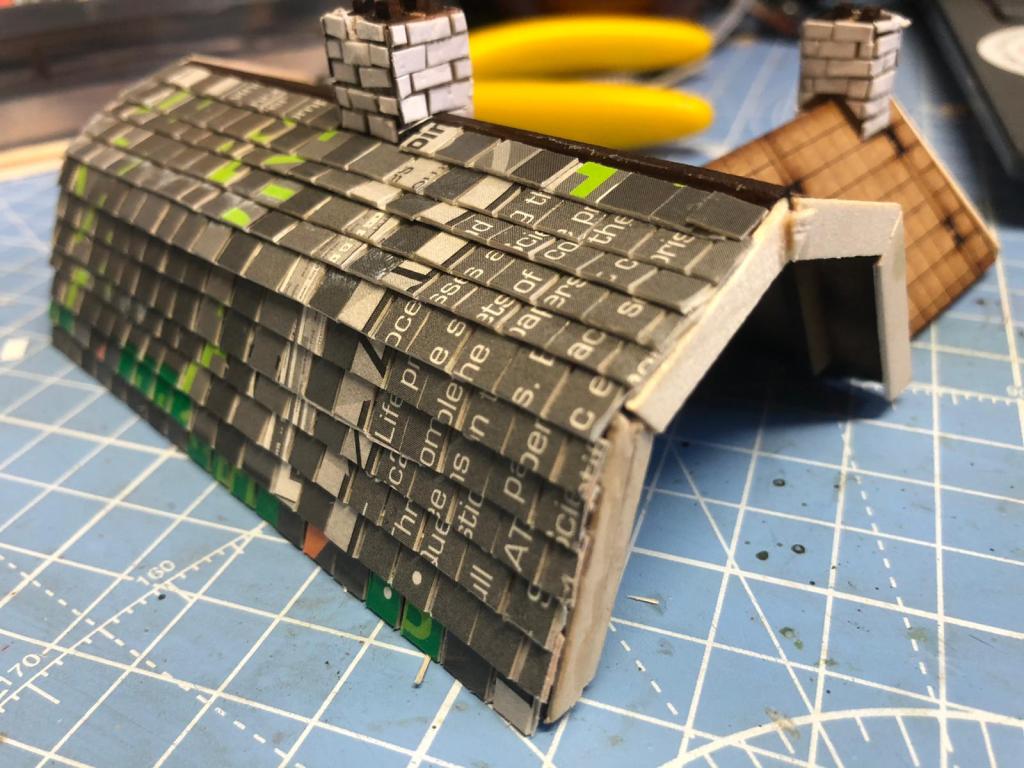
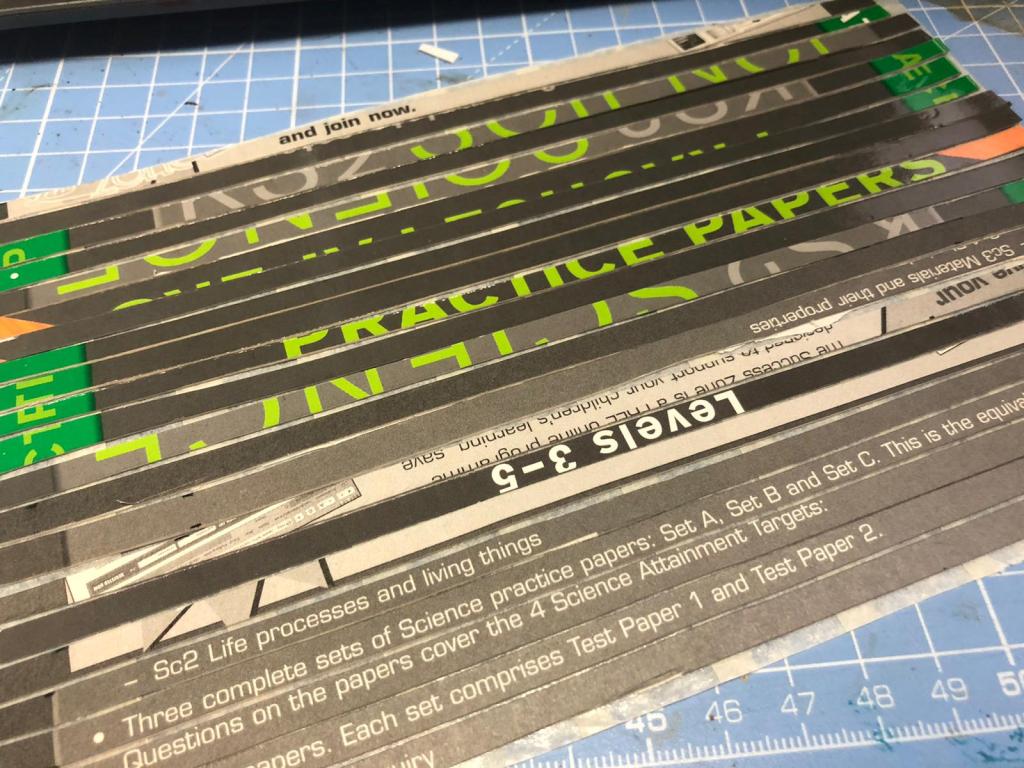
It will look funny depending of what cardboard you are using but it gets all painted over in the end so it is totally irrelevant. This is how the roof looks like when finished – you could make your tiles tighter and also cut more precise than I did but the point is that the masking tape allows you to do this really quick as you add strip by strip instead of brick (I mean tile) by brick.

Next time we will paint the two houses, after I added some of Sarissa tiles on the other one.
Not really 1943, more like 1973, Dad on the left with his mates playing badminton on a nice sunny day. Note the houses in the background, that is Dalarna folks.

/ Hope that was of some interest.

Love the detailed “step-by-step” instructions, I like how you’ve made simple MDF structures take on some character and become more!
That picture of your dad could be almost anyplace I’ve lived or visited in Maine in late winter/Early spring – snow, shorts and color of the houses!
LikeLiked by 2 people
Thanks Eric. I will go and see Maine one day, a lot of people say it is very similar but different. It takes a little bit of work but it makes a big difference spending some time on the MDF buildings.
LikeLiked by 1 person
Nice work on the houses! 🙂 Handy that you can get the 15mm ones in MDF to work from!
LikeLiked by 2 people
Thank you John
LikeLiked by 2 people
Great work there- looks the business.
Neat technique on the tiling too,
Cheers,
Pete.
LikeLiked by 3 people
Just on if those ideas that worked out
LikeLiked by 3 people
Excellent work
LikeLiked by 2 people
Many thanks
LikeLiked by 1 person
Genius stuff Per.
LikeLiked by 2 people
Thanks Mark, it makes the process quicker and with more precision than I have you could probably make it look pretty smart too.
LikeLiked by 2 people
By the way that new Garage of yours looks lovely, it looked so small in Green at first glance but realised it was on two floors. Superb
LikeLiked by 2 people
Thanks Per. It’s 16’ x 24’, but the ceilings are nice and high!
LikeLiked by 2 people
Lovely build!
LikeLiked by 1 person
Wonderful buildings. I really like your technique for creating the tiling (or shingles, as we call them here in the states). I play AWI, and I need to do this not only for all roofs, but often for the entire outside of buildings! Can you provide a few details?
How do you stick the strips to the tape? I assume you put the tape sticky side up, but do you secure the tape to the table so that you can keep the strips tight? If so, how?
Also, when you cut the strips into tiles, how do you make sure that you do not cut into the tape its stuck to?
Thanks!
LikeLiked by 1 person
Thanks for your question, I will do a follow-up blog in the next few days and explain the process in better detail. All the best
LikeLike
Great. Thank you.
LikeLiked by 1 person
I am waiting for some more MDF houses so I can do some of this, they seem to be delayed somewhat
LikeLike
Great idea for making roof tiles! I have glued many tiles on 15mm buildings, it is mind-numbing work. Your technique looks a lot easier.
LikeLiked by 1 person
Many thanks Thomas, happy you liked it.
LikeLiked by 1 person
Pingback: Hobby Round-up of 2021 – An eclectic mix – Roll a One – Wargaming Blog