
Last week I wrote about some fields I am doing using £3 doormats from B&Q (link to that blogpost here). The idea is to create something that look reasonable on your wargames table relatively quickly and I think cost efficiently. The approach presented in the original blogpost how to make the type of field shown below, and it is worth checking that out before you read this one.

Now this will allow me to produce a number of Green fields, depending on what flock/scatter I am using. The brown areas between the furrows works really well.
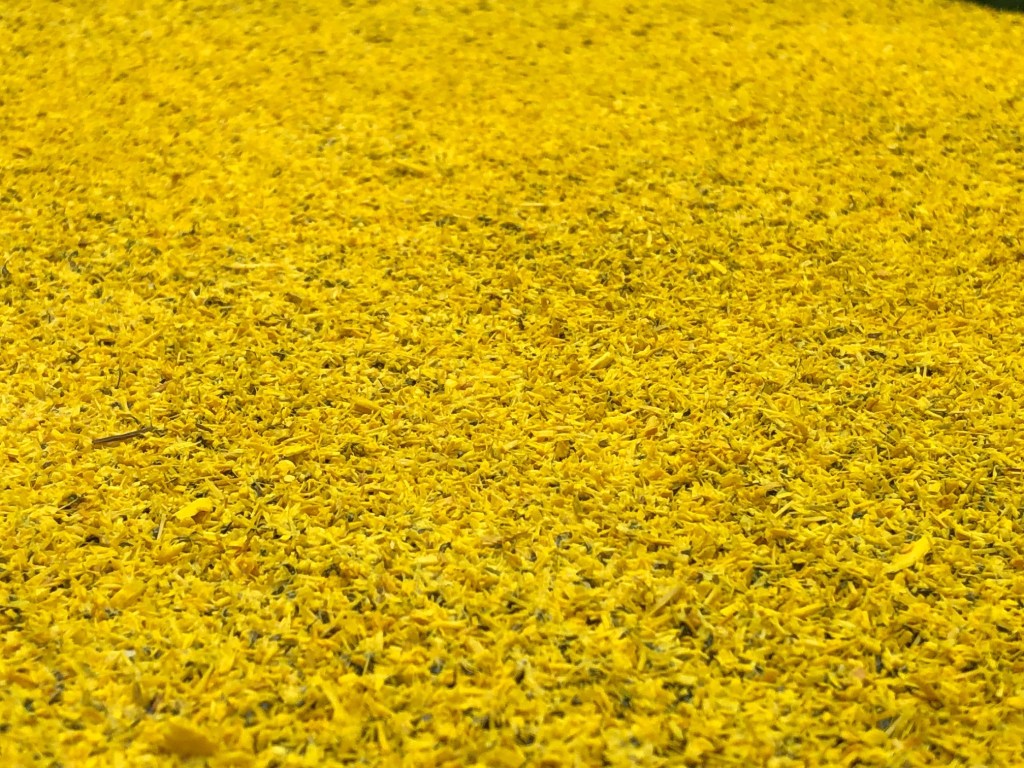
However I have been thinking about yellow fields that typically have a different look and feel to them. the contrast between brown and yellow would not be ideal. I would not even try it. Instead a typical “yellow” field tends to be more dense, i.e. furrows can not been seen just hinted and there is sometimes a green shine through (not that you could also do a more dense green field with this approach too).

I have used yellow pieces of fur, fleece etc but I did not really get a result I was happy with. Now with the door mat approach I realised that it would be relatively simple to do something that at least felt like the field above rather than a shit-brown surface with some strings of mustard.
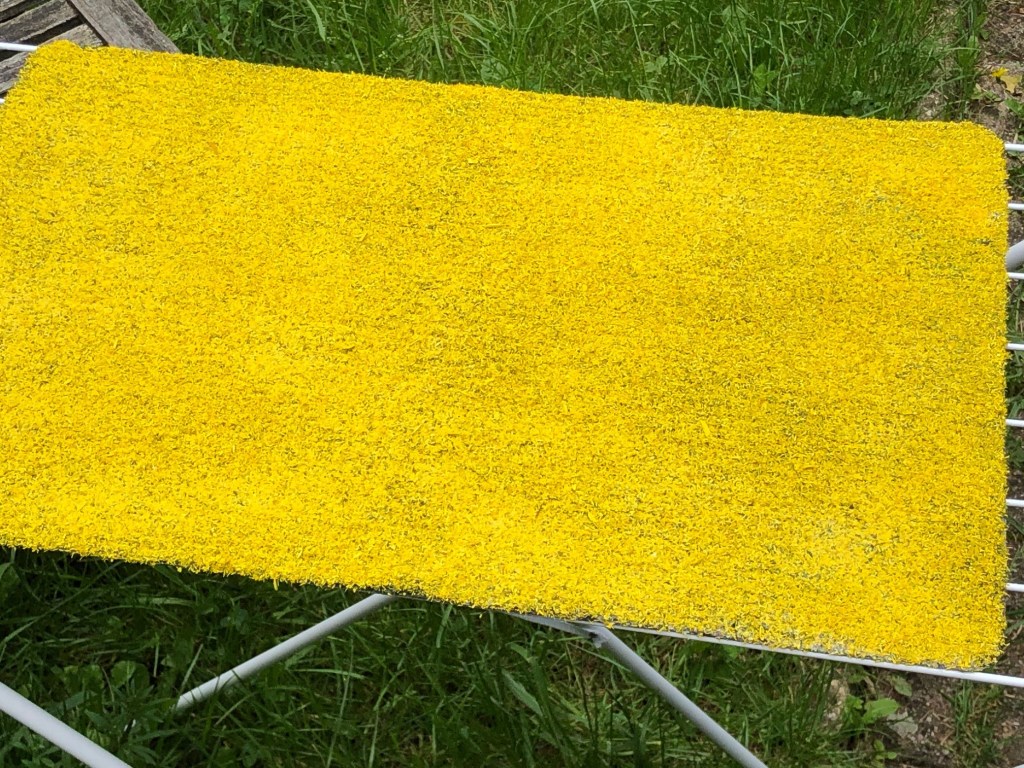
I ended up with something looking like this.

Anyway here are steps from Doormat to Yellow Field
What you need is
- A structured door mat (as described in the previous blog, ok last link here)
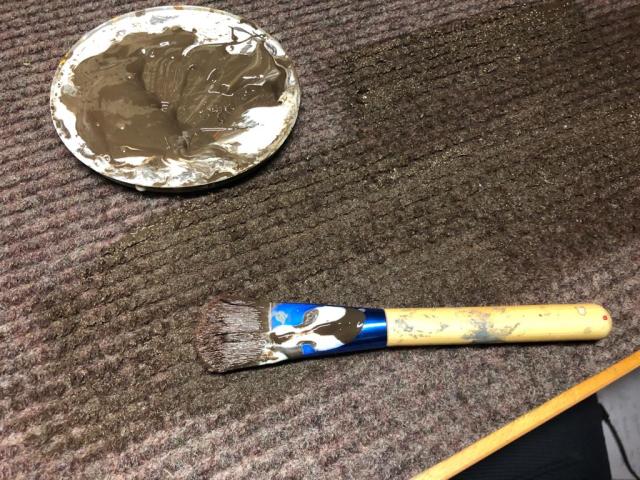
- Rough brushes
- Green paint
- PVA glue
- And finally a bag of scatter/flock – needs to be relatively fine like fine turf / sawdust etc. I have ordered a fair few “yellow” varieties and have found that with regards to colour and overall look the Busch 7054 is really my recommendation. You can get a bag from £2 from railway modelling companies. Just search for “Busch 7054”. A bag should last for say 2 of these fields.

The Steps (the best thing would be to do over several days – day 1 (Step 1), day 2 (step 2), day 3 (steps 3,4,5) and finally day 3 (Step 6).
- Brown it up – let it dry
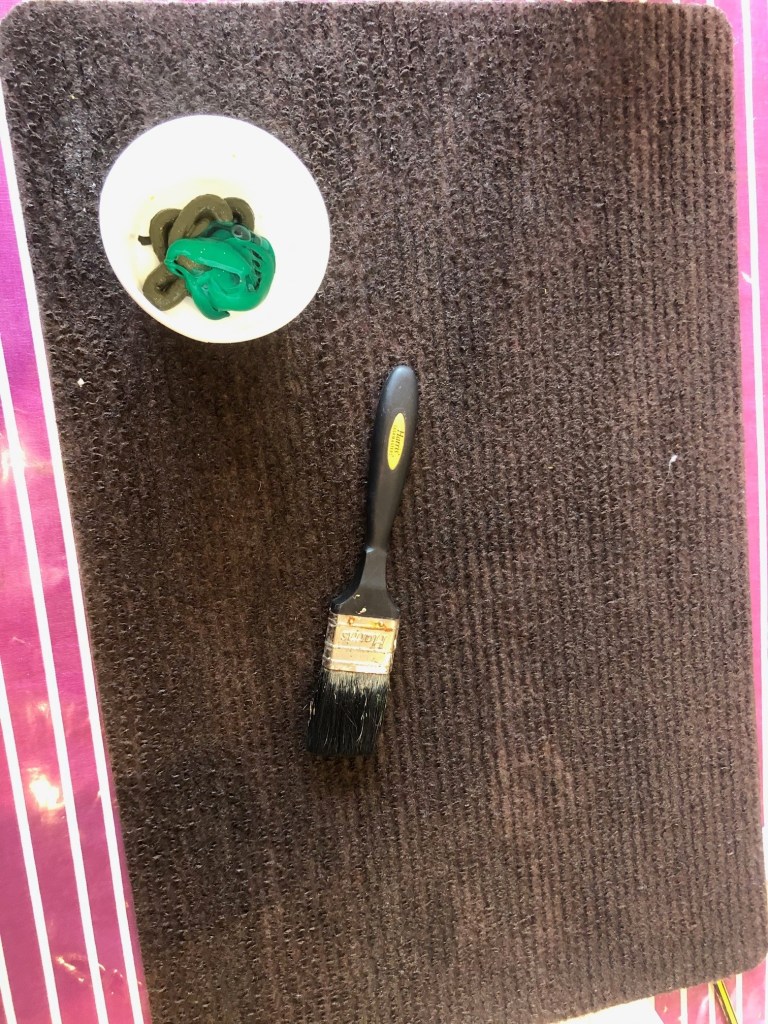
- Green it up – let it dry
- PVA It – do it in stages half the mat 3,4,5 then the rest 3,4,5
- Spread
- Shake – after this is done for the whole mat let it dry properly overnight
- Seal – let it dry (as this is very wet it will take a while to dry)
Shit Brown it
First I painted the mat in a dark brown mixed with PVA and let it dry, this serves to give some strength to the structure.
Green it up
This is really a rough wet brush, you want to have a strong green here, just a little brown coming through (you might be able to skip the brown and just start here).

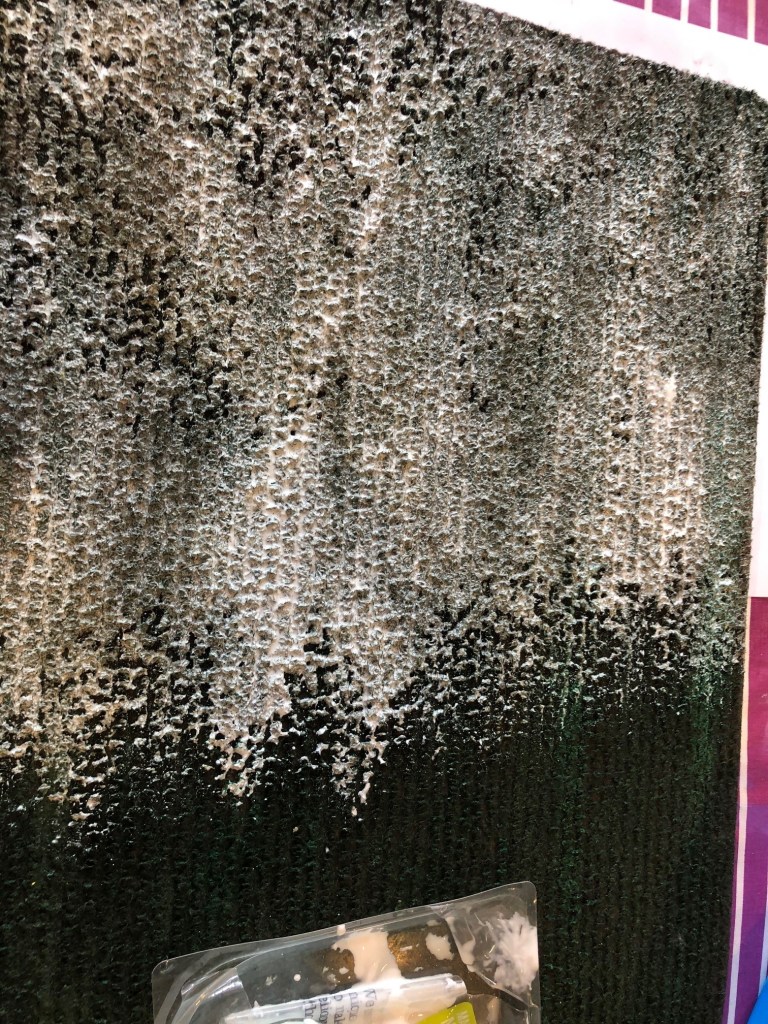
PVA it
Now last time we applied with finesse, I am using 2 parts PVA and 1 part water mixed and just brushing it on. I did about half the mat before I went on to the next step then covered the other part with PVA. Remember to cover all of the mat not just the furrows.
Spread
Then just cover the mat with your flock
Shake
Shake off the excess
Seal
This is really important, dilluted PVA sprayed over the mat
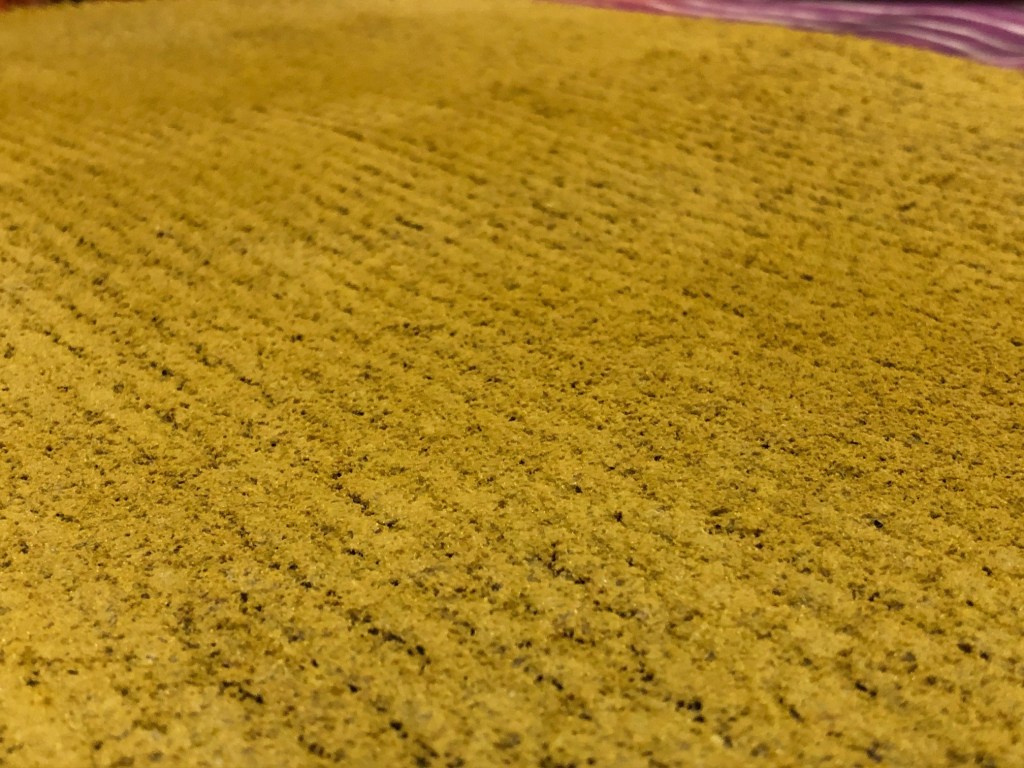
The finished mat, there is a little hint of green shining through and alos we can see the lines, albeit faint.
Here is one I did without allow the green paint to dry before I added the PVA and the flock, it created a more Green shinethrough (this is a little bit more experimental and tempramental and I let you explore this yourself, remember you could “repair” this with a yellow spray can if it goes too green).

And one I did using Woodland Scenics Yellow Grass
I hope this one and the last blog (see links above) gives you an idea on what you can do with this kind of mat.
I have done 5 of them so far – it should be enough to cover a normal wargames table and give that illusion of different crops and fields, with the cost of the mat, then paint, pva and scatter say a total cost of £5 per mat. That is a good deal and really not a very difficult project to do. You can then cut them into the sizes you need and perhaps add some further edge detailing etc. I will show in a later blog post how I will use the mats for my table.
/Hope that was of some interest, have fun…

That looks great- looks very effective and reminds me a of all the rape seed fields we get near here.
Cheers,
Pete.
LikeLiked by 2 people
Many thanks Pete, I really like these kind of fields, it gives a nice contrast to the green.
LikeLiked by 1 person
A nice finish on all of those! 🙂
LikeLiked by 2 people
Many thanks John
LikeLiked by 2 people
Bravo! Excellents in all respects, plus it solves a problem I’ve had as to how to make field suitable for 28mm and larger. I’ve been doing the same thing using packing cardboard–similar to cardboard box cardboard, except that it’s one-sided, so the ridges are front-and-center. The problem is that even thick cardboard is not thick enough to look good for larger-scaled figures. I’ve been able to make decent (not great, just decent) ploughed fields for 20mm on down. Now I can take care of my larger-scale needs, except that it may take me awhile to find the right king of mat here (U.S.).
Best regards,
Chris Johnson
LikeLiked by 2 people
Thanks Chris, good luck in finding the mat. Let me know how you get on.
LikeLiked by 1 person
Love this Per!
LikeLiked by 1 person
Thanks Mark
LikeLiked by 1 person
Fields are on my “to do list” so thanks for this and the previous post as inspiration.
I was thinking of teddy bear fur for “yellow” fields, but this has given me something else to think about.
LikeLike
It is an option, I sometimes thing the fur looks like it is lying down, maybe fleece. I did look at that
LikeLiked by 1 person
I like the yellow too, the green in it works really well in amongst the yellow.
LikeLiked by 1 person
Thanks!
LikeLike
Pingback: Hobby Round-up of 2021 – An eclectic mix – Roll a One – Wargaming Blog