Two things today in a rather long post
- Joy of Six 2025 – Max and I had a fantastic time in Sheffield despite some initial game setup issues, successfully running our scenario and reconnecting with friends of the hobby. Lots of pictures from our and the other tables.
- My preparation to play Devilry Afoot a lot of pictures of new and old models I will be using.
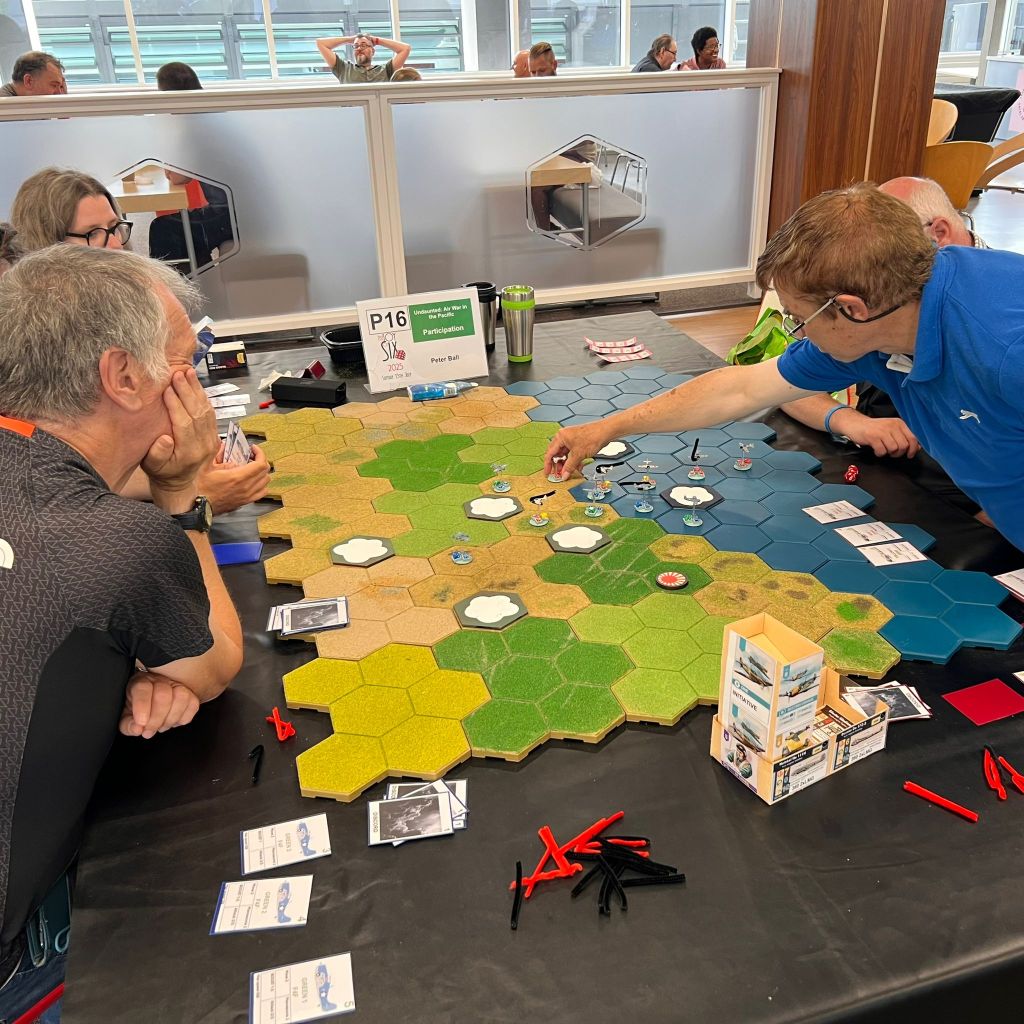
Joy of Six 2025
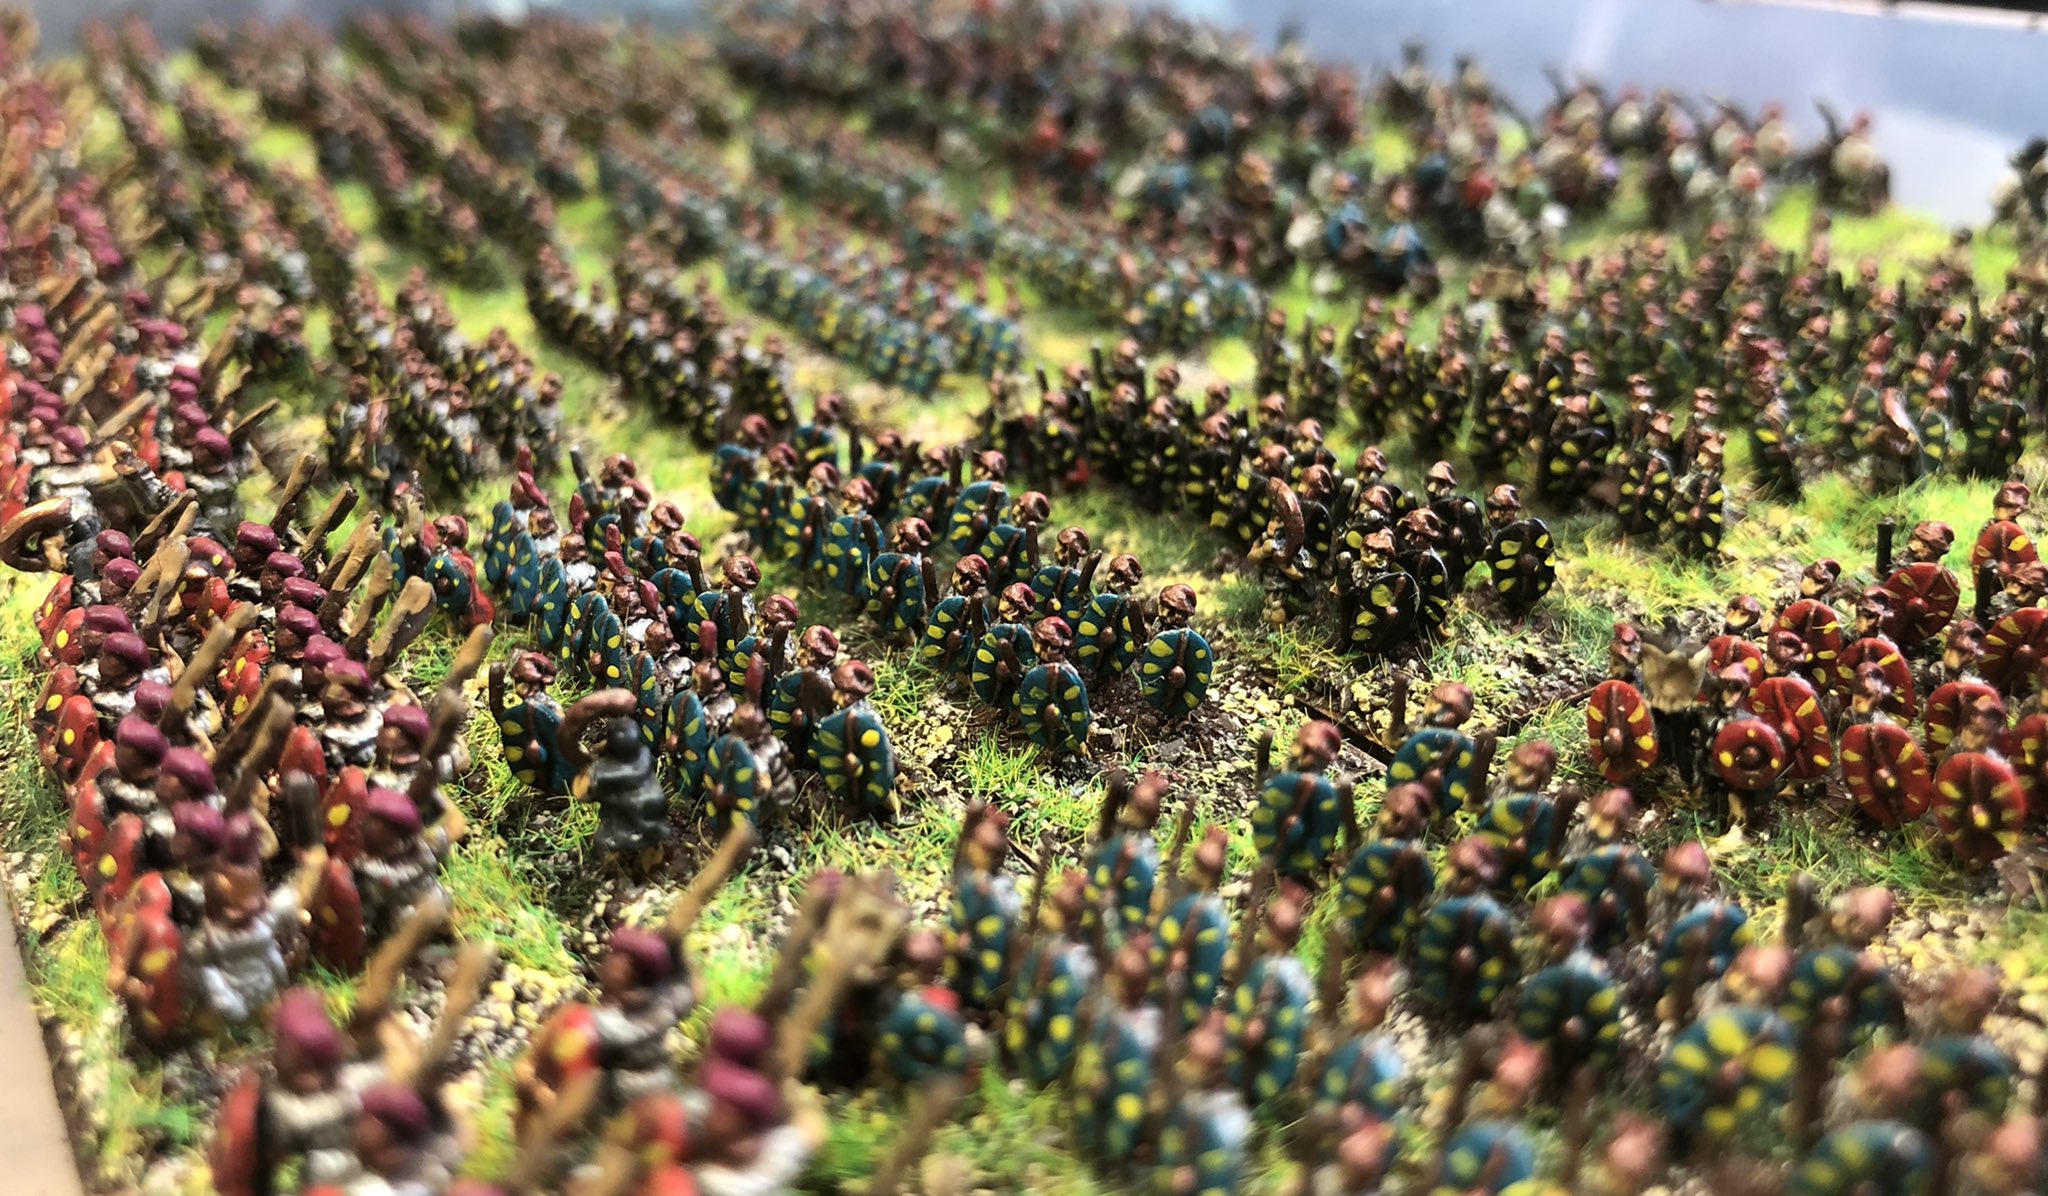
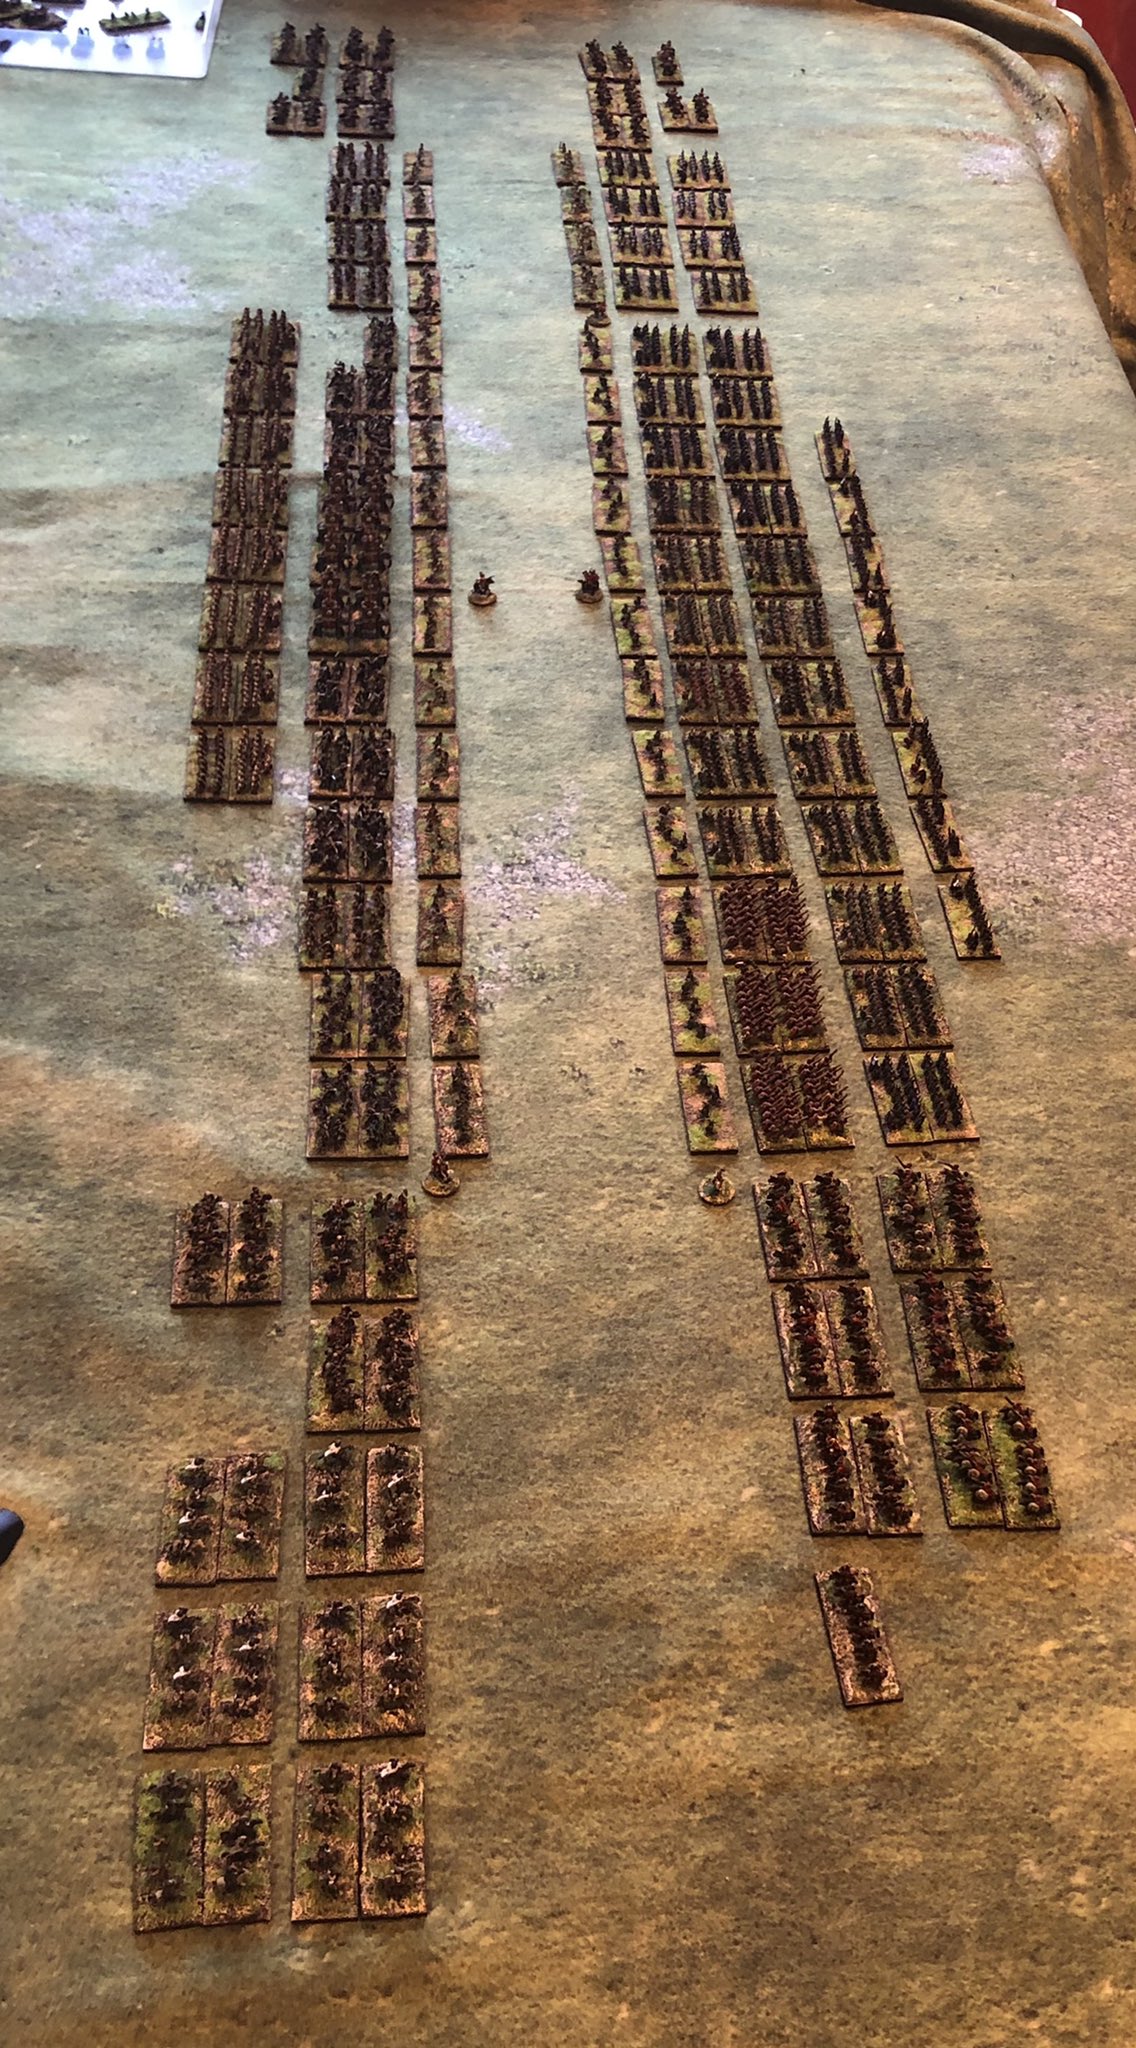
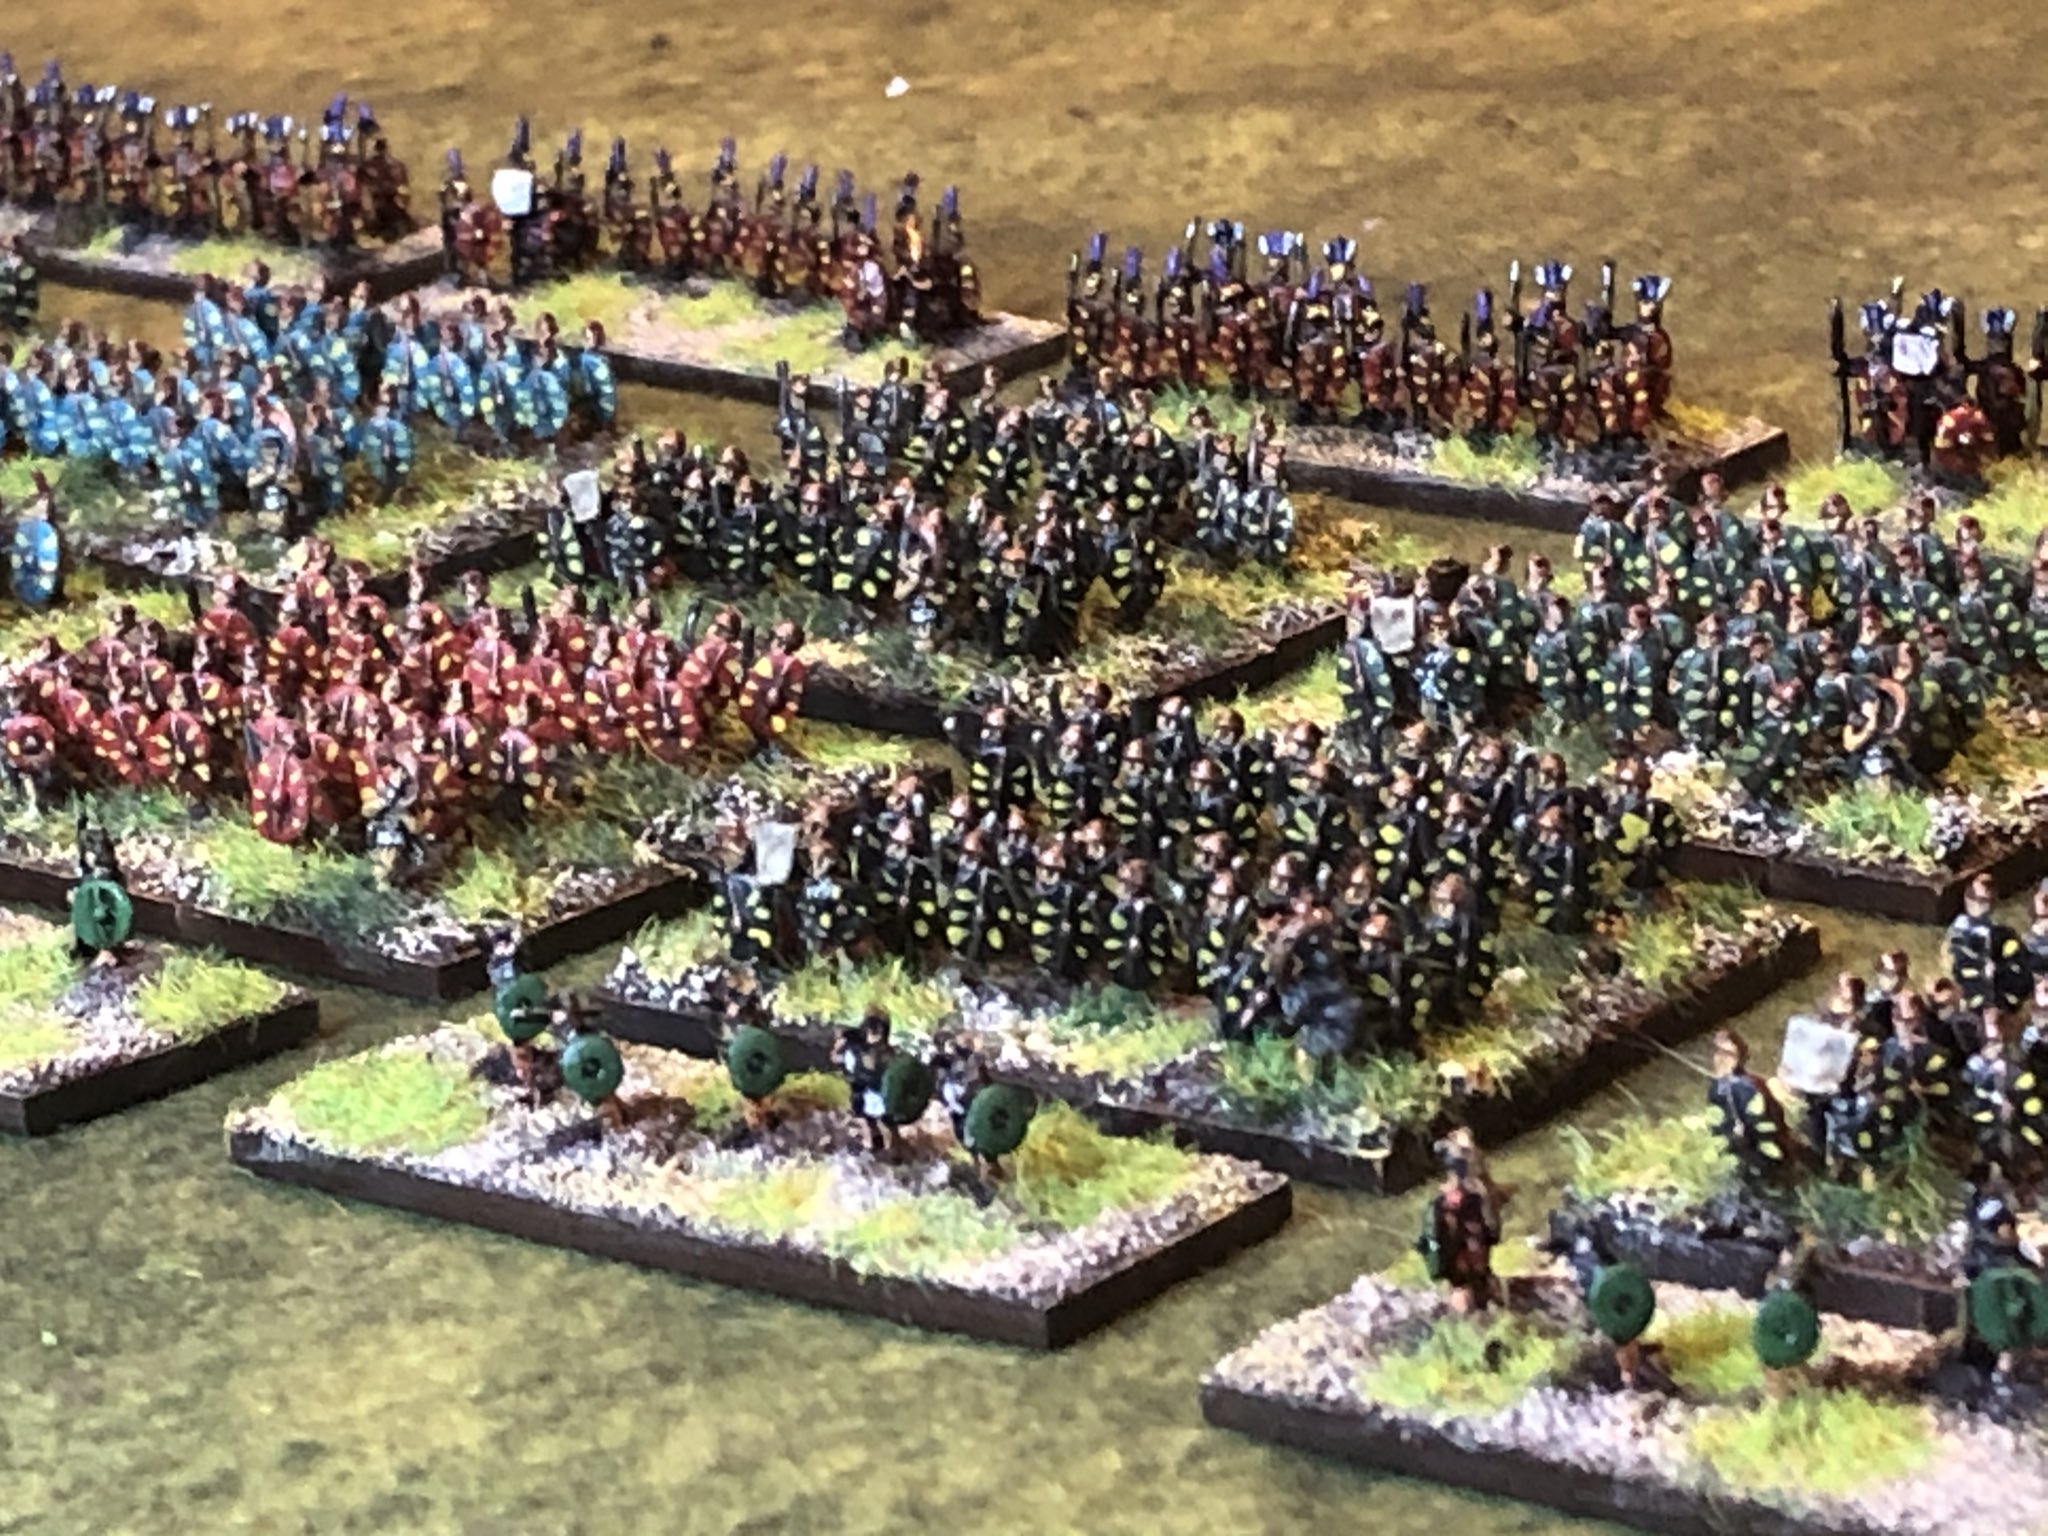
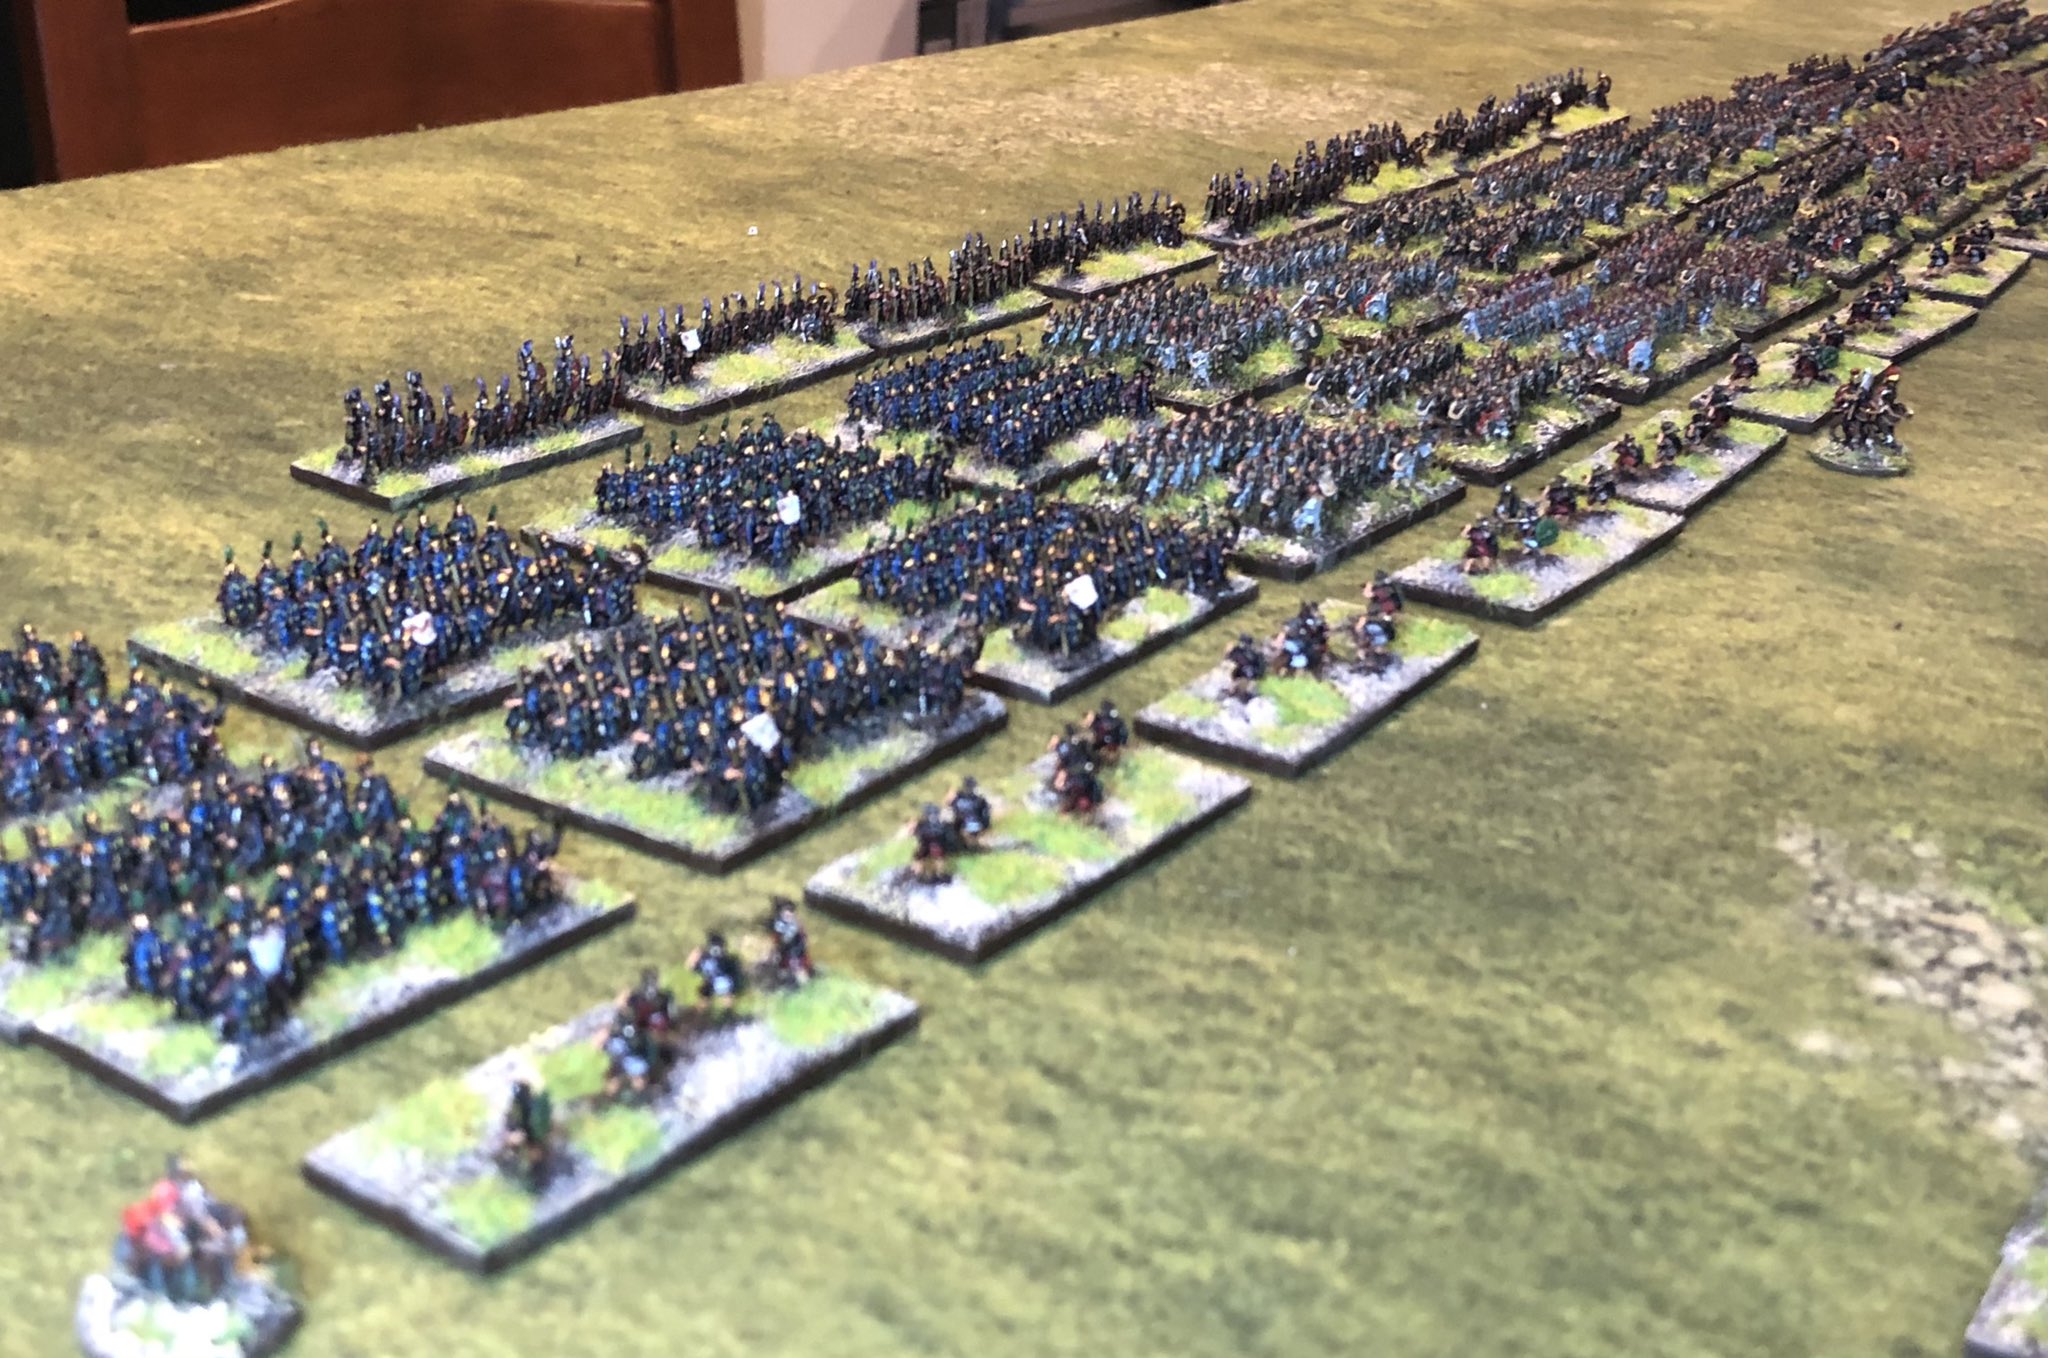
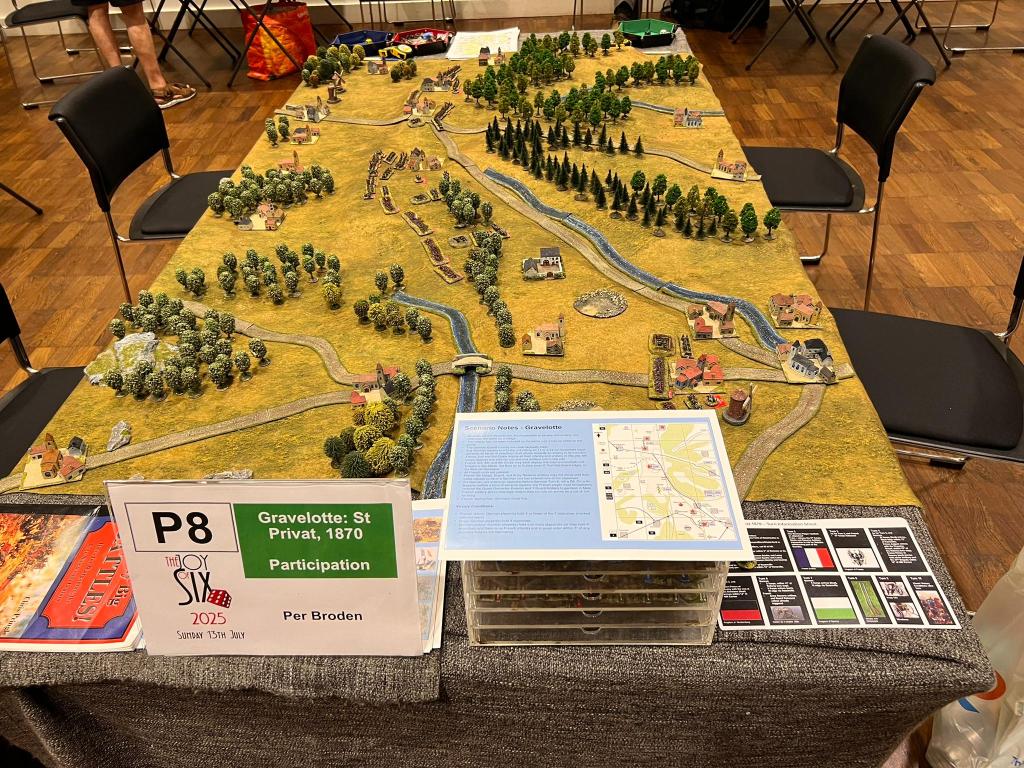
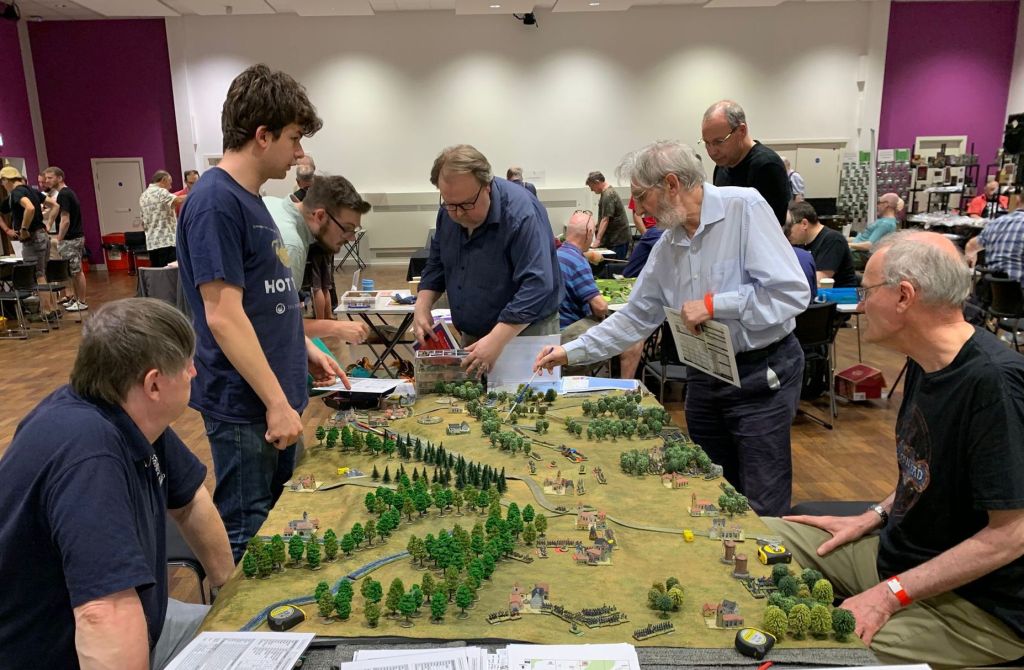
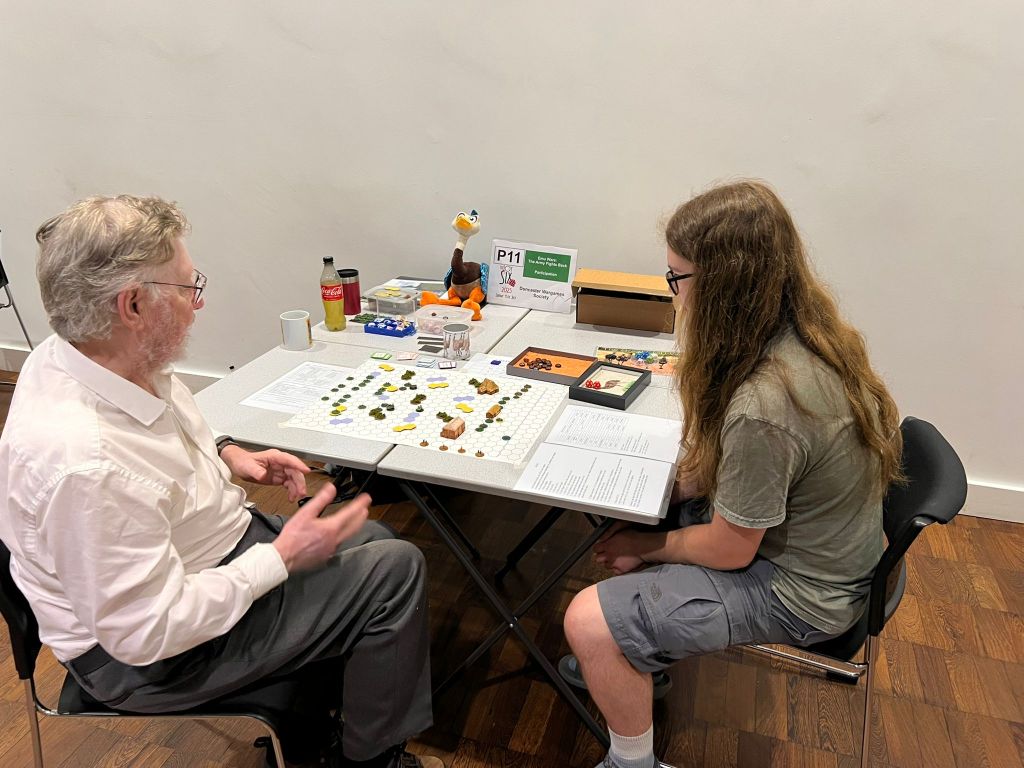
It has now gone a few two weeks since Joy of Six 2025 and Max and I ventured up to Sheffield and had some issues with the game we were supposed to use (documented here). However we managed to achieve all the objective and we had a blast at the show and met a lot of new and old friends- particular shout out to Chris Pringle and Mark Smith both from the Big Bloody Battles community. Mark wrote the BBB India and Napoleonic supplement and played on the Prussian side on the day which was a great help. Max, formerly known as the little one, held the fort well whilst I talked to people around the table. It was nice to catch up with Chris Pringle who wrote the rules and is a jolly good fellow. Also thanks to members of the Shed o War crew who kept us good company before and after the event – Des, Iain and Jonathan.
I was also on a panel with https://hereticalgaming.blogspot.com/ and https://www.blmablog.com/ and we got a wide range of questions, including the relative suitability of various historical periods and genres for using 6mm scale miniatures, considerations around gameplay and terrain, the merits of adapting existing rule sets for 6mm models, and the ethical implications of representing contemporary conflicts. I think the conclusion was that 6mm could be used for anything, but it is perhaps best suitable for larger battles, and that the ethical aspects is about context and approach to the game – or something like that.
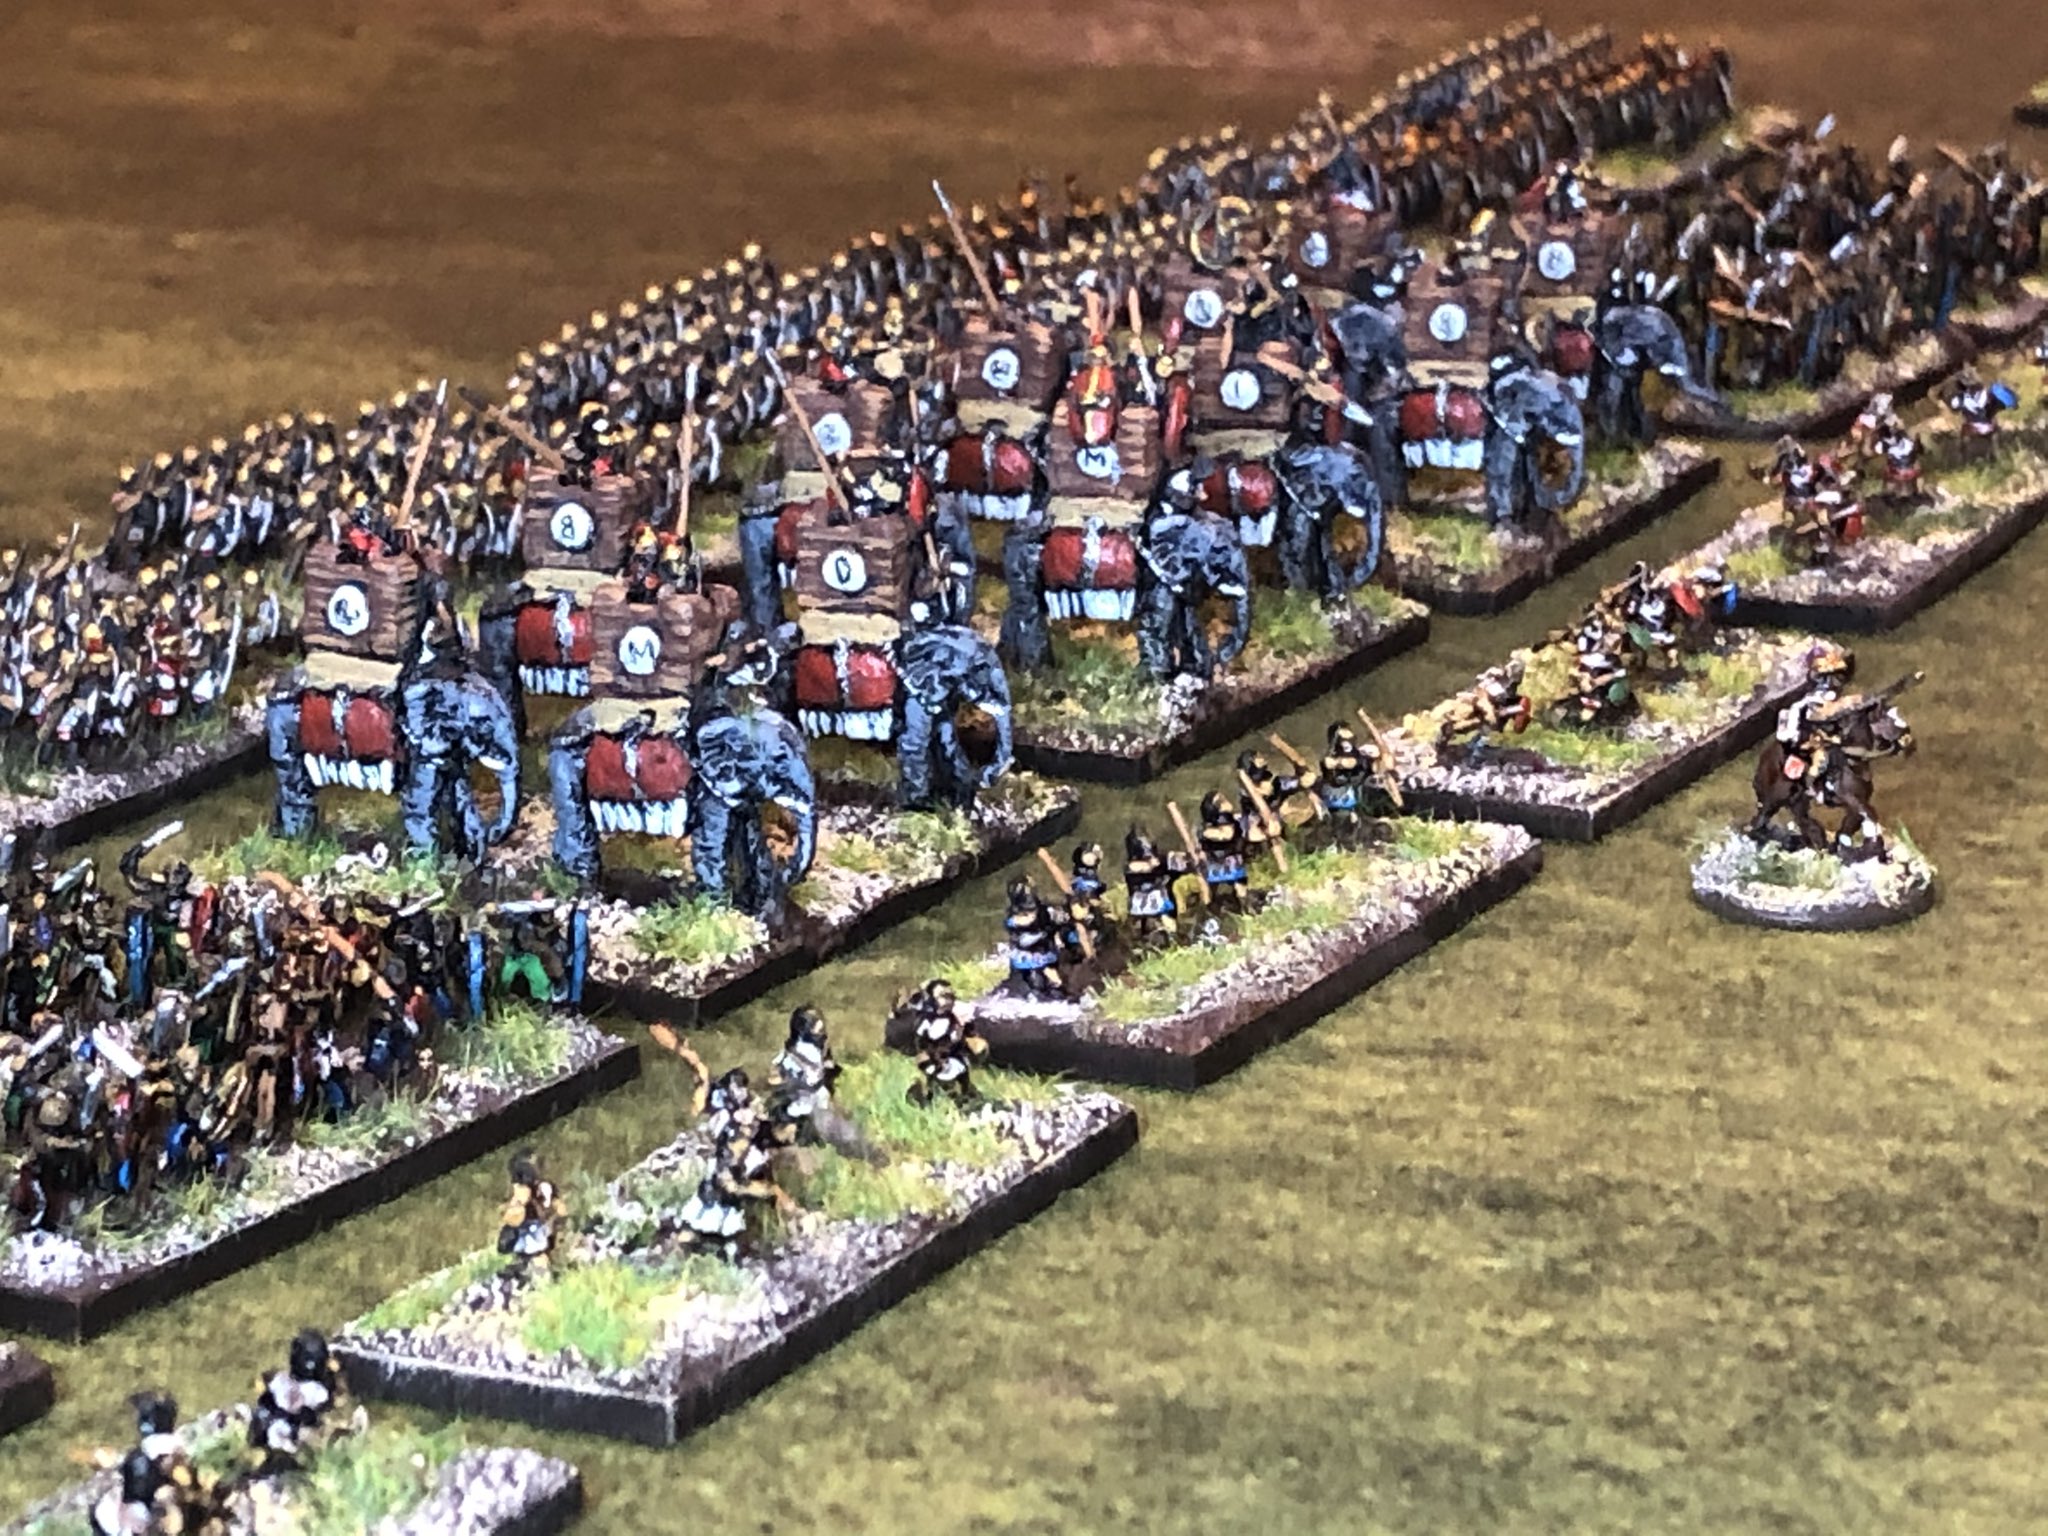
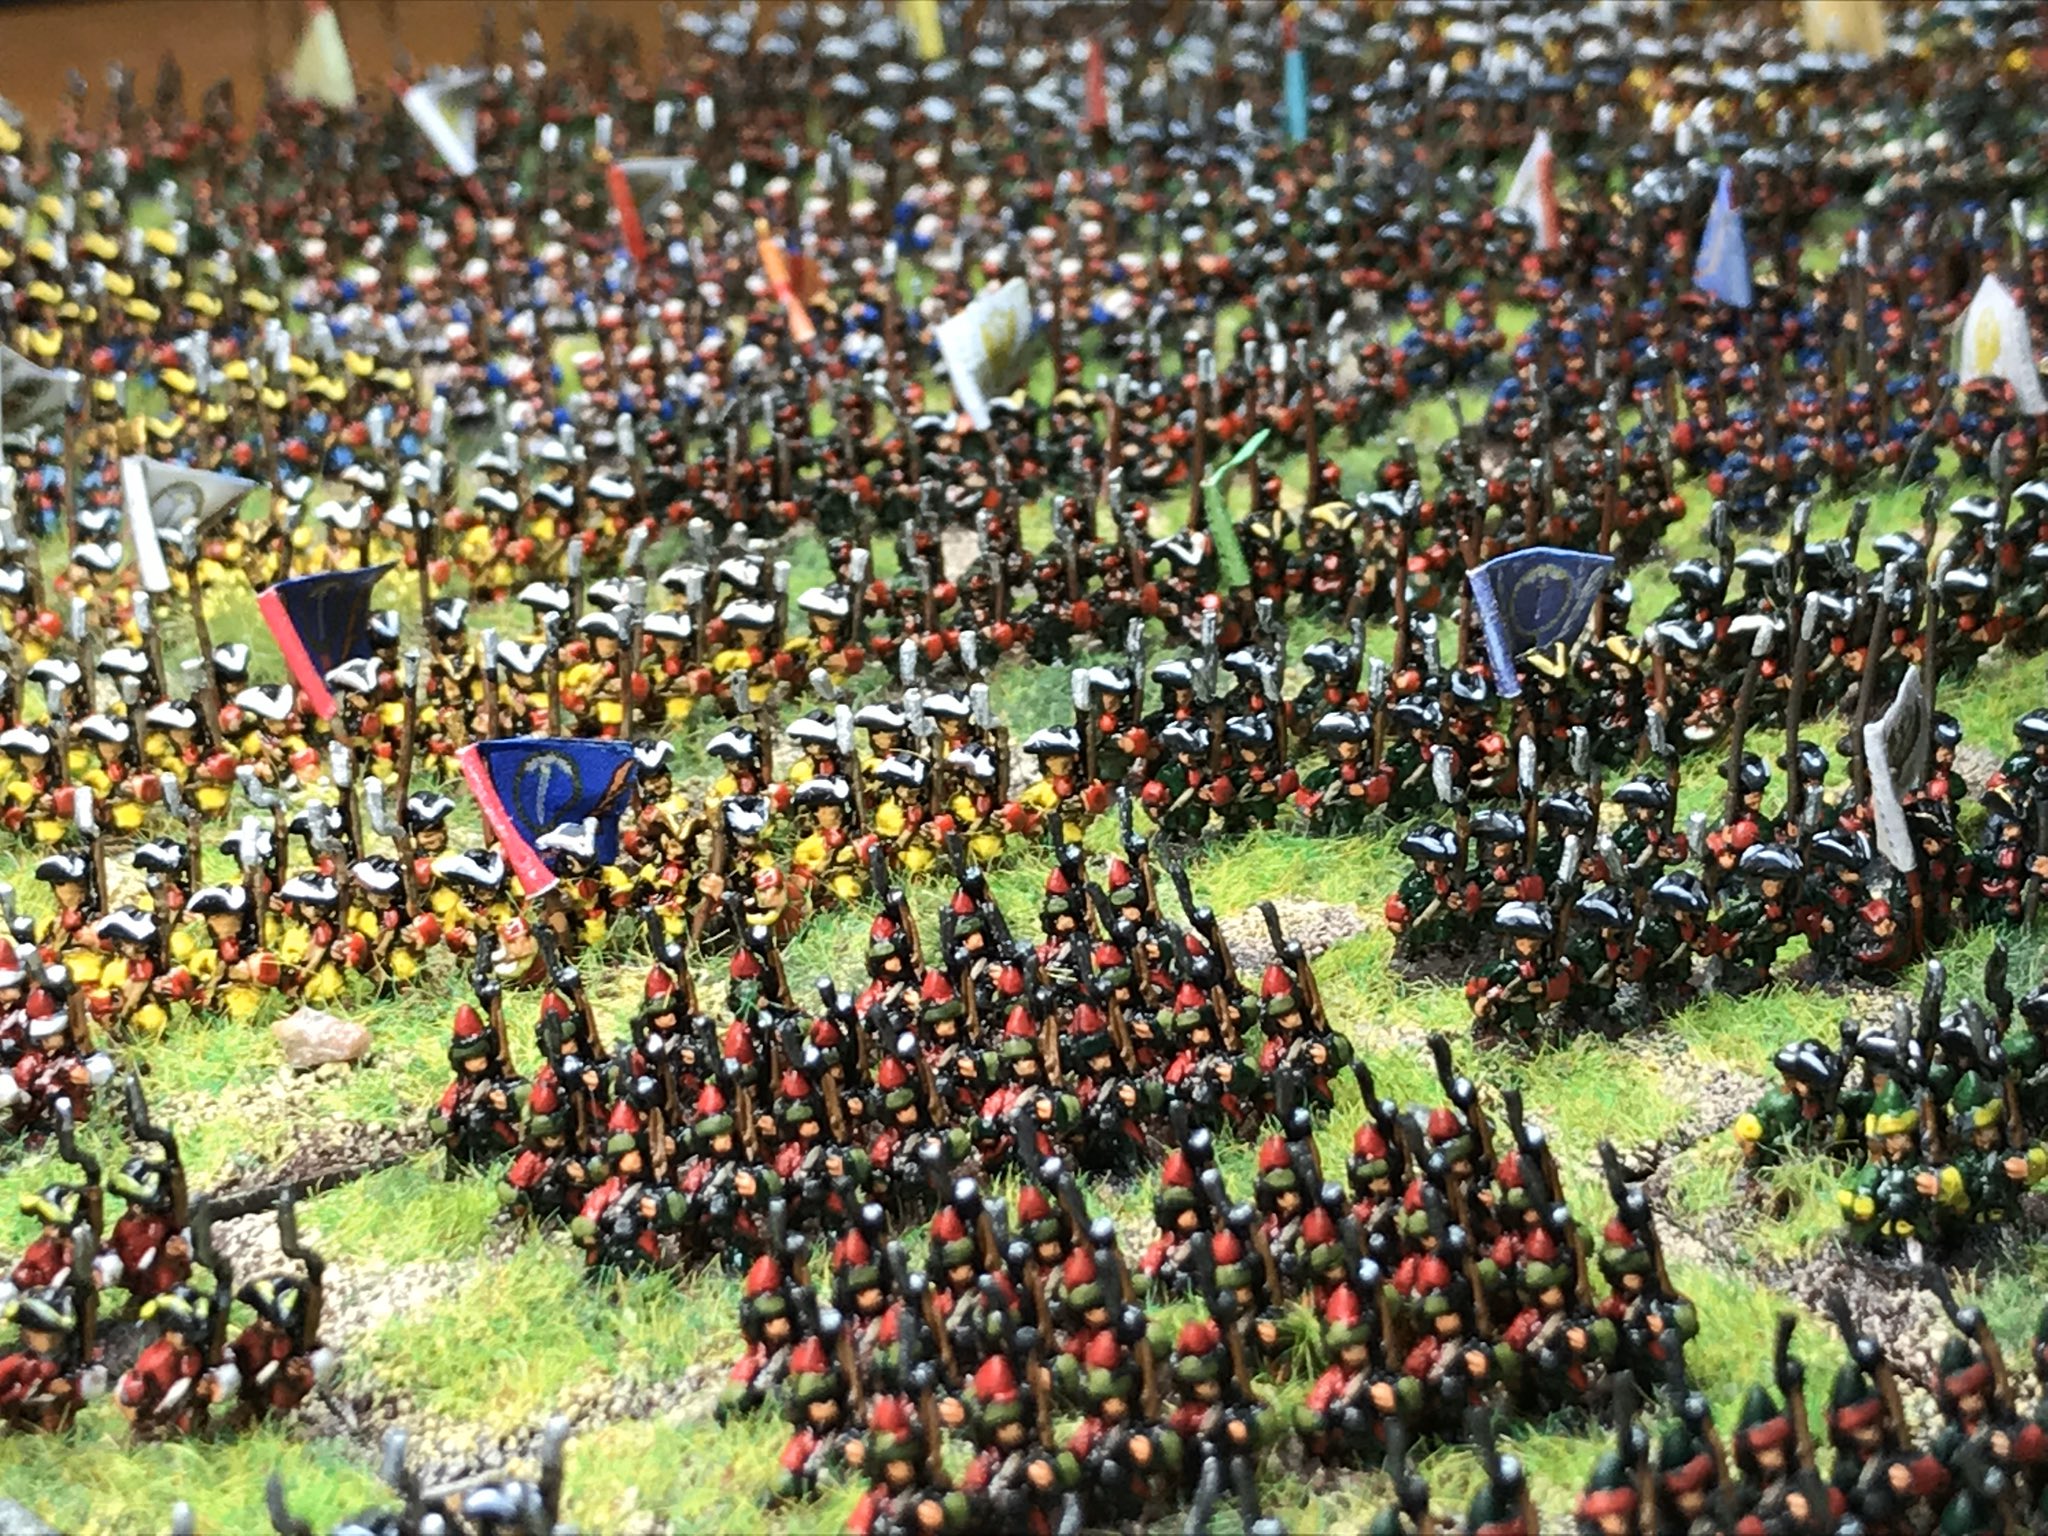
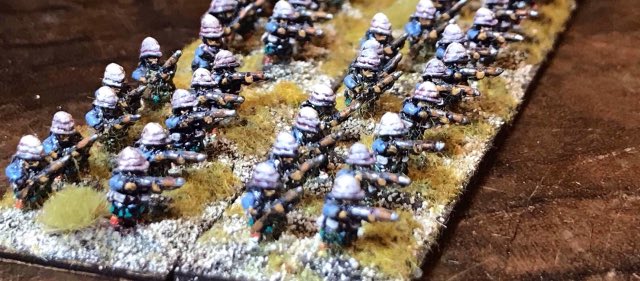
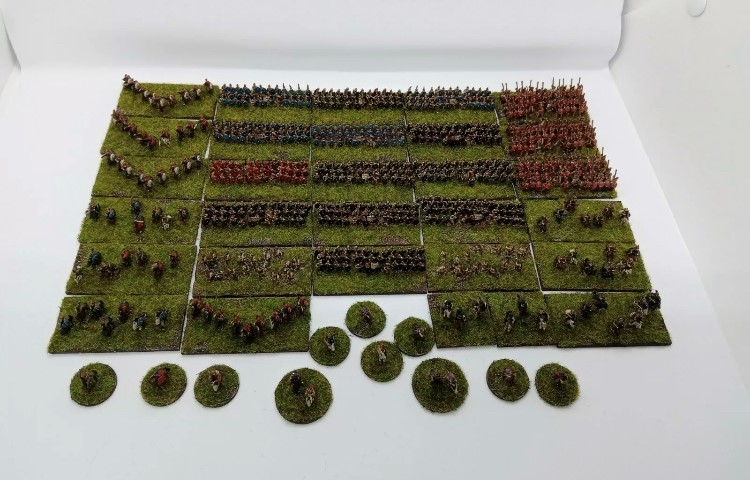
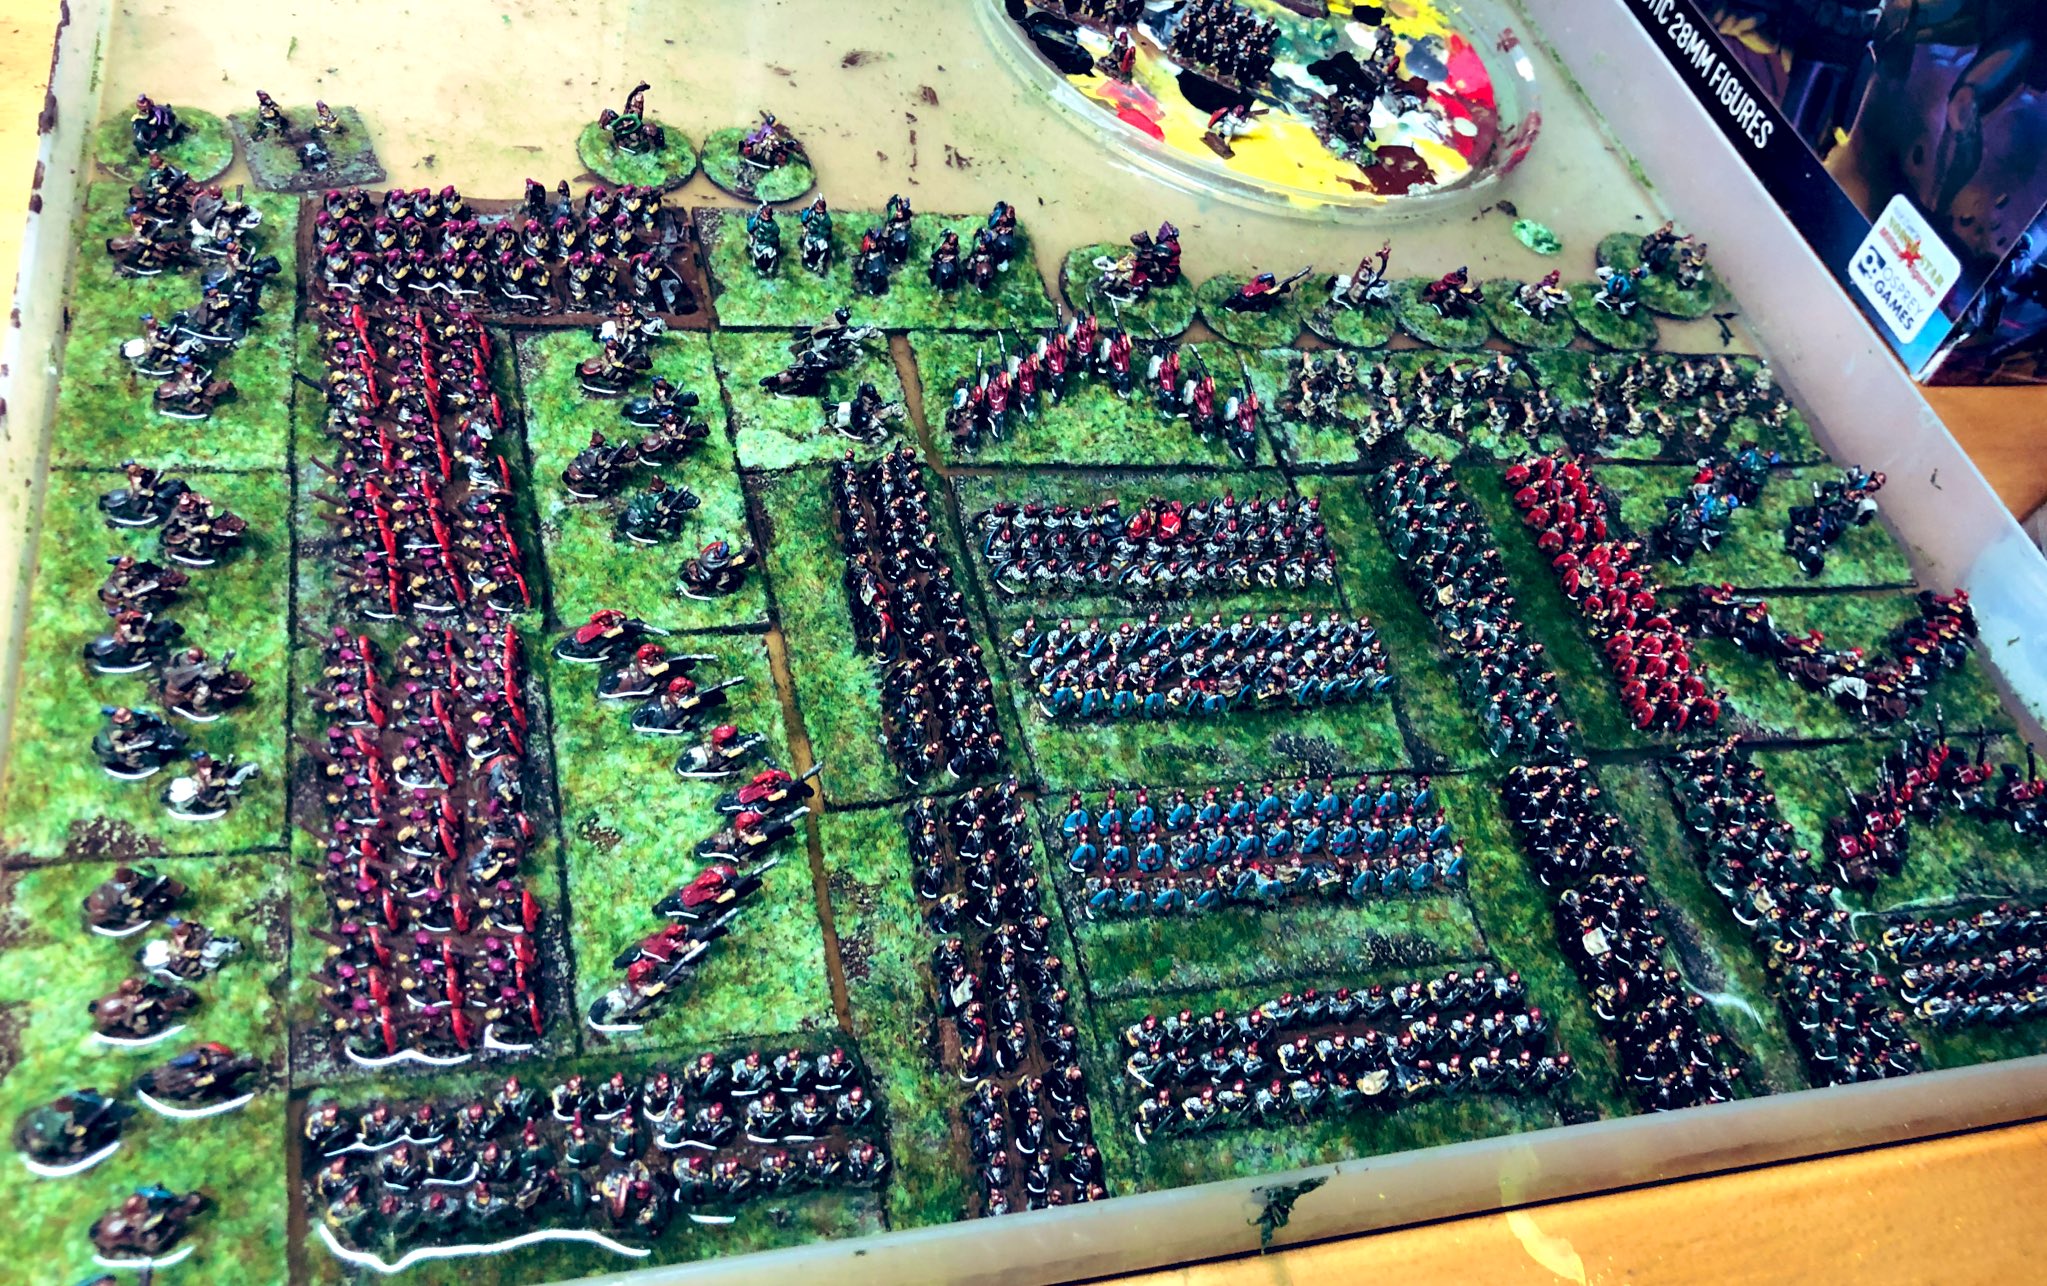
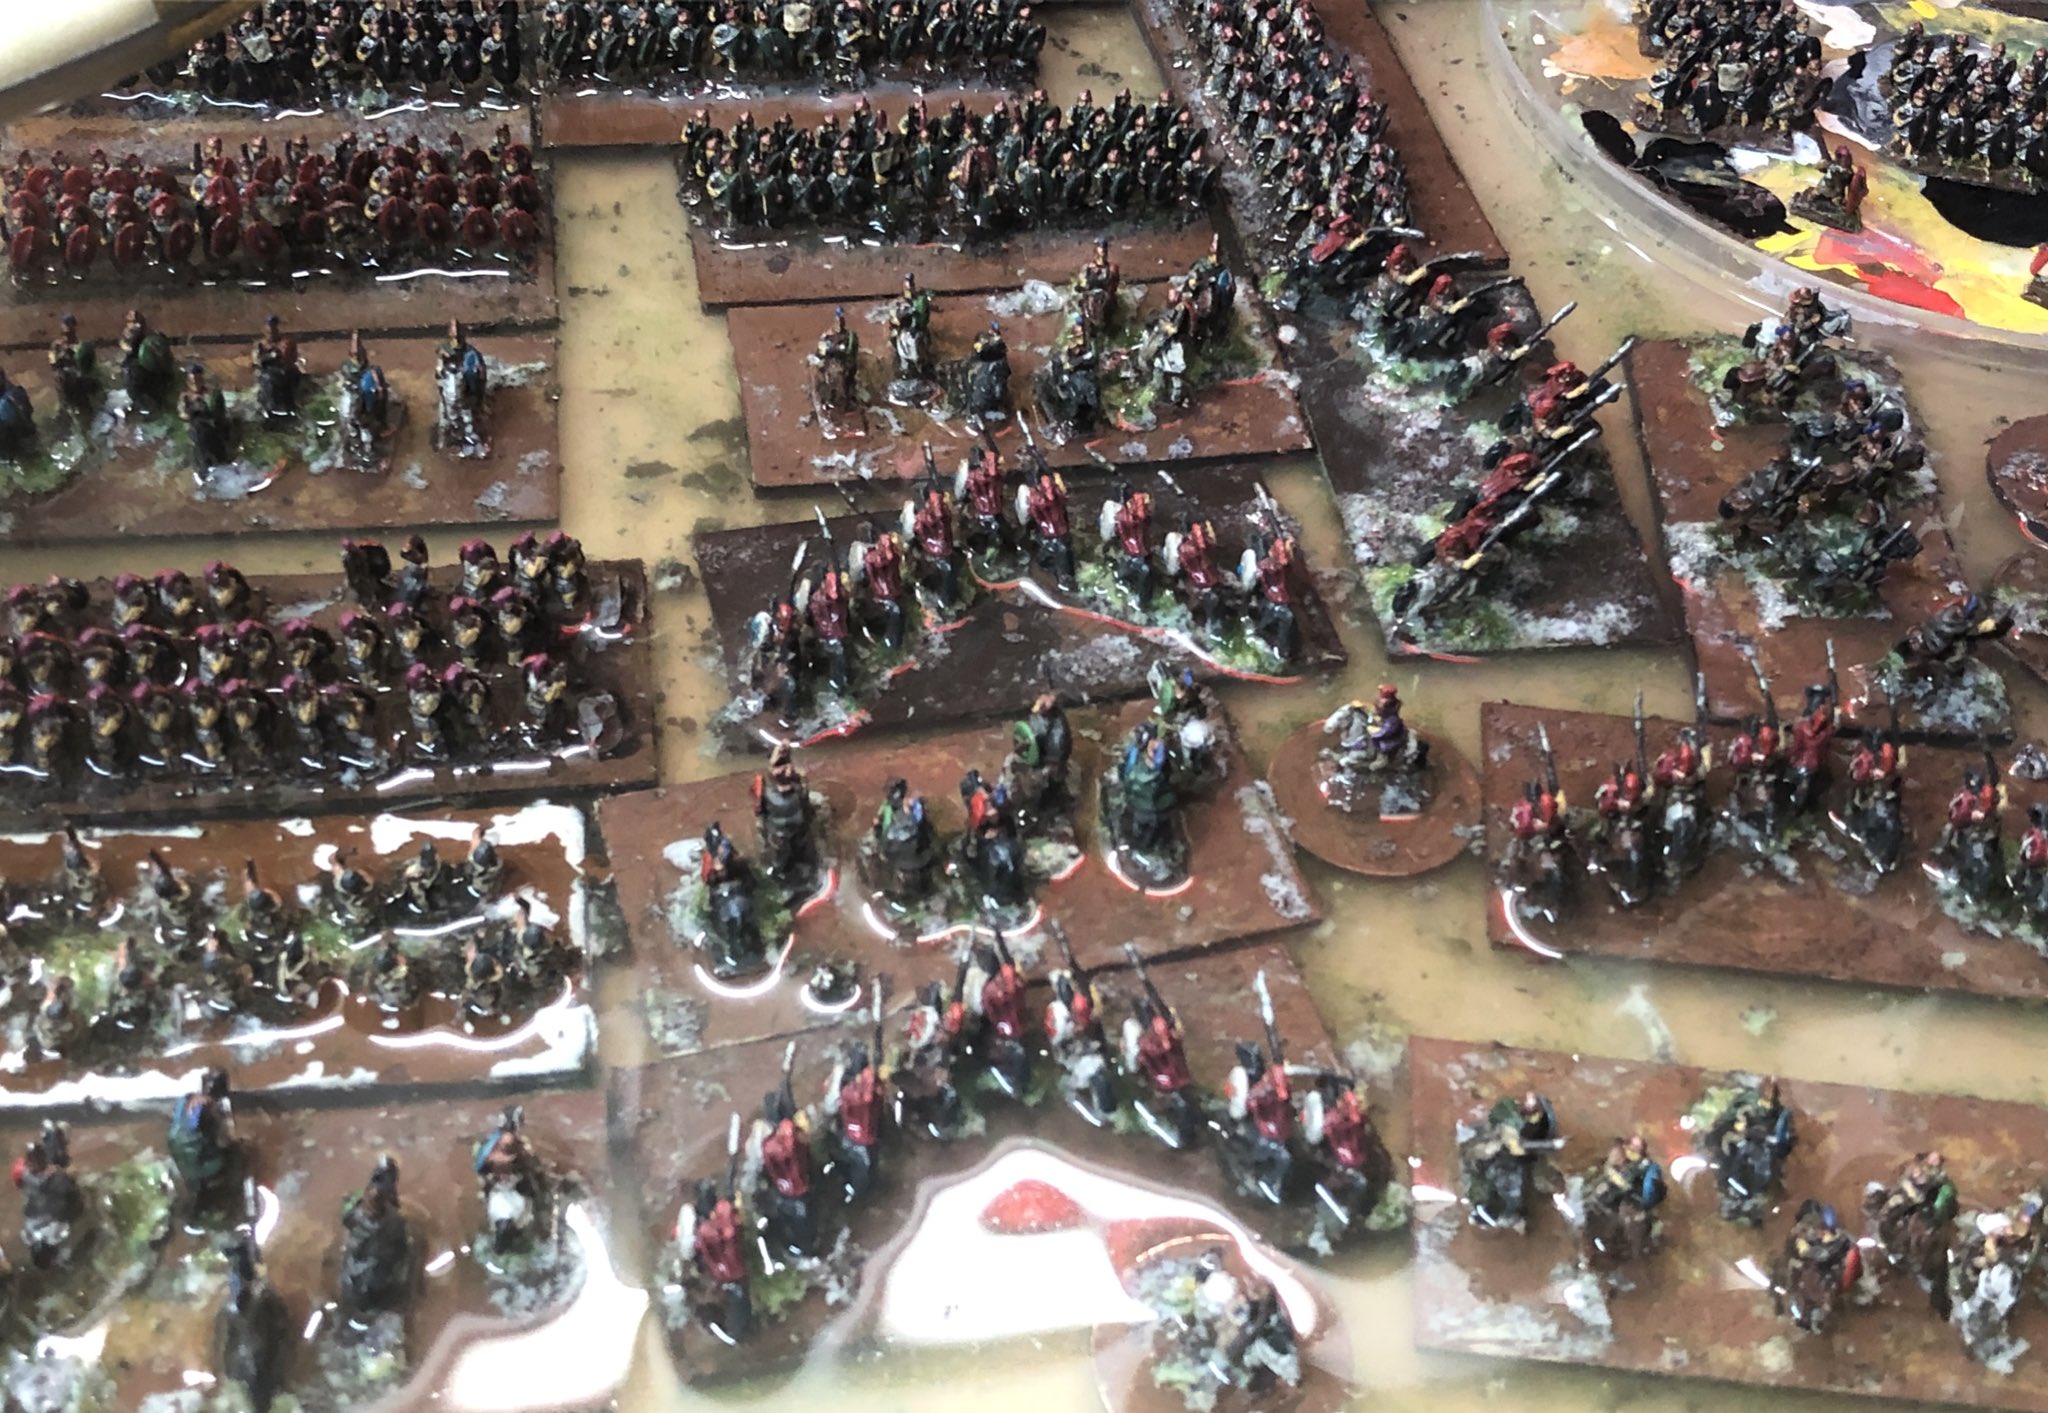
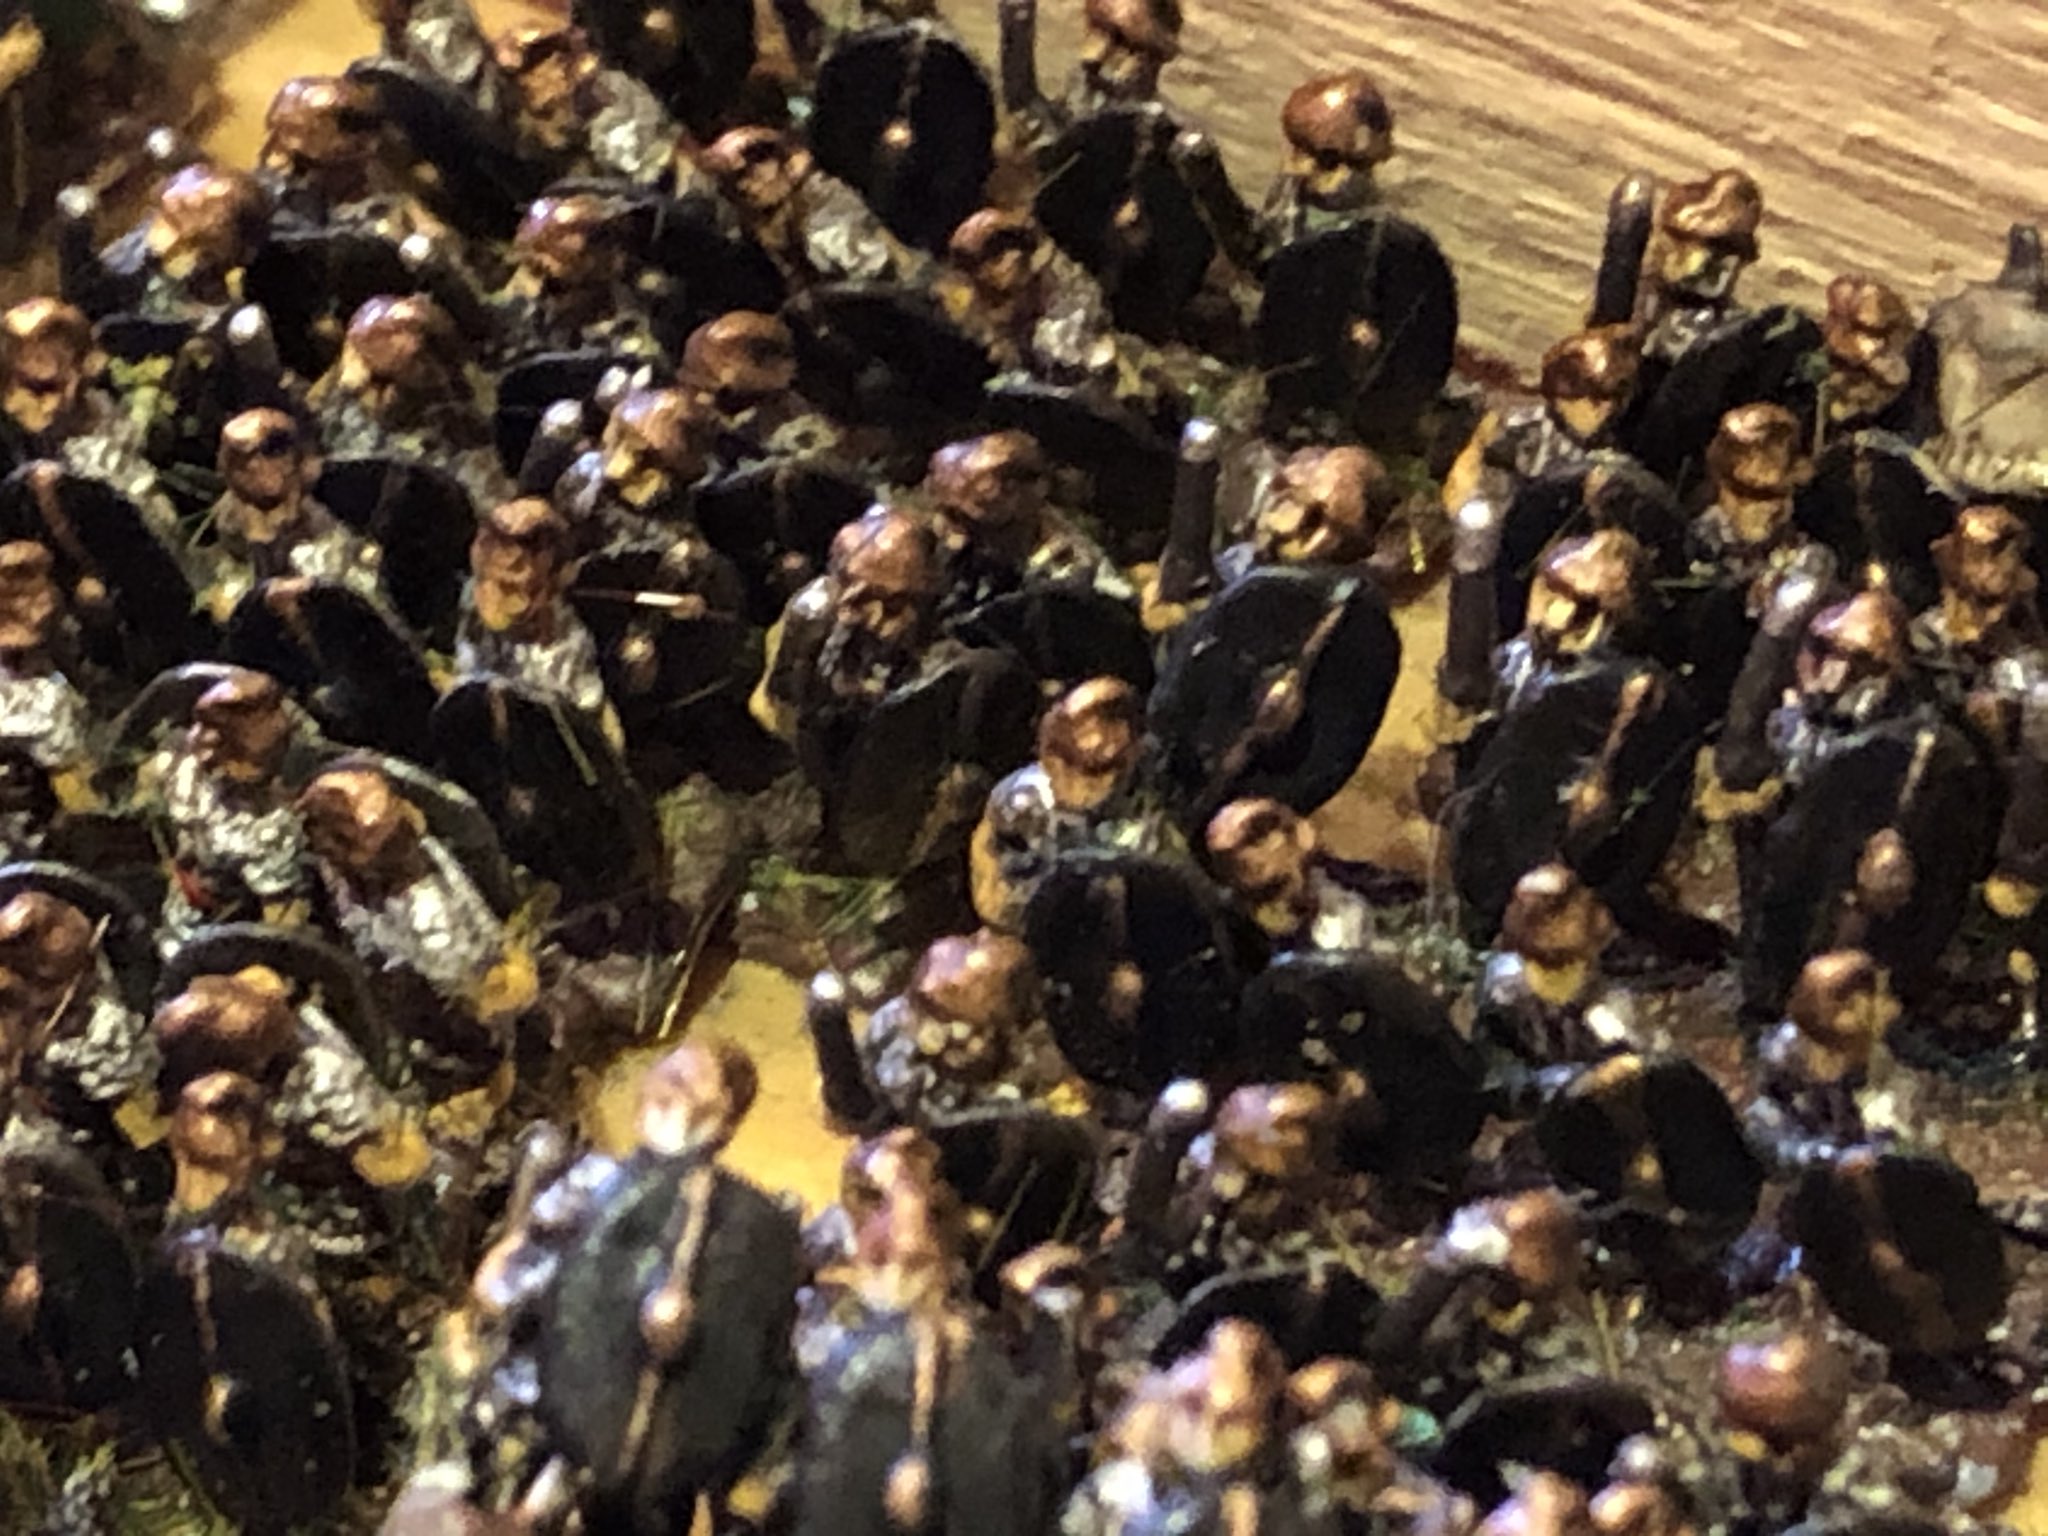
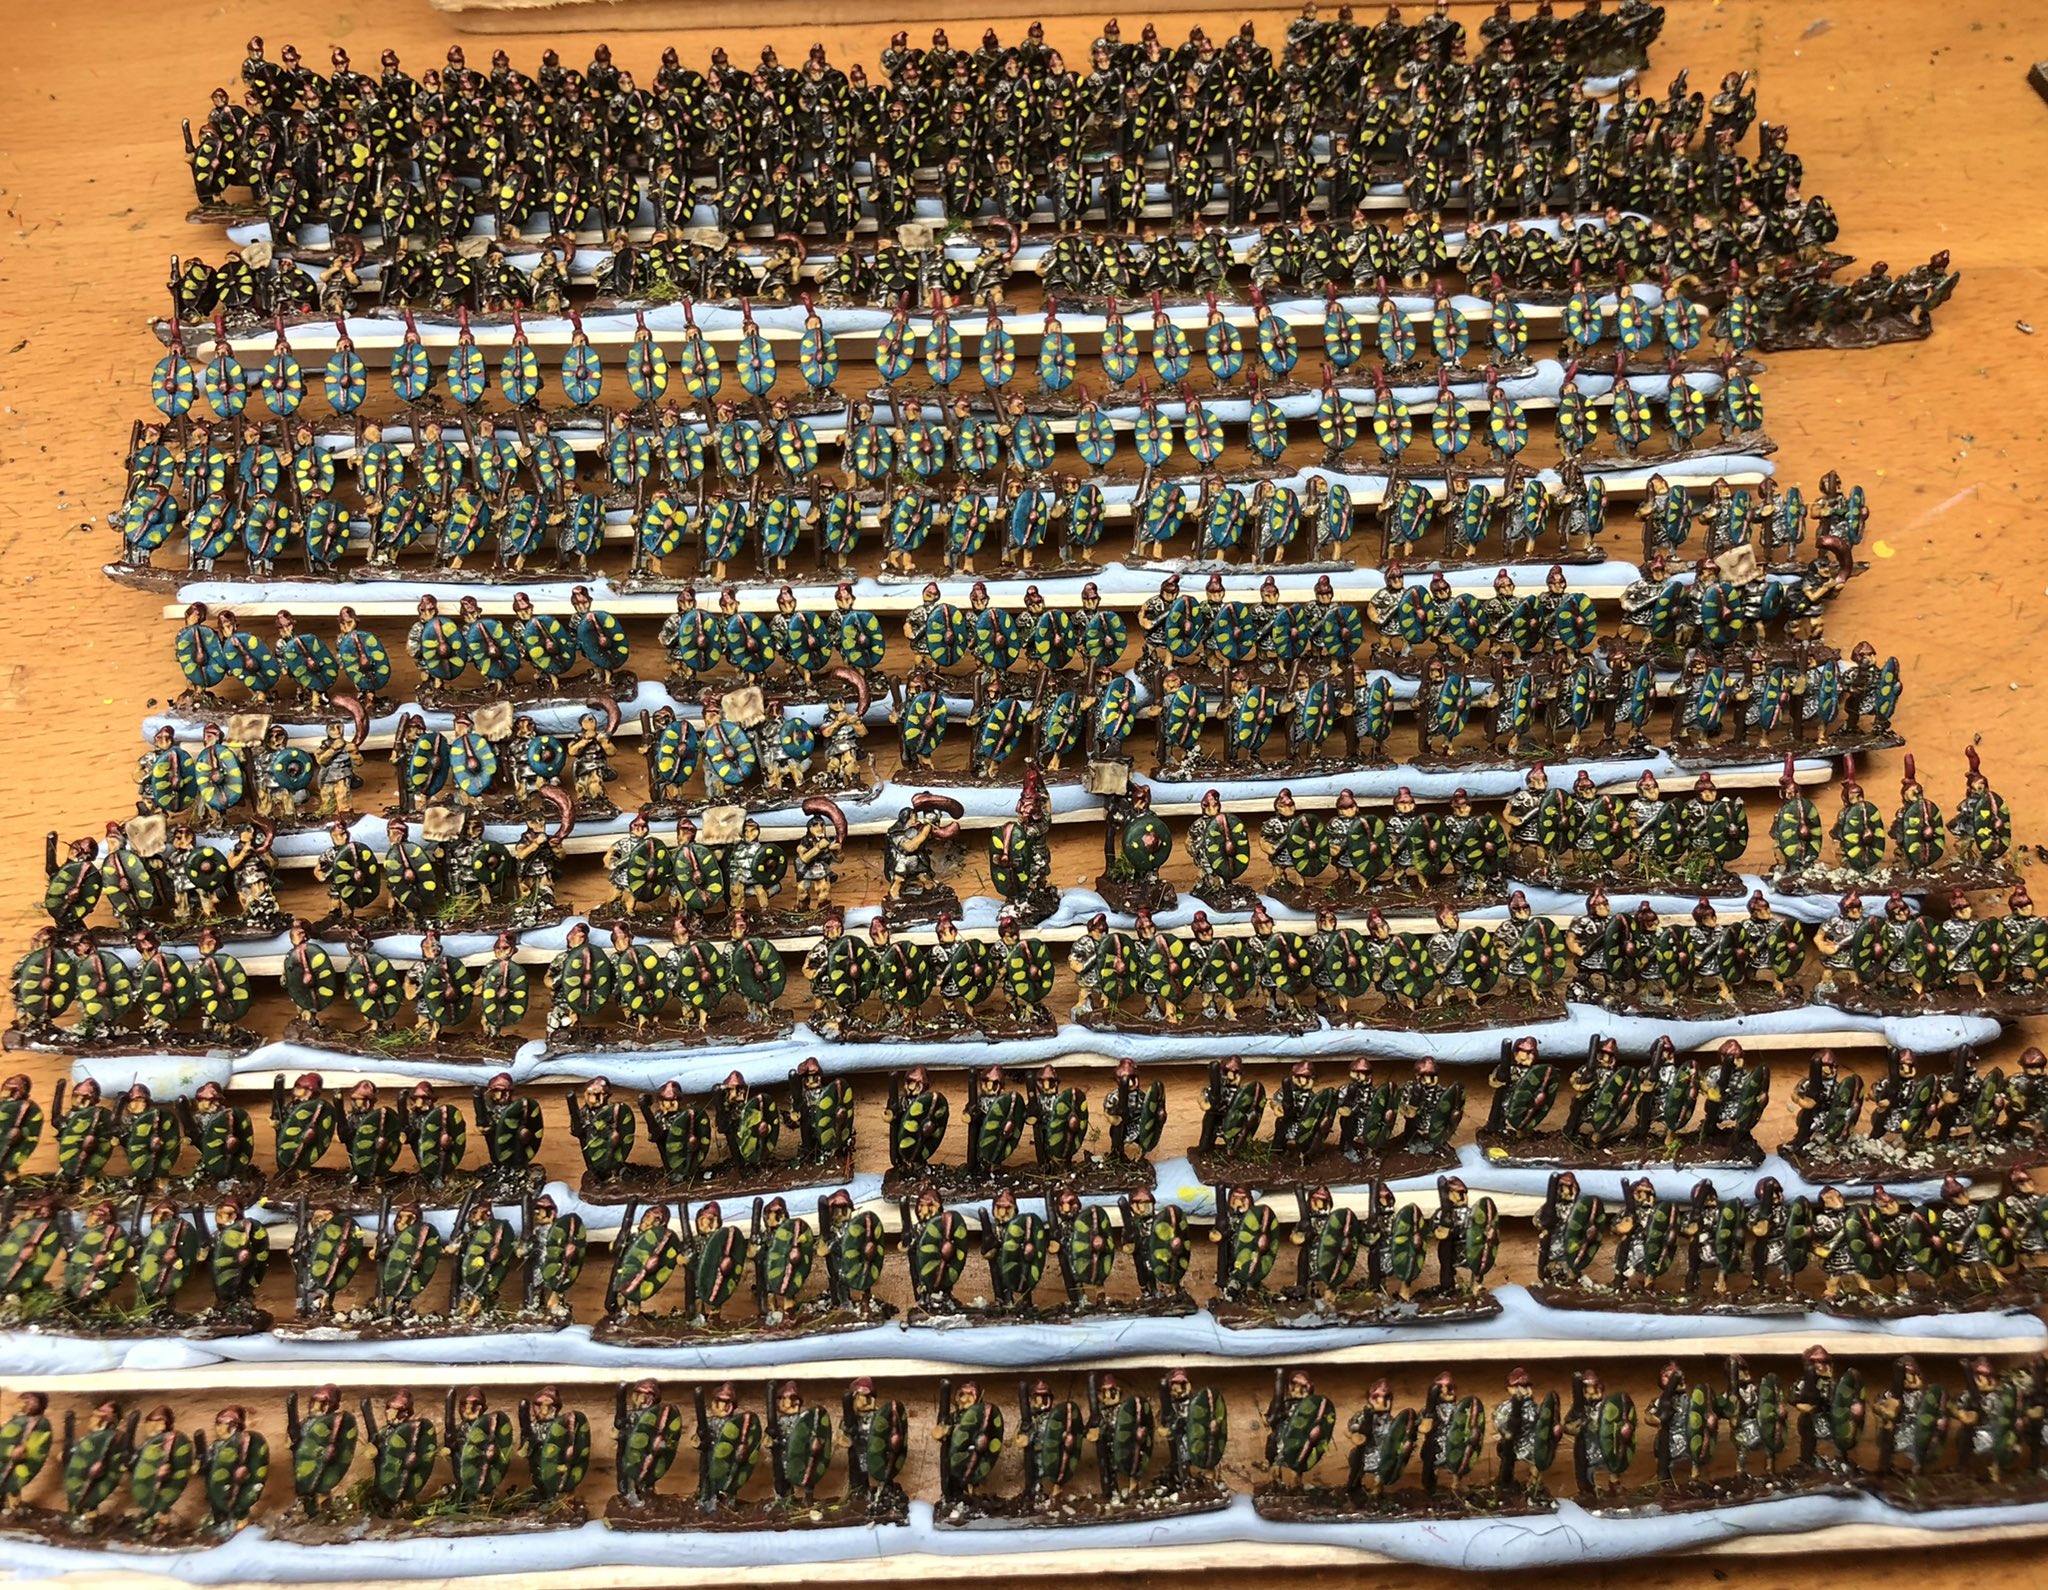
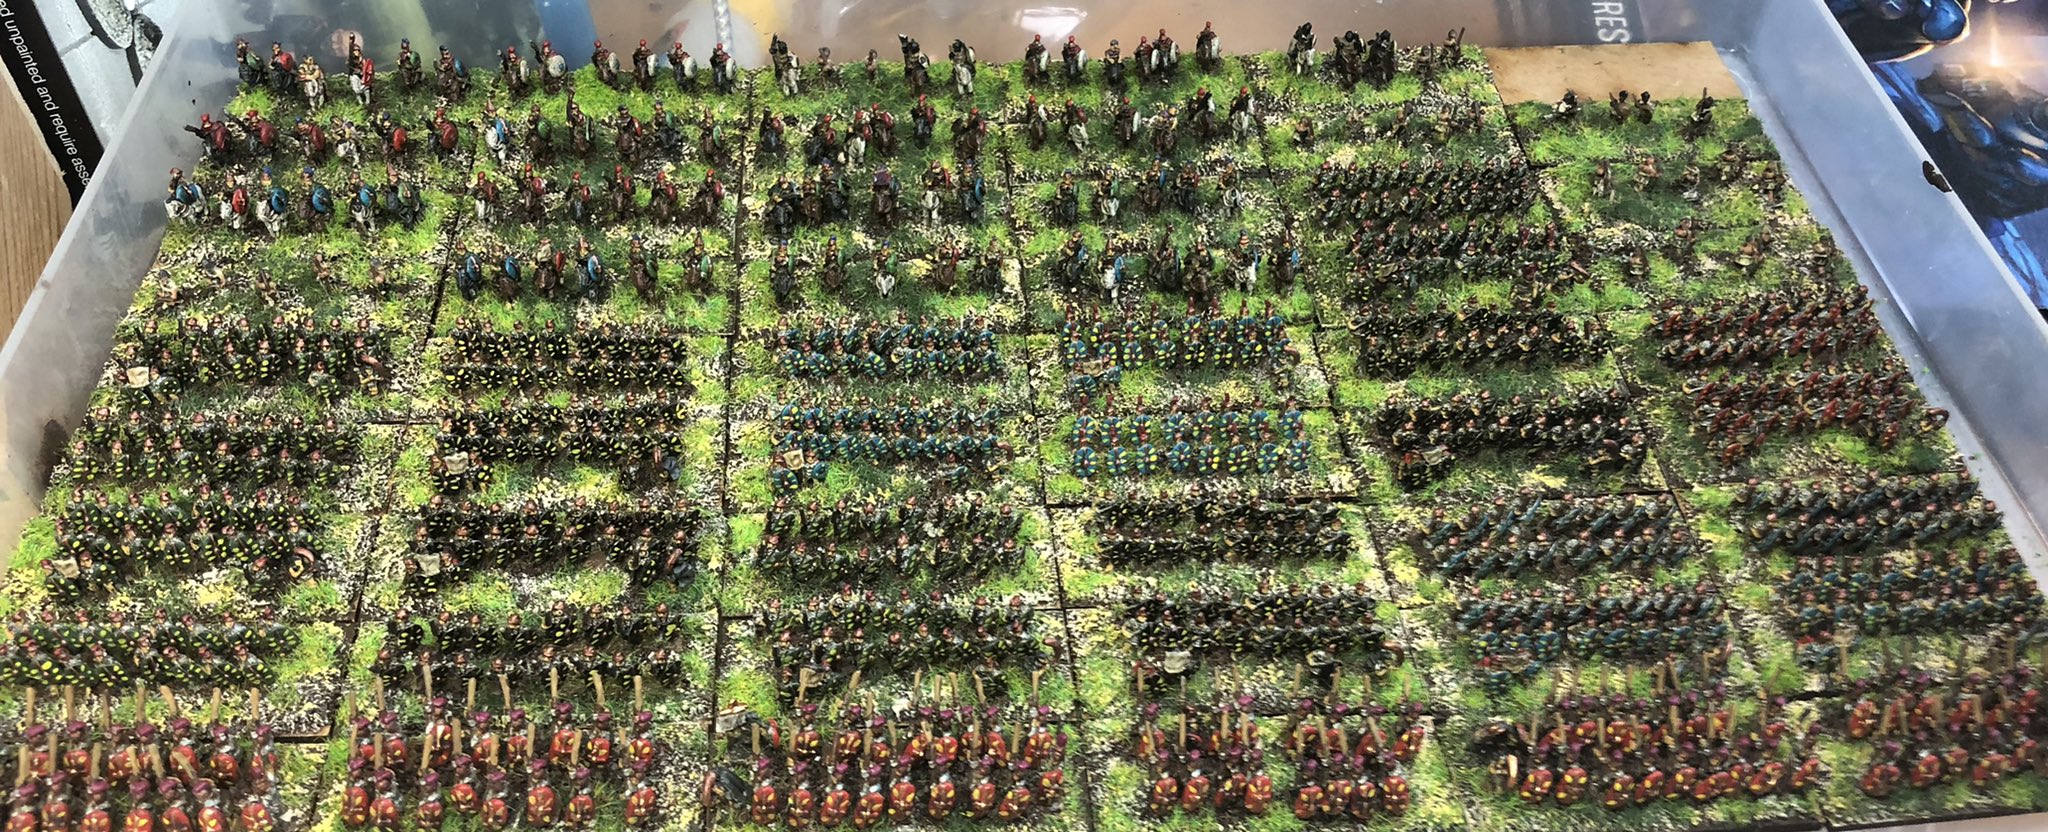
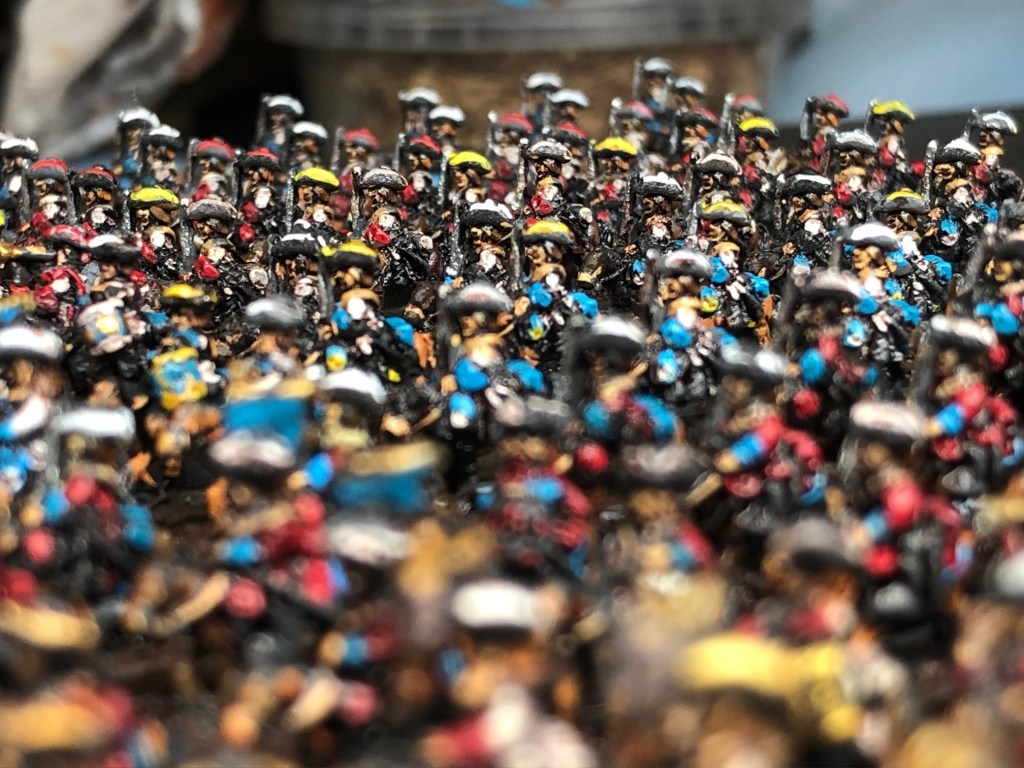
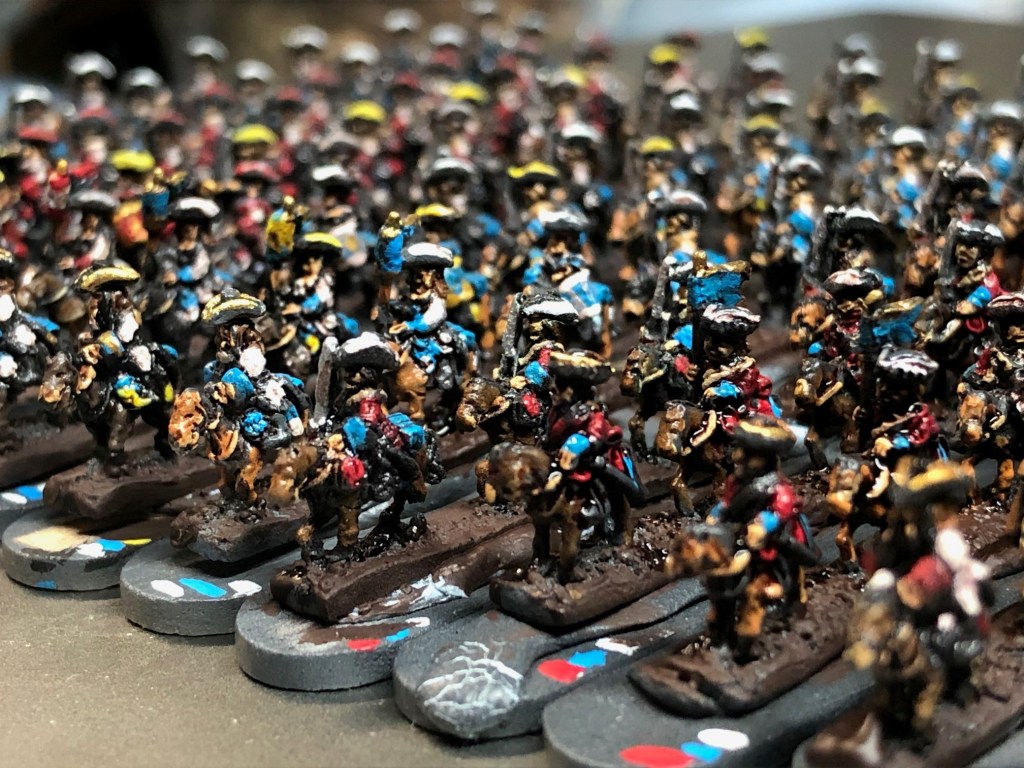
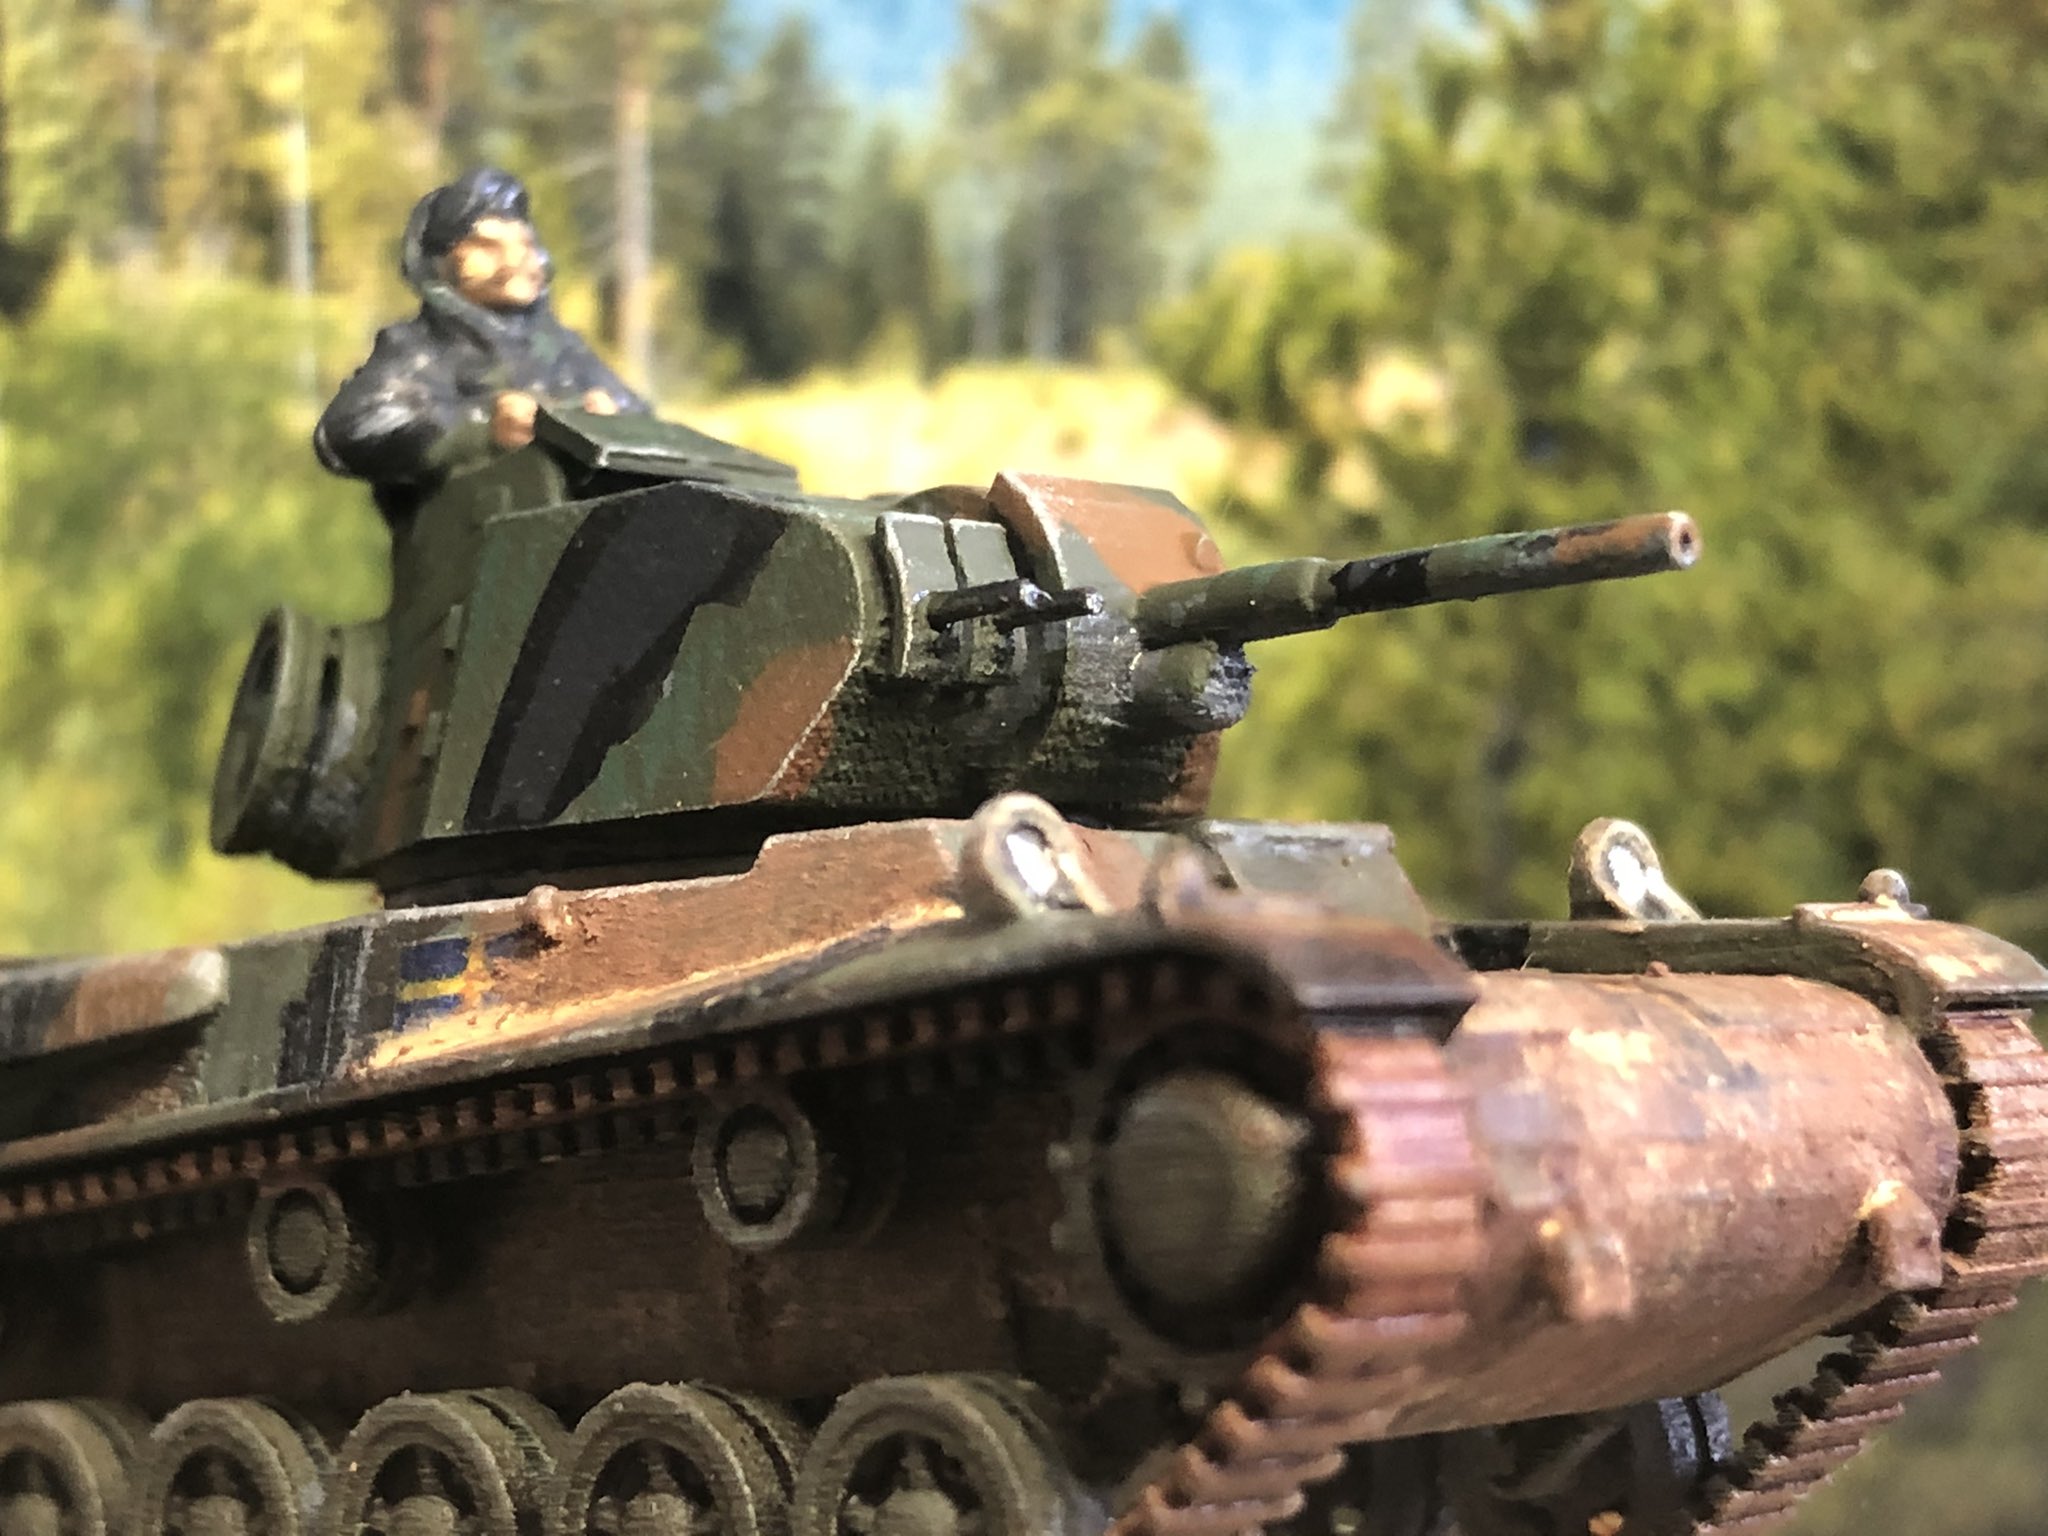
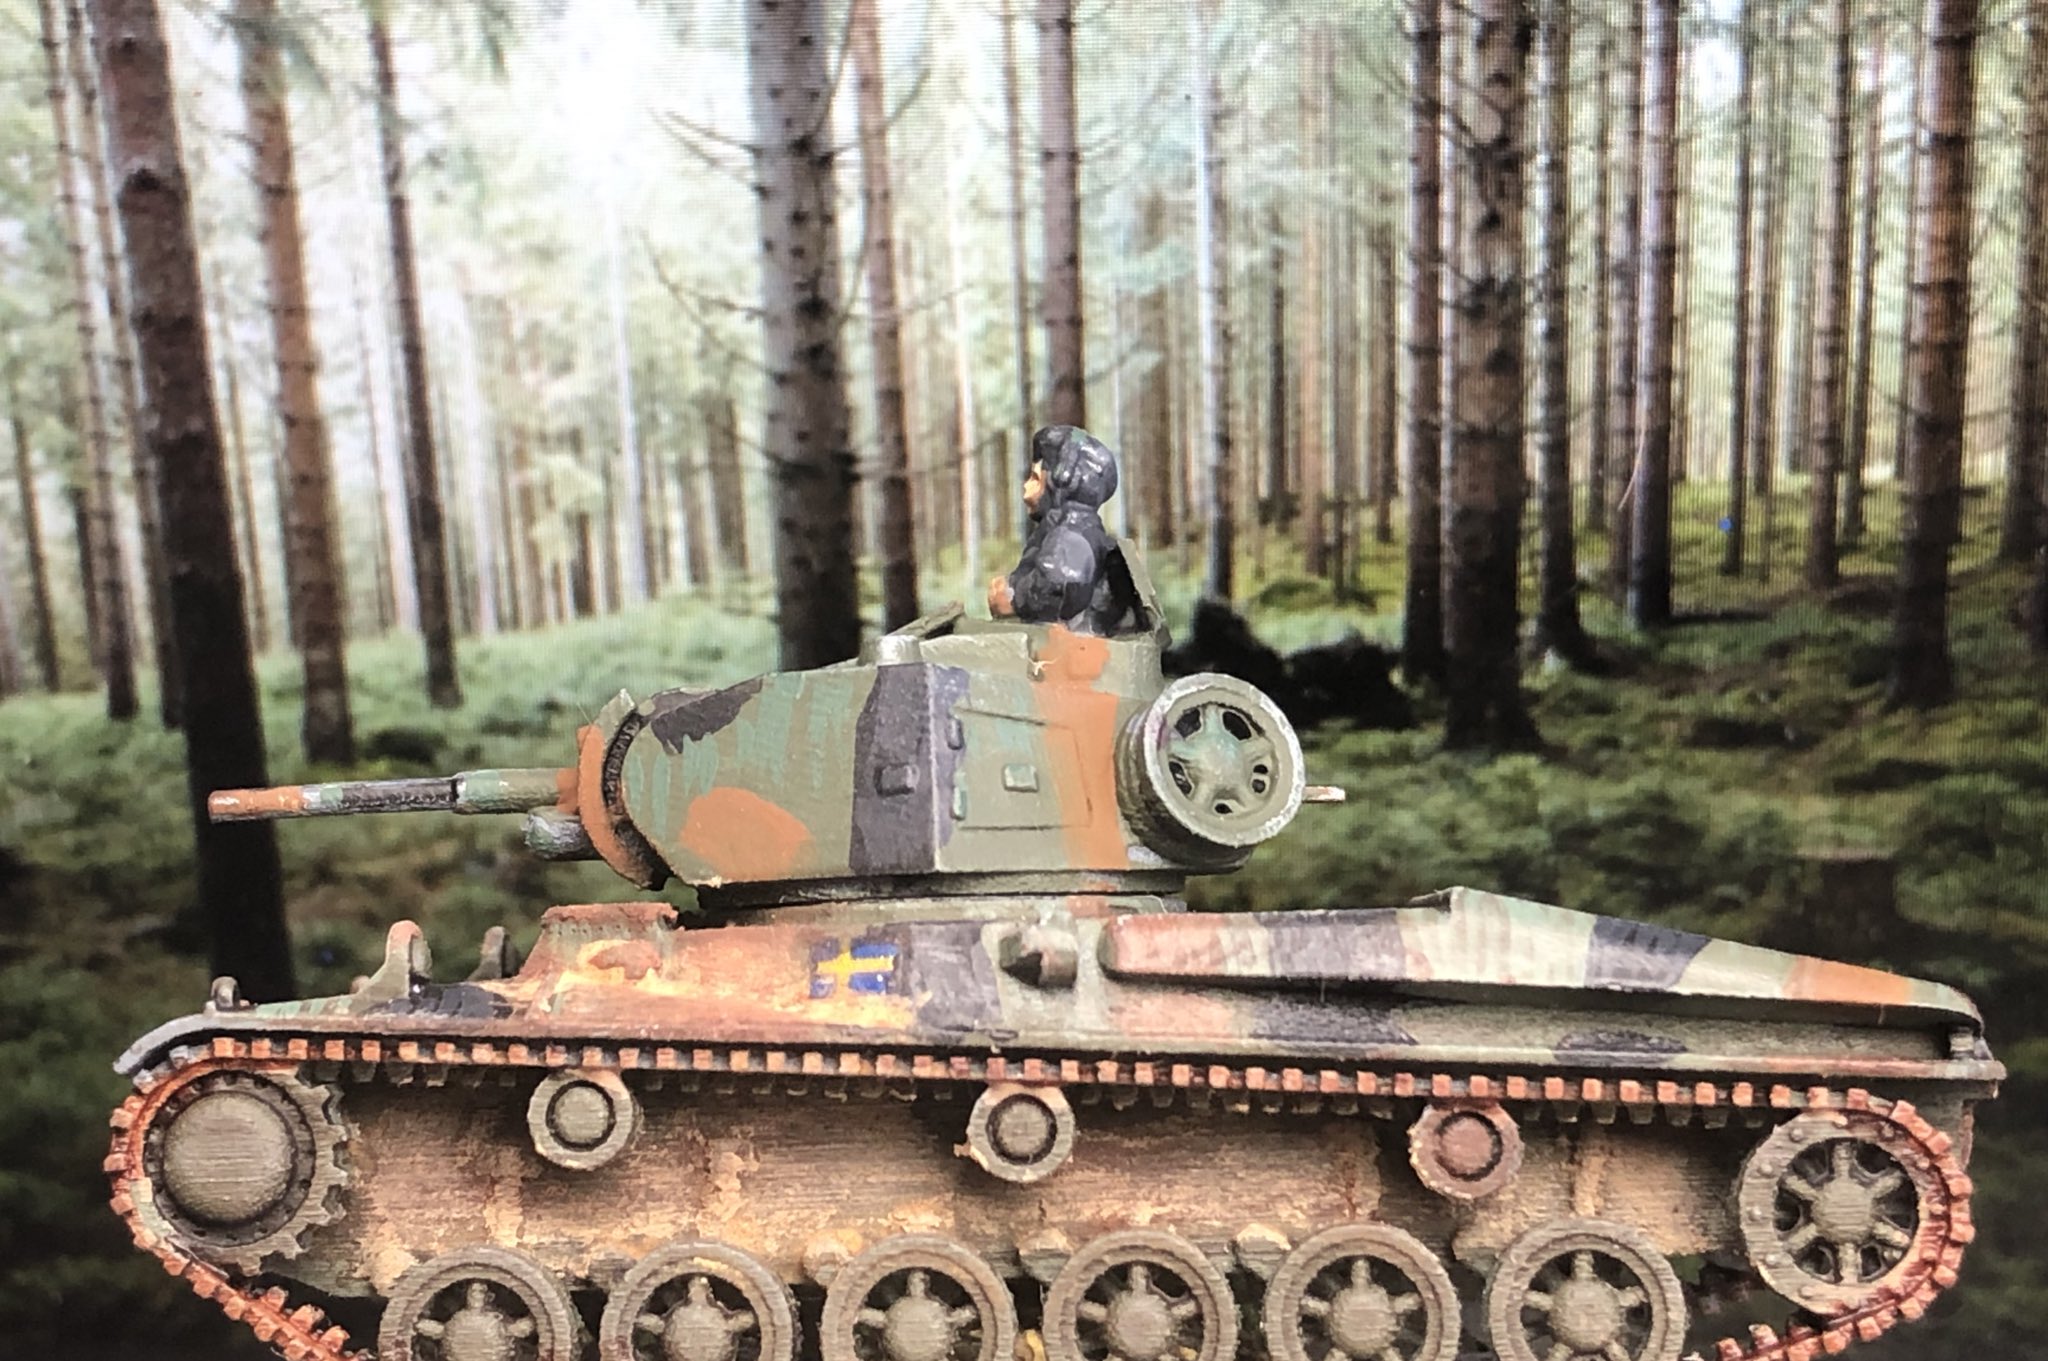
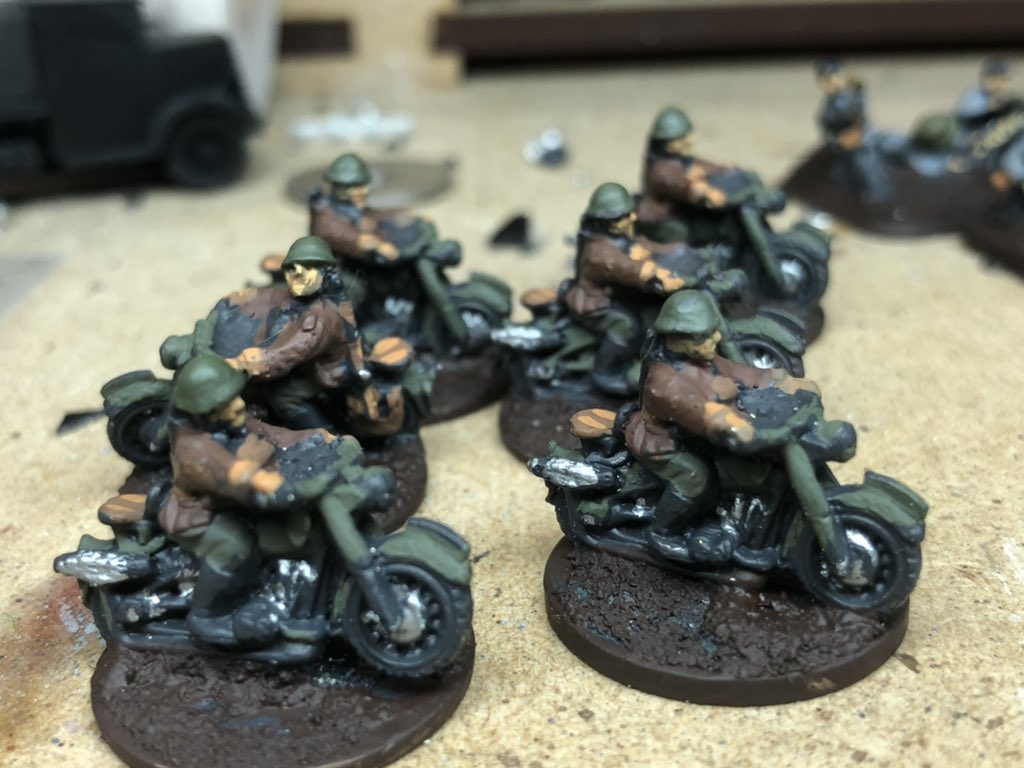
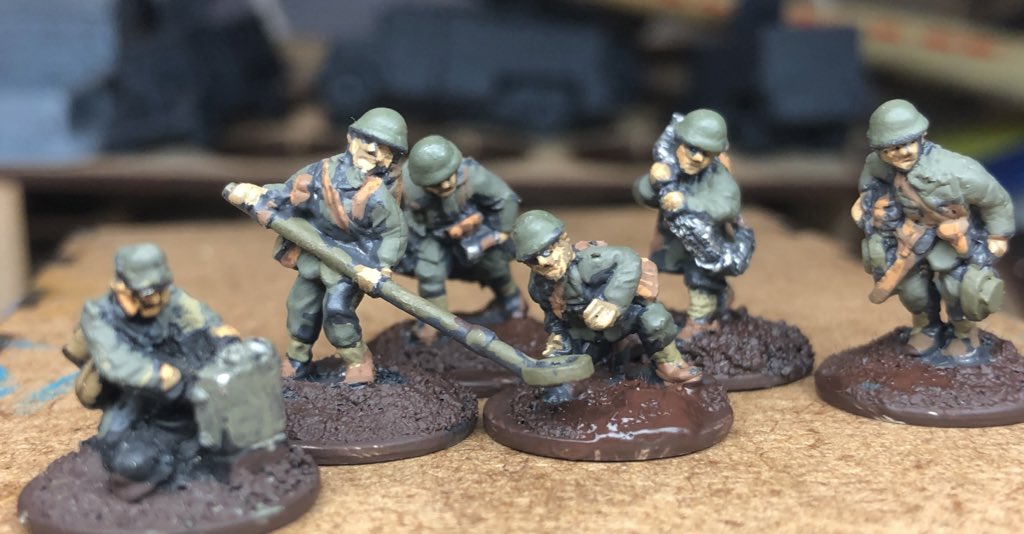
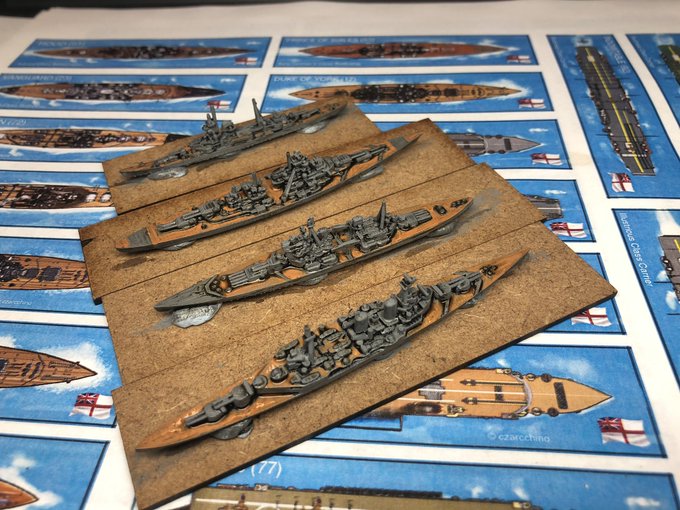
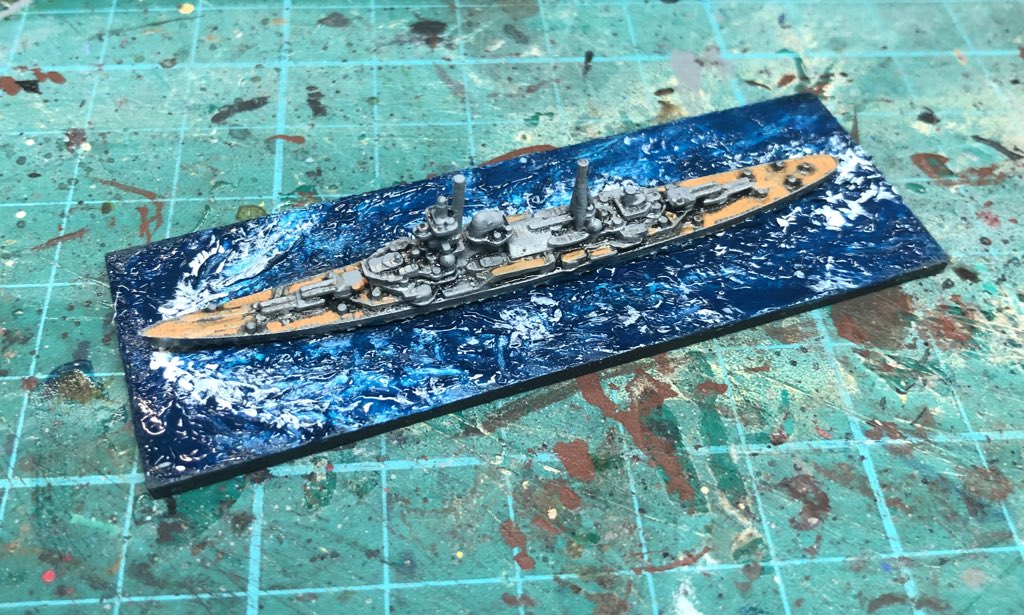
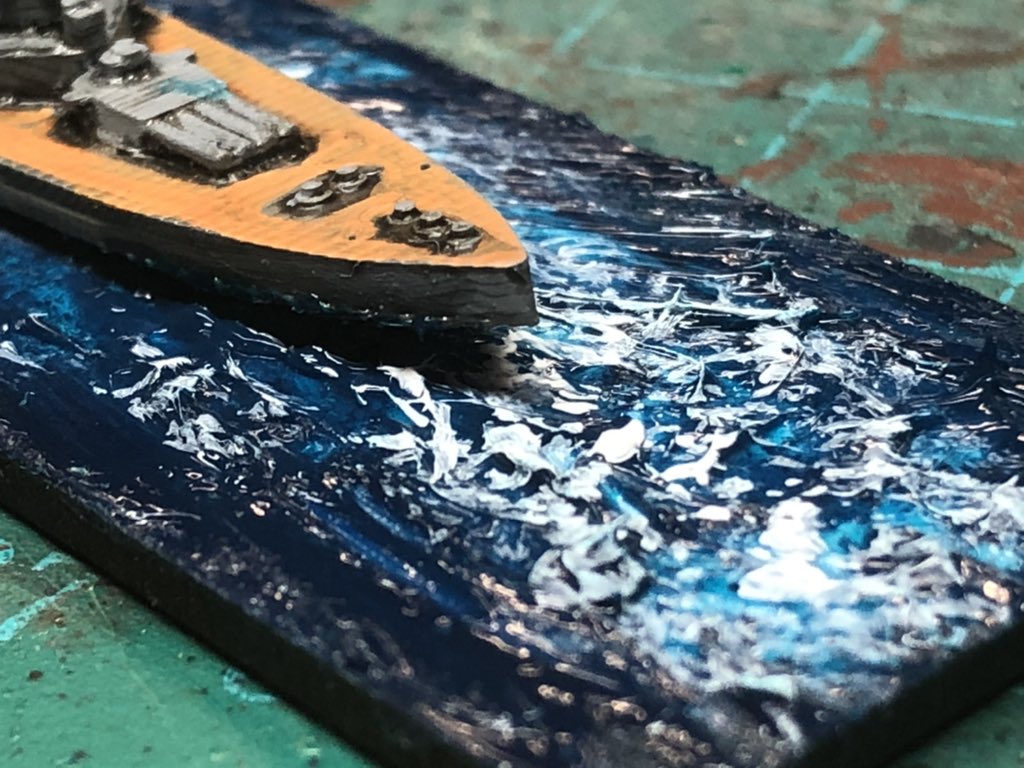
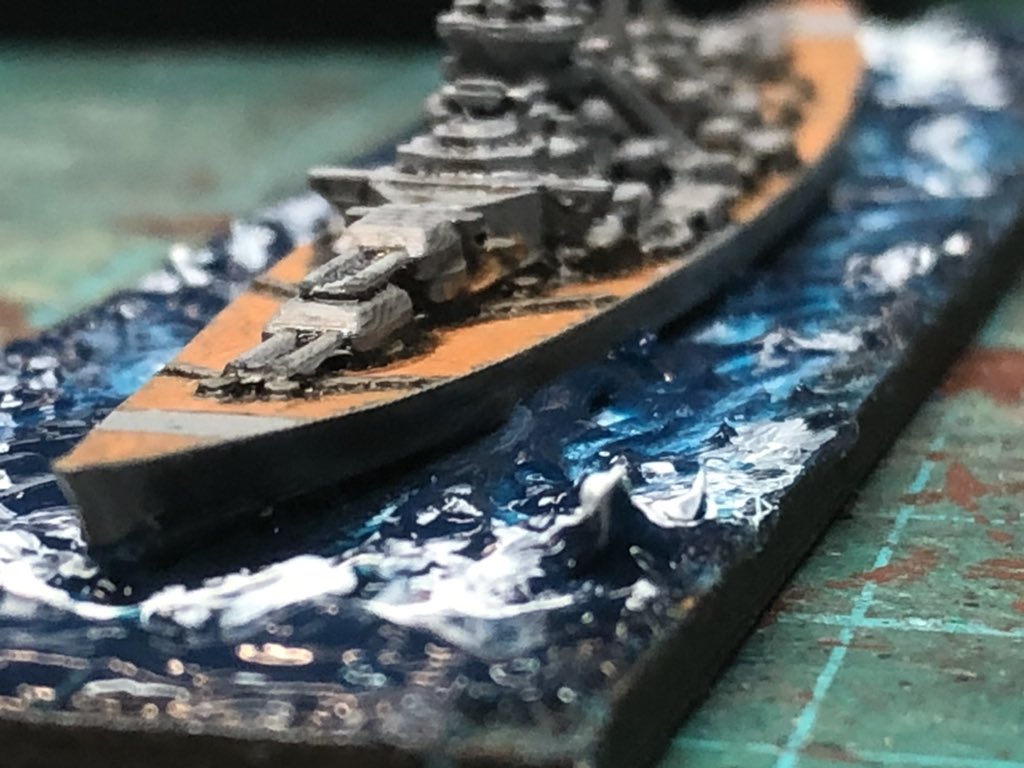
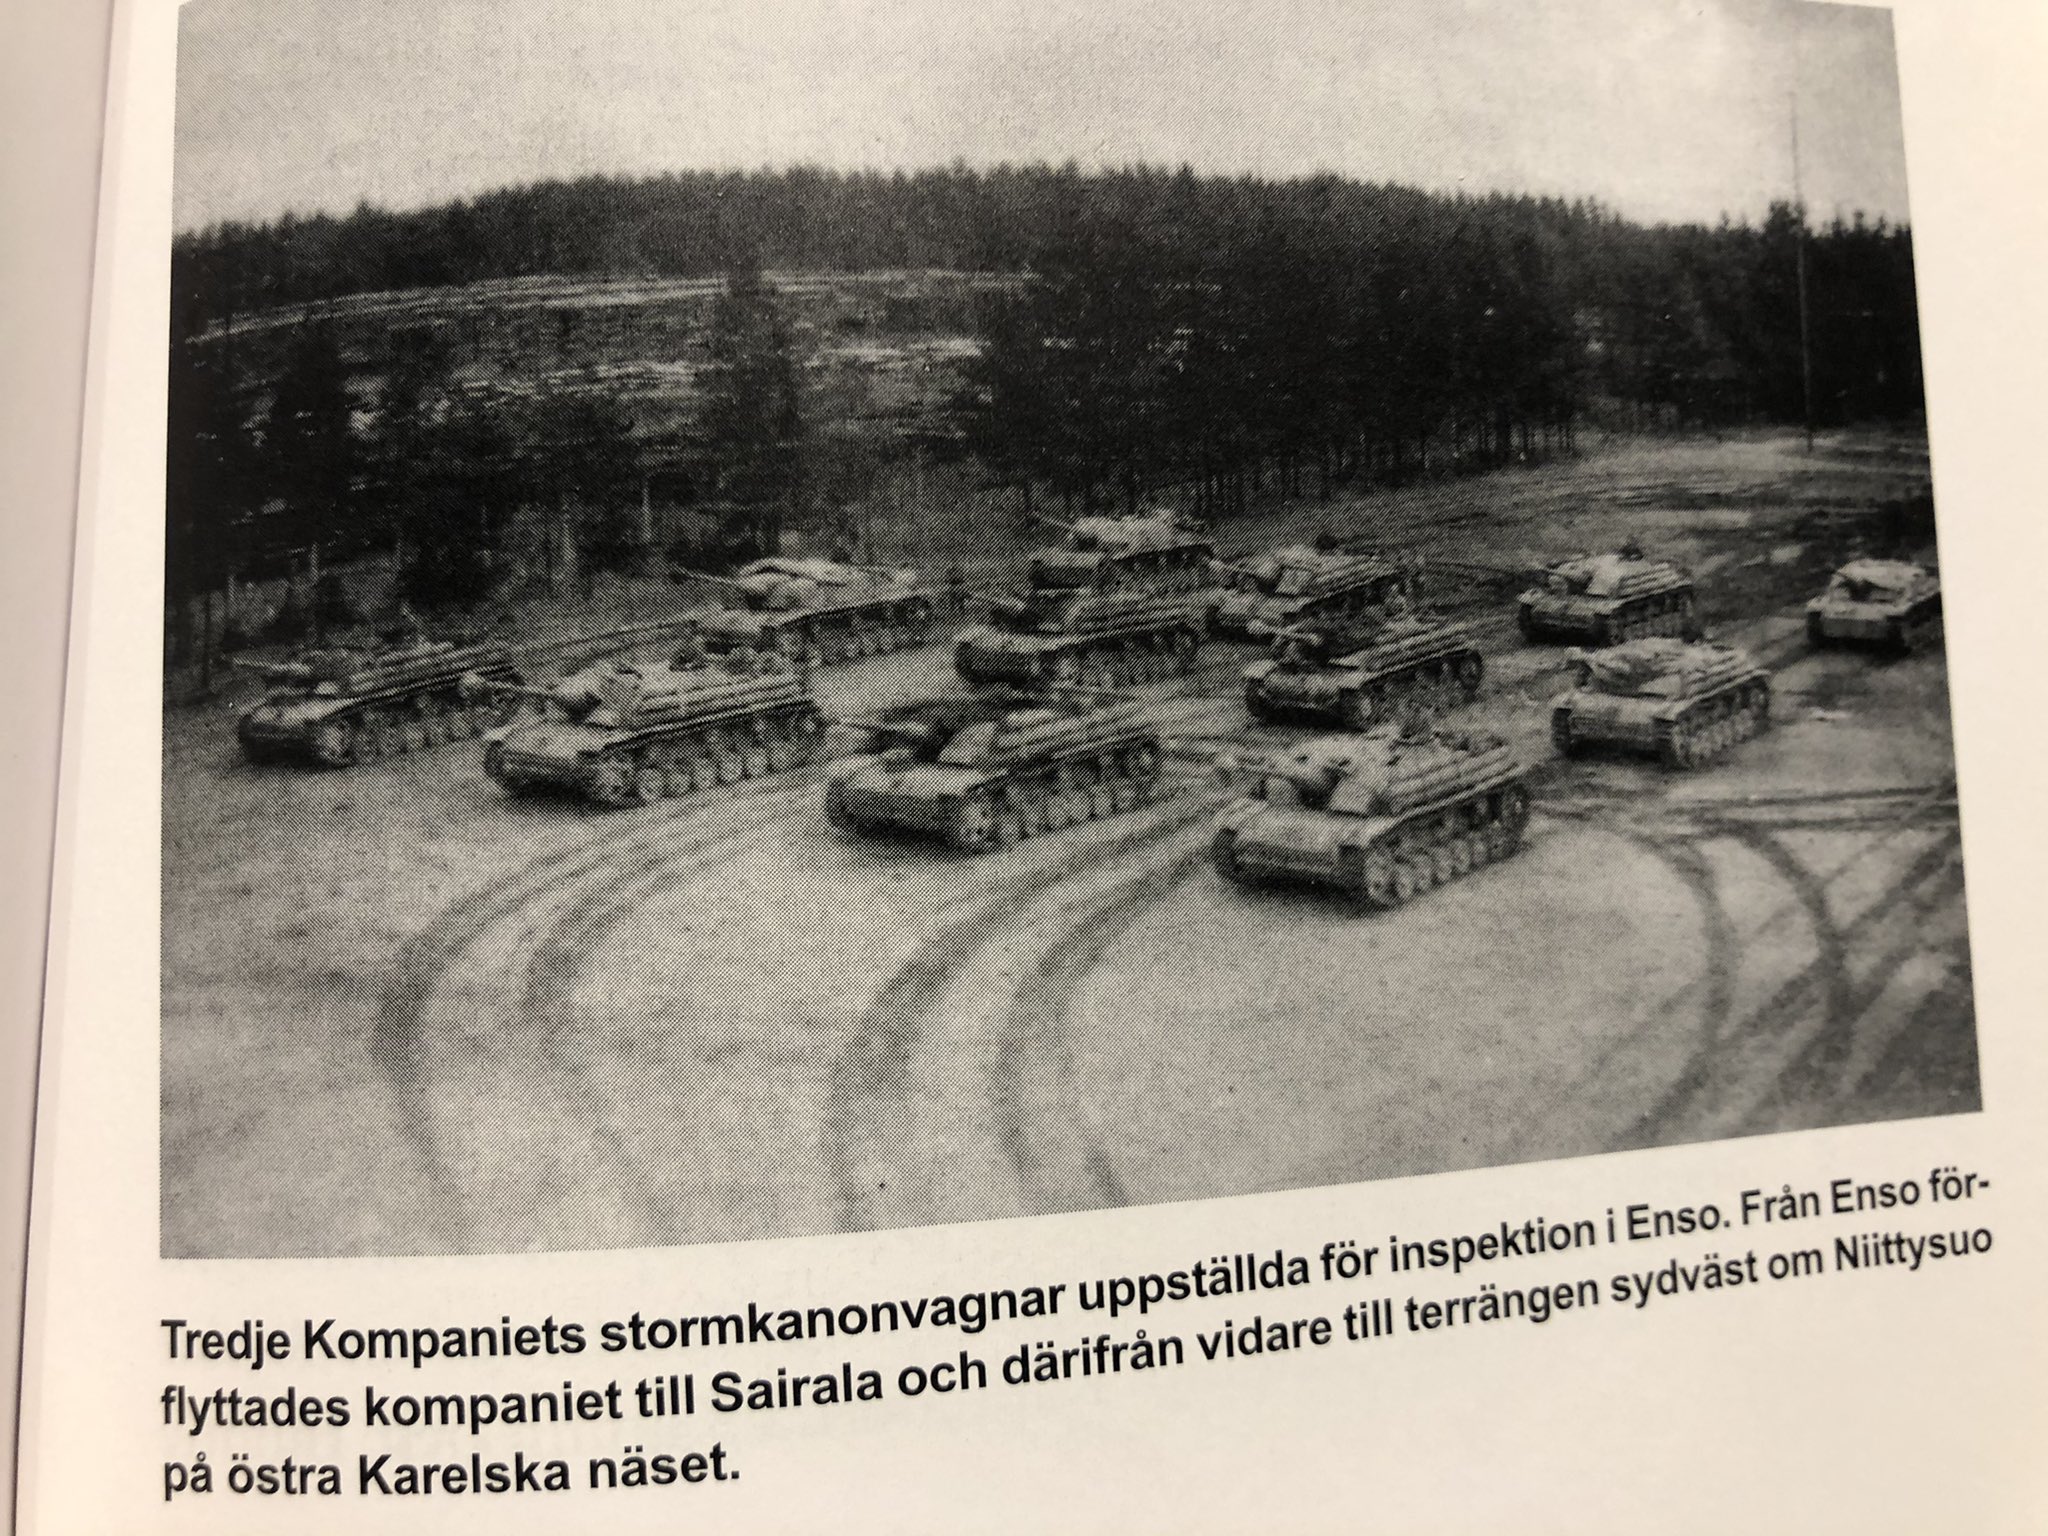
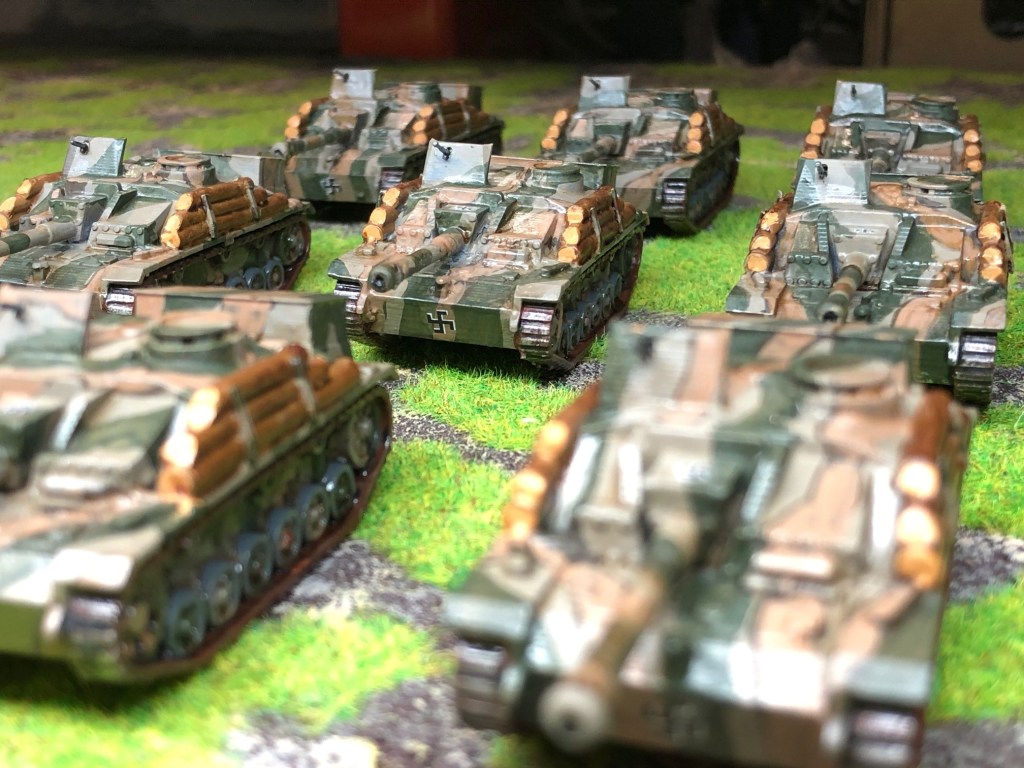
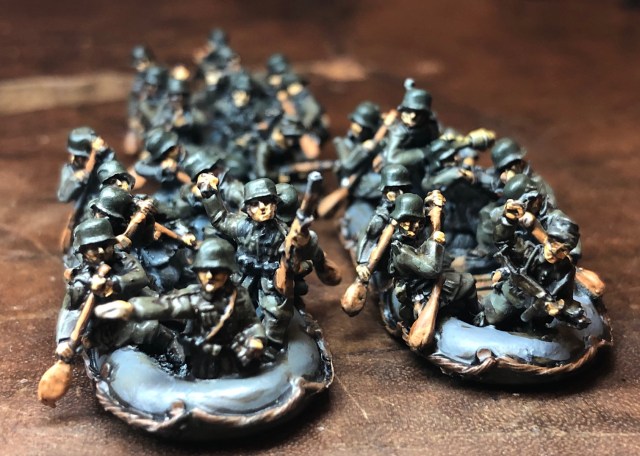
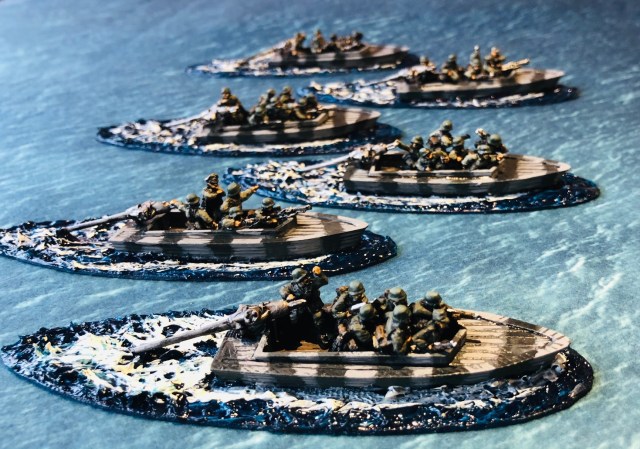
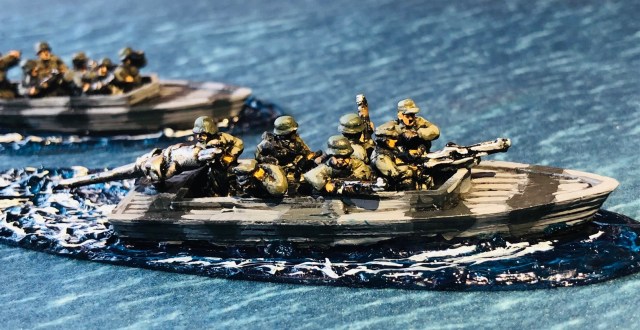
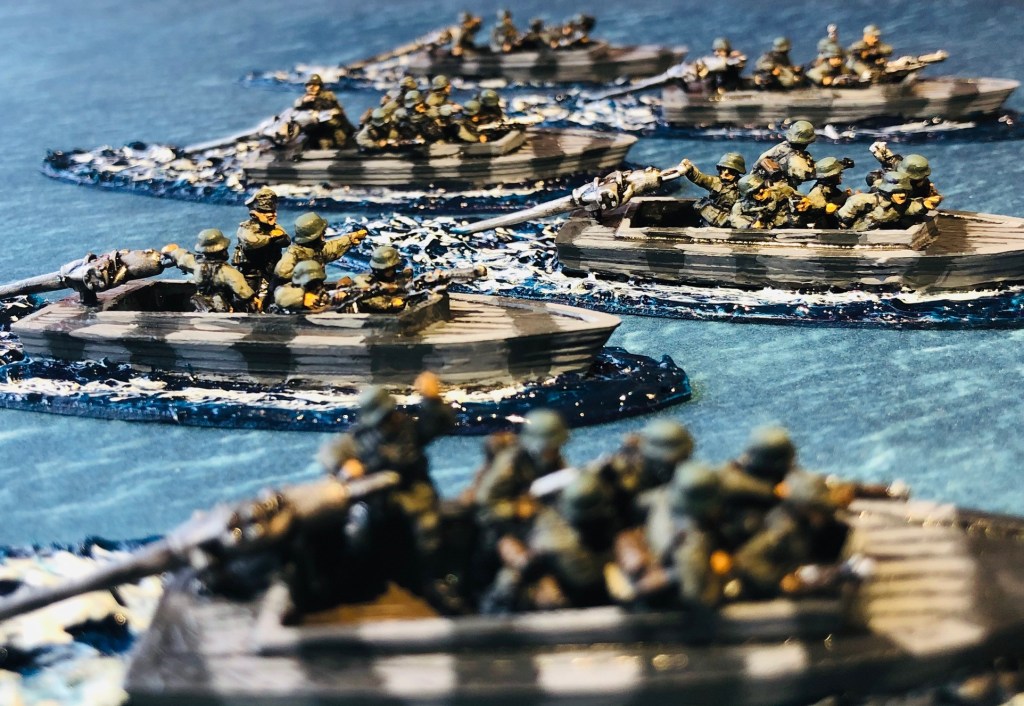
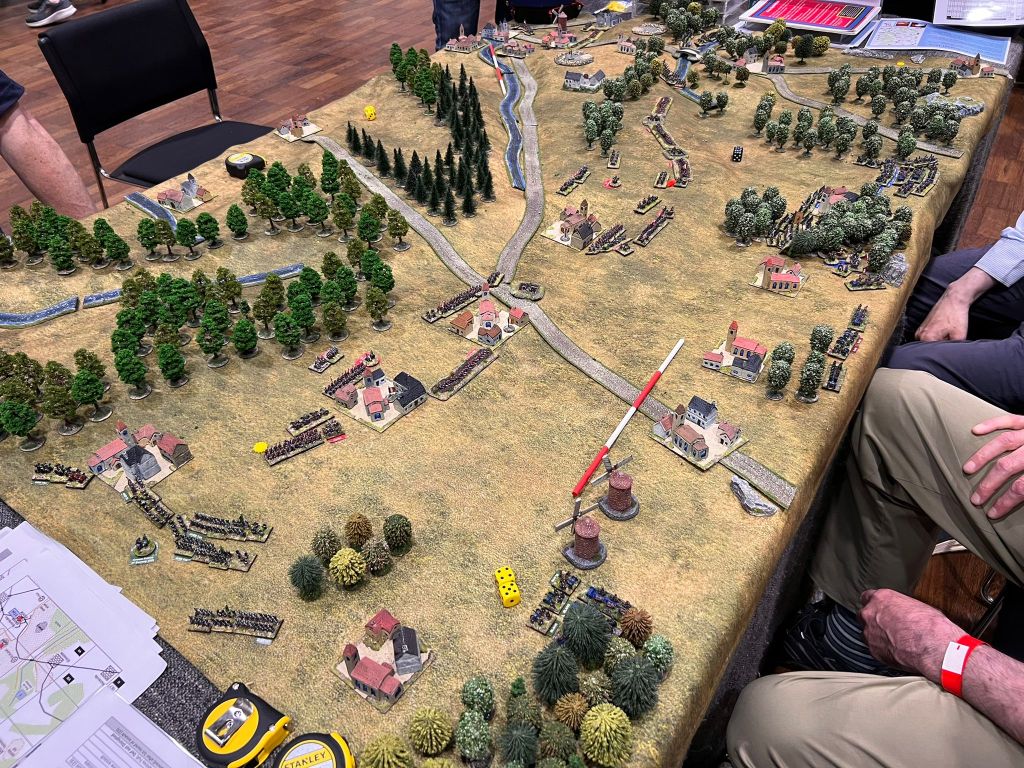
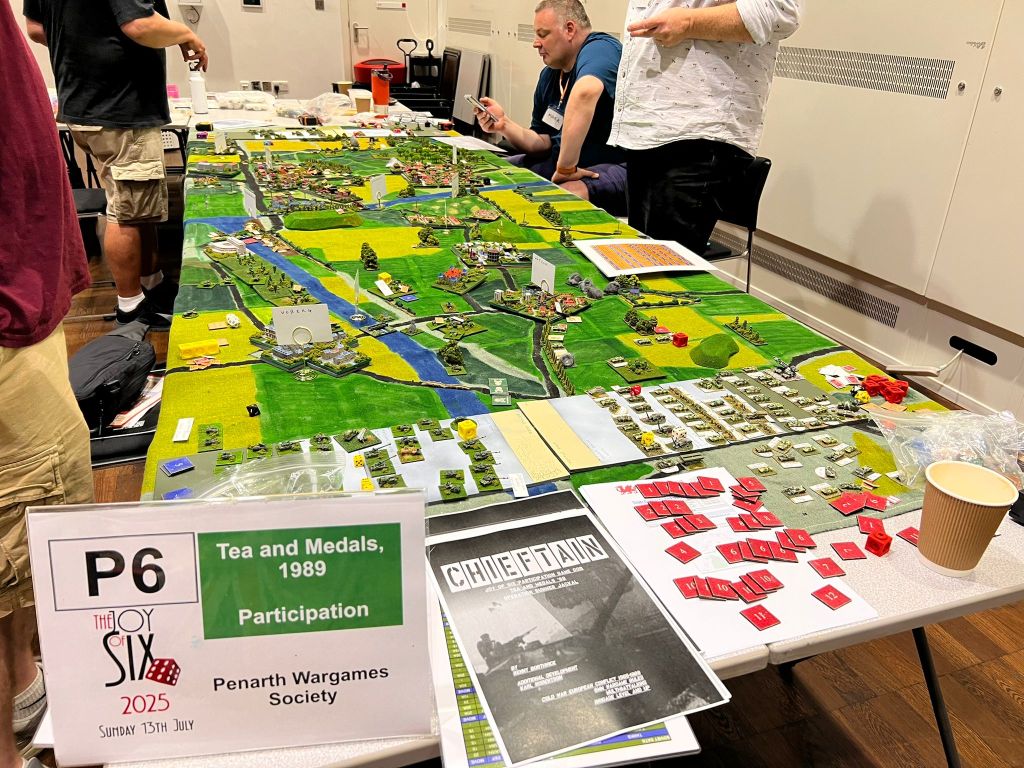
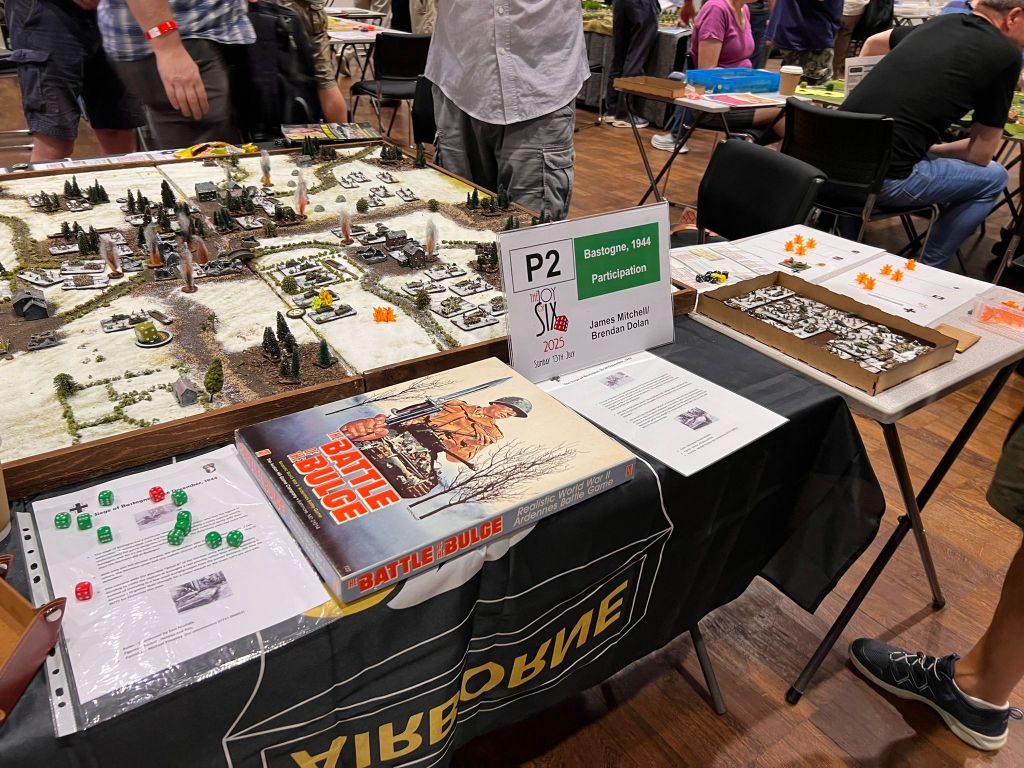
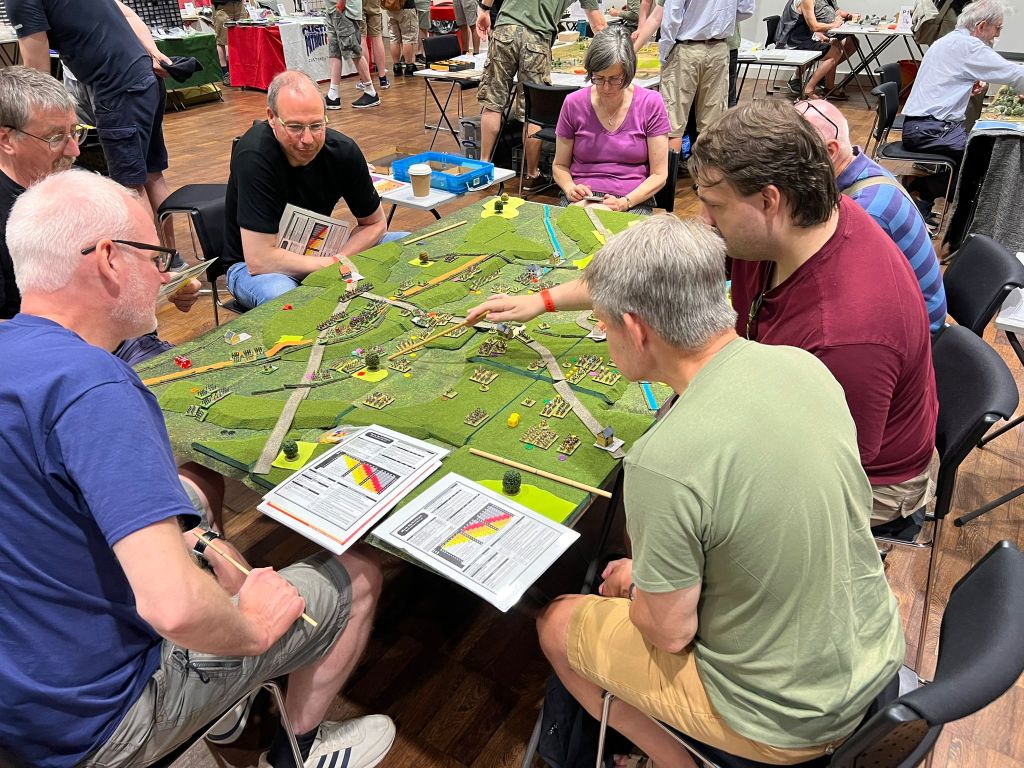
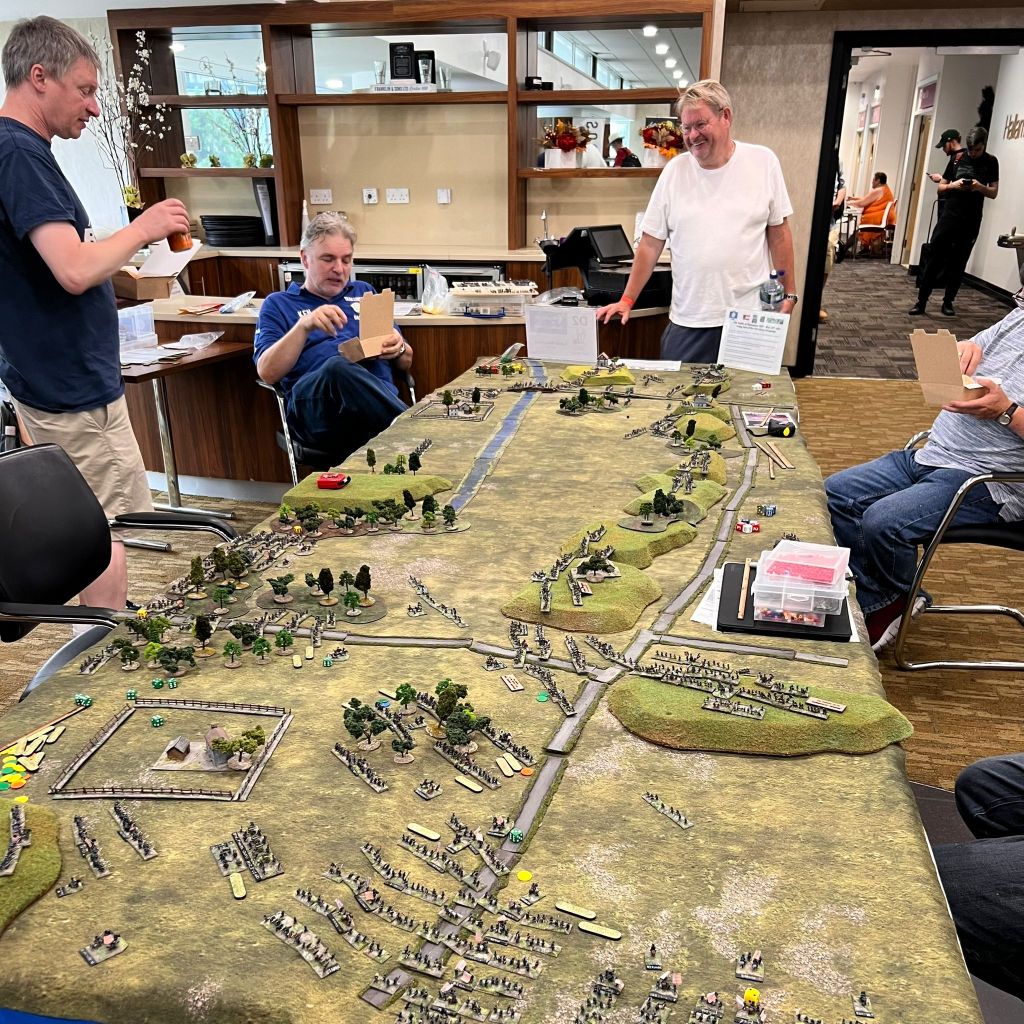
Here a few pictures of our table the Battle of Gravelotte 1870 (more about this project, here and here). See you next year.
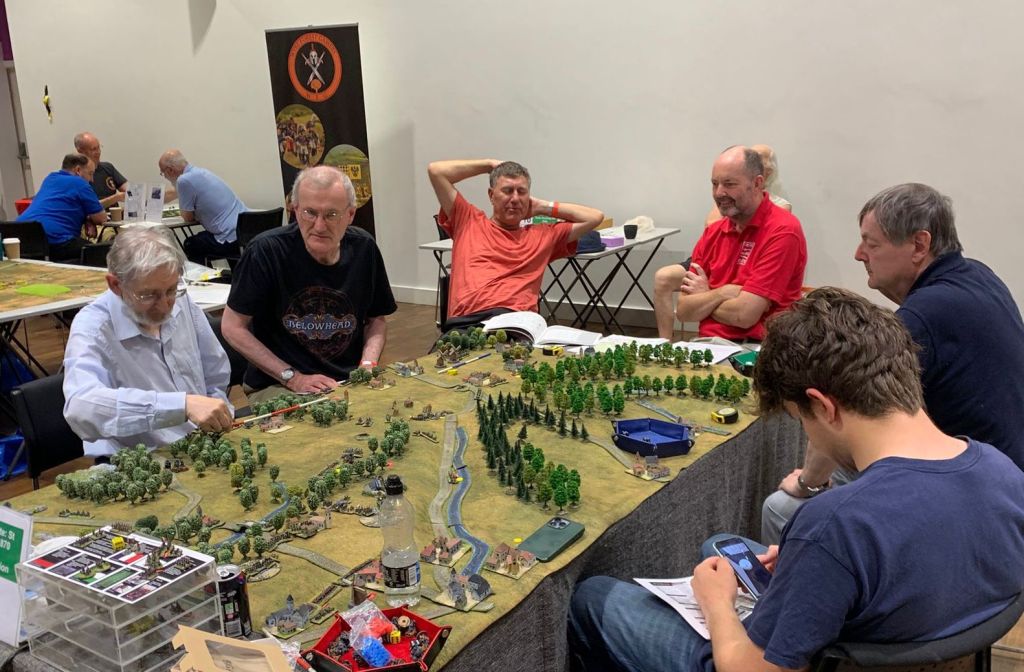
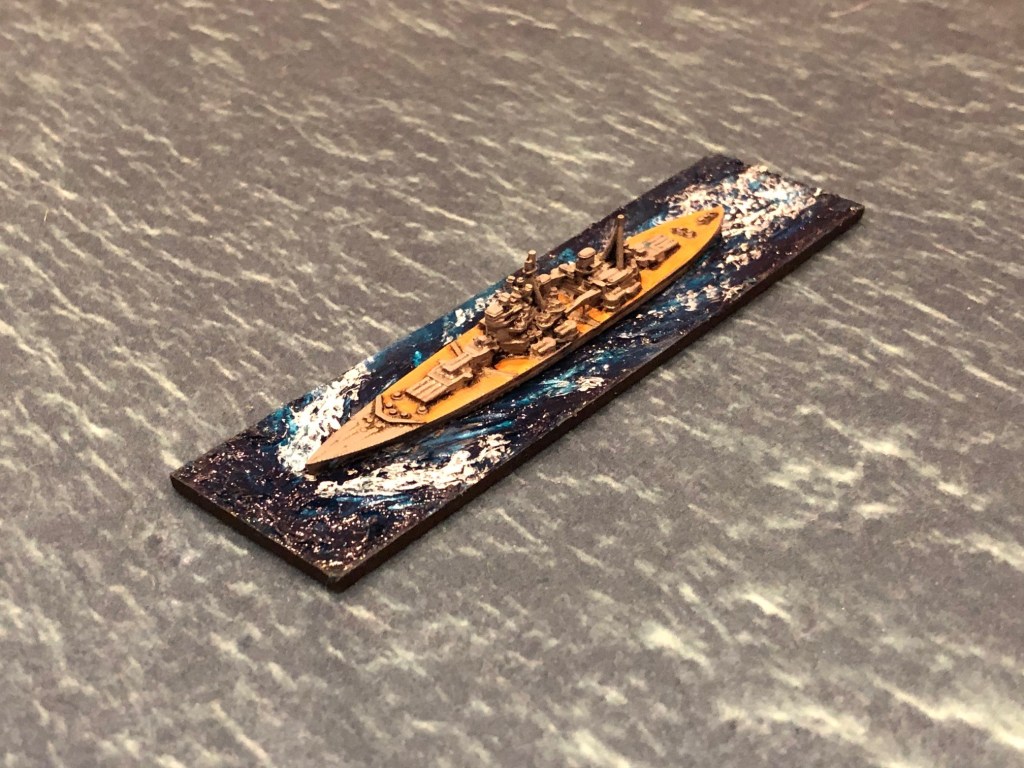
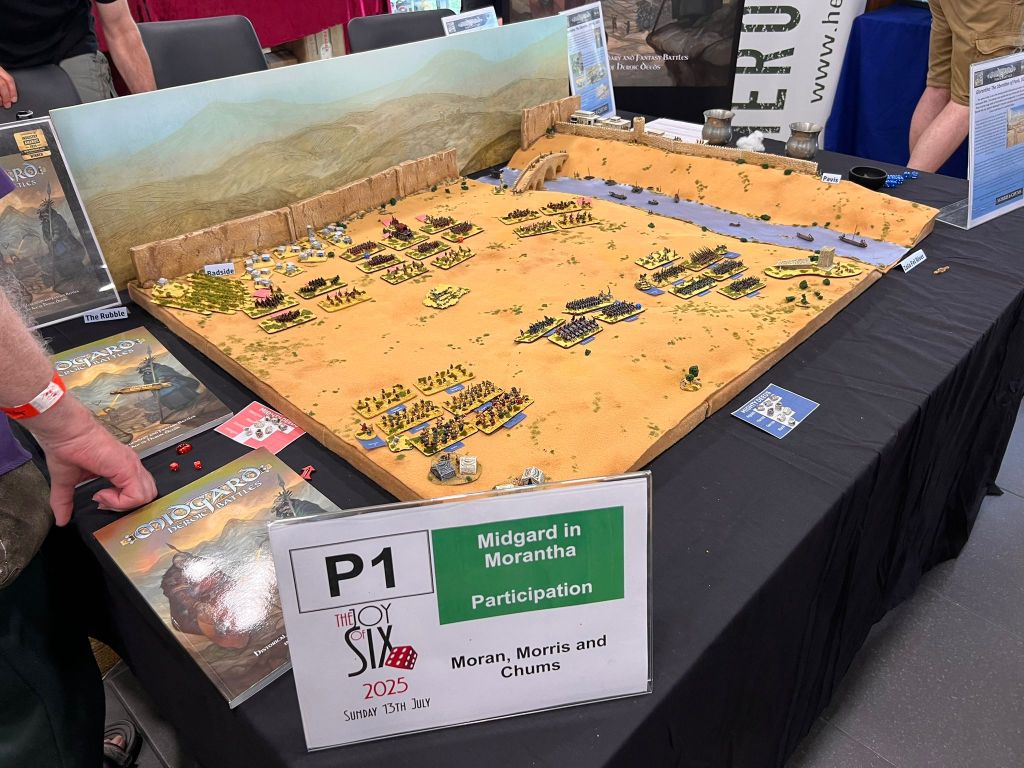
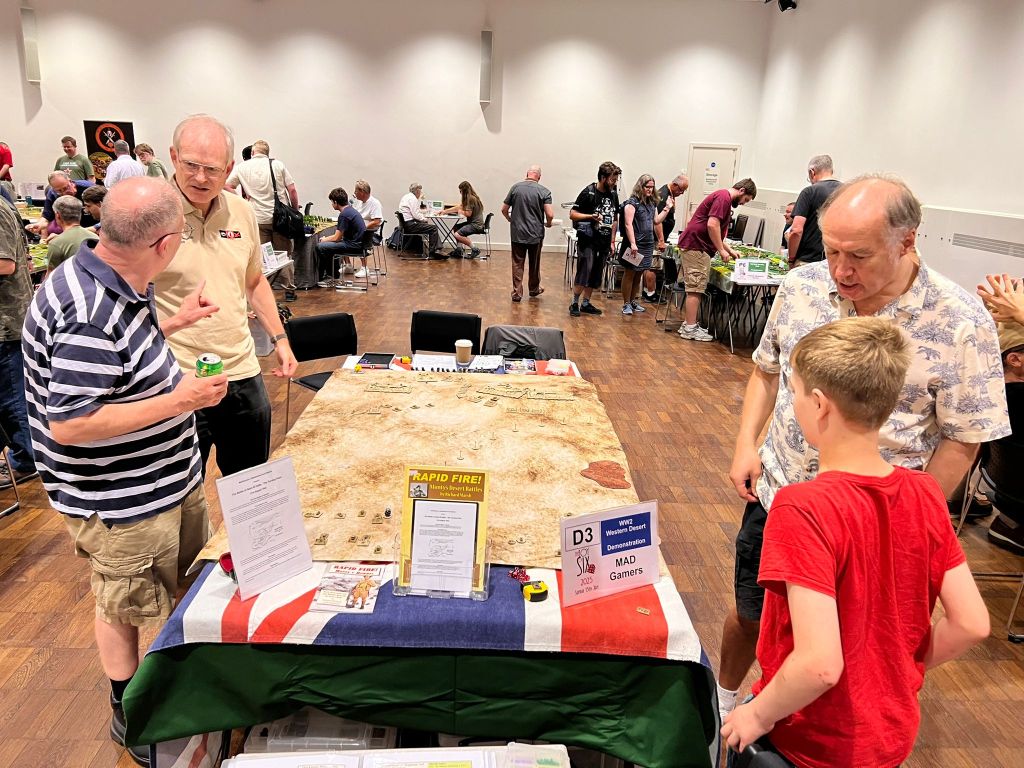
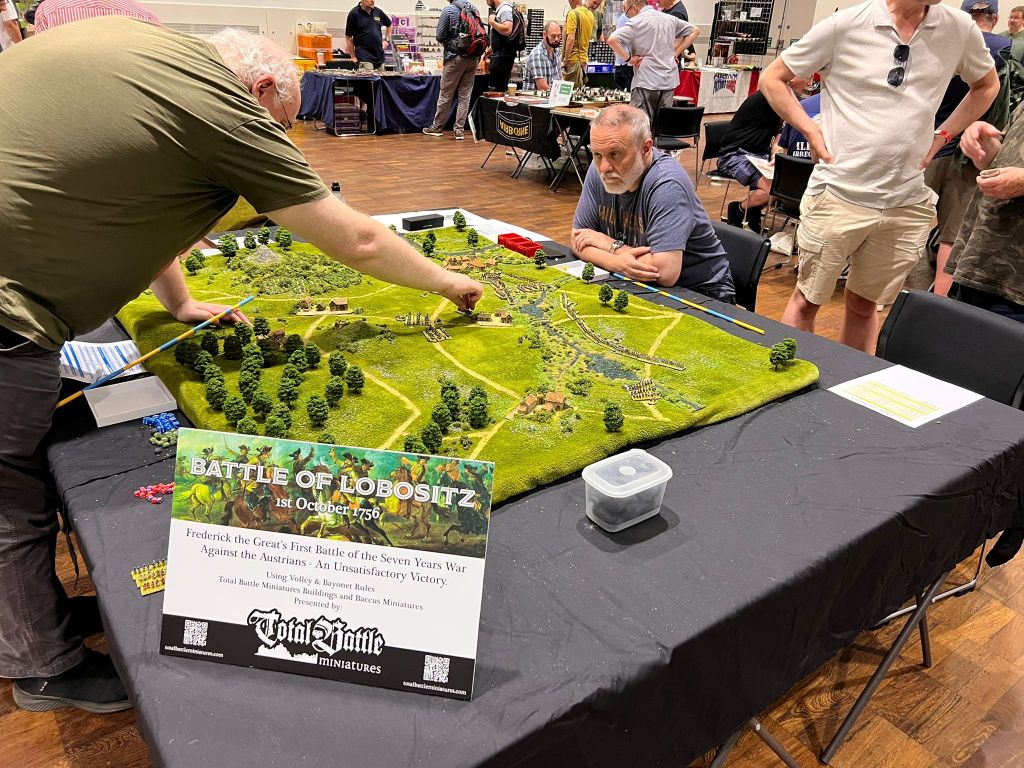
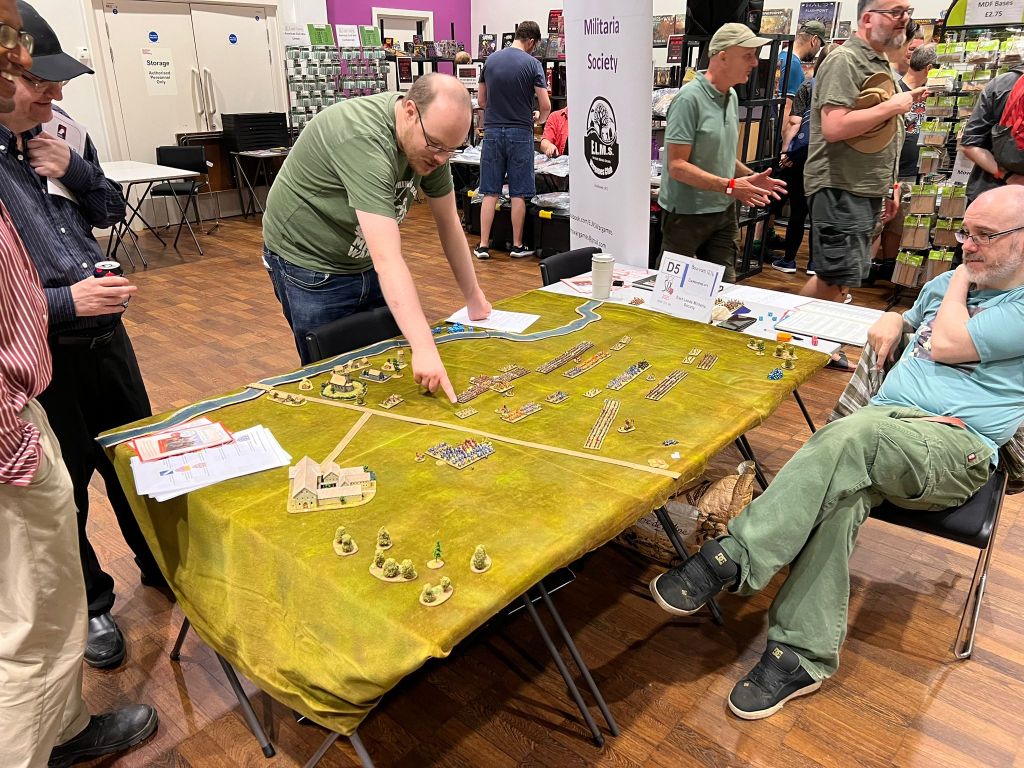
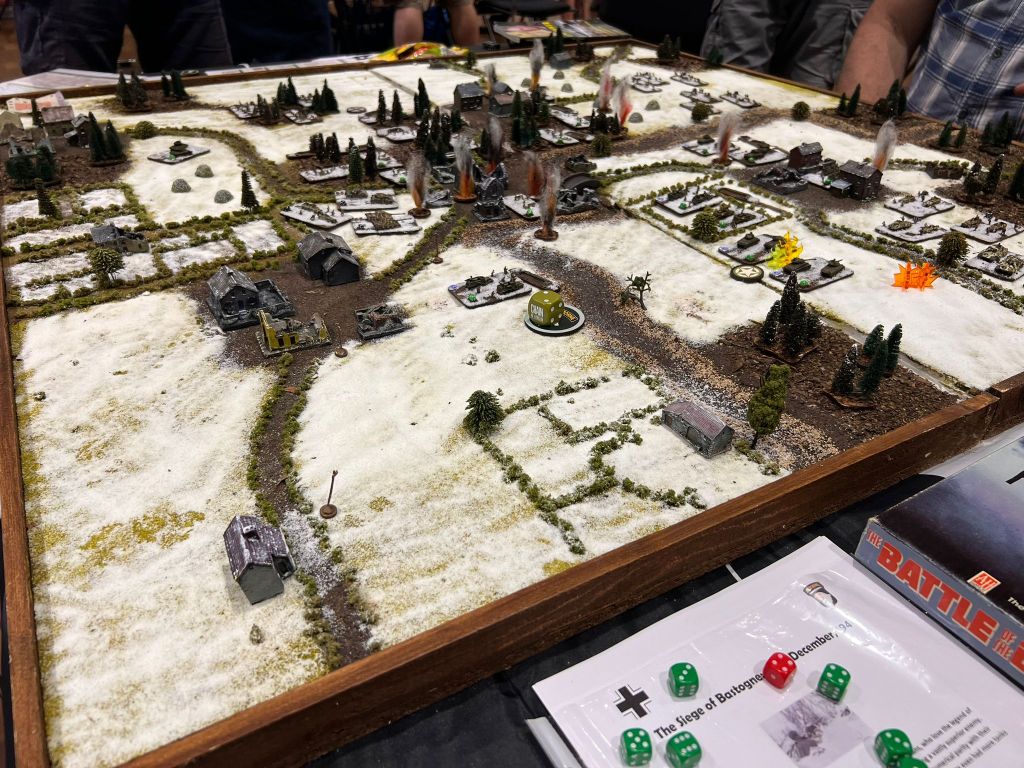
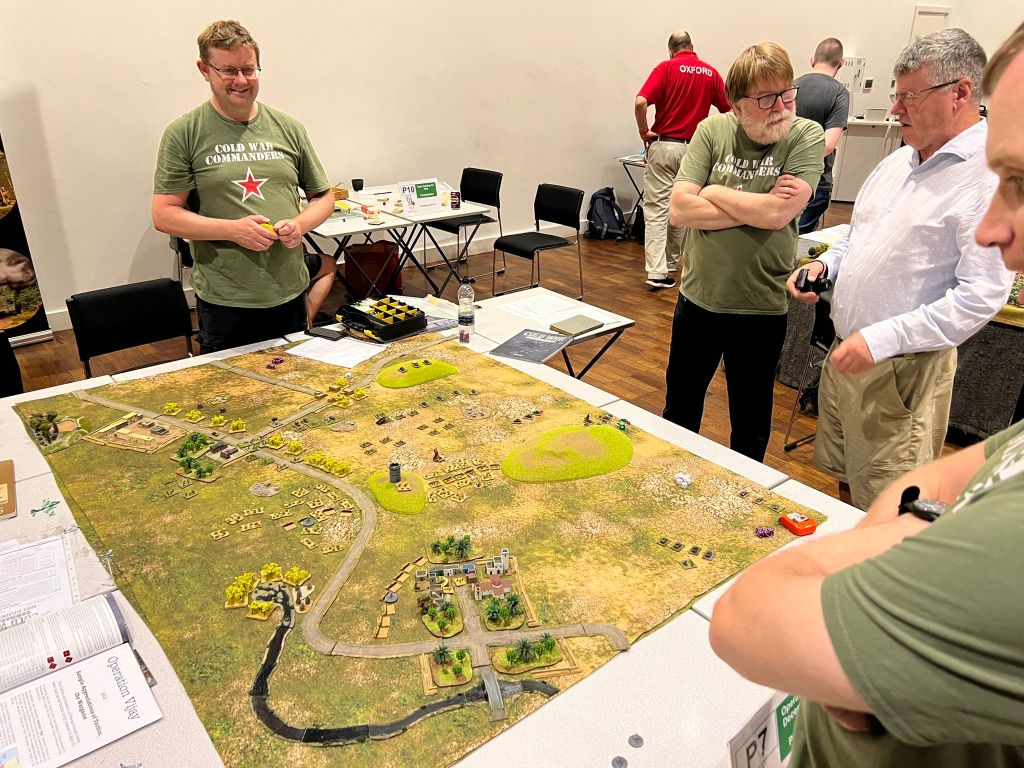
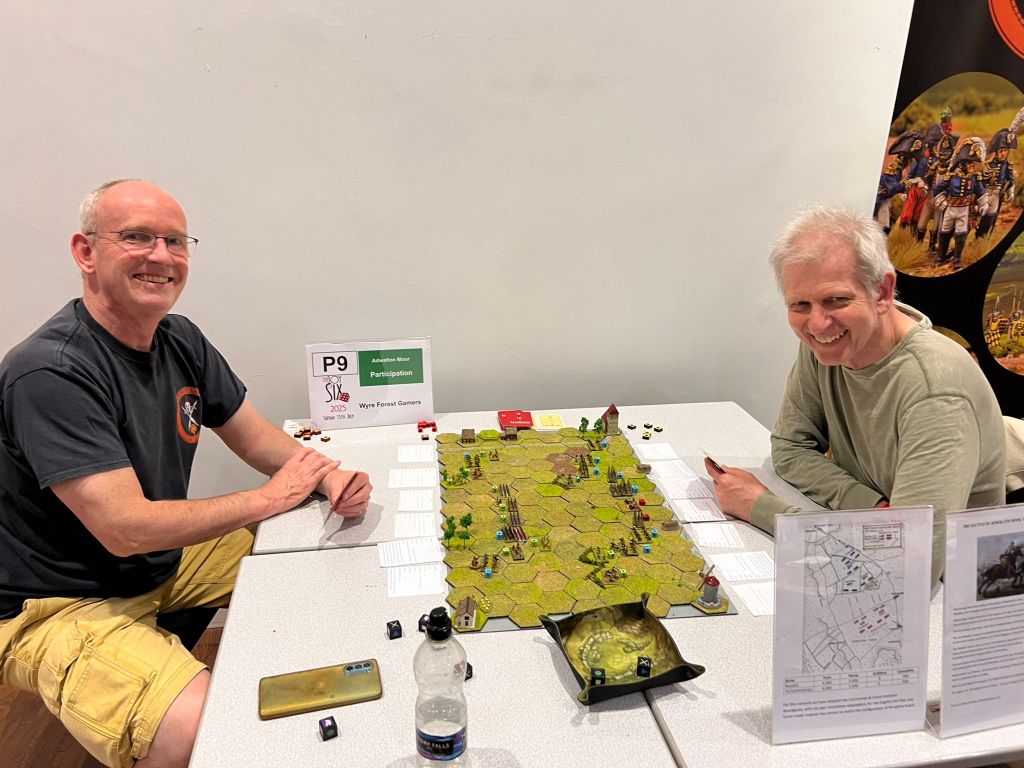
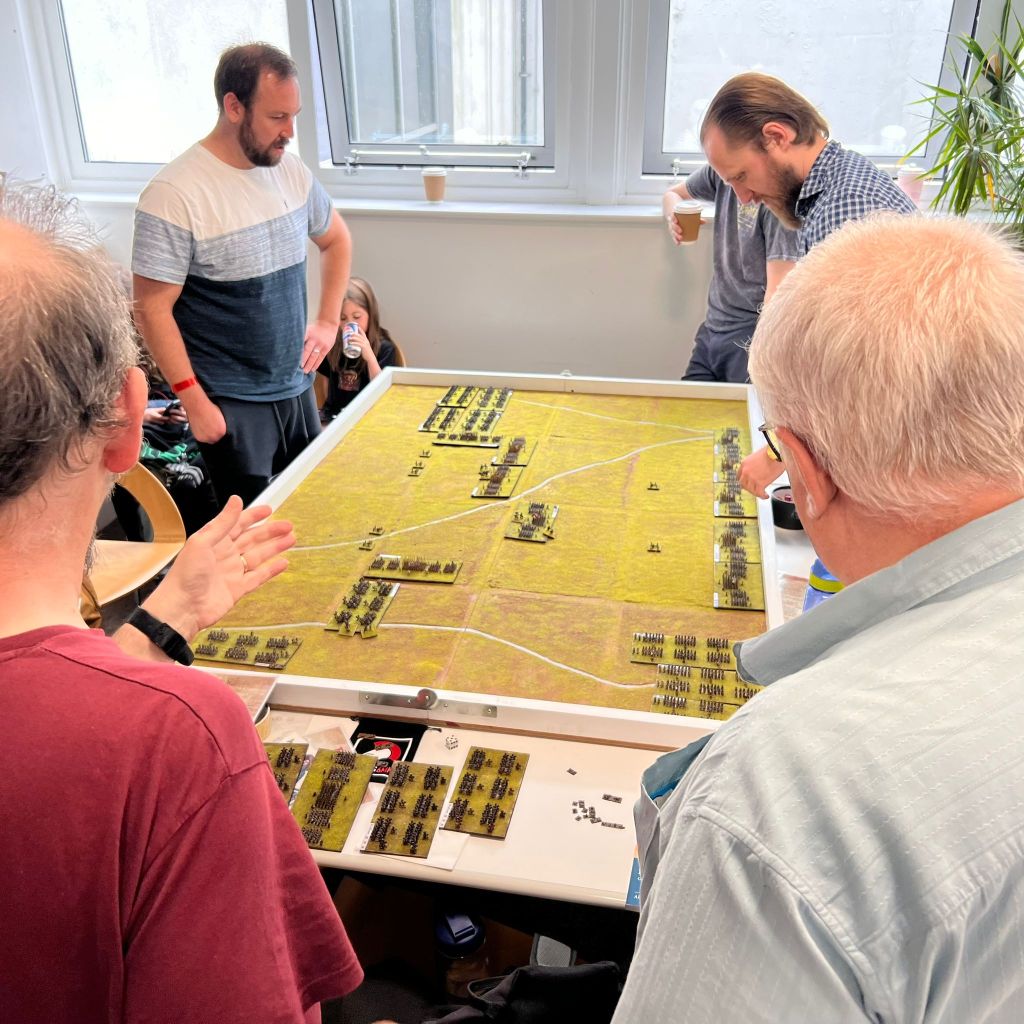
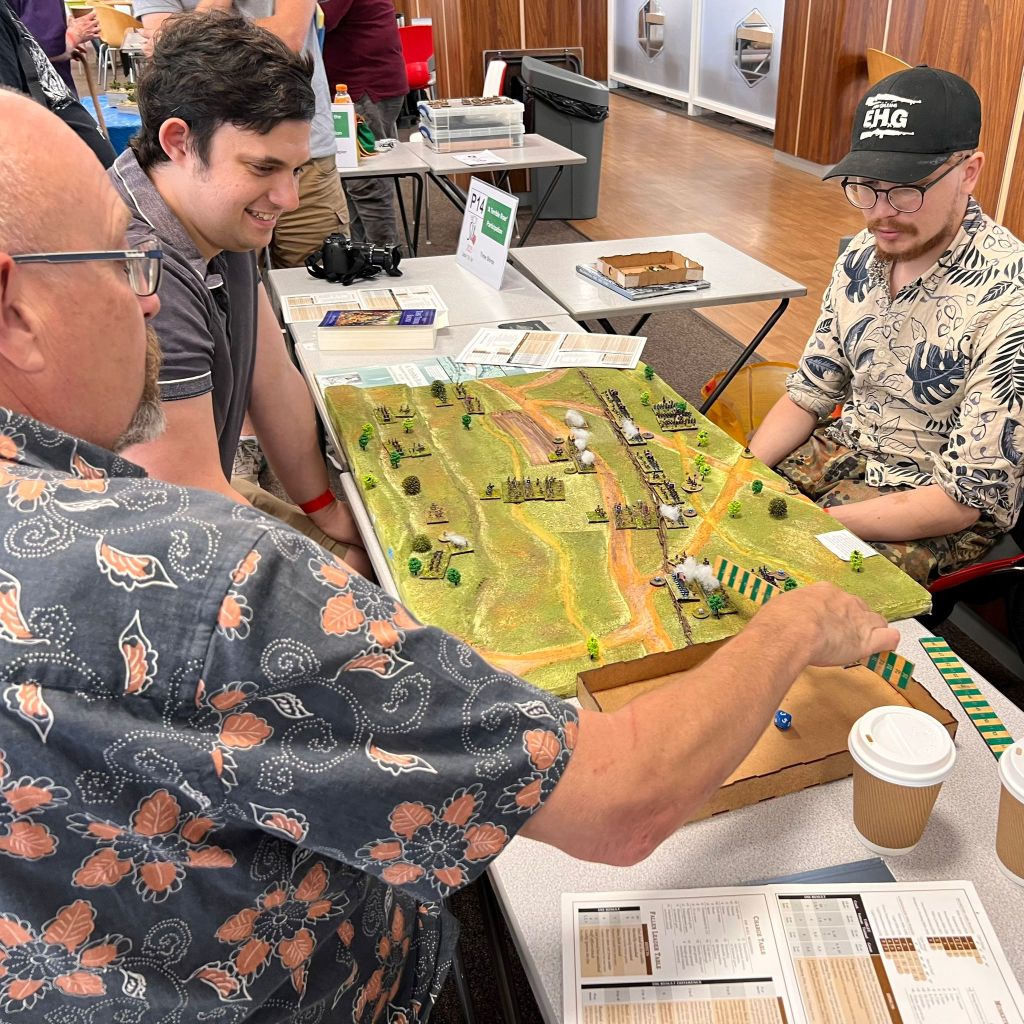
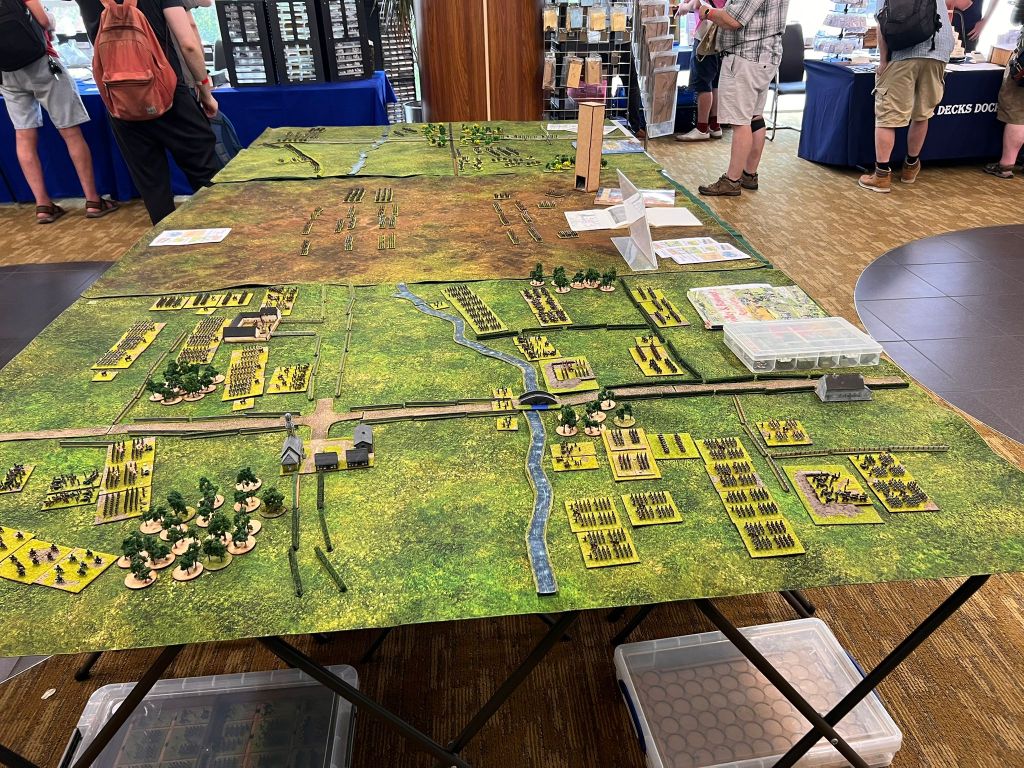
I did not have time to make any investments apart from a rulebook, but took a few photos of the other tables at the show. A wide range of games.


Devilry Afoot – Getting ready to play
Some time ago I did some stuff to play Silver Bayonet in the aftermath of the Battle of Lund 1676 where a darkness had fallen over the region following the bloody battle and all the corpses left unburied due ground being to hard to dig (the battles was fought in the winter). More about that project here.
After the Swedish triumph at Lund in December 1676, the grip of terror has tightened across Scania. The local population suffers under the harsh hand of occupation. You are part of a small, defiant band of Scanians, fighters who see yourselves not as Swedes, but as Scanians first, Danes second. You will never become Swedes.
Operating in the shadowed woods and frozen fields around Lund, you hear whispers about rumours of unnatural occurrences. The battlefield, littered with corpses left unburied through the long winter, has become a place of dread. First stripped of their belongings by scavengers, then seemingly robbed of their very souls by something far darker. The nights grow longer. The howls of wolves echo like the fury of Fenris himself, and the villagers speak in hushed tones of a rising evil and a Dark Master lurking in the forest. Trolls, goblins, demons, that was once tales of childhood are now spoken of with trembling voices. The war, already brutal, is now haunted.
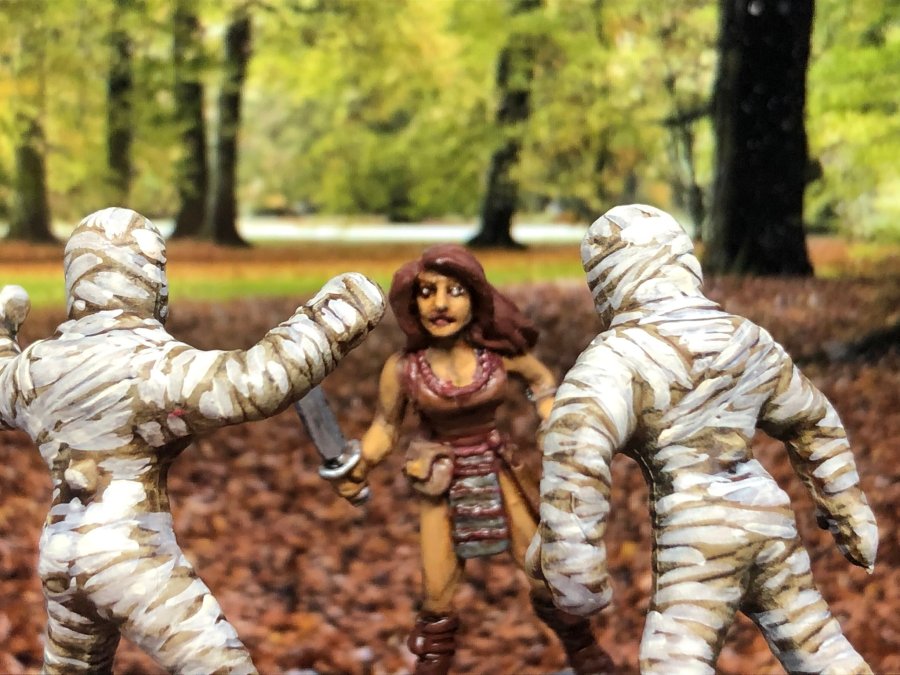
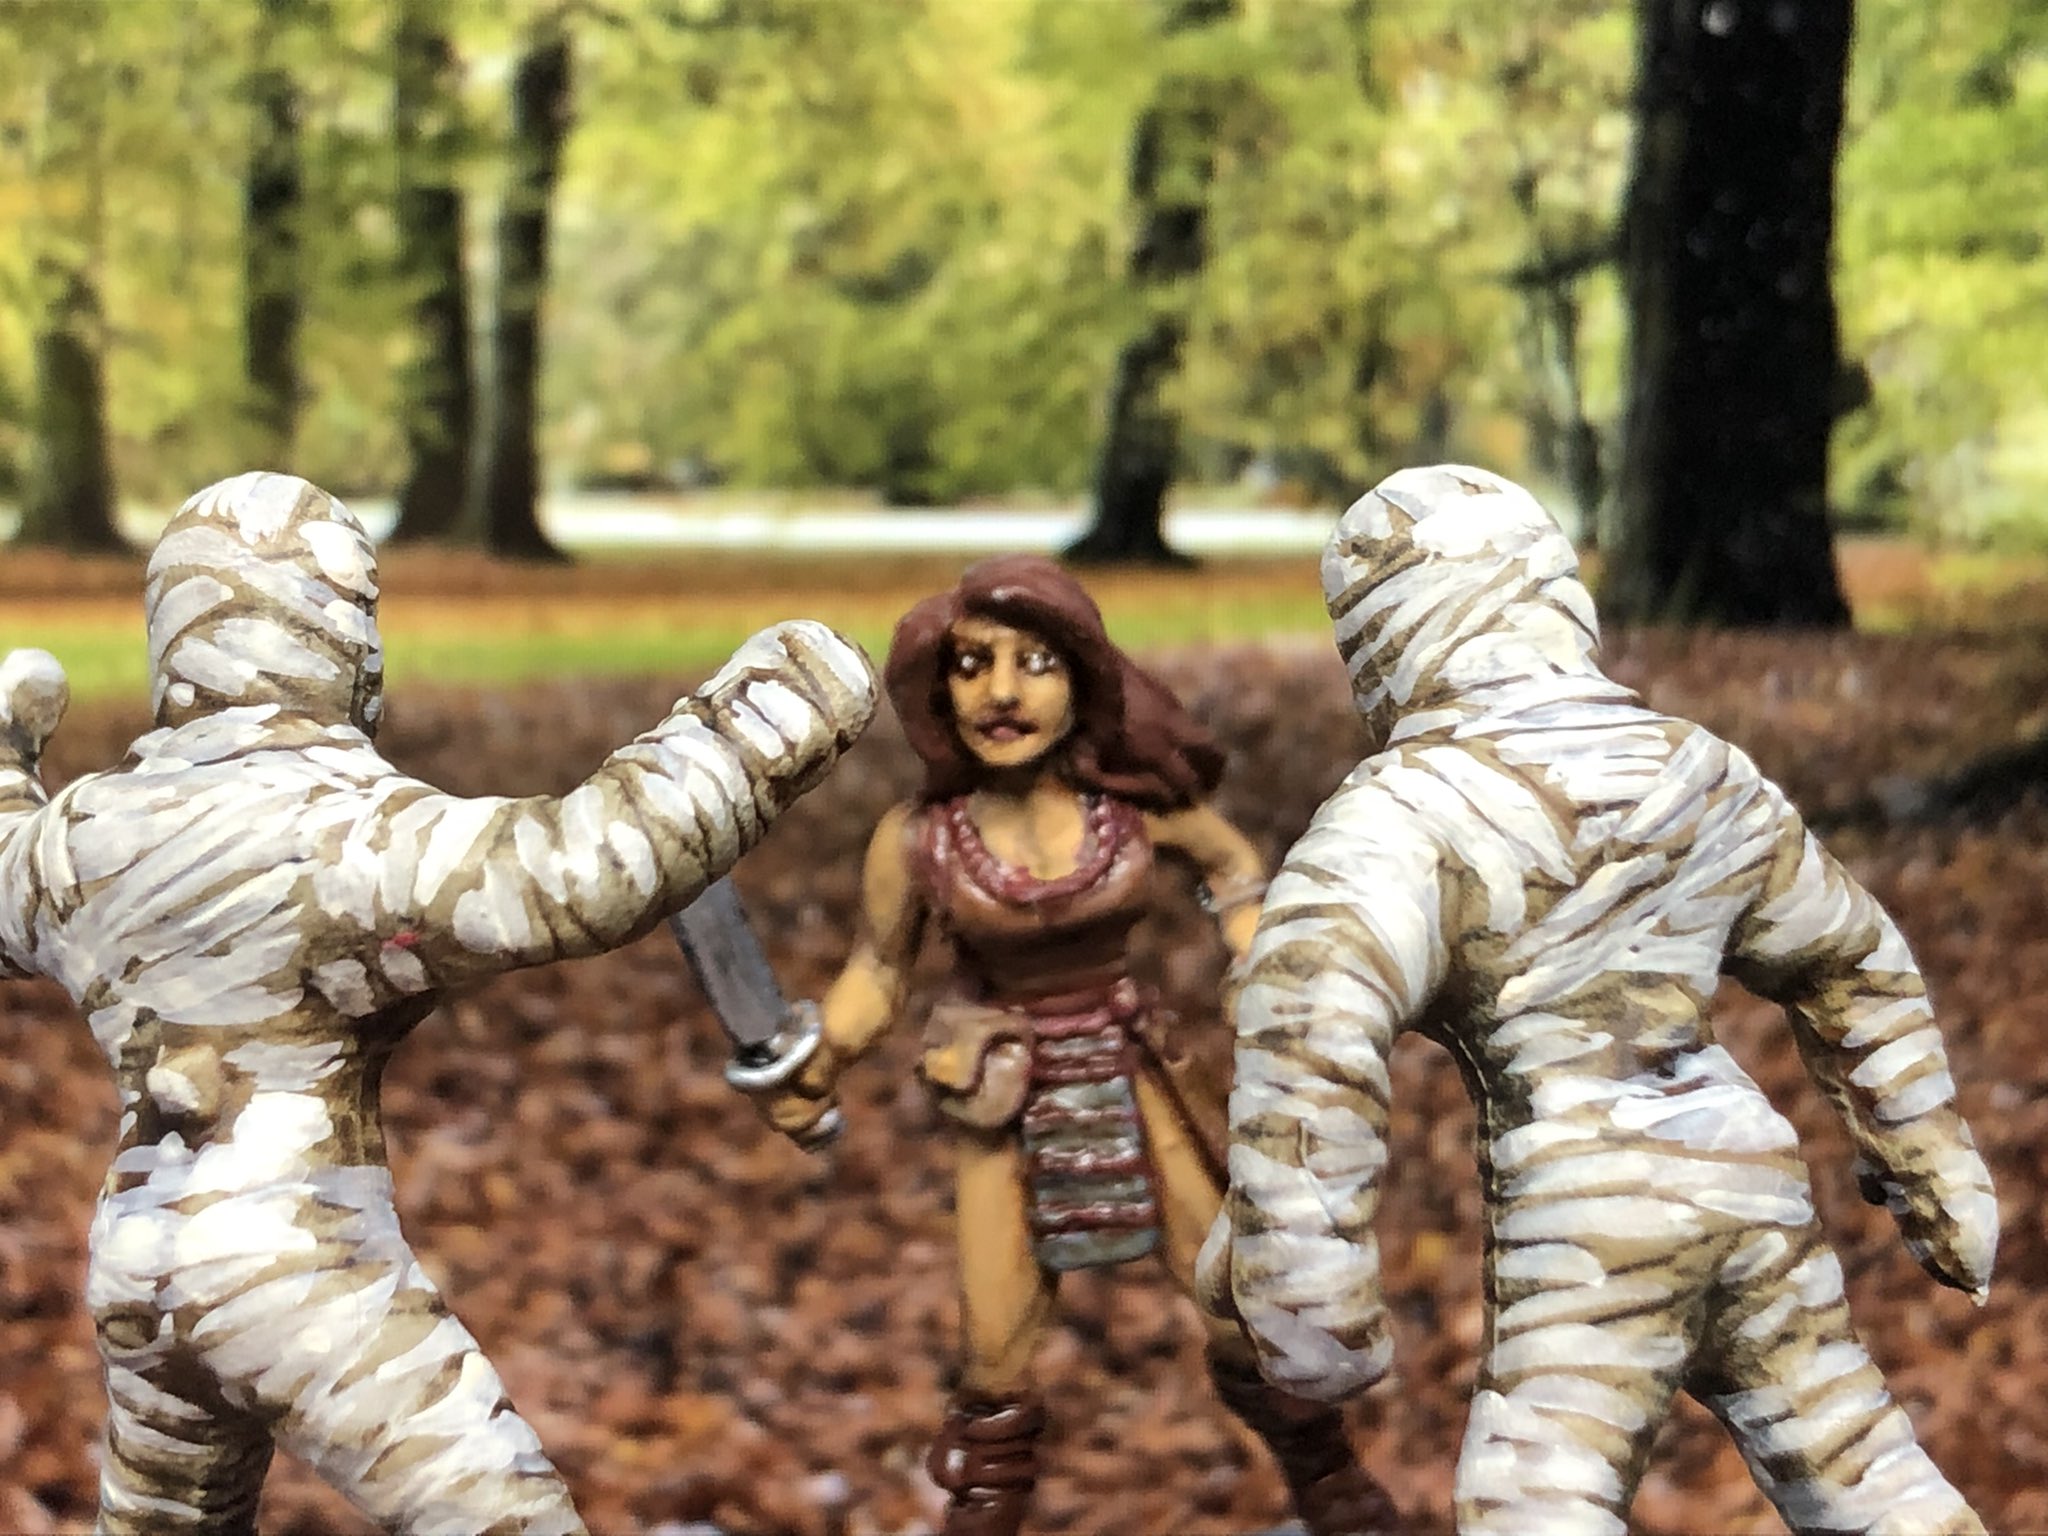
Scouting parties vanish. Survivors return broken, speaking of shadowy figures, beast-like men with unnatural speed and strength. One such party has gone missing. Around your campfire, you discuss these grim developments when a sentry arrives, guiding a young girl through the snow. Barely twelve winters old, she is pale, exhausted, and terrified. She drops to her knees, hands clasped as if in prayer, her eyes burning with a strange clarity. “Freeshooters,” she says, her voice trembling but resolute, “I am Milda, daughter of Conrad, son of Eskil. I beg you—help me find my family. Something came from the forest…” Her voice falters, and she collapses into the snow.
We did play a few scenarios using the Silver Bayonet rules and it really works in the setting as you obviously are pitting to sides against each other with the monsters adding some drama to the proceedings.
Devilry Afoot
I recently came across the Devilry Afoot rules that is a skirmish wargame steeped in folk horror and gunpowder fantasy, set during the 16th and 17th century Wars of Religion. It blends historical themes with supernatural elements, creating a tense and atmospheric experience where players take on the roles of flawed human heroes battling monsters and dark forces. Link here for more info.
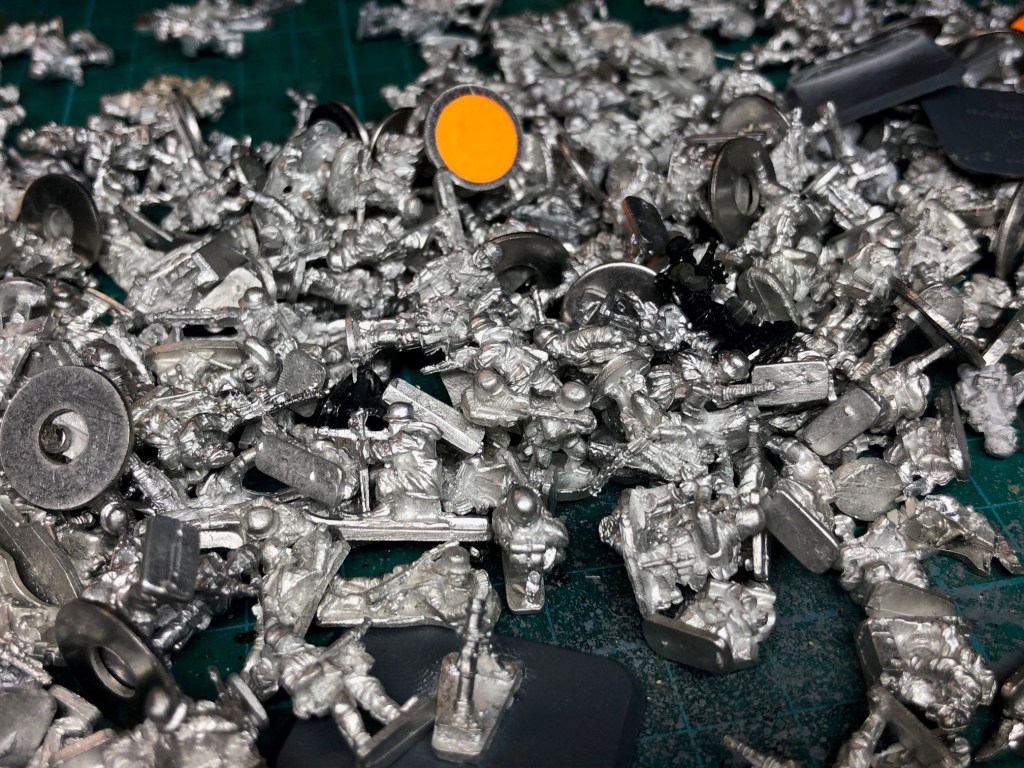
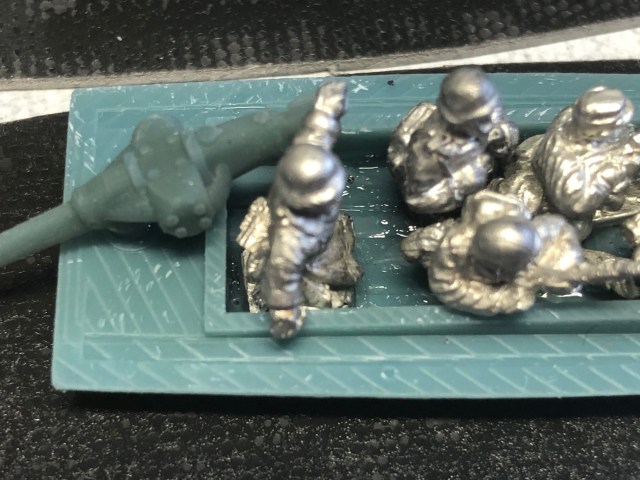
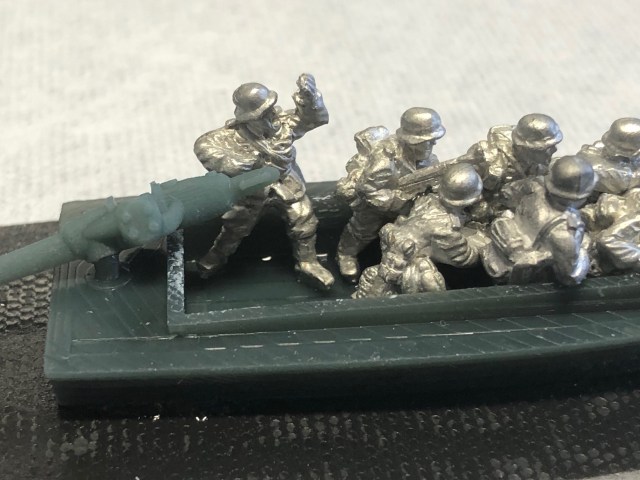
It is designed for one or more players, it is rpg-lite and all the players are hunters working together against one or more monsters (that are acting based on randomised mechanics). The only modification I have done is to replace the awards that are in monetary terms with renown – the character get access to more assets etc as their reputation grows. I have been working diligently to add to the collection to be able to have enough monsters for as many encounters as possible – I found doing this really rewarding. It is a clear contrast to doing a historical battle in 6mm.
Will try to play a game of this next week and I think I have most of what I will need.
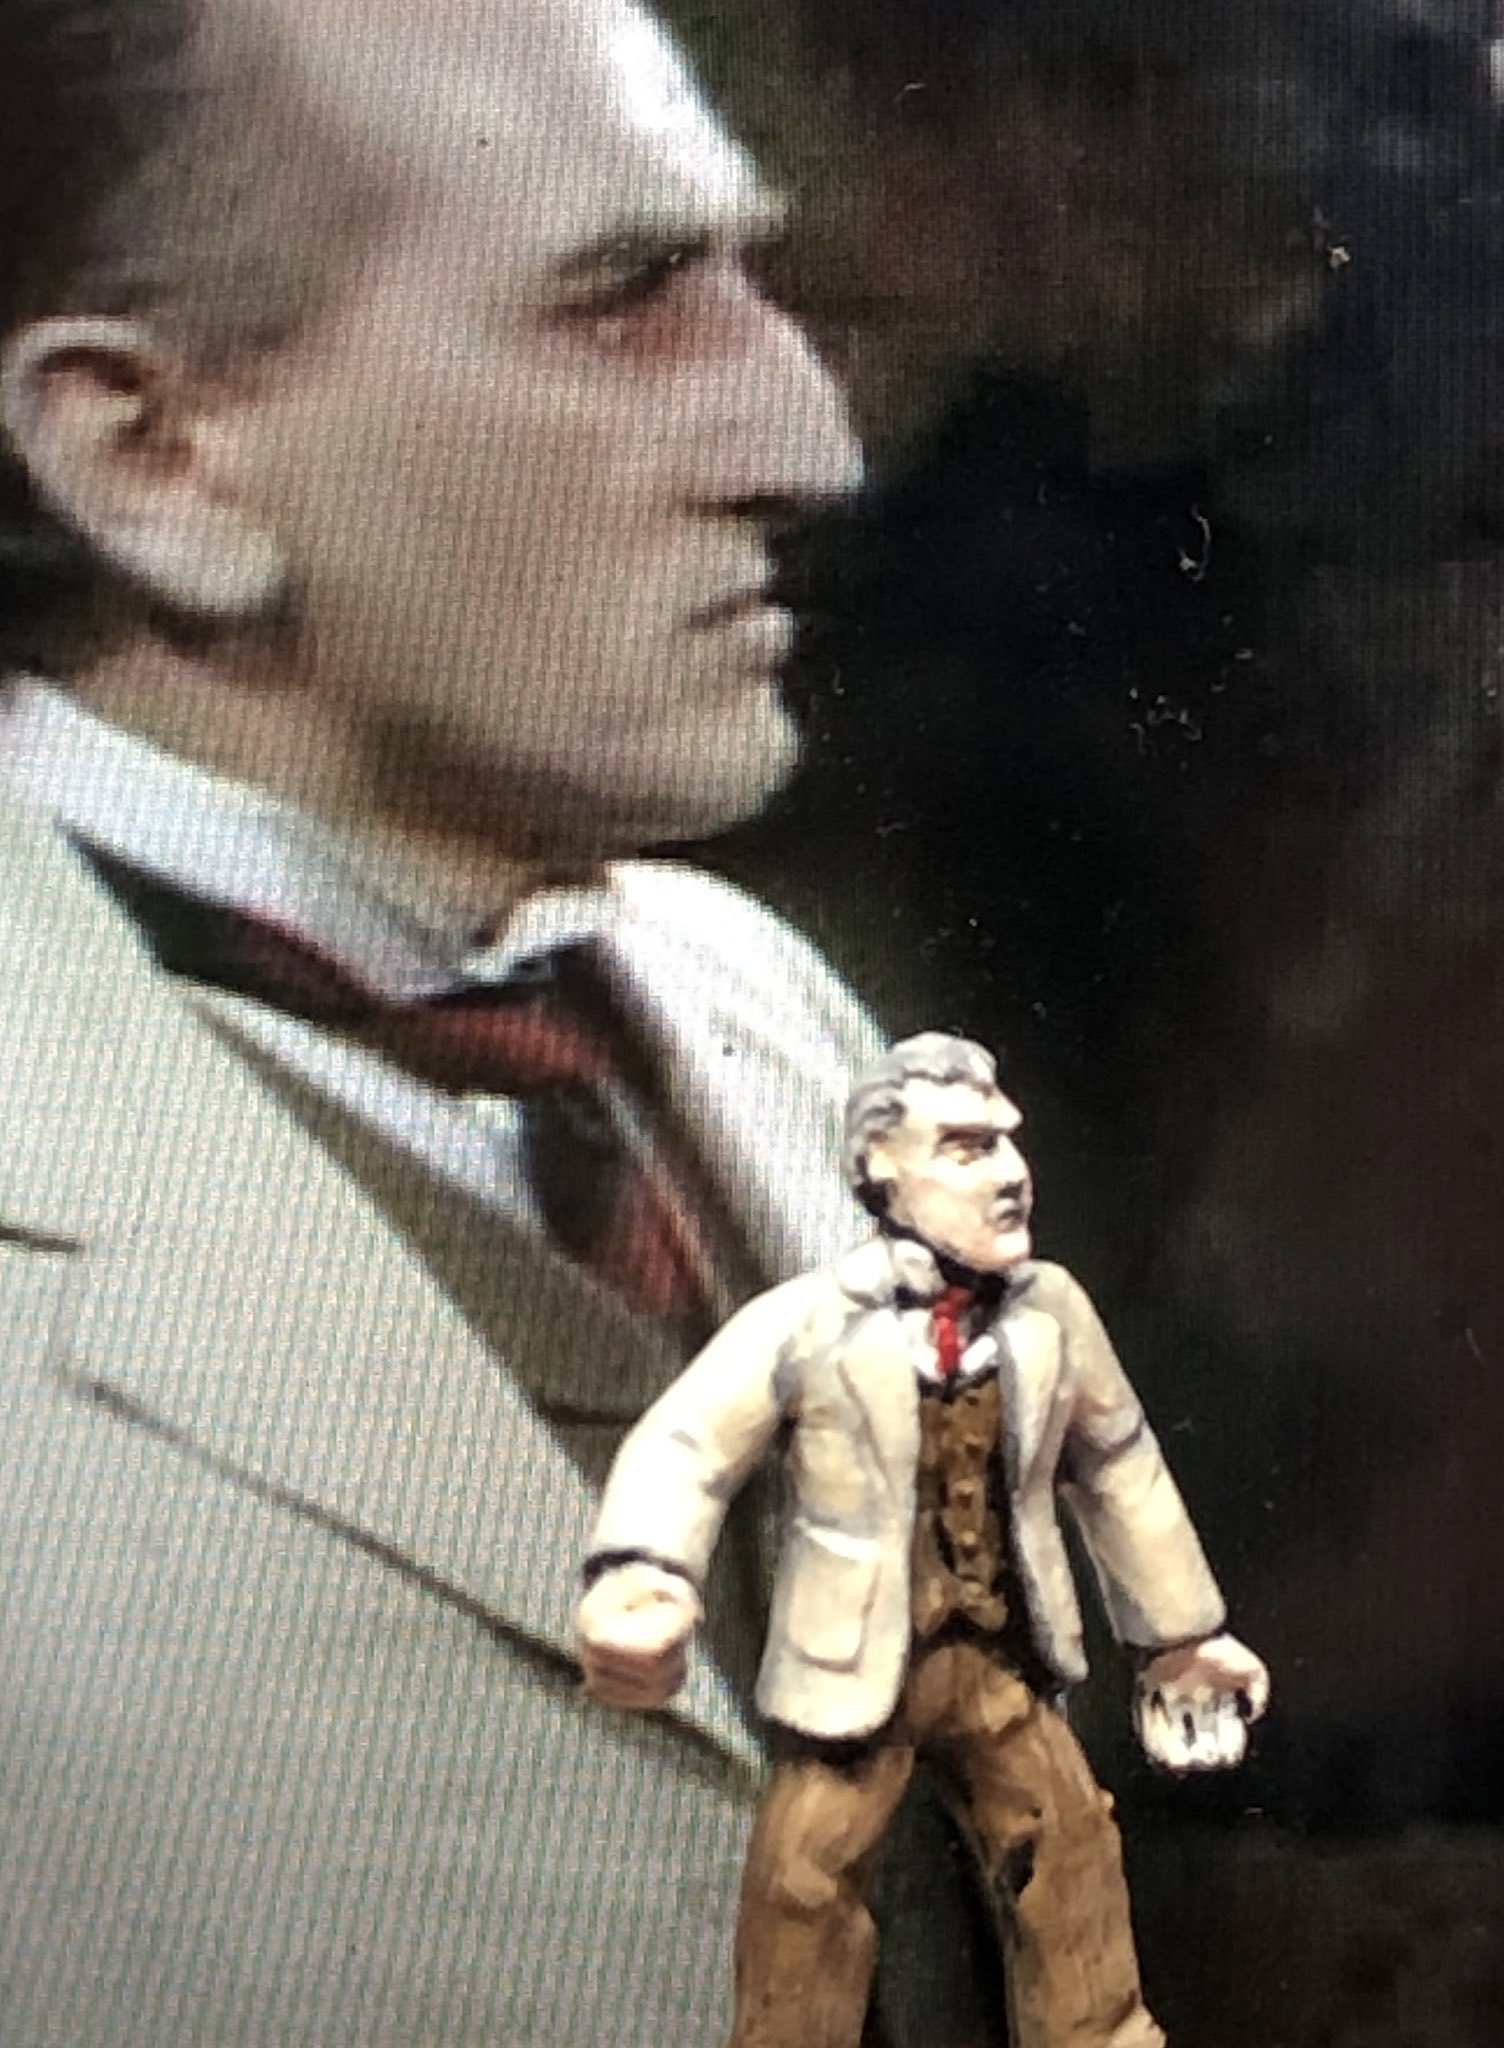
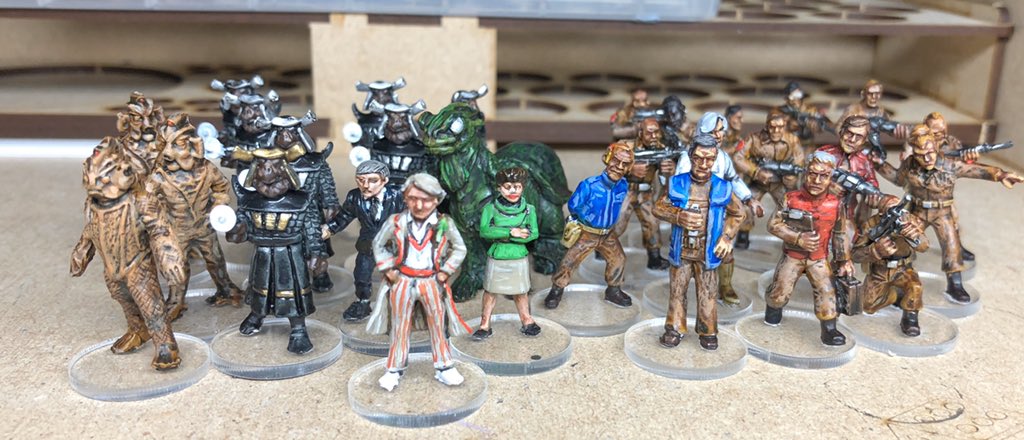
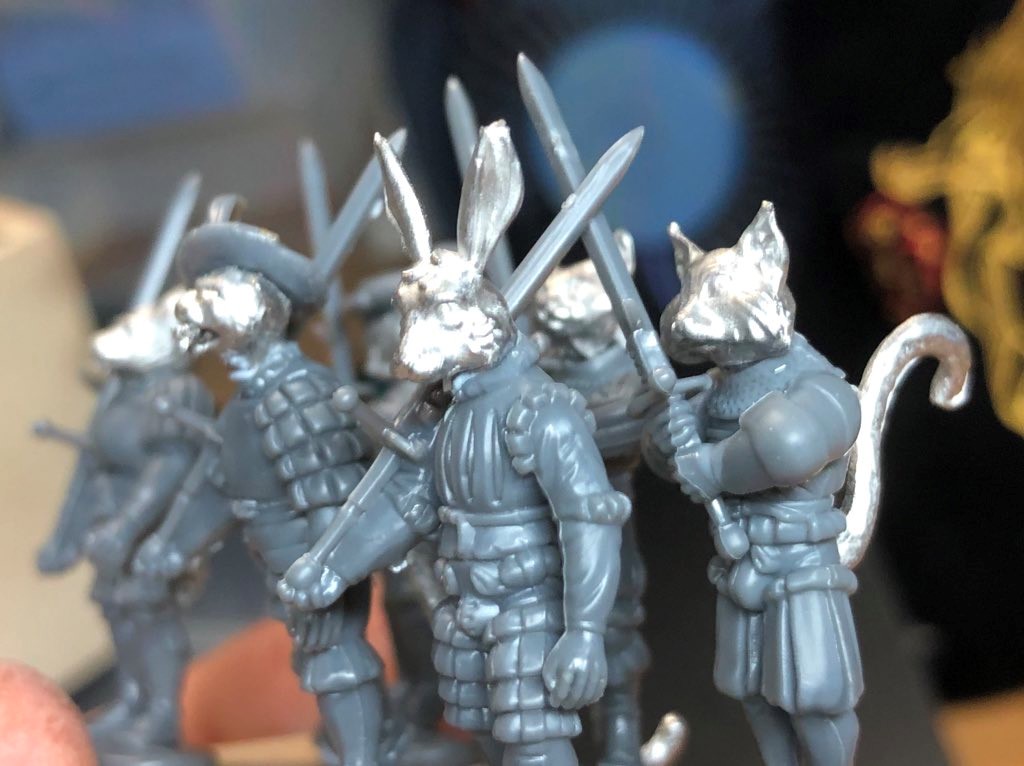
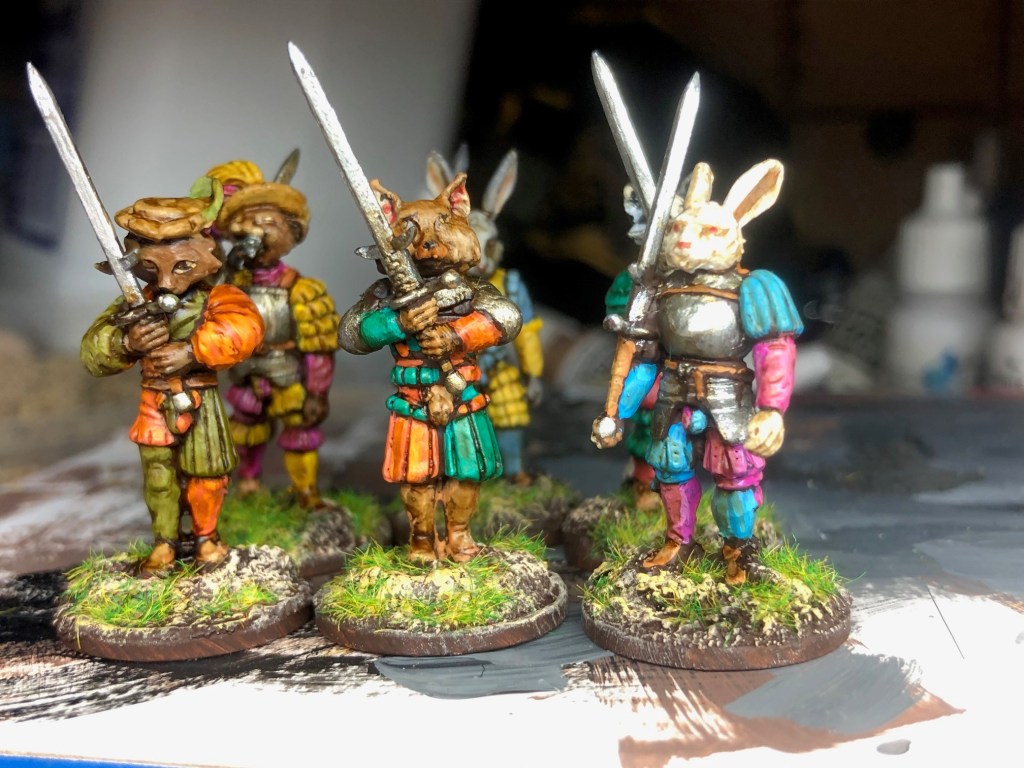
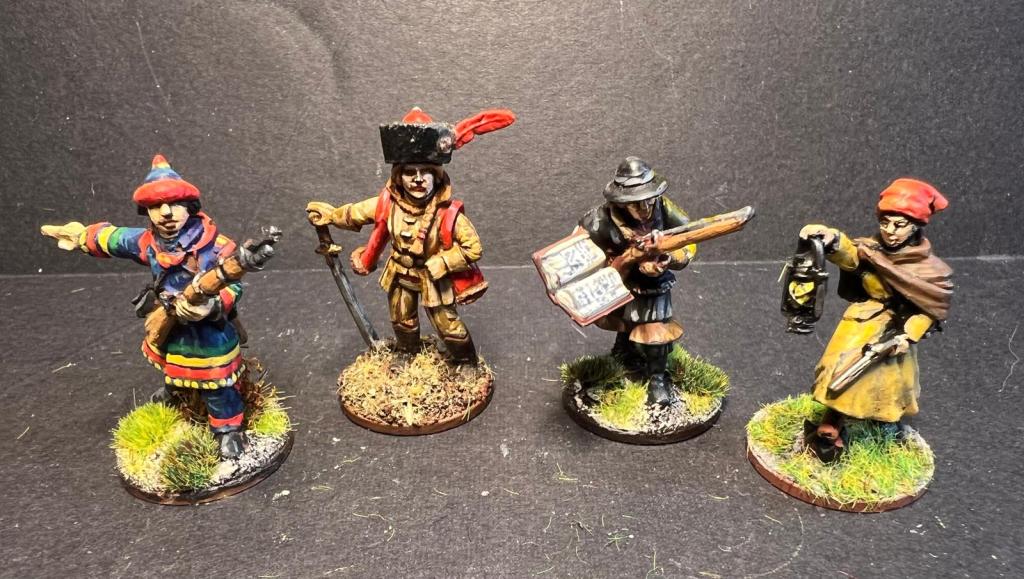
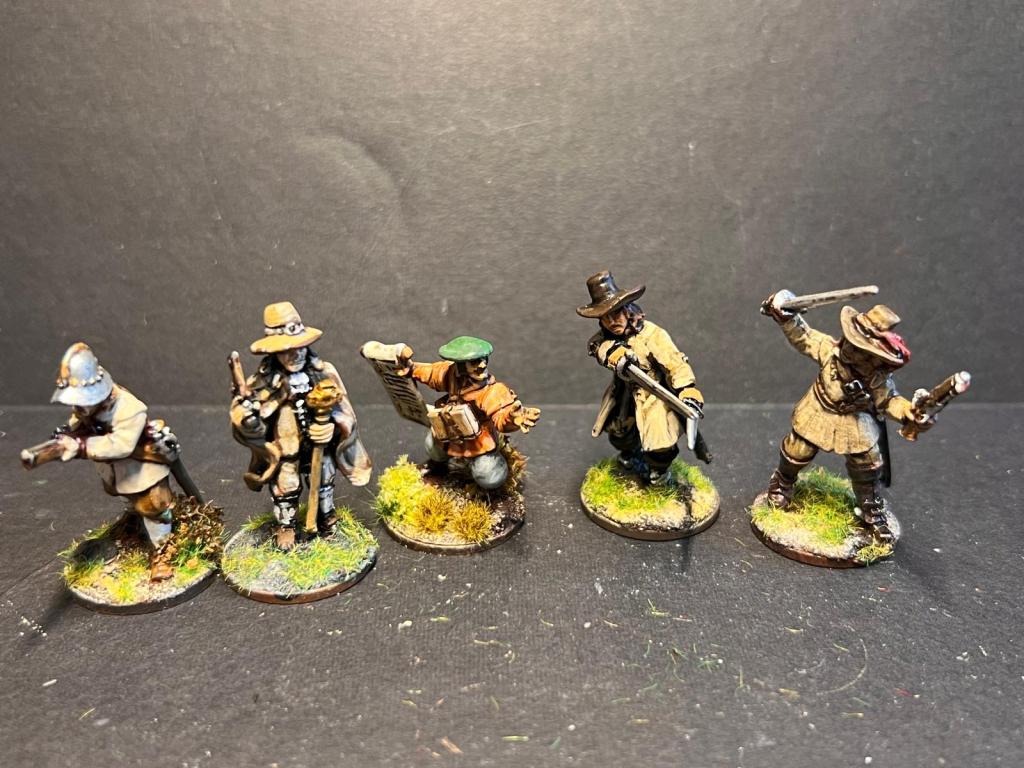
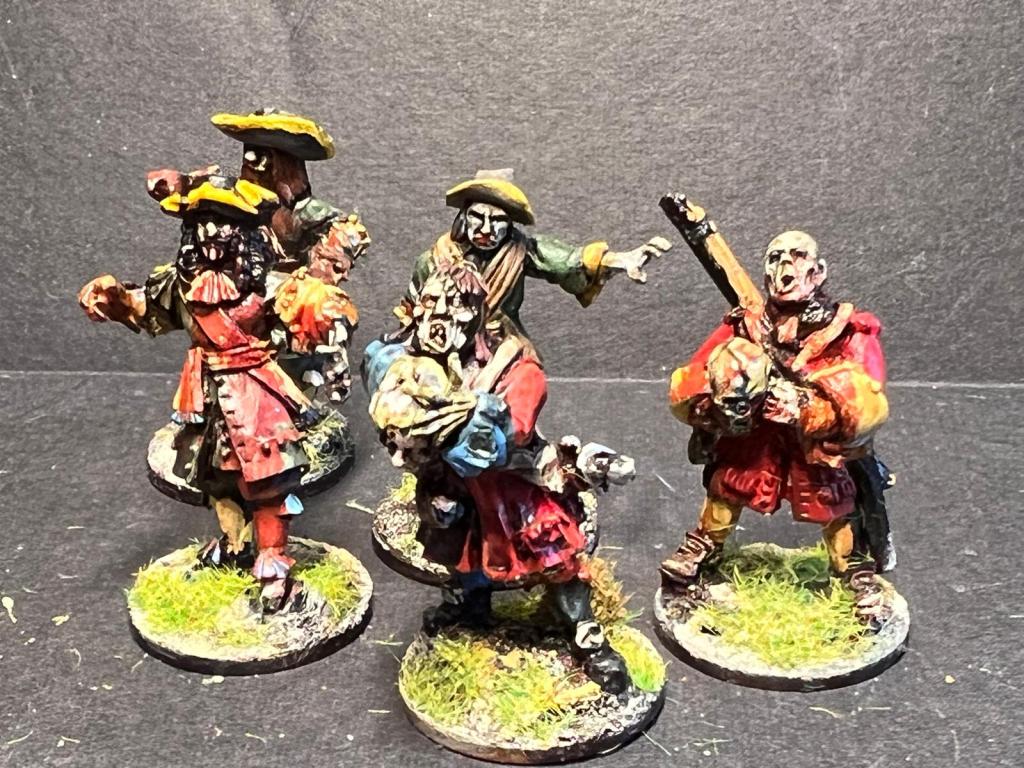
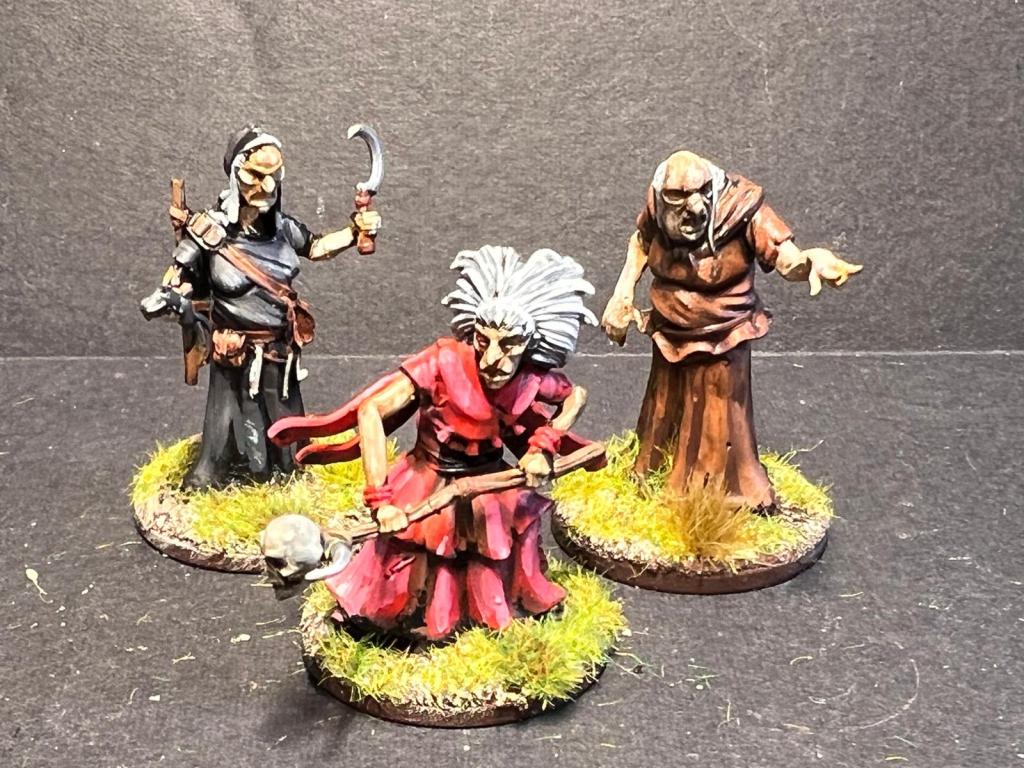
Hunters – a range of both female and male hunters.. (I reckon these could be both local Scanians and some mystics from further away).
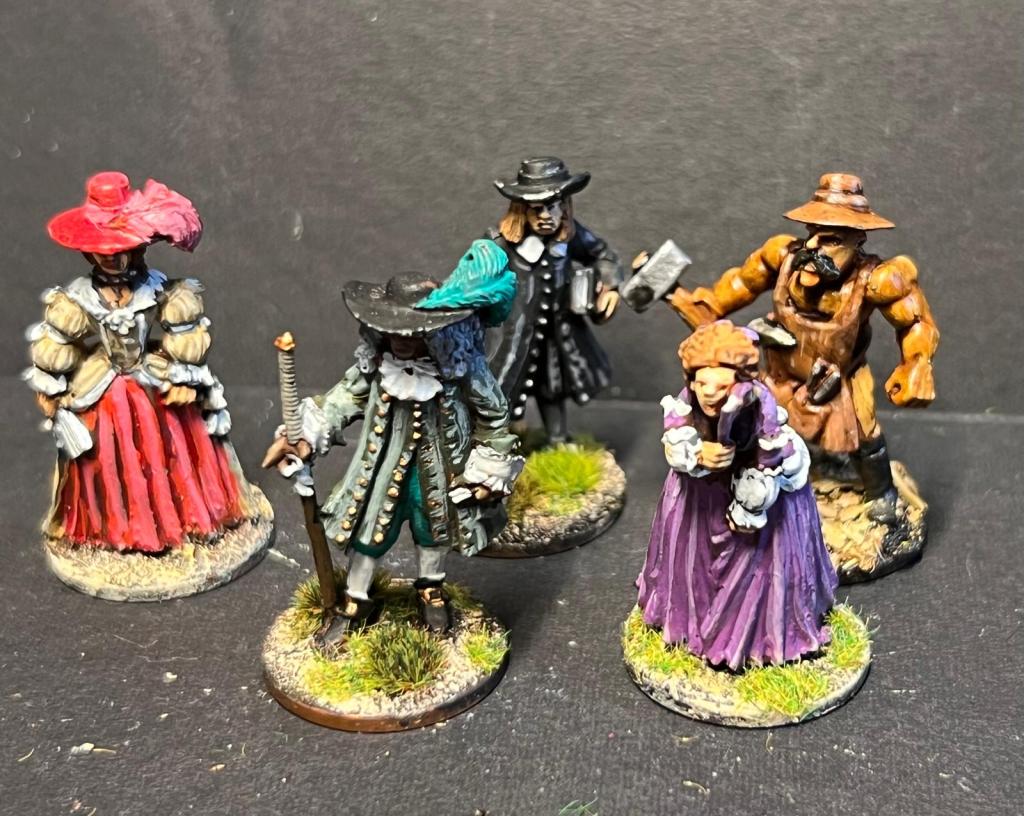
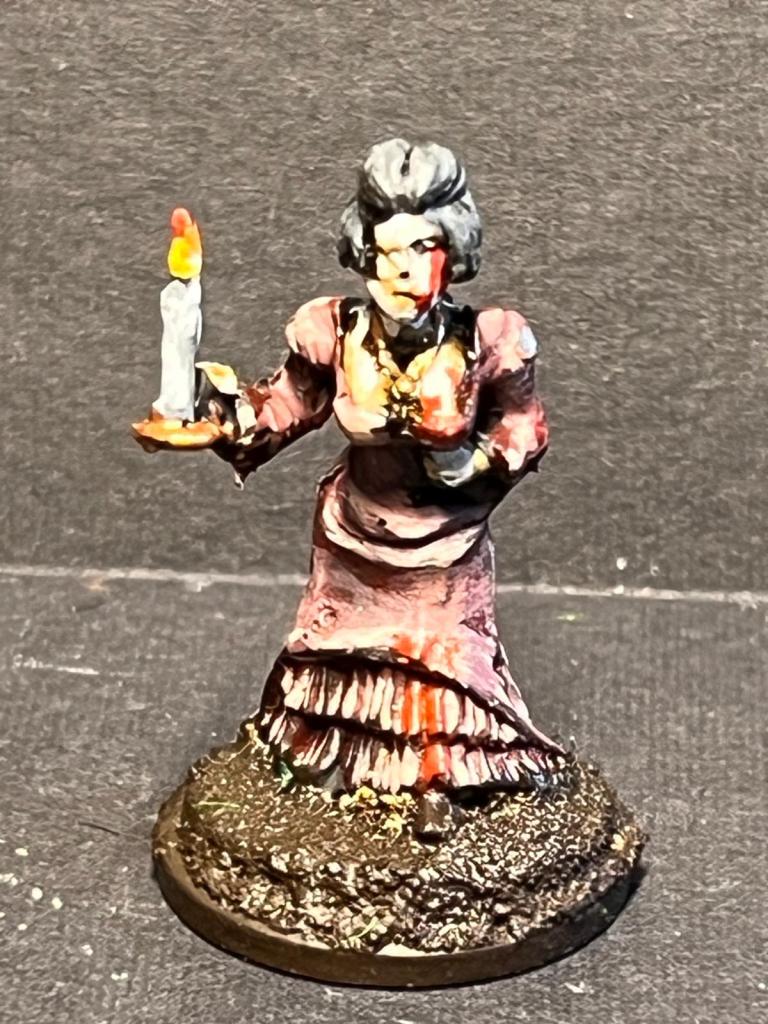
And some civilians
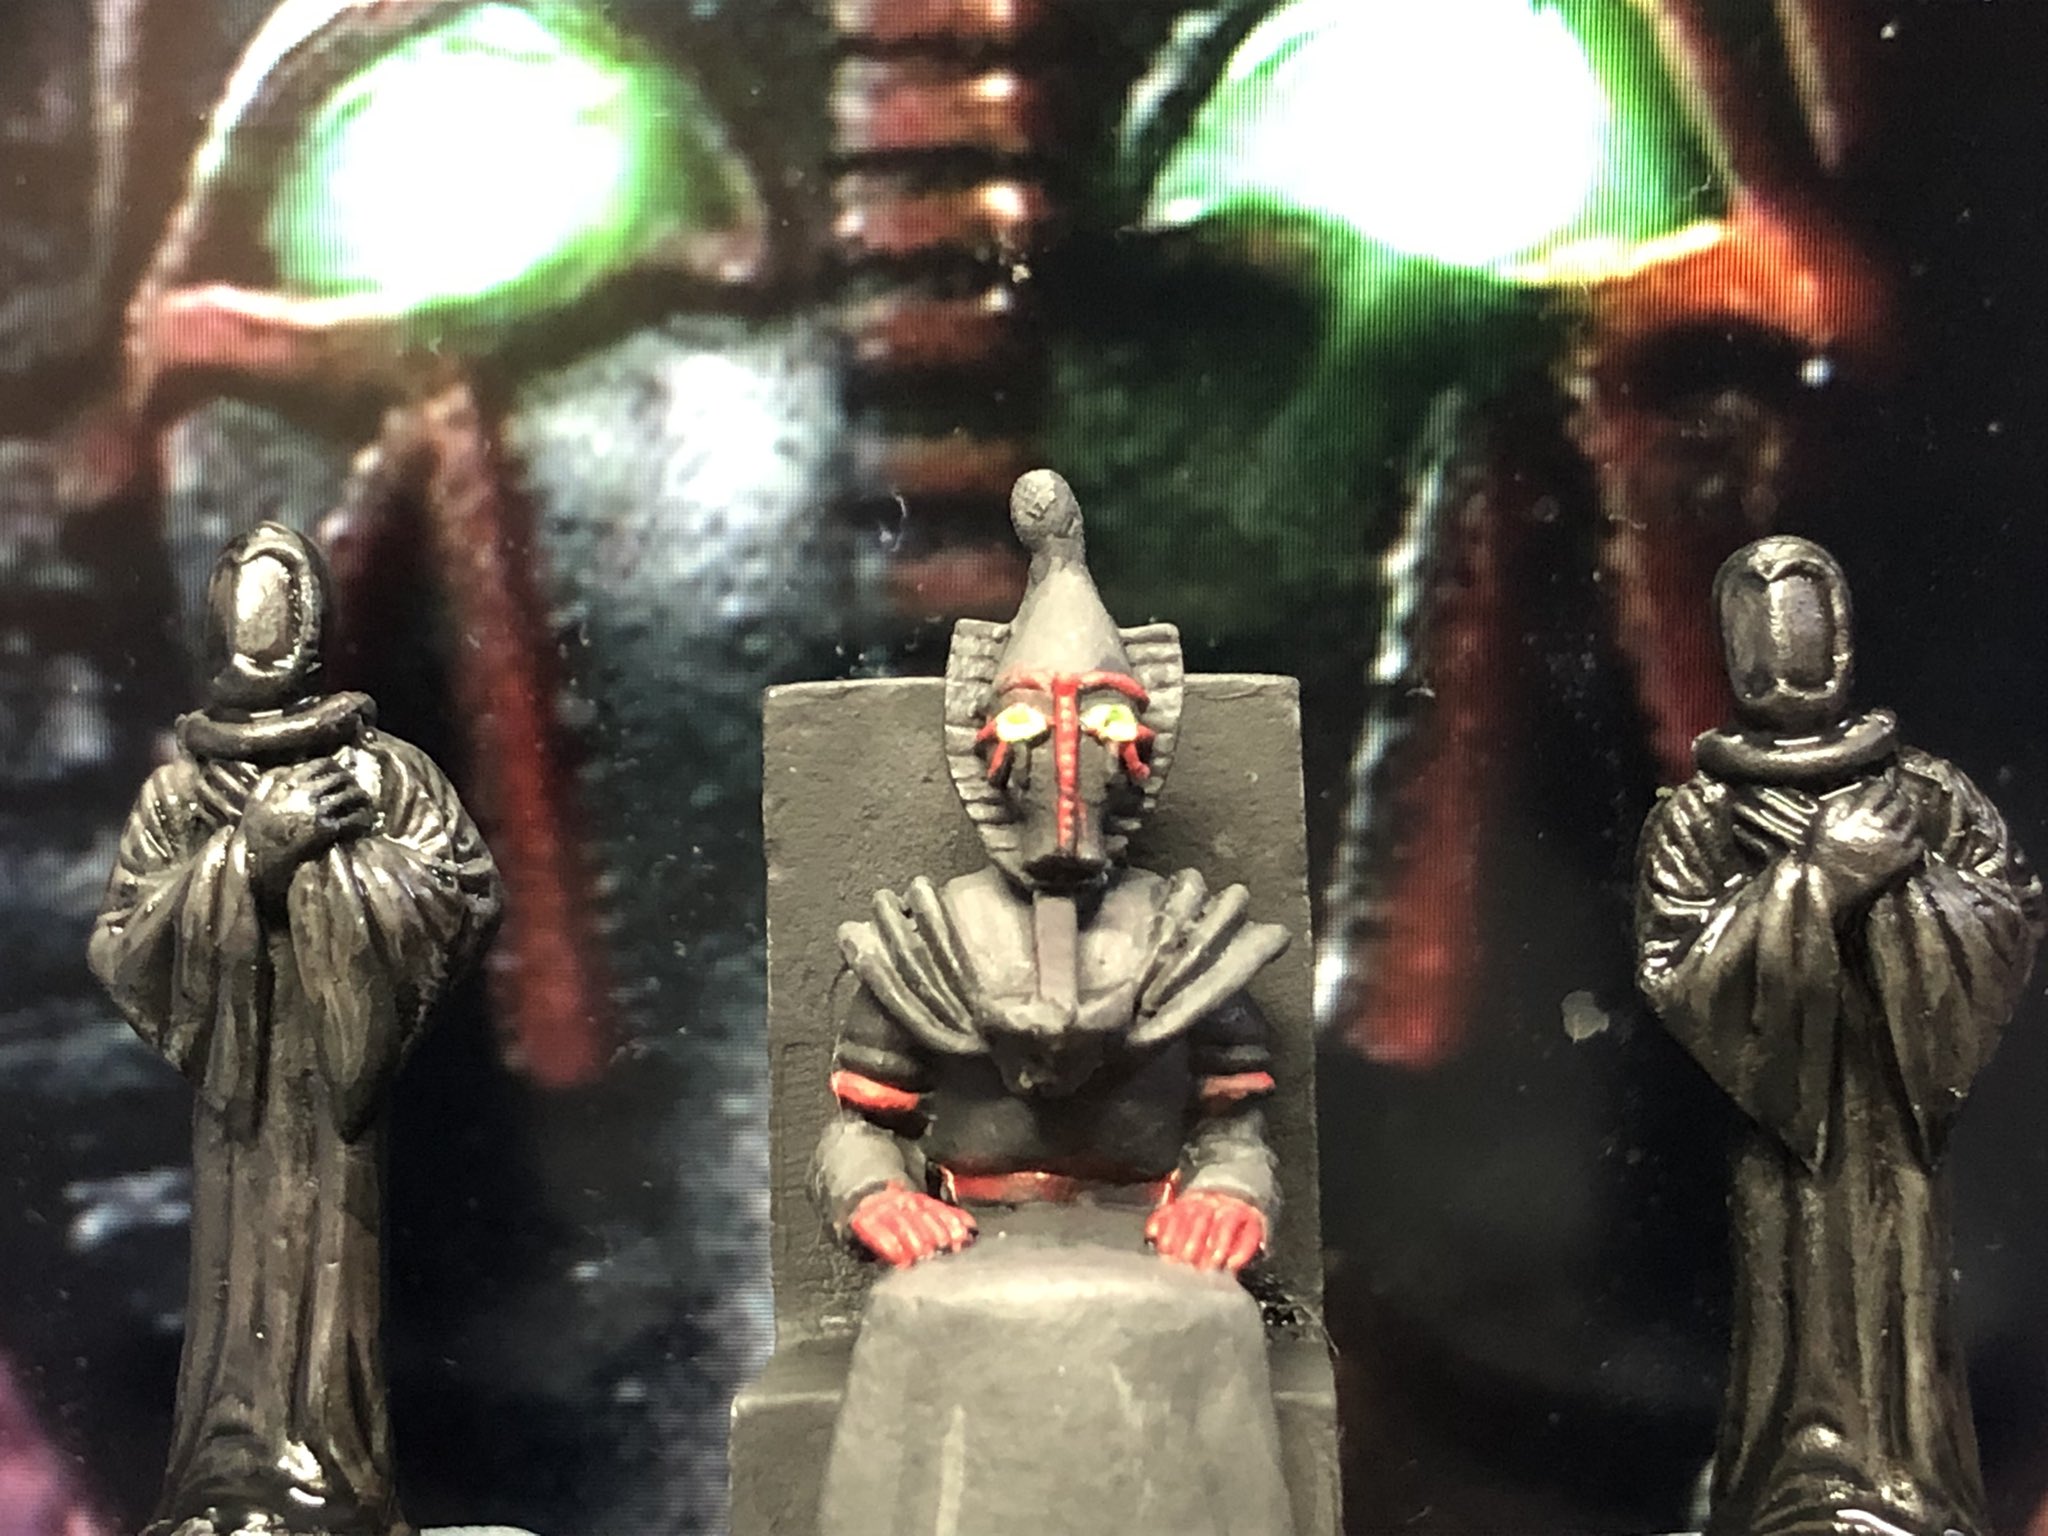
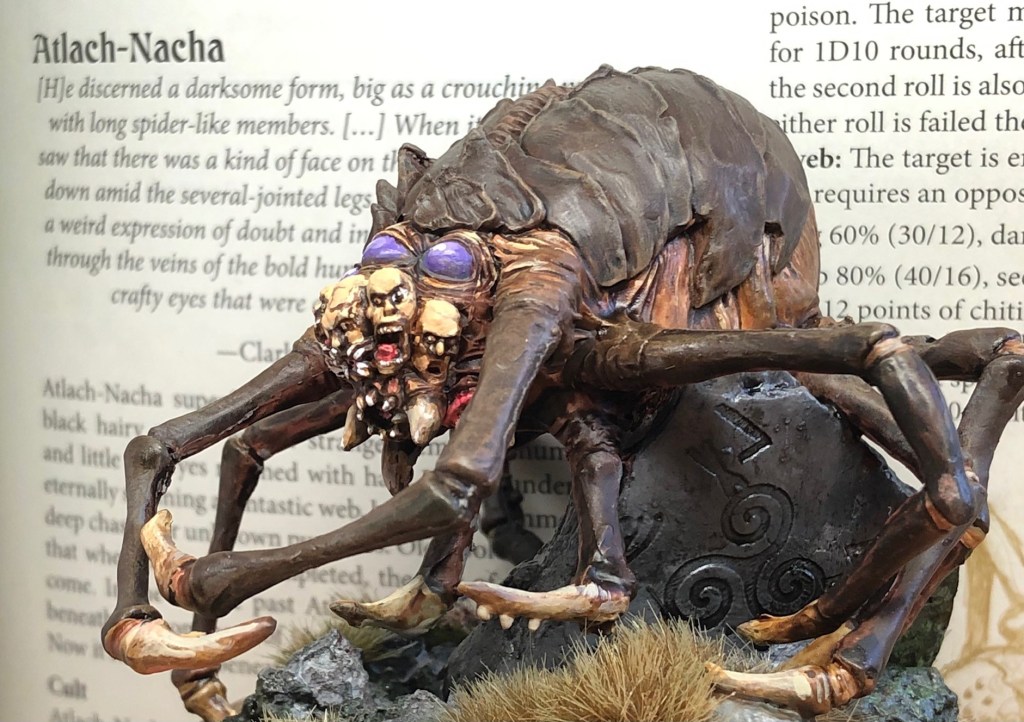
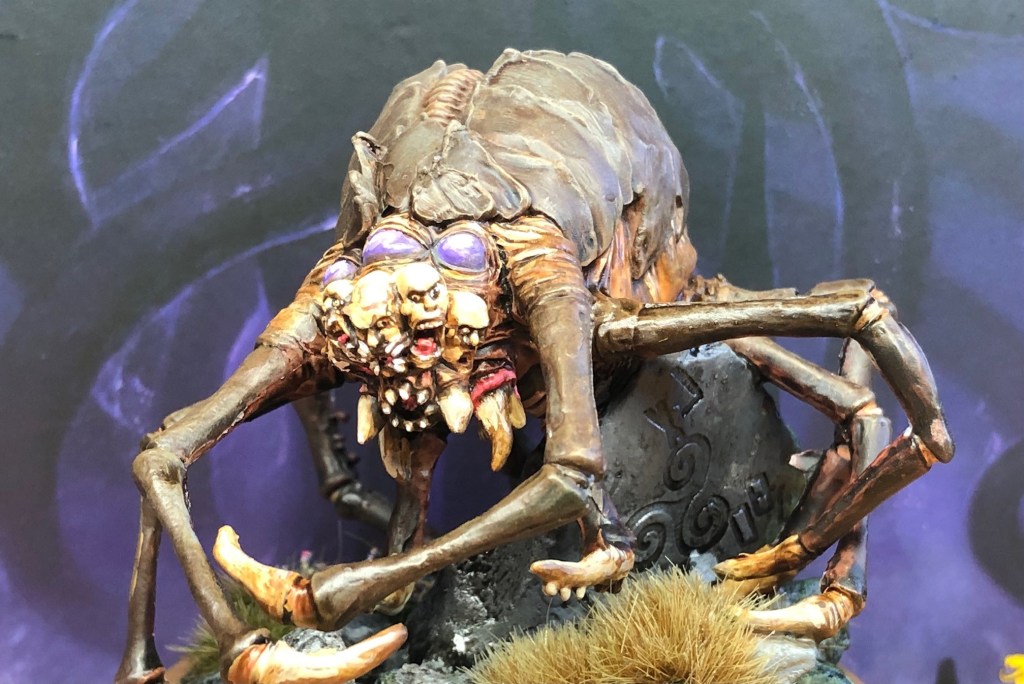
Monsters
The following monsters can be found in the rulebook (I have not included the Wendigo, but might later).
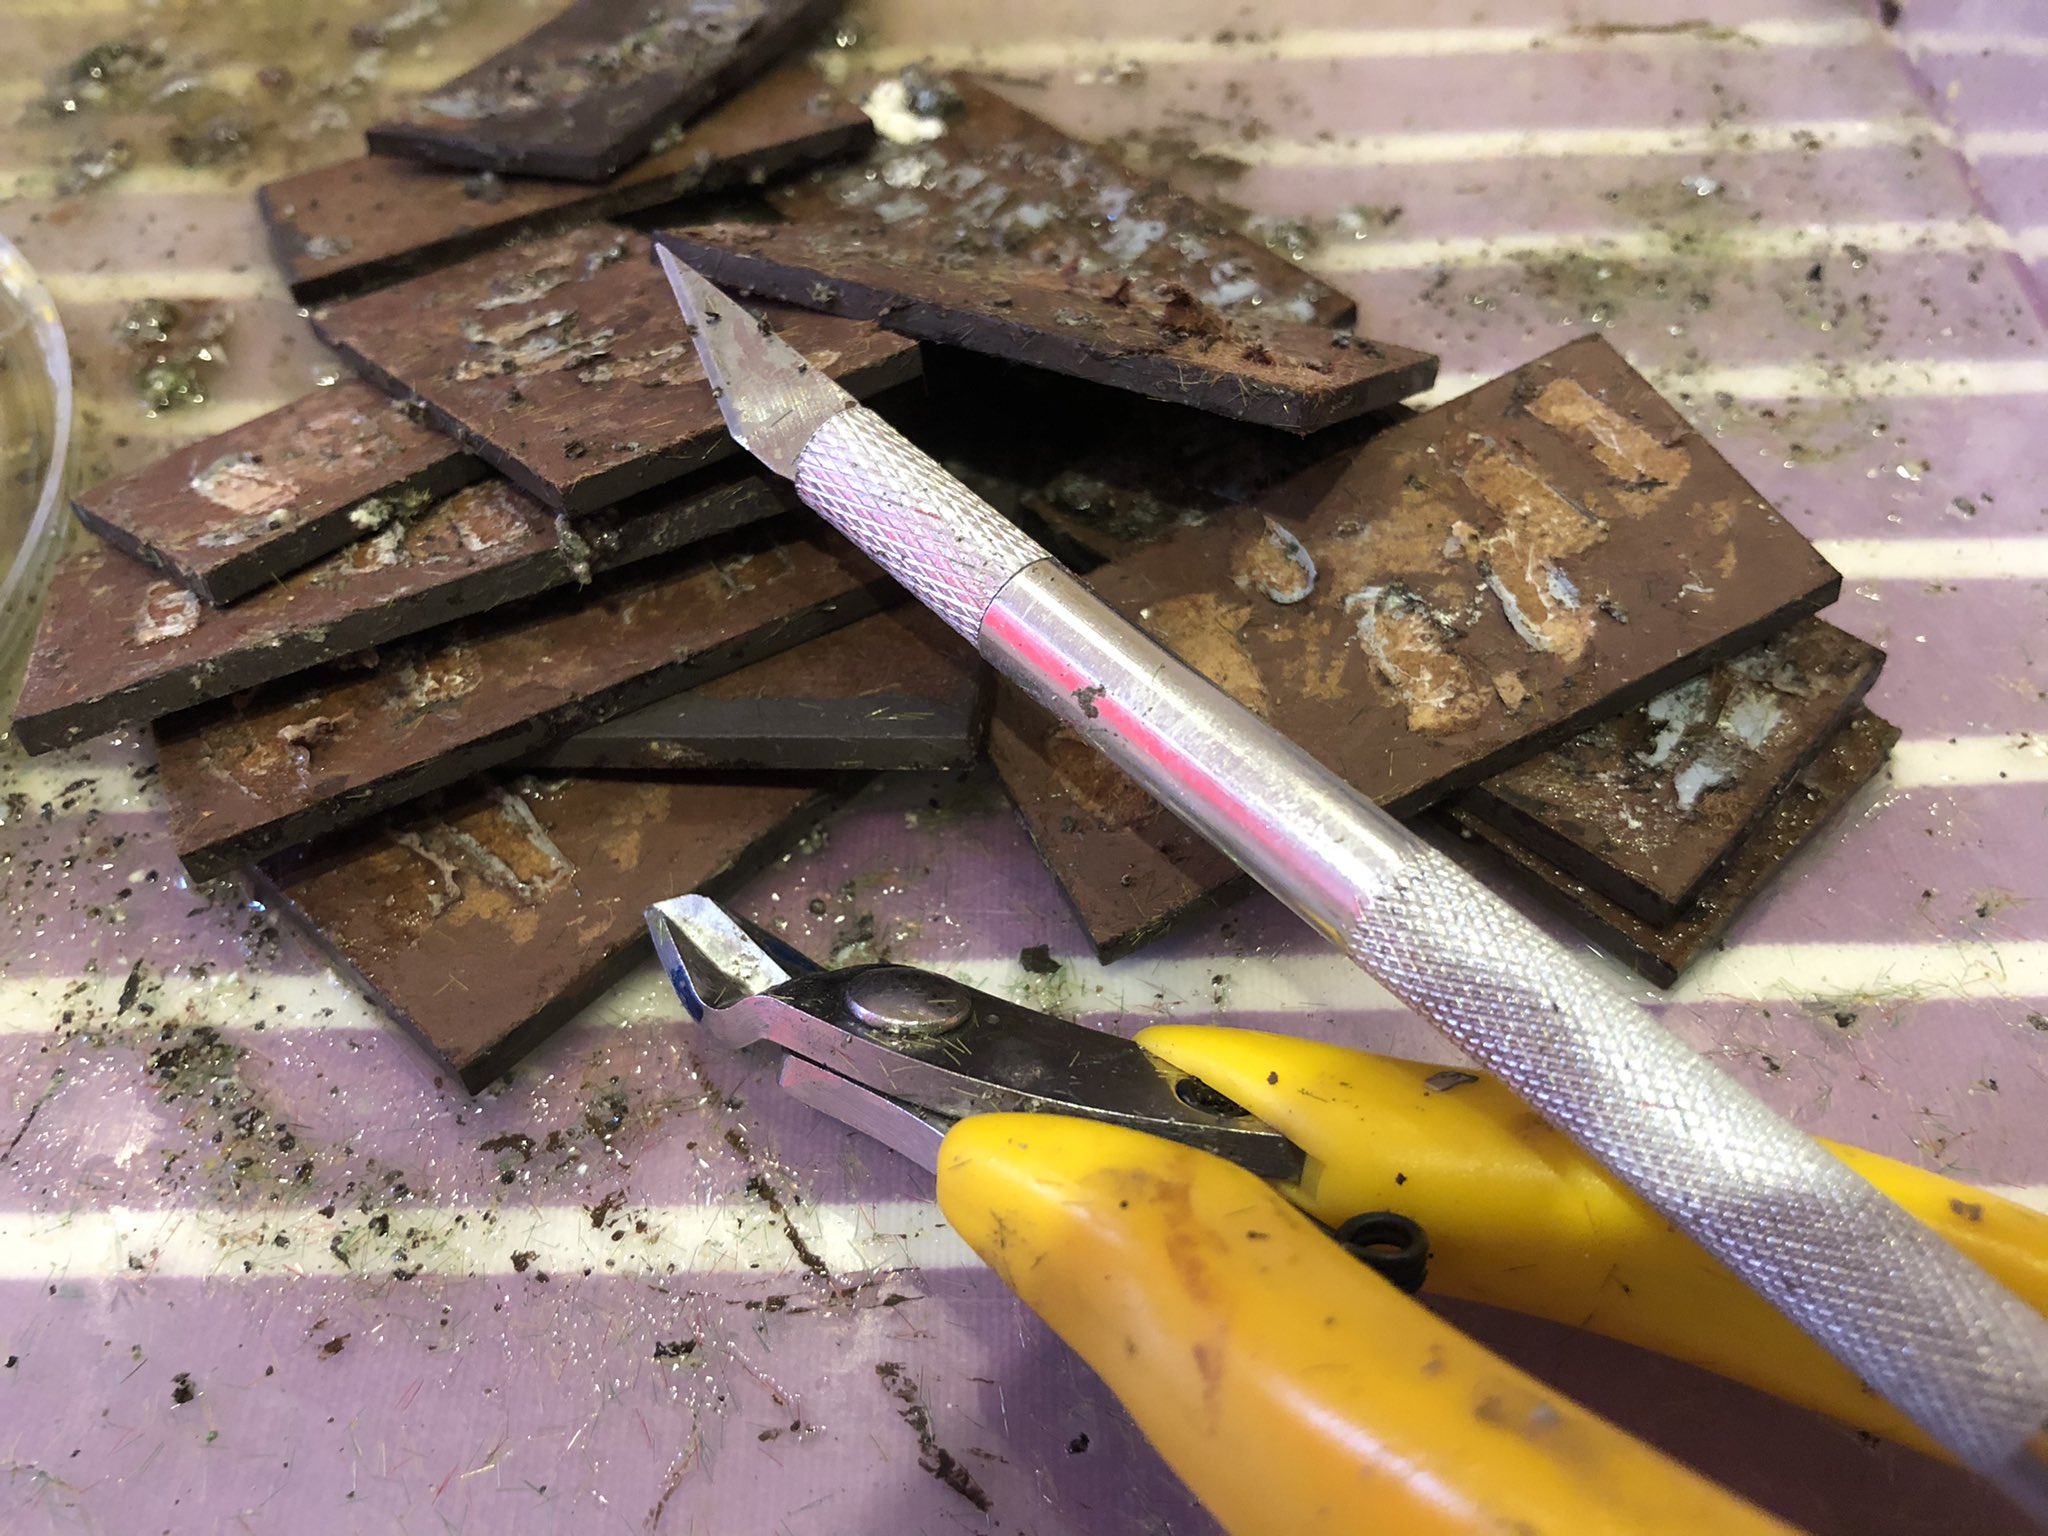
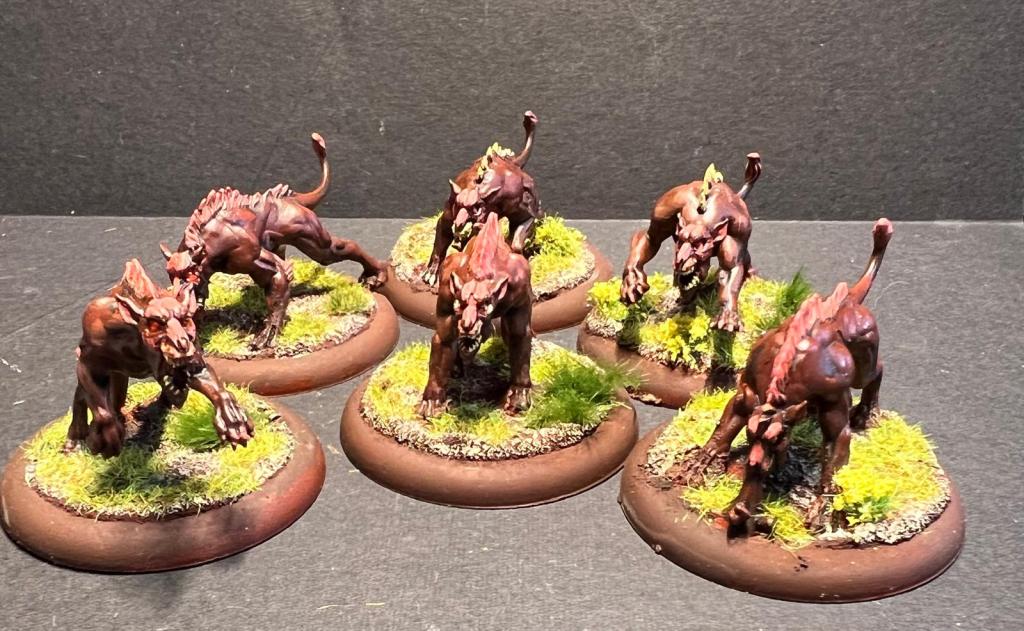
Barghests – these are basically hell hounds, there are a lot of options out there I like these as they looked like a cross between rats and dogs. I bought these on Etsy from TheWonderEmporiumGB they are resin prints.
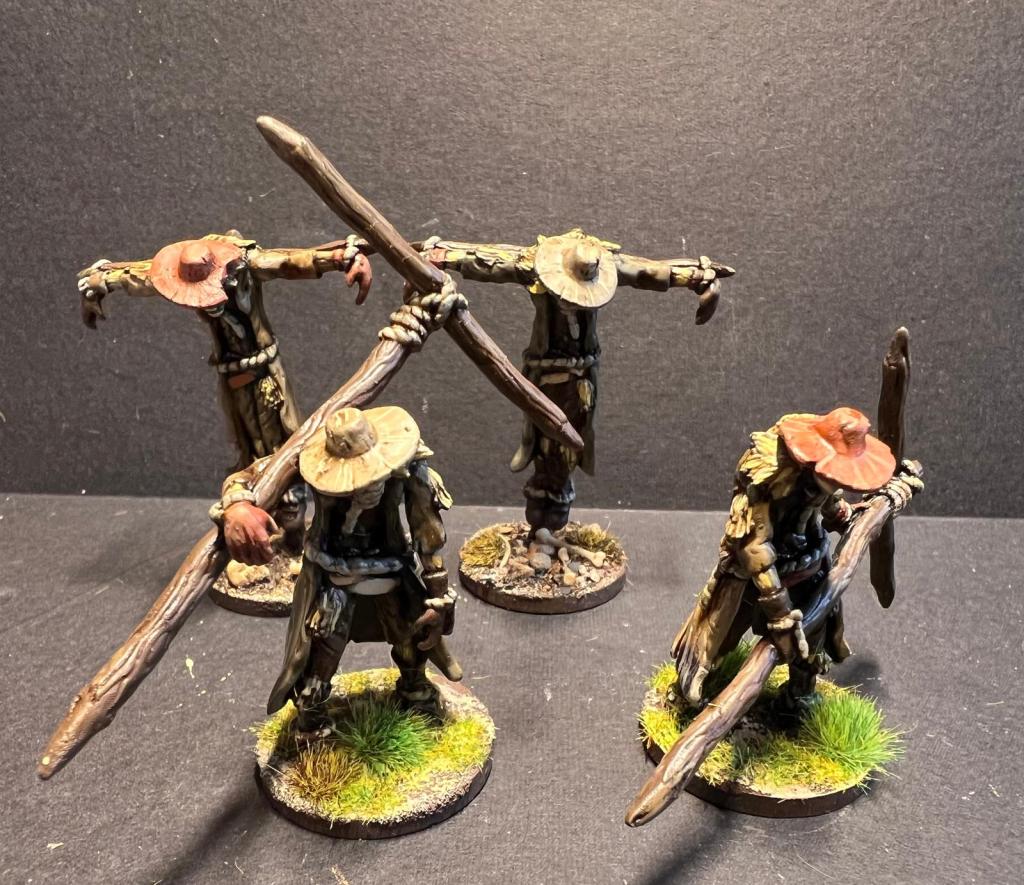
Boogeymen – I went for the option doing these as scarecrows as they used to terrify me as a kid. There are some nice ones from Gripping Beast I was considering in metal, but got these resin prints from ebay seller: Borishotch Industries as I like the idea of them looking like normal scarecrows before being activated. They really freak me out.
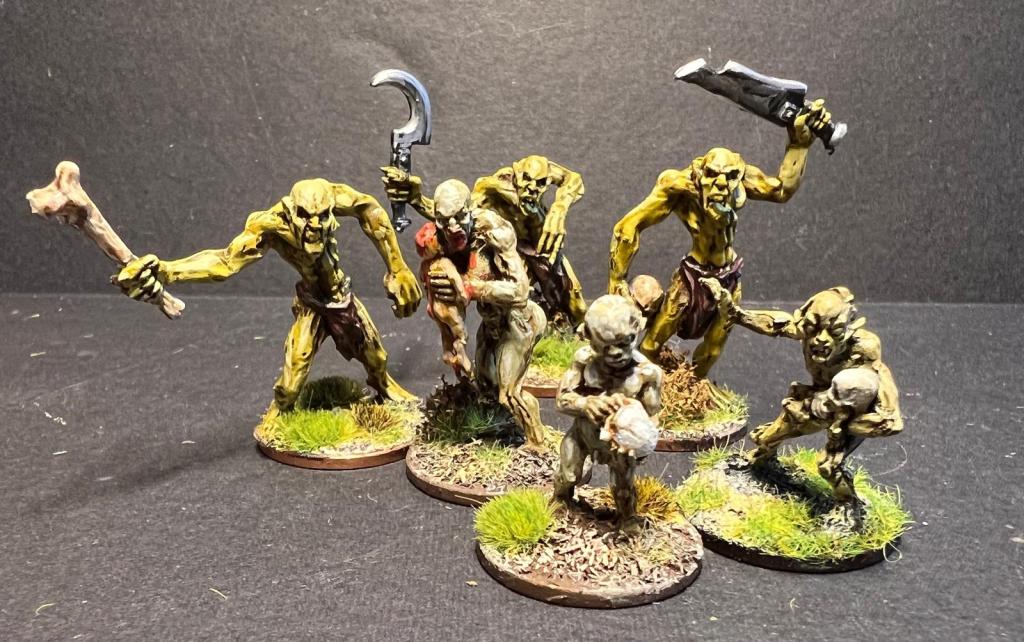
Ghouls – I have so many ghouls already and this is just an example. The weapon wielding gents are old Games Workshop models probably at least 25 years old, the other ones are from Bad Squiddo Games.
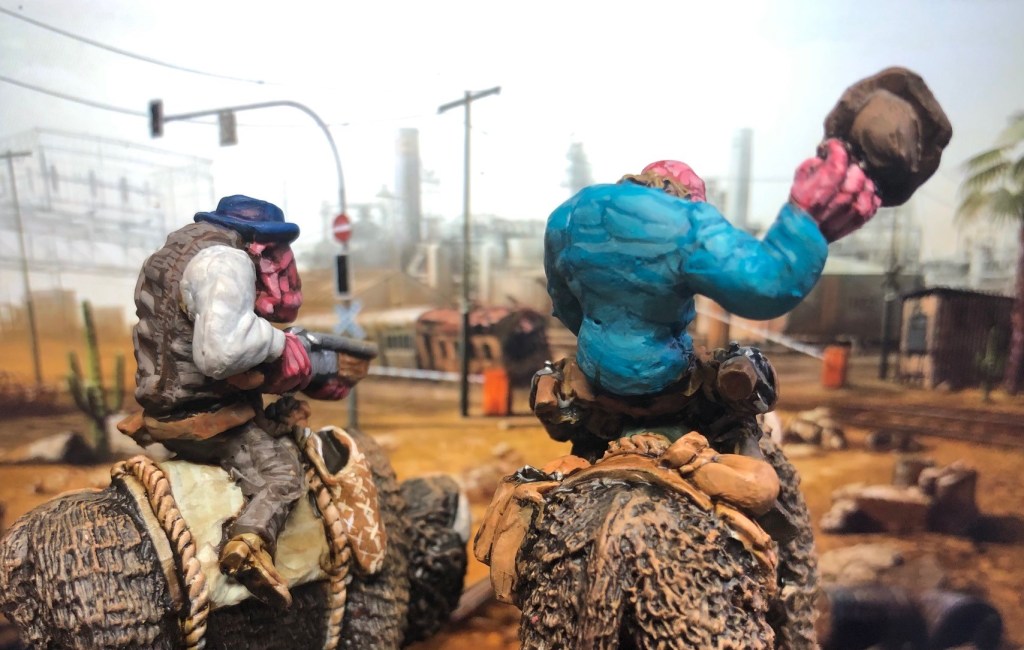
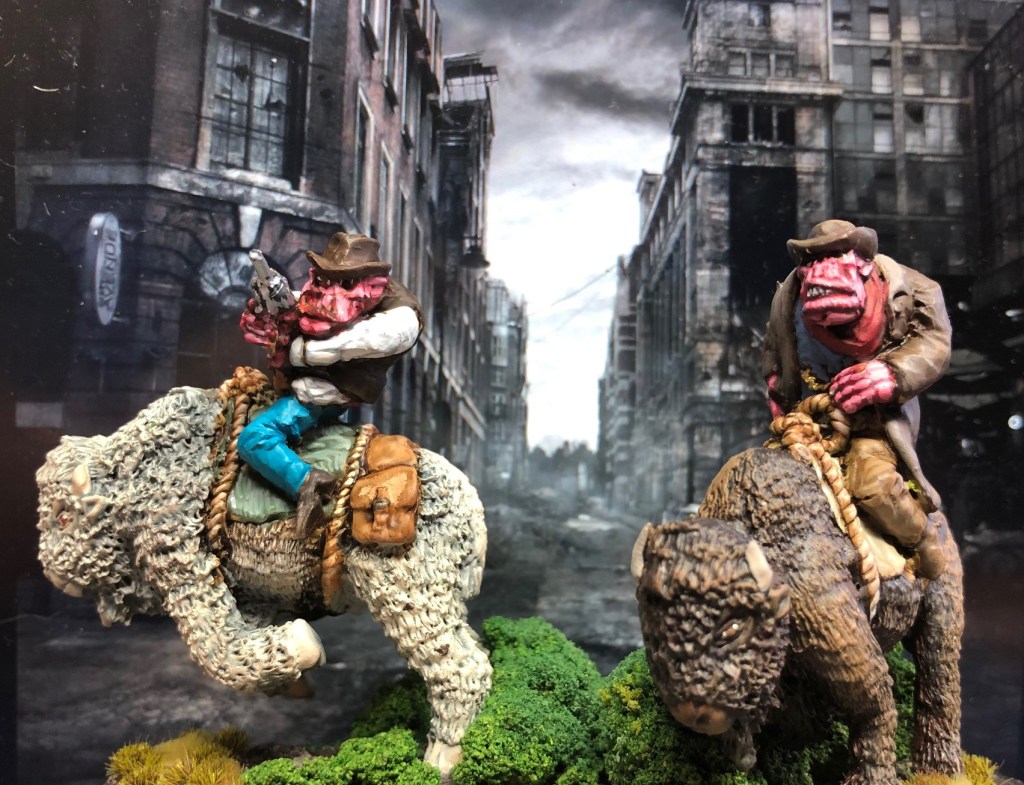
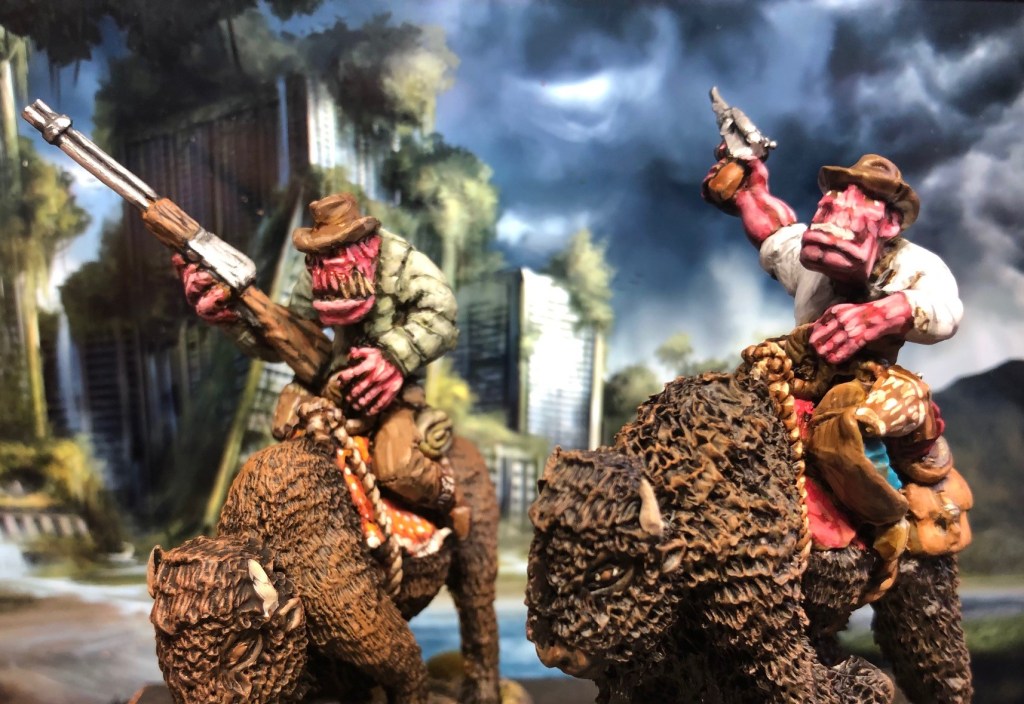
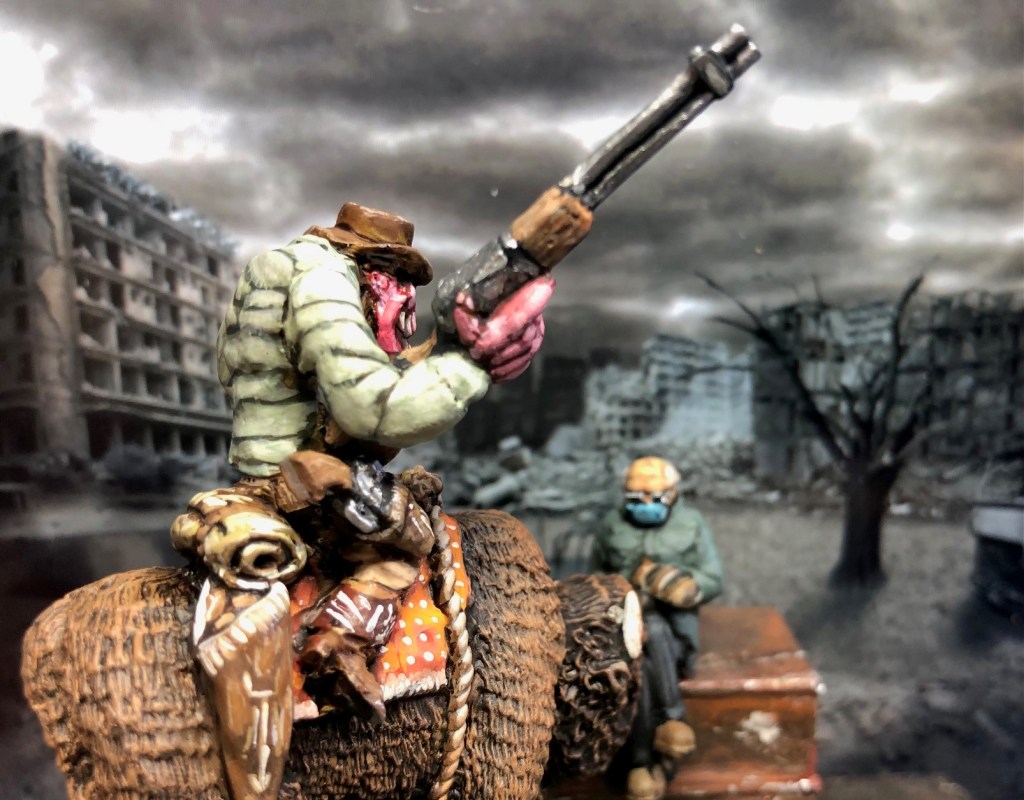
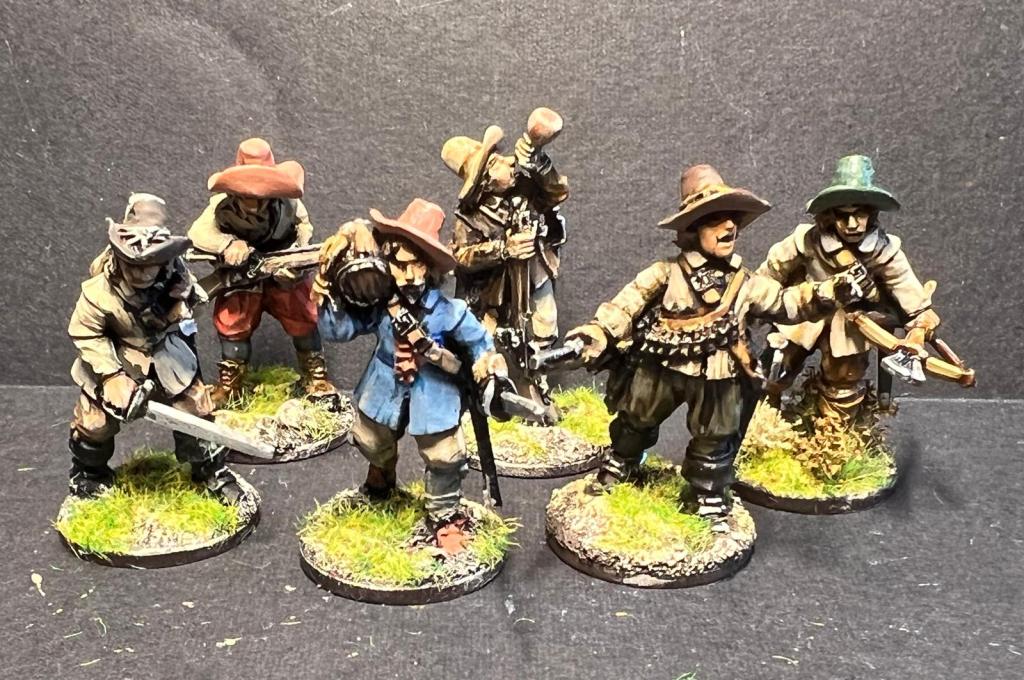
Outlaws – All the outlaws are from Bloody Miniatures
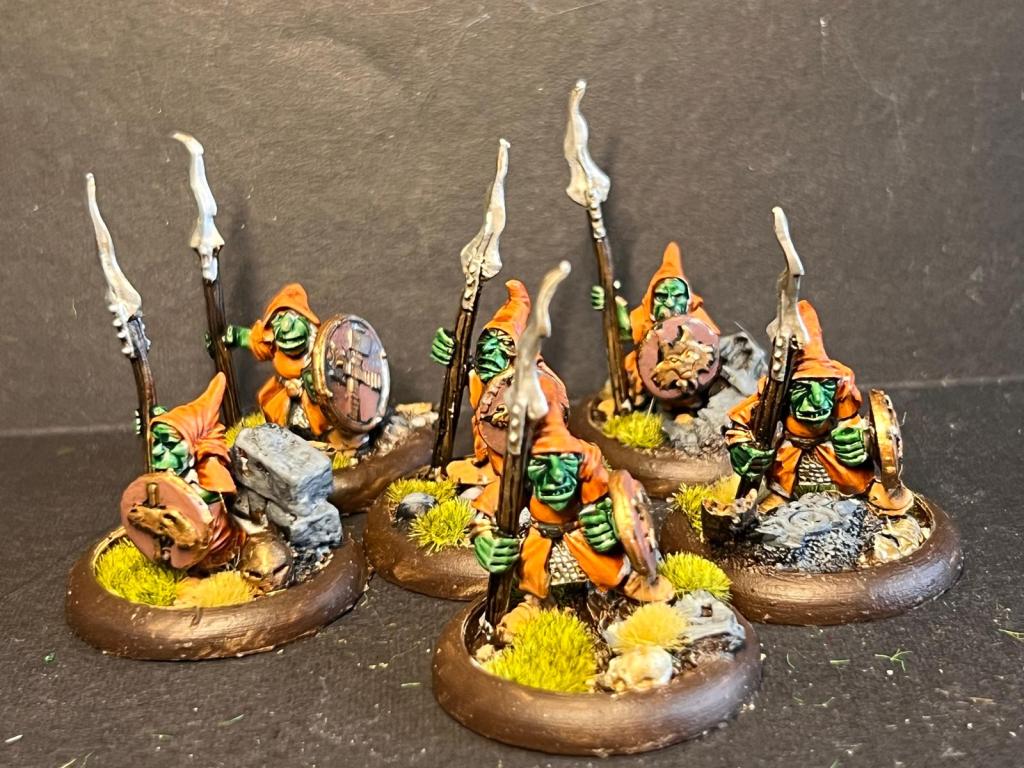
Redcaps – well I used some Games Workshop Goblins – again these are really old but charming.
Revenants – I have a large collection of 17th century “zombies” so I will be using these to represent revenants (I also have some Norse style ones, but this fits better).
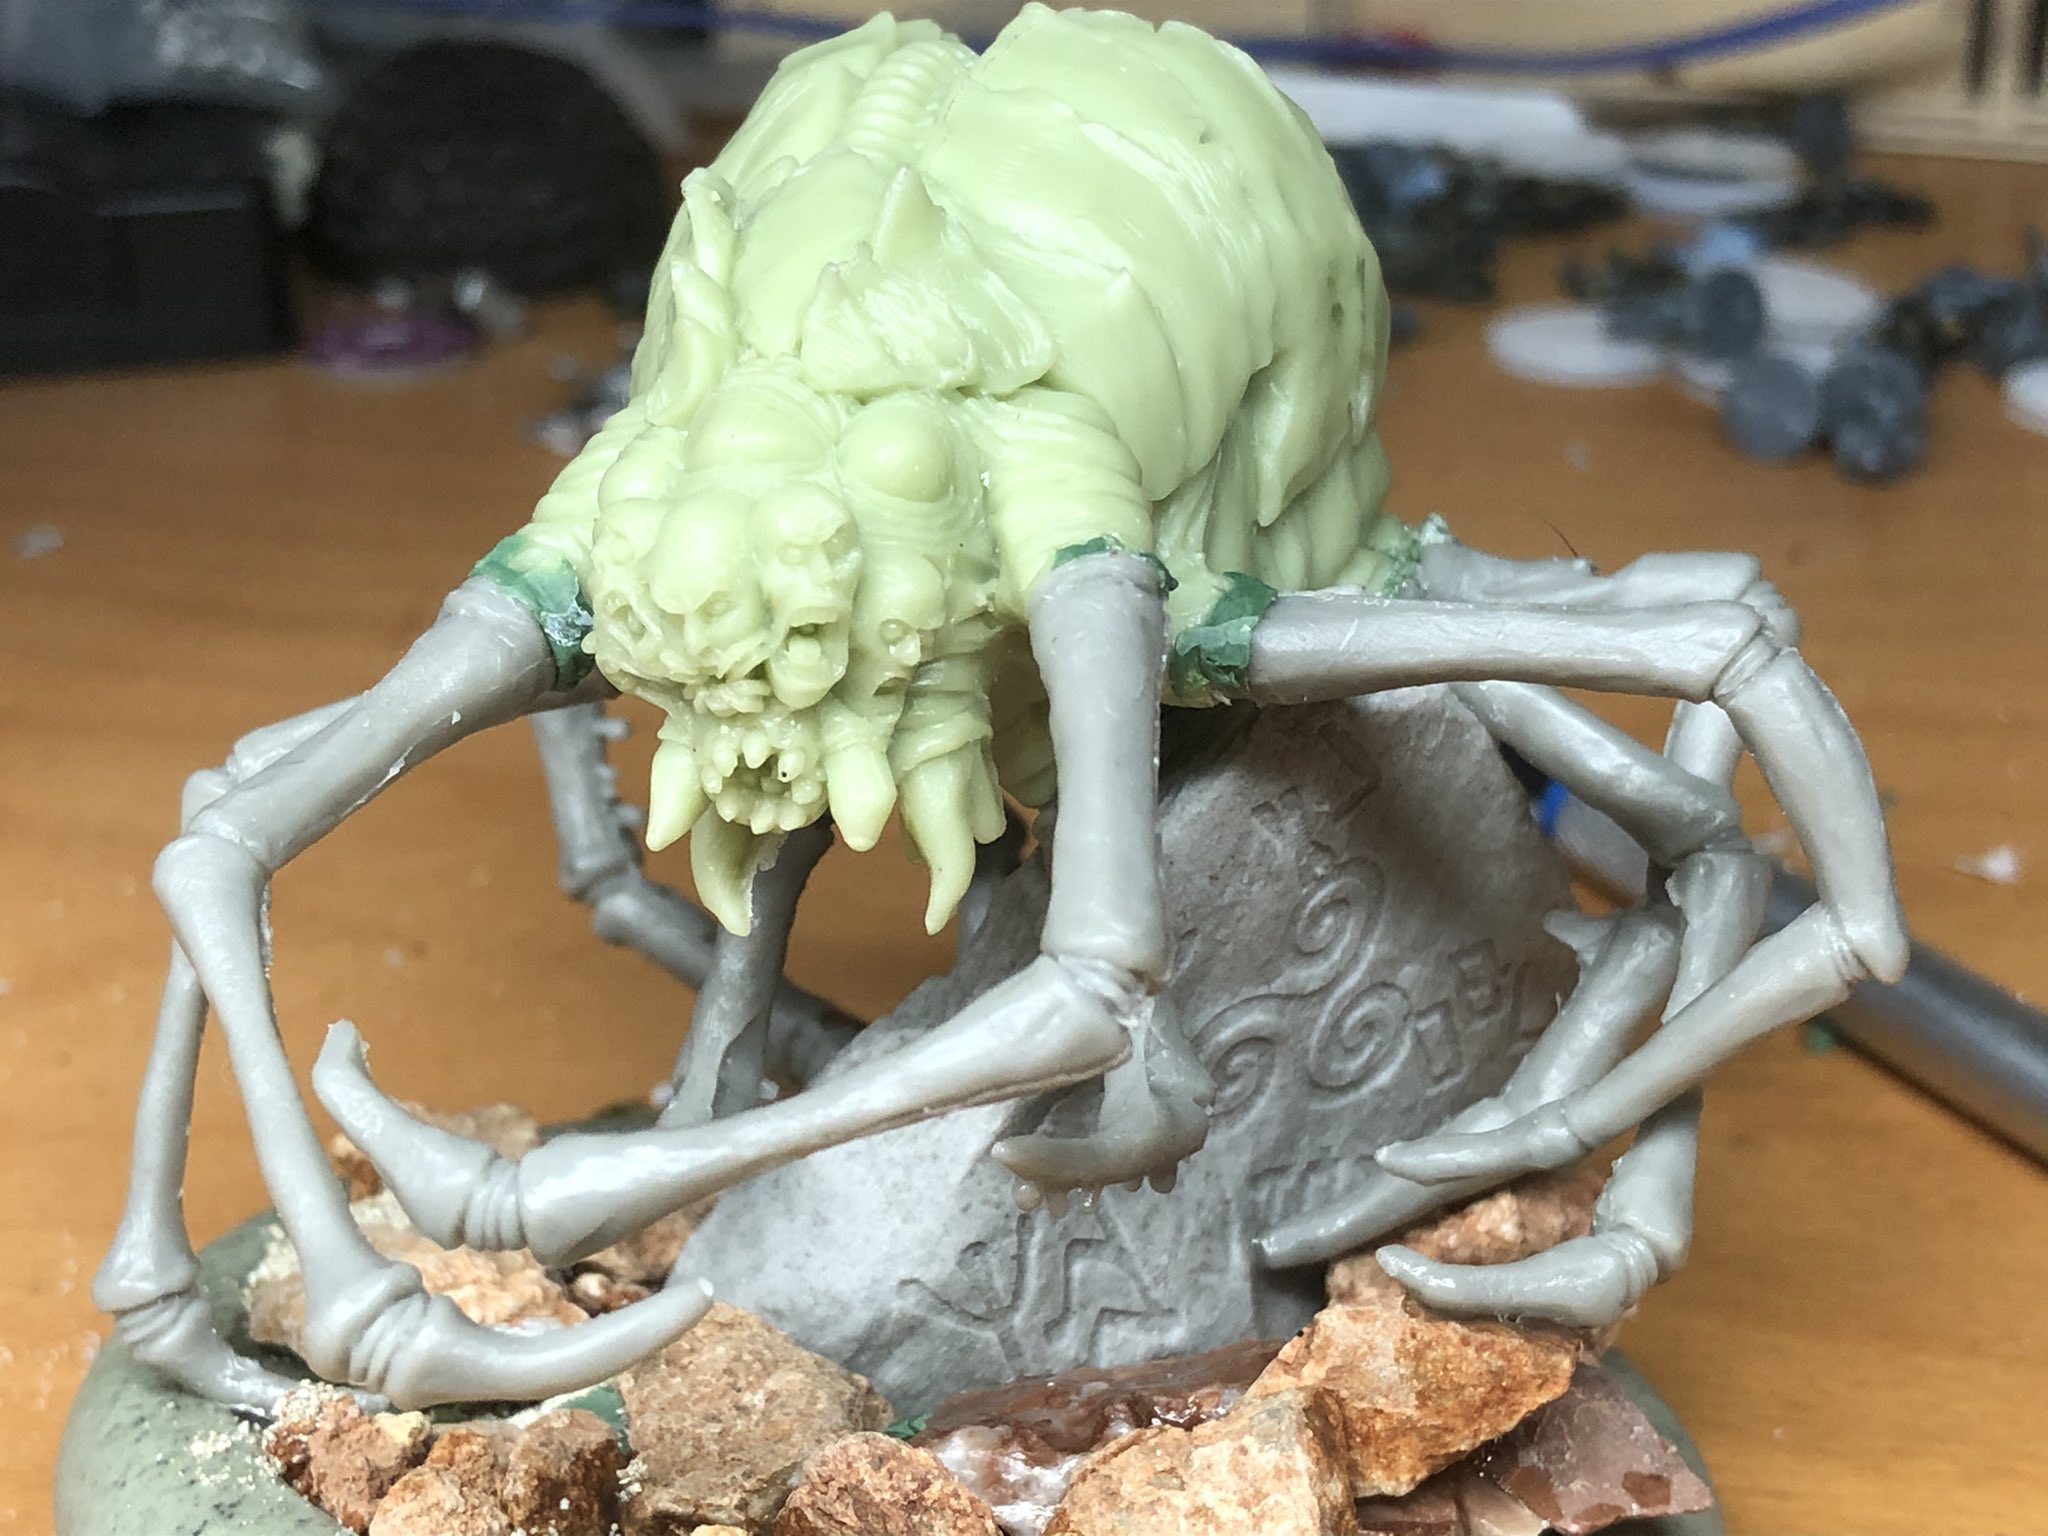
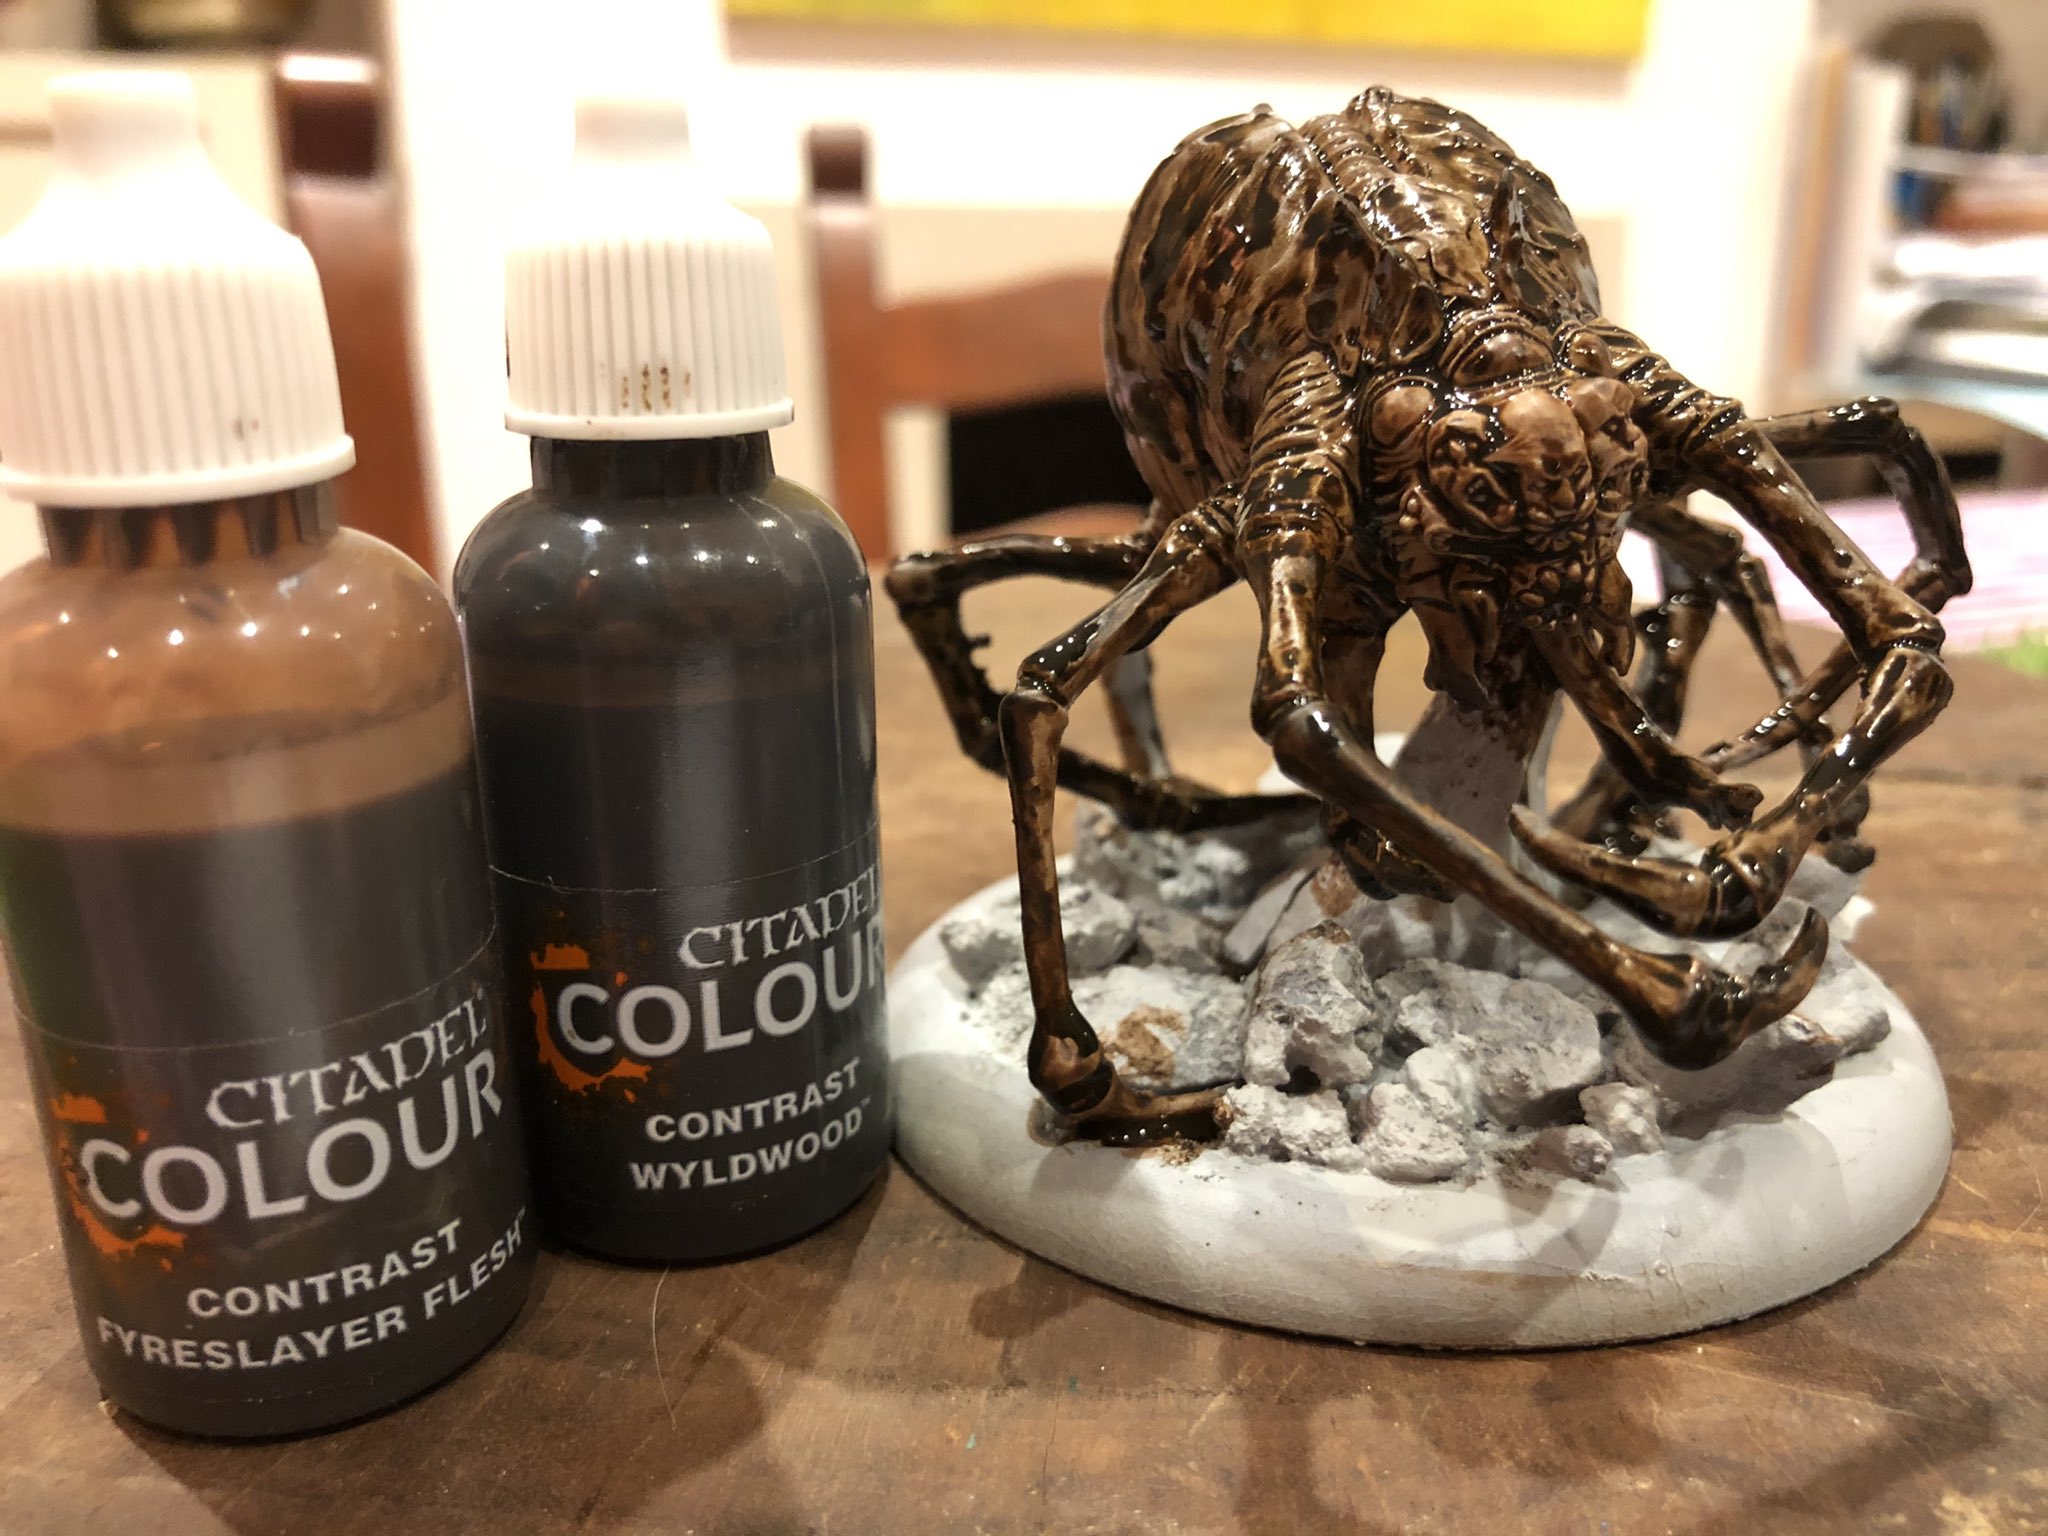
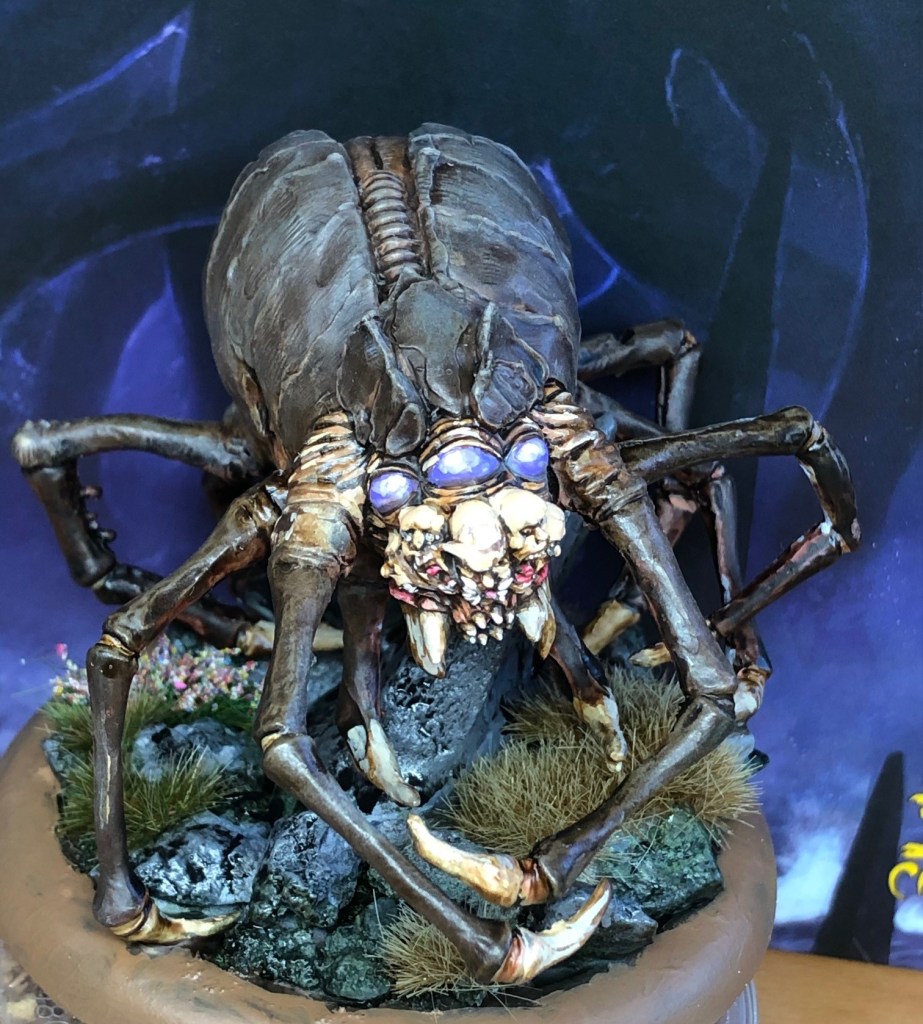
Spectres – I might need to dig deeper in the old Games Workshop box but here is one, not sure where she is from.
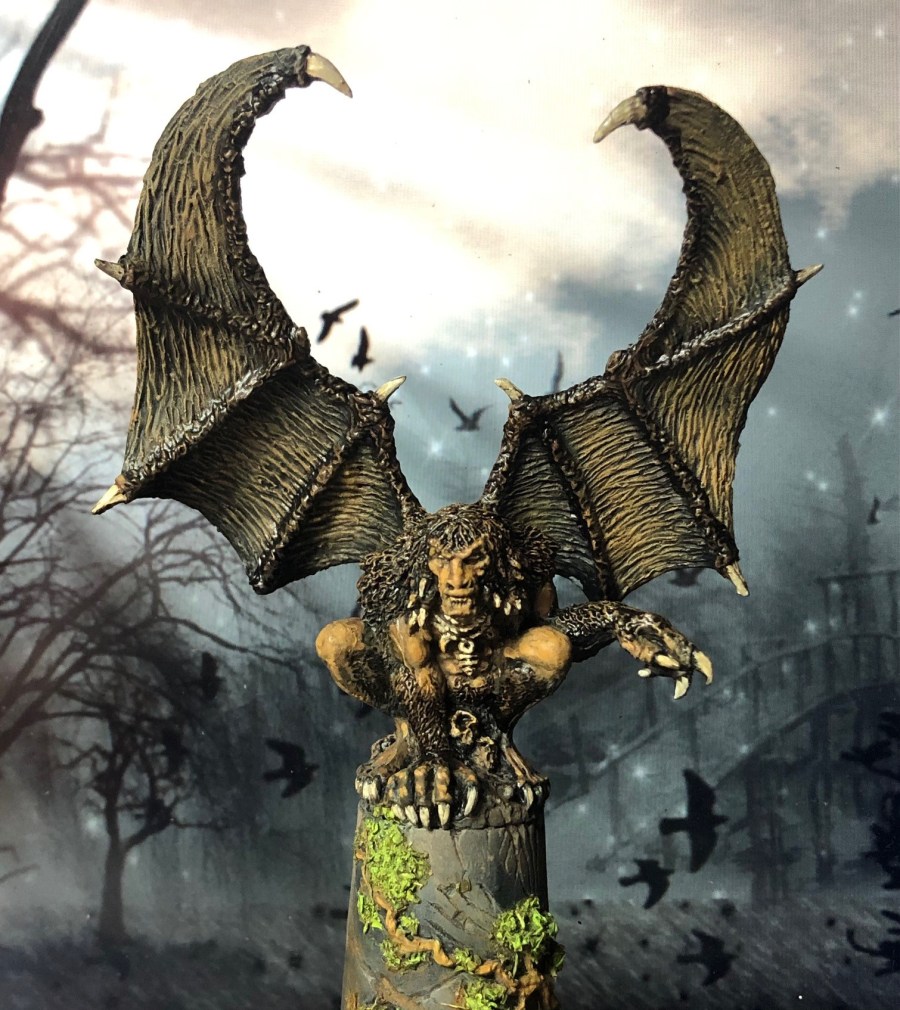
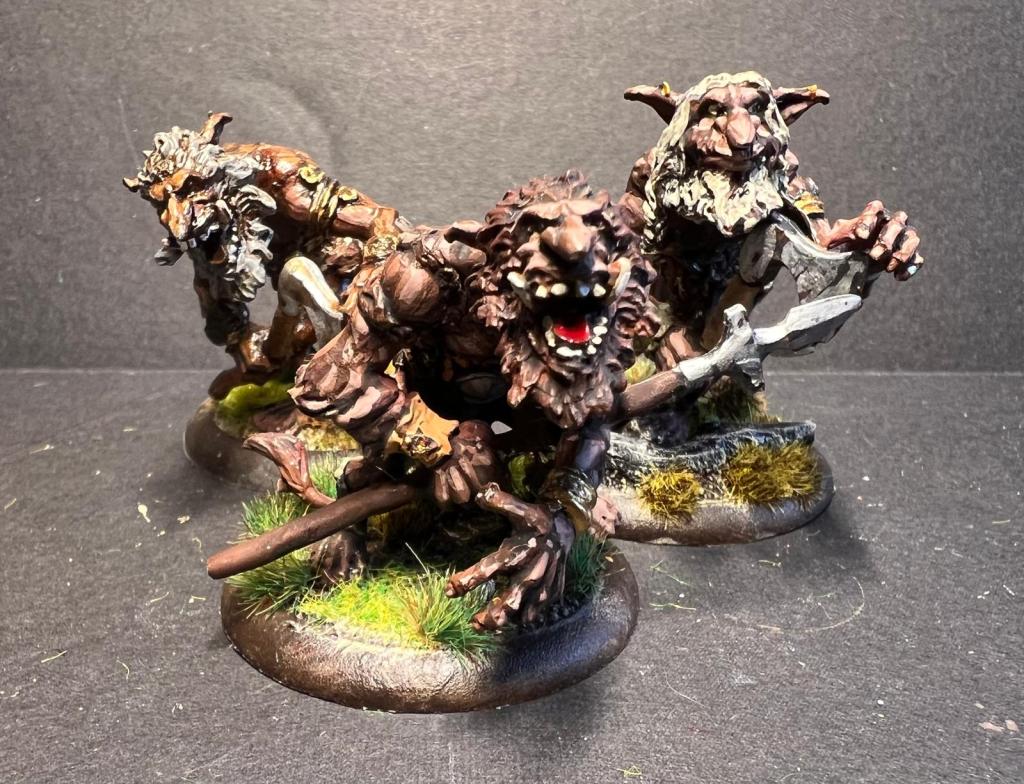
Trolls – Will use the amazing Scandinavian Trolls by Fenris Games. These are amazing.
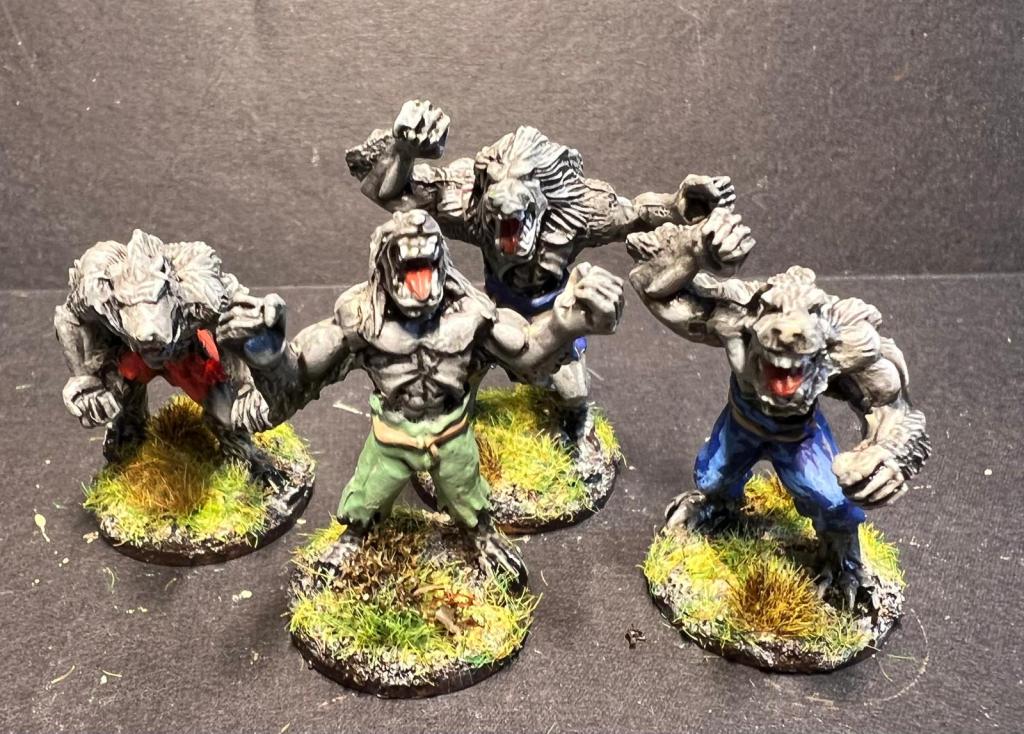
Werewolves – Again some models from West Wind.
Witches – A purchase from Etsy I do not remember the seller, they are resin prints.
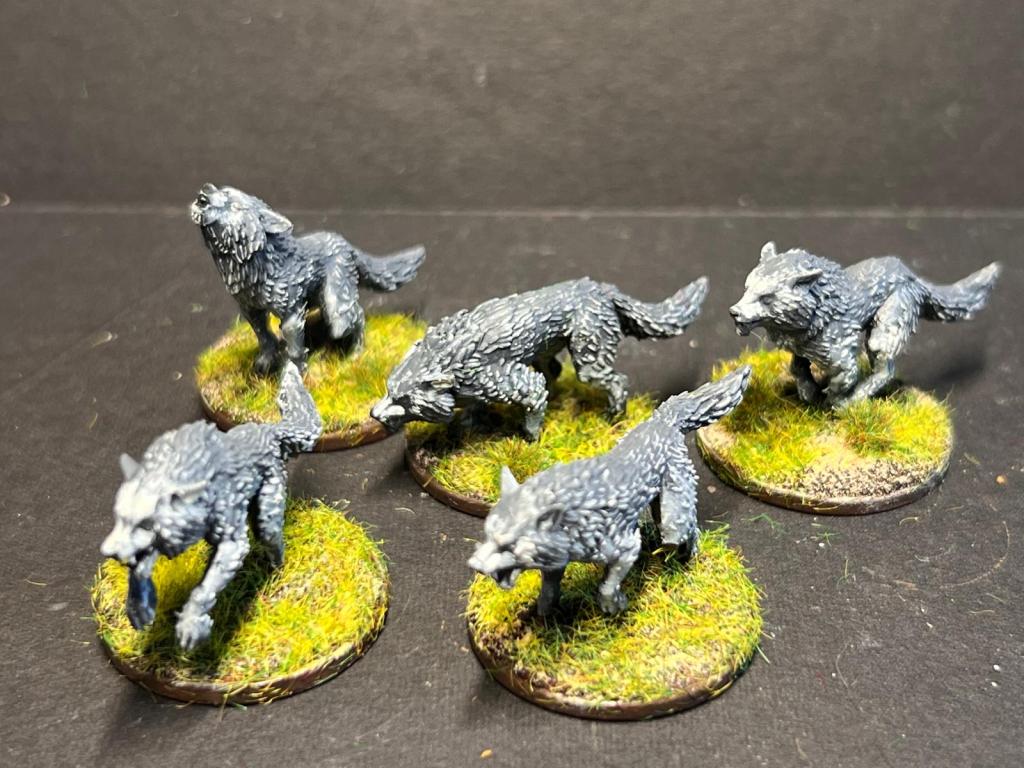
Wolves – These are from etsy seller Tabletopfanboy (resin prints)
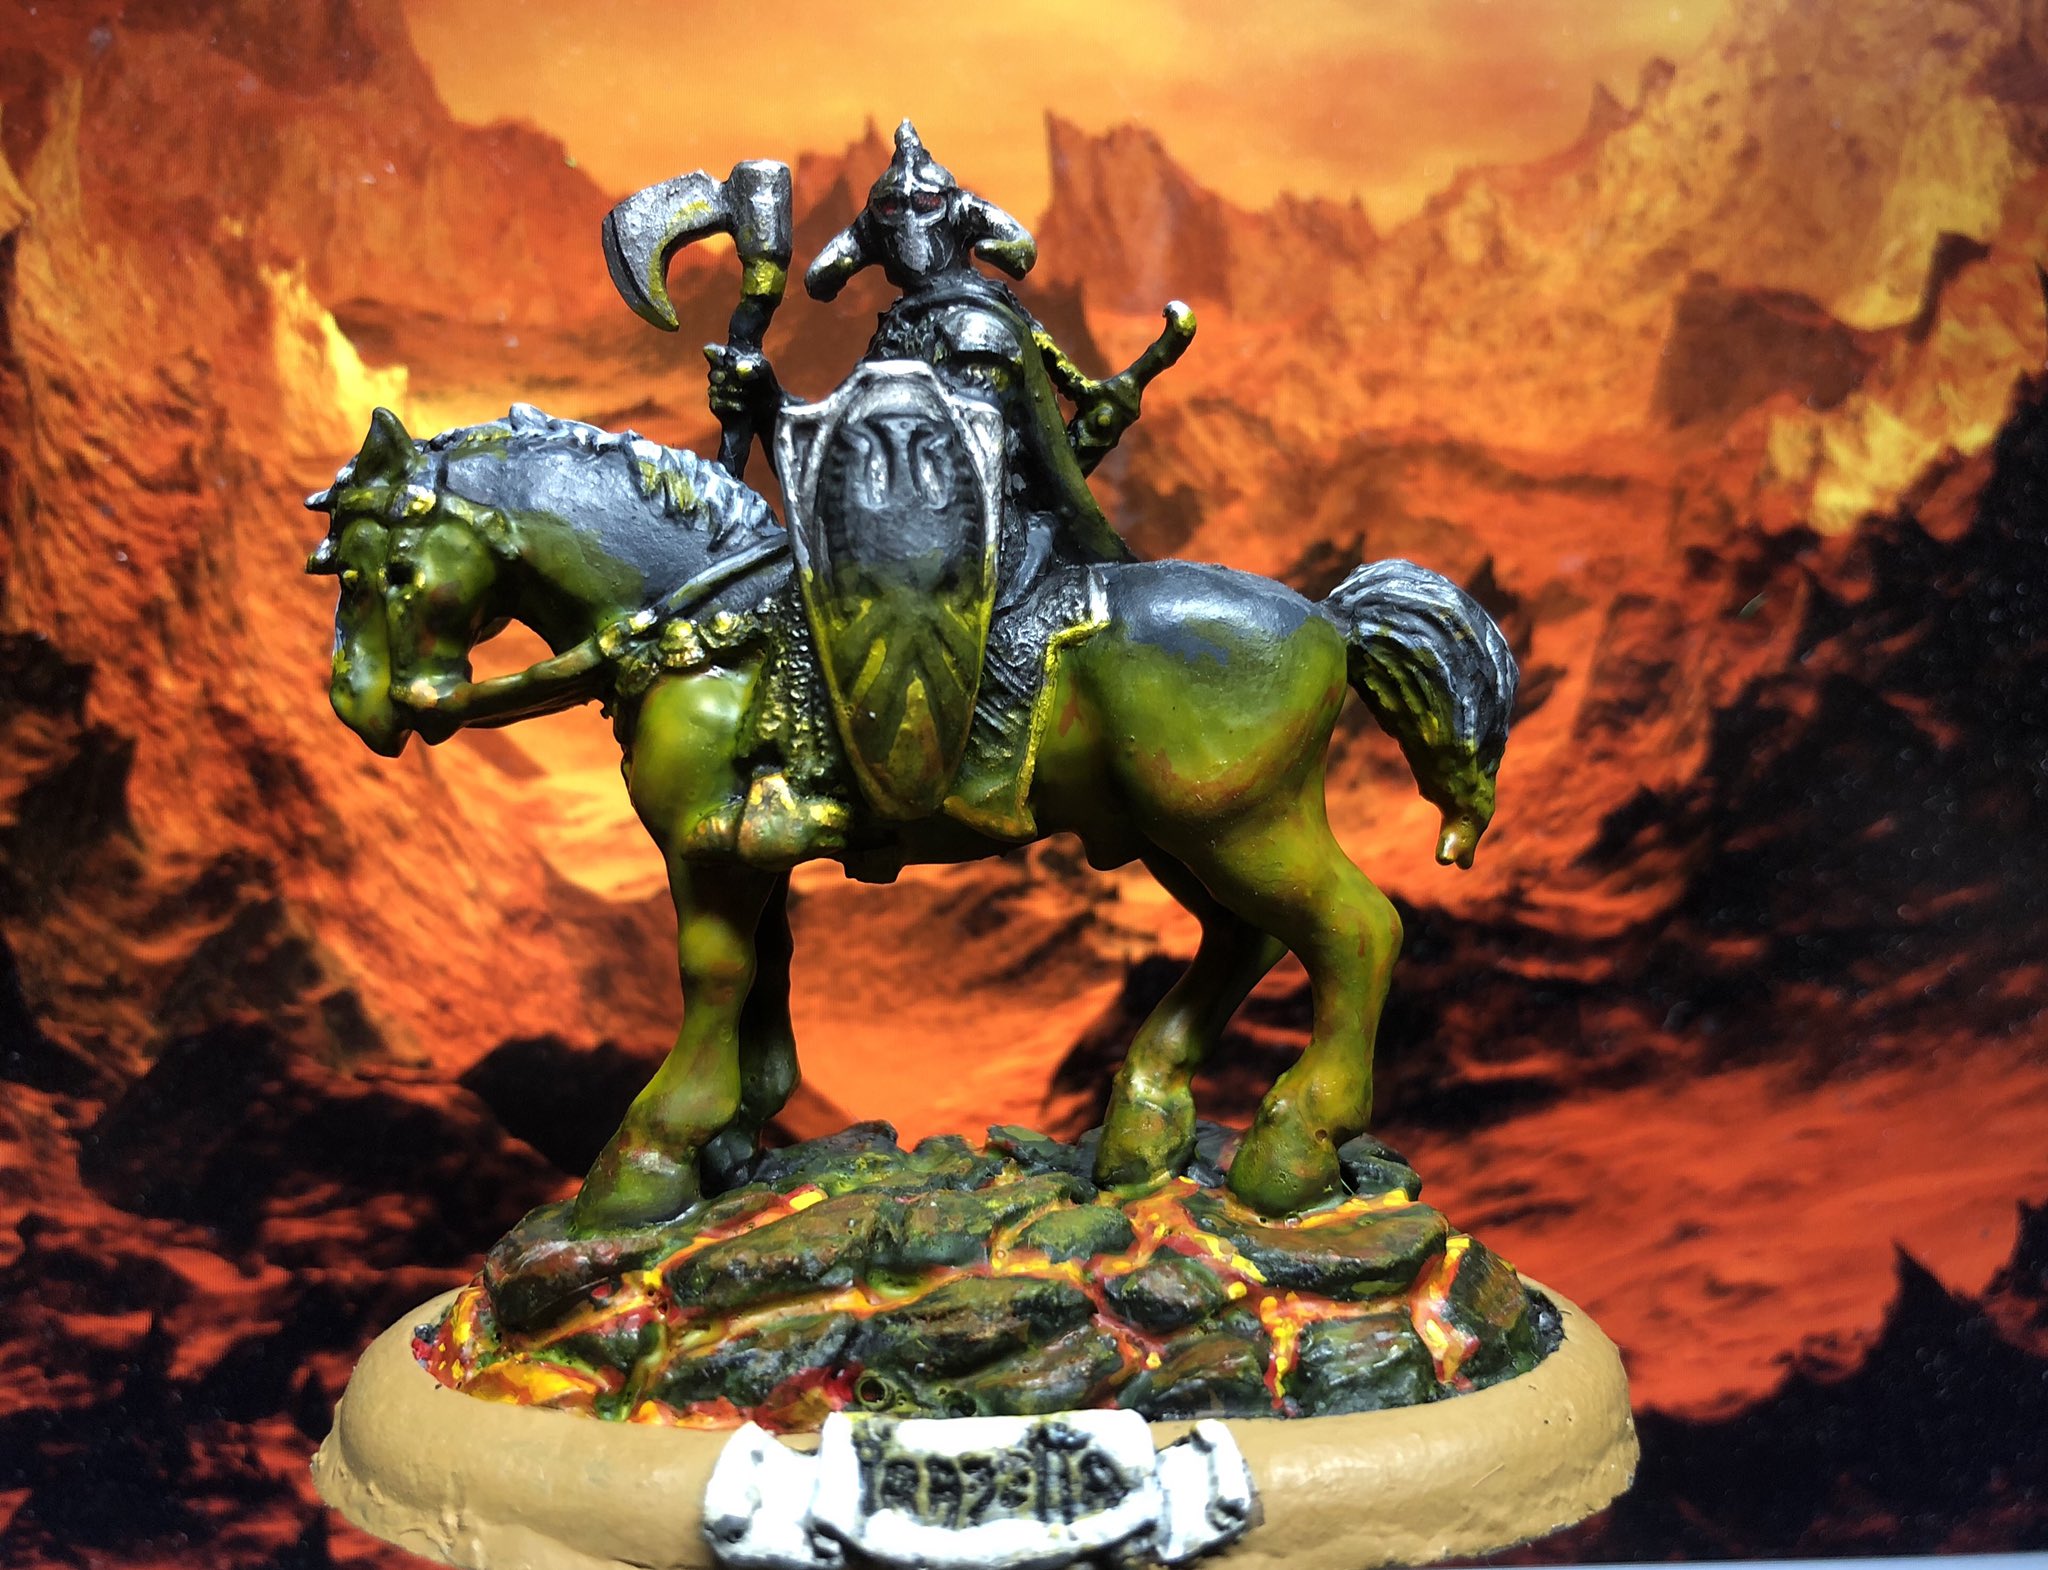
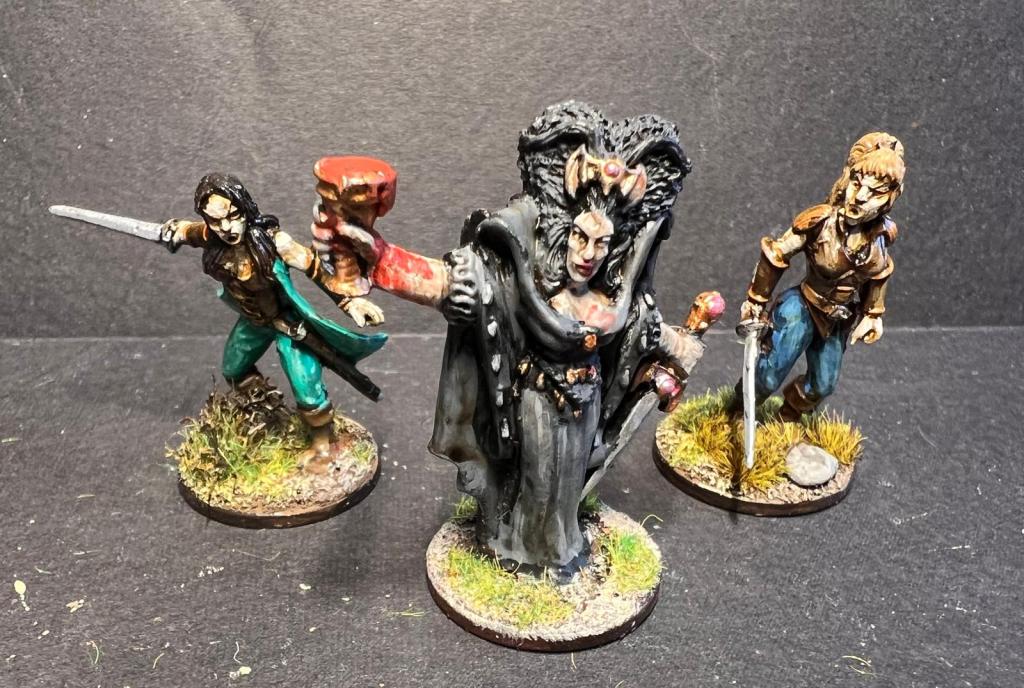
Vampires – I always loved that old model from Games Workshops of Isabella von Carstein who I hope need no introduction and some Vampire thralls from Bad Squiddo Games.
That is a proper mix of models and I think it will be awesome.
And also there are some special accursed terrain features that might be needed (I am yet to do an evil tree or hungry grass but will report back):
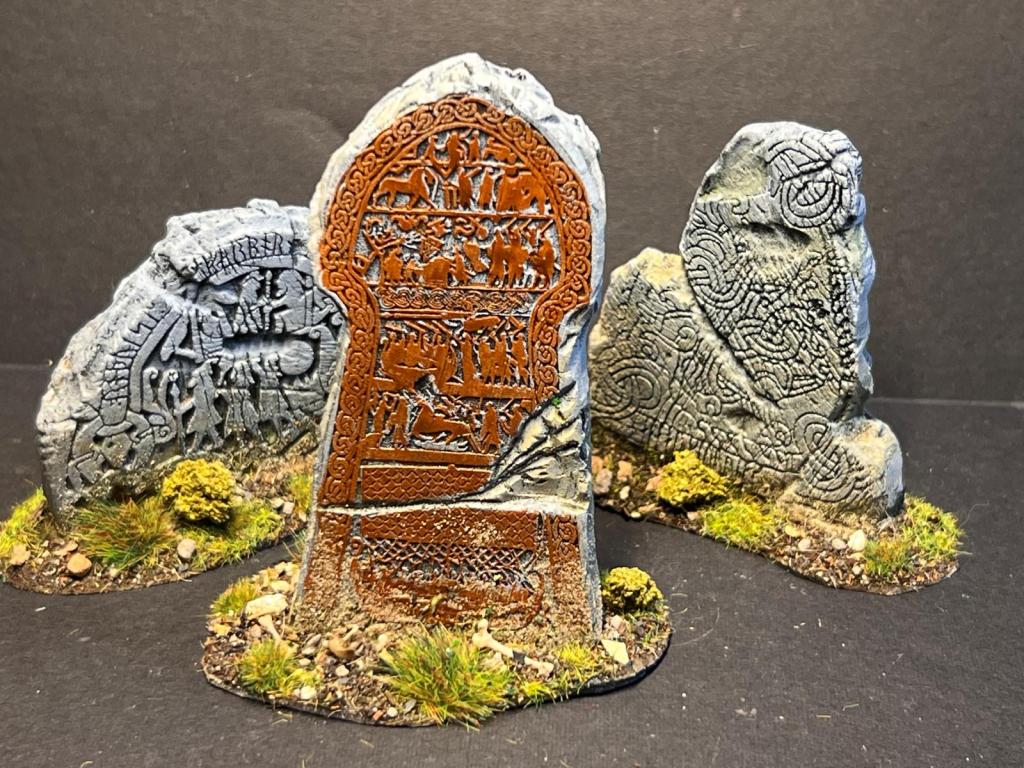
Pagan Altars – Instead of these I will use Rune Stones to represent place that might emit an aura of dread. I got these from Fenris Games.
Pact Devils – I will use this Zombie Queen as a pact devil luring innocent souls to her feast where you are on the menu (model from Bad Squiddo Games).

Hope that was of some Interest, I will report back how the game went,
Until then check under your bed before you fall asleep
/ Keep on toy soldiering