Rebasing an 6mm Army and another Nightmarish model from Fenris Games

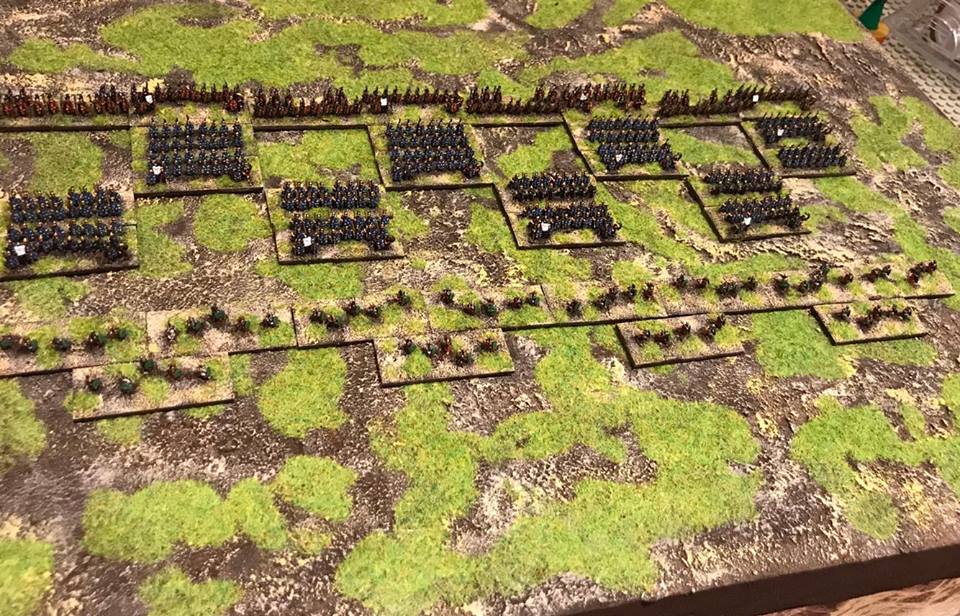
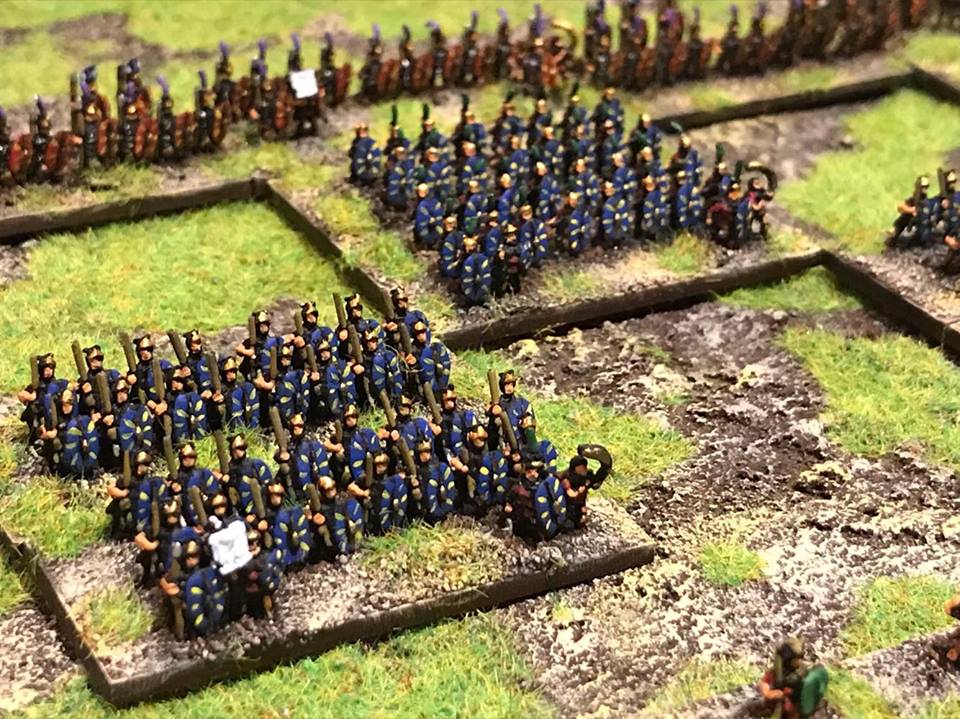
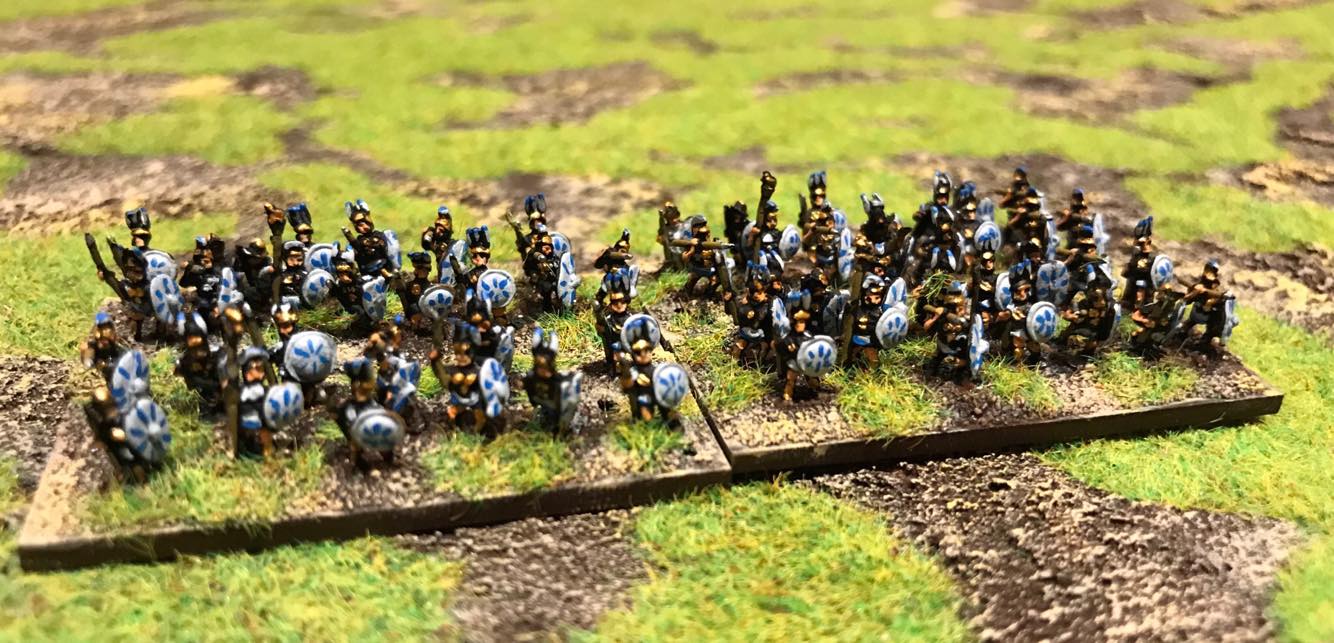
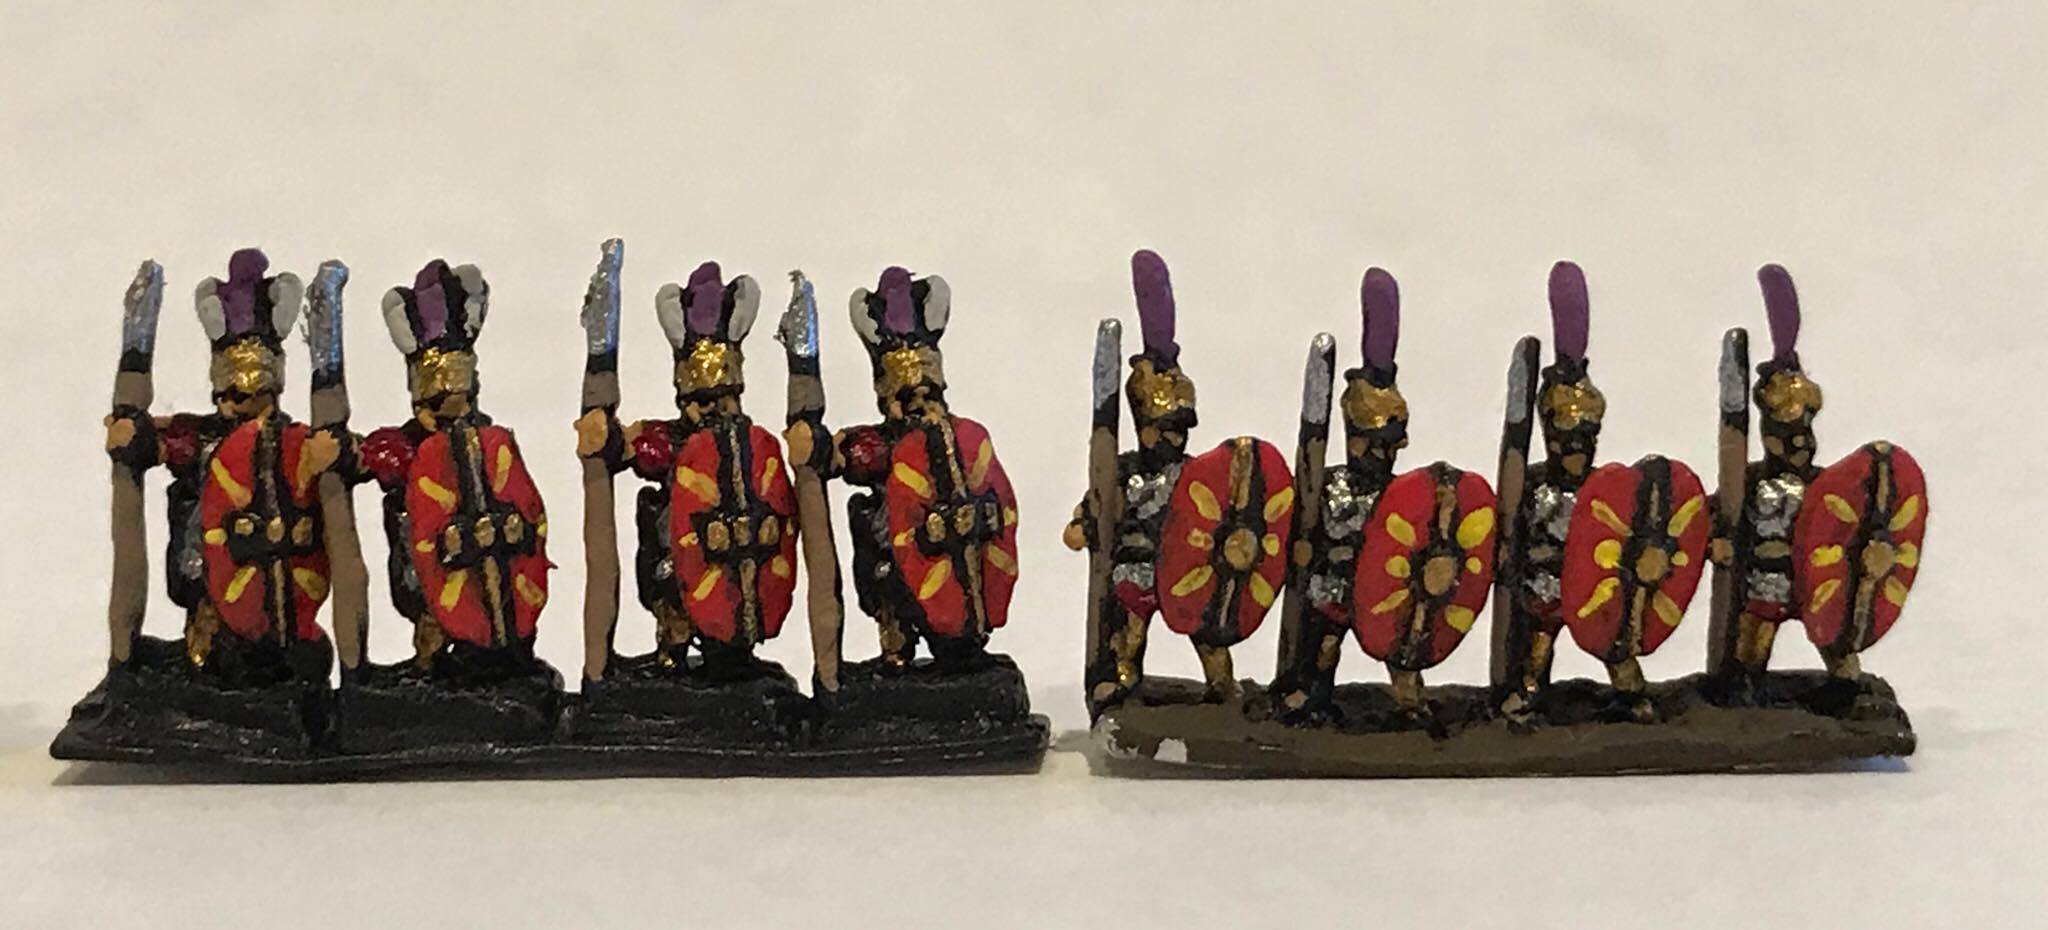
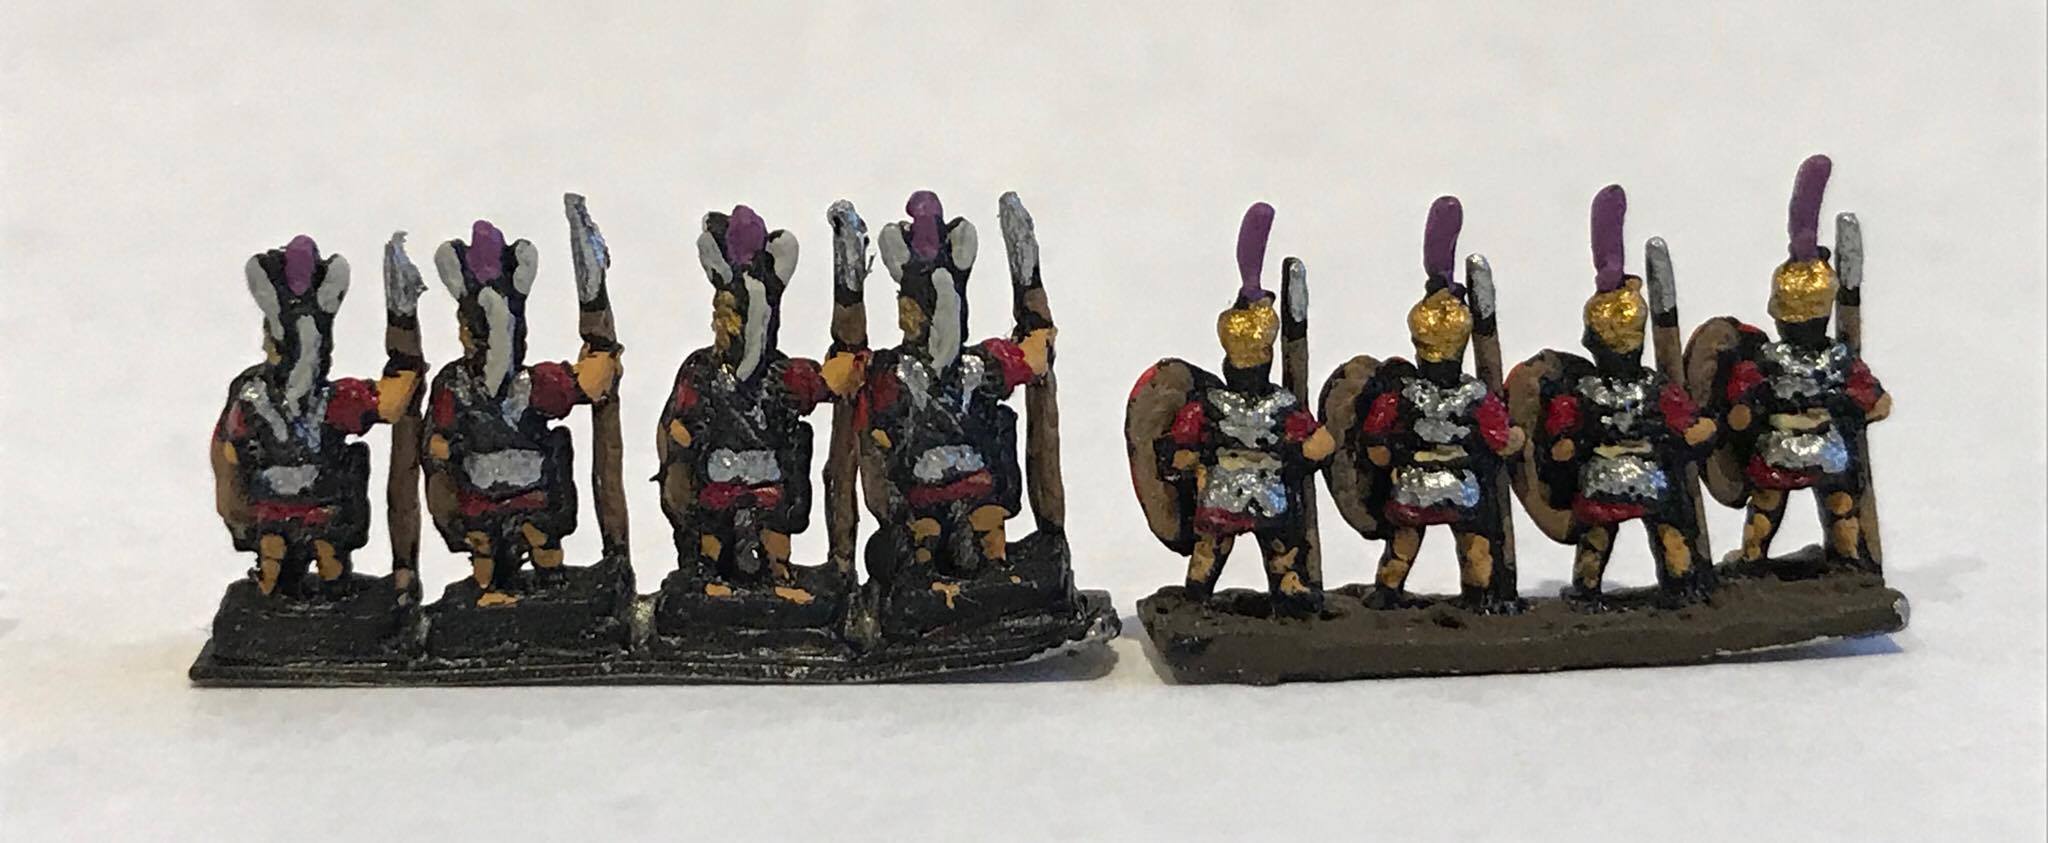
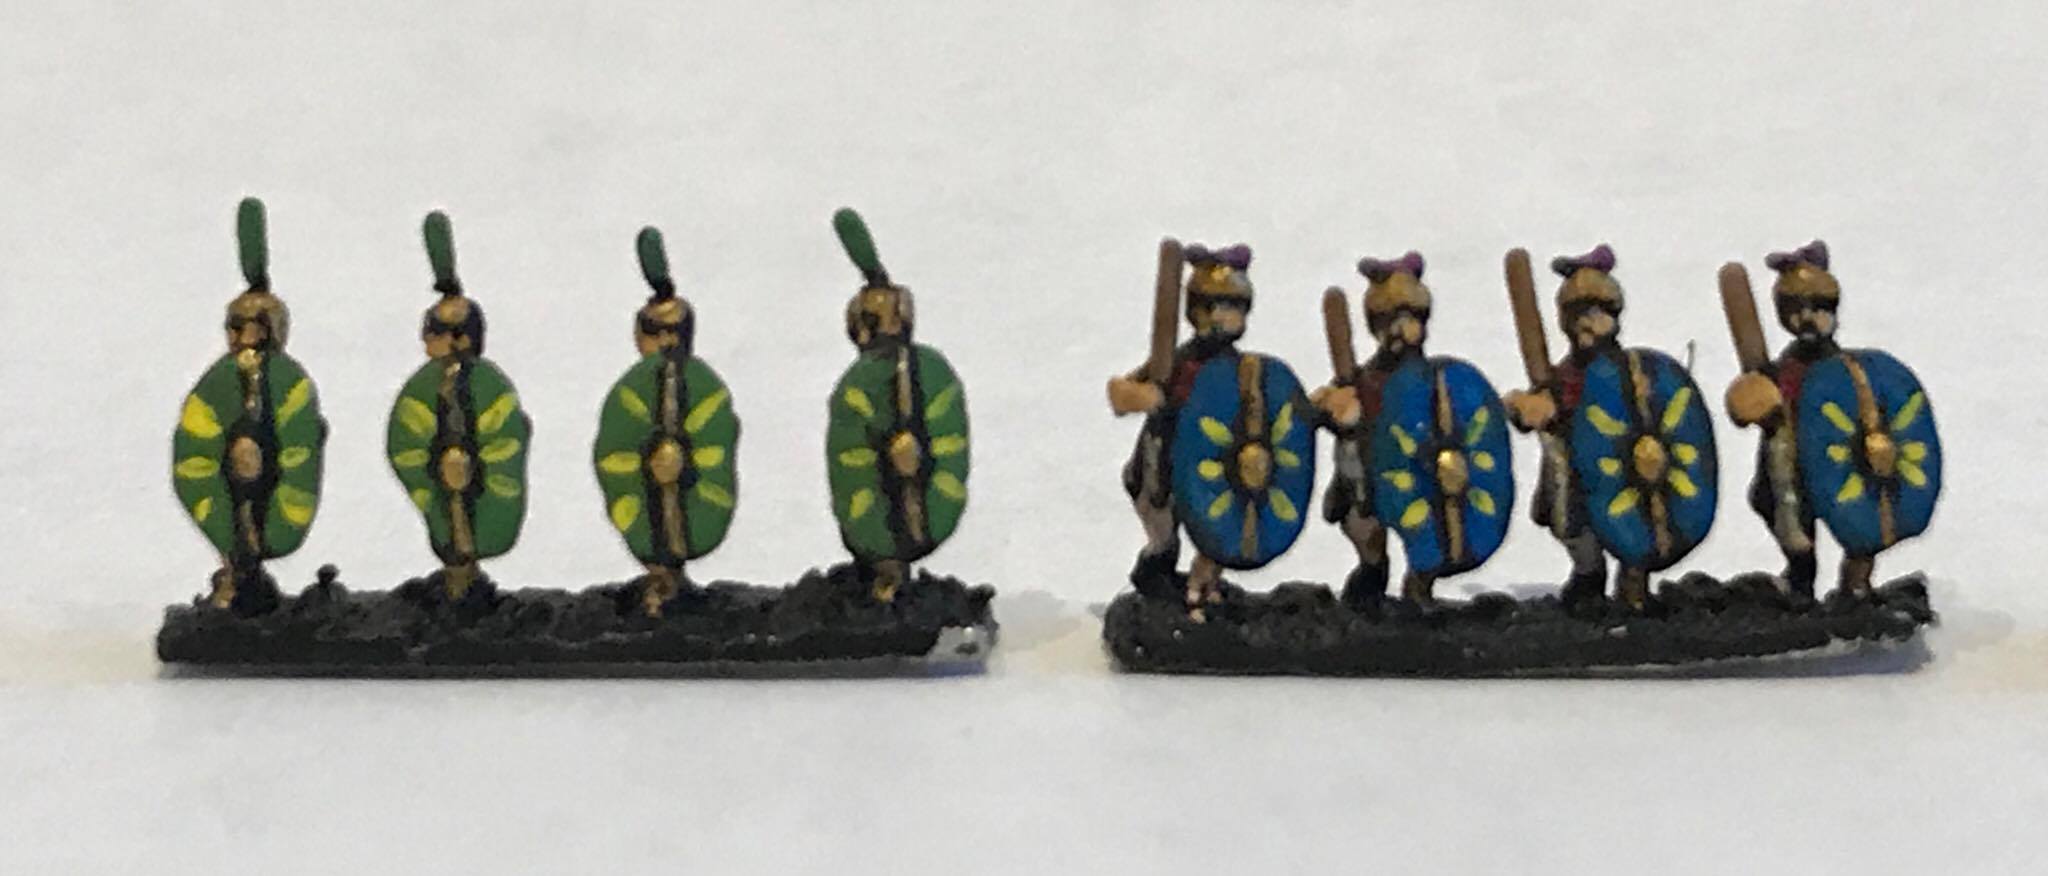
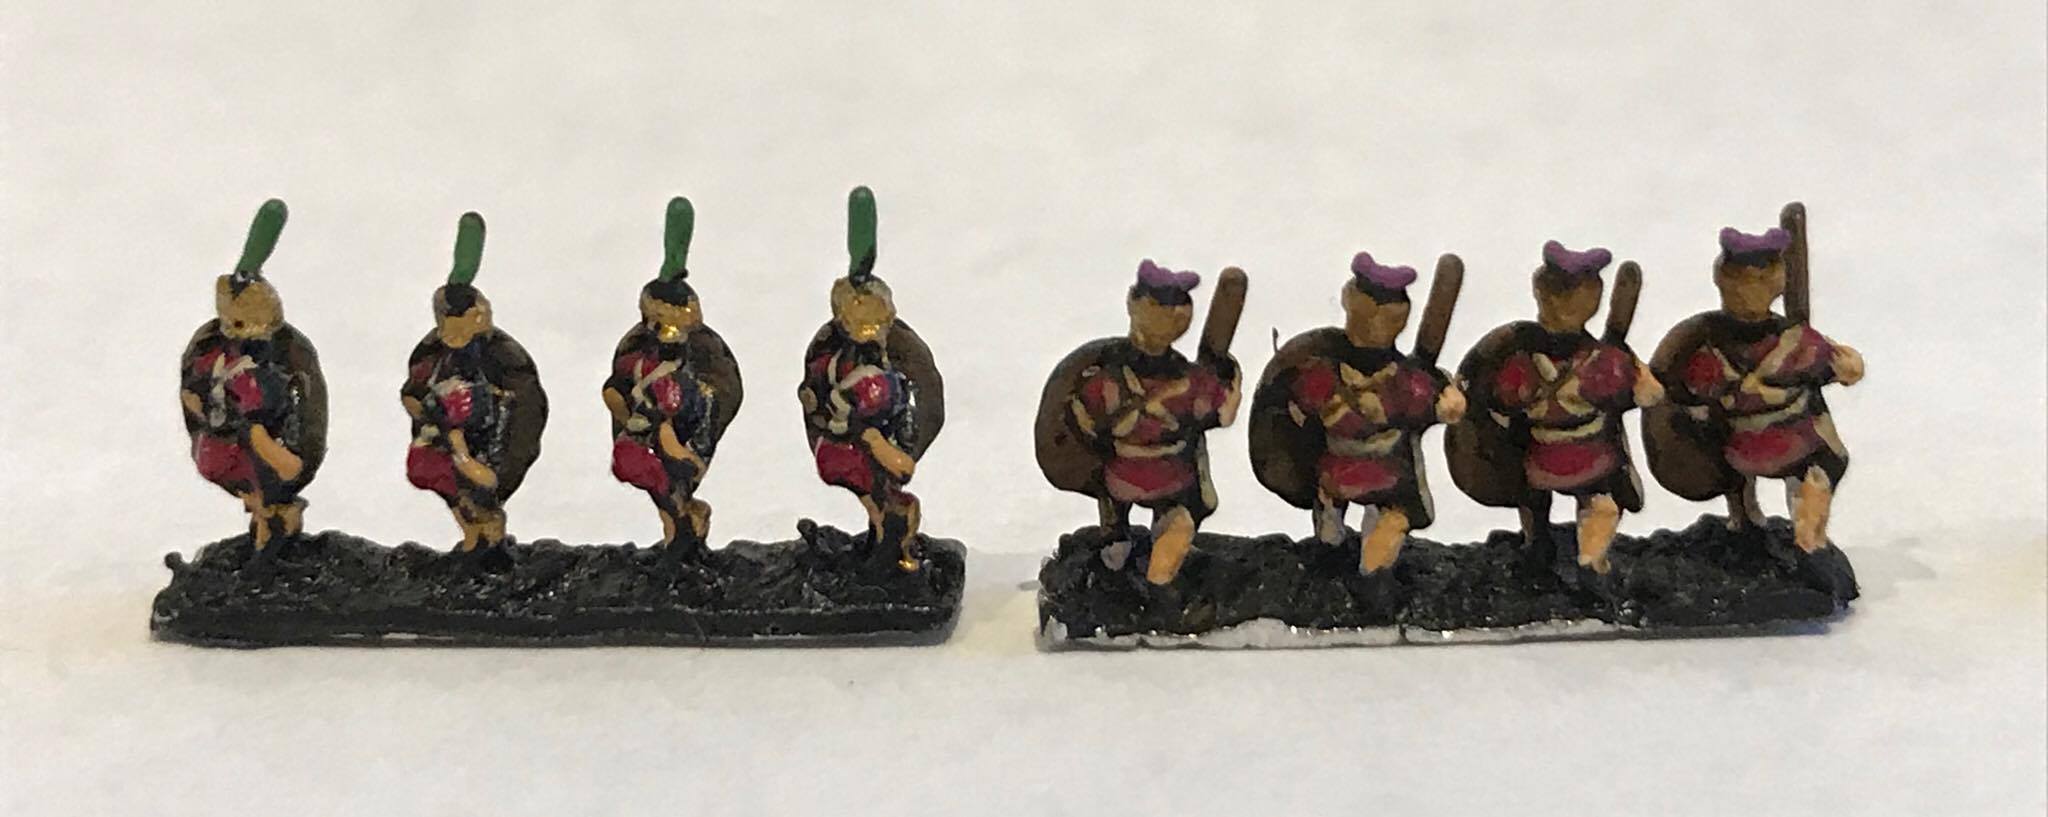
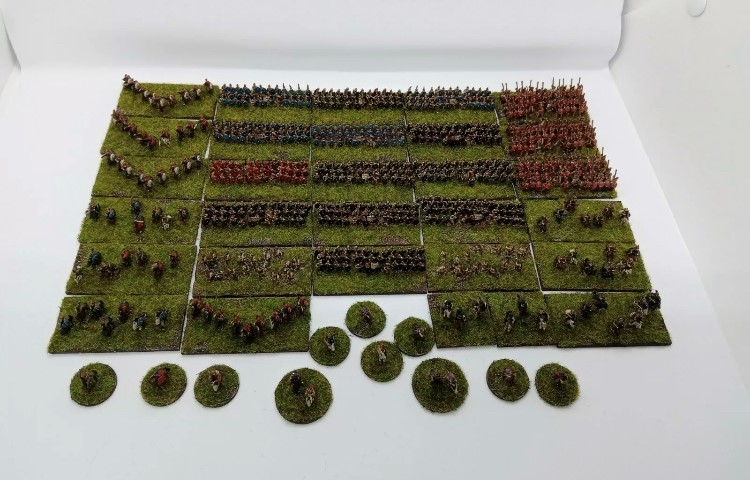
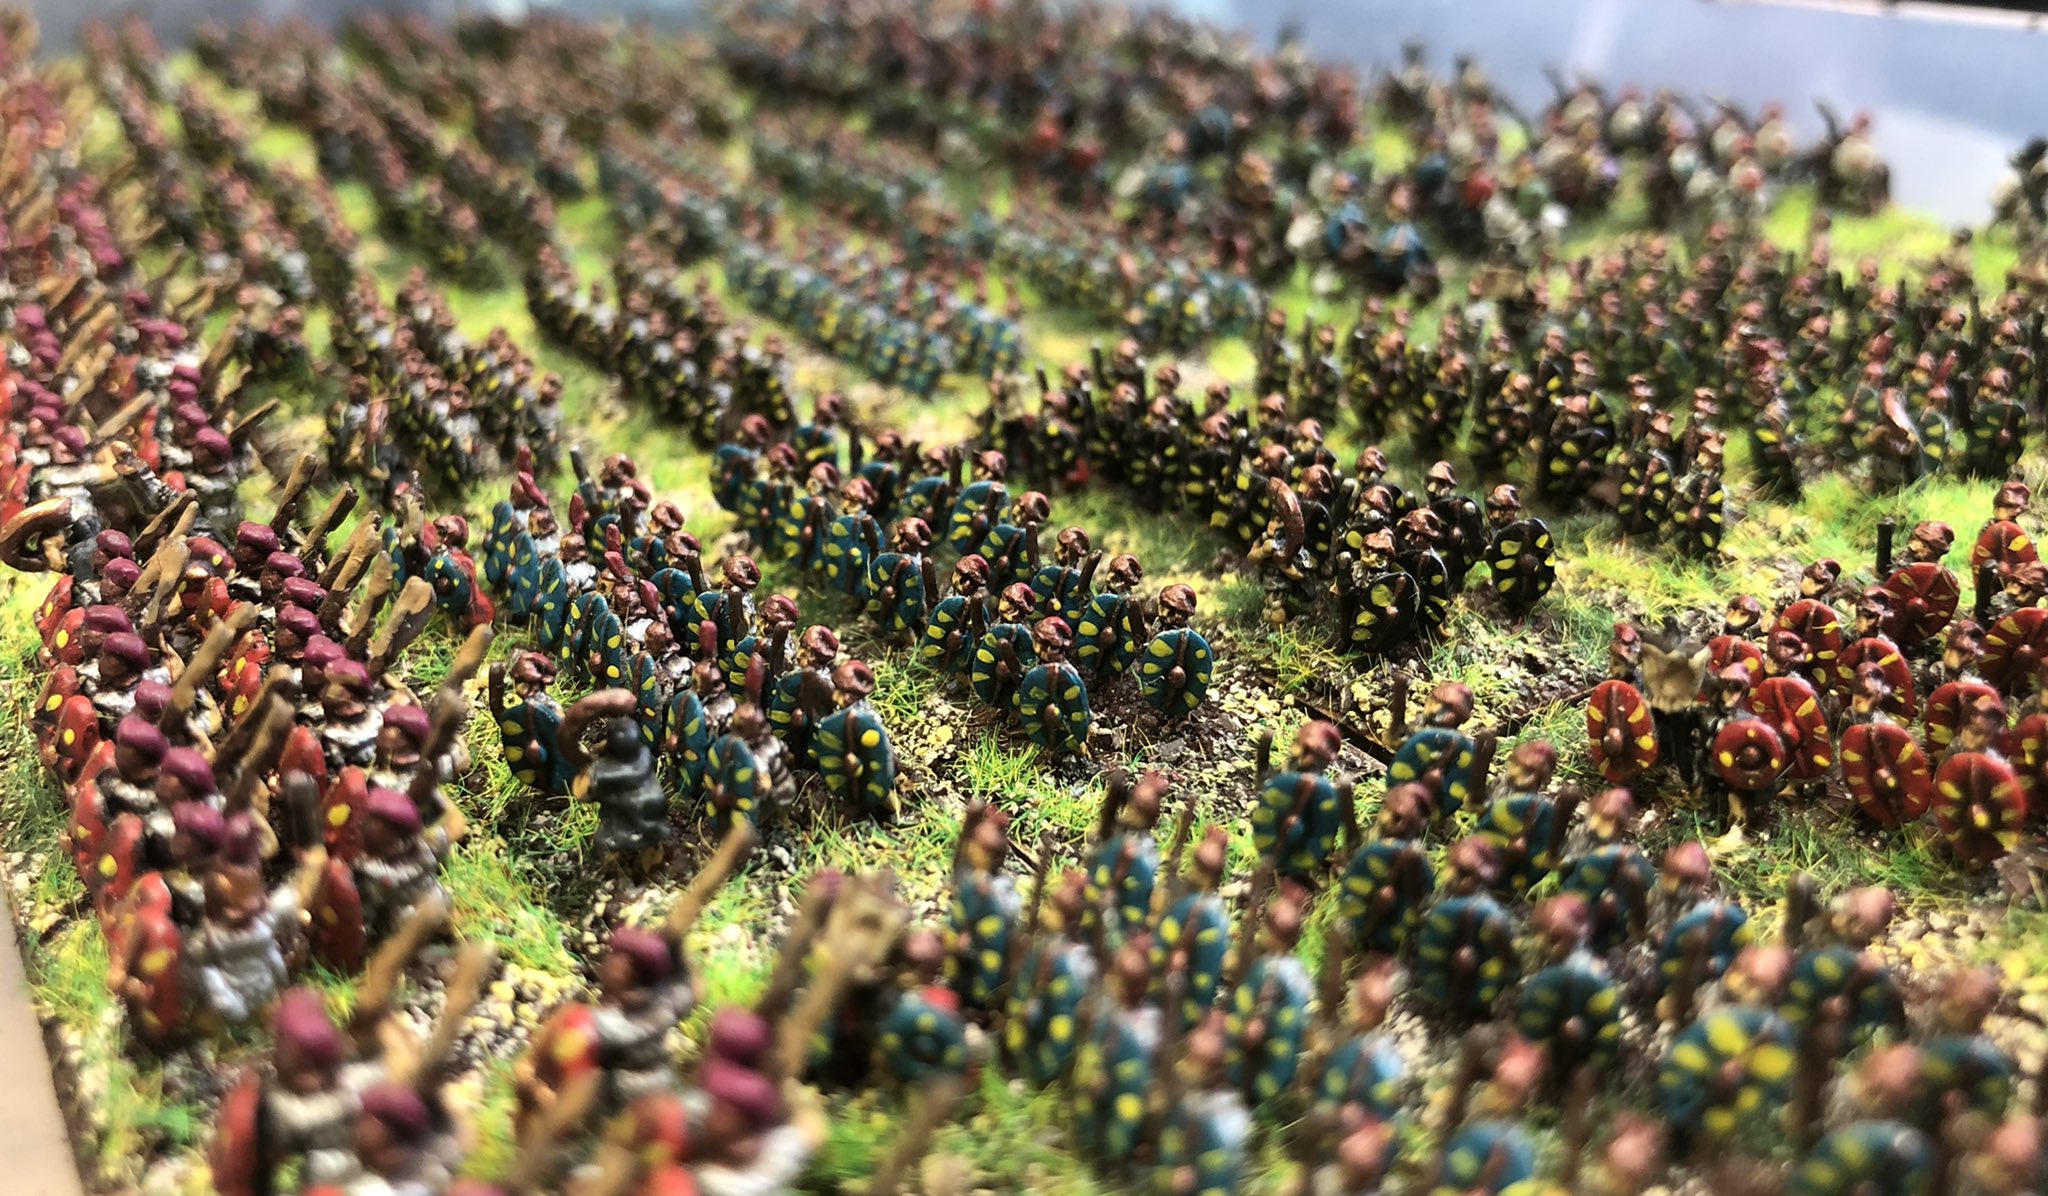
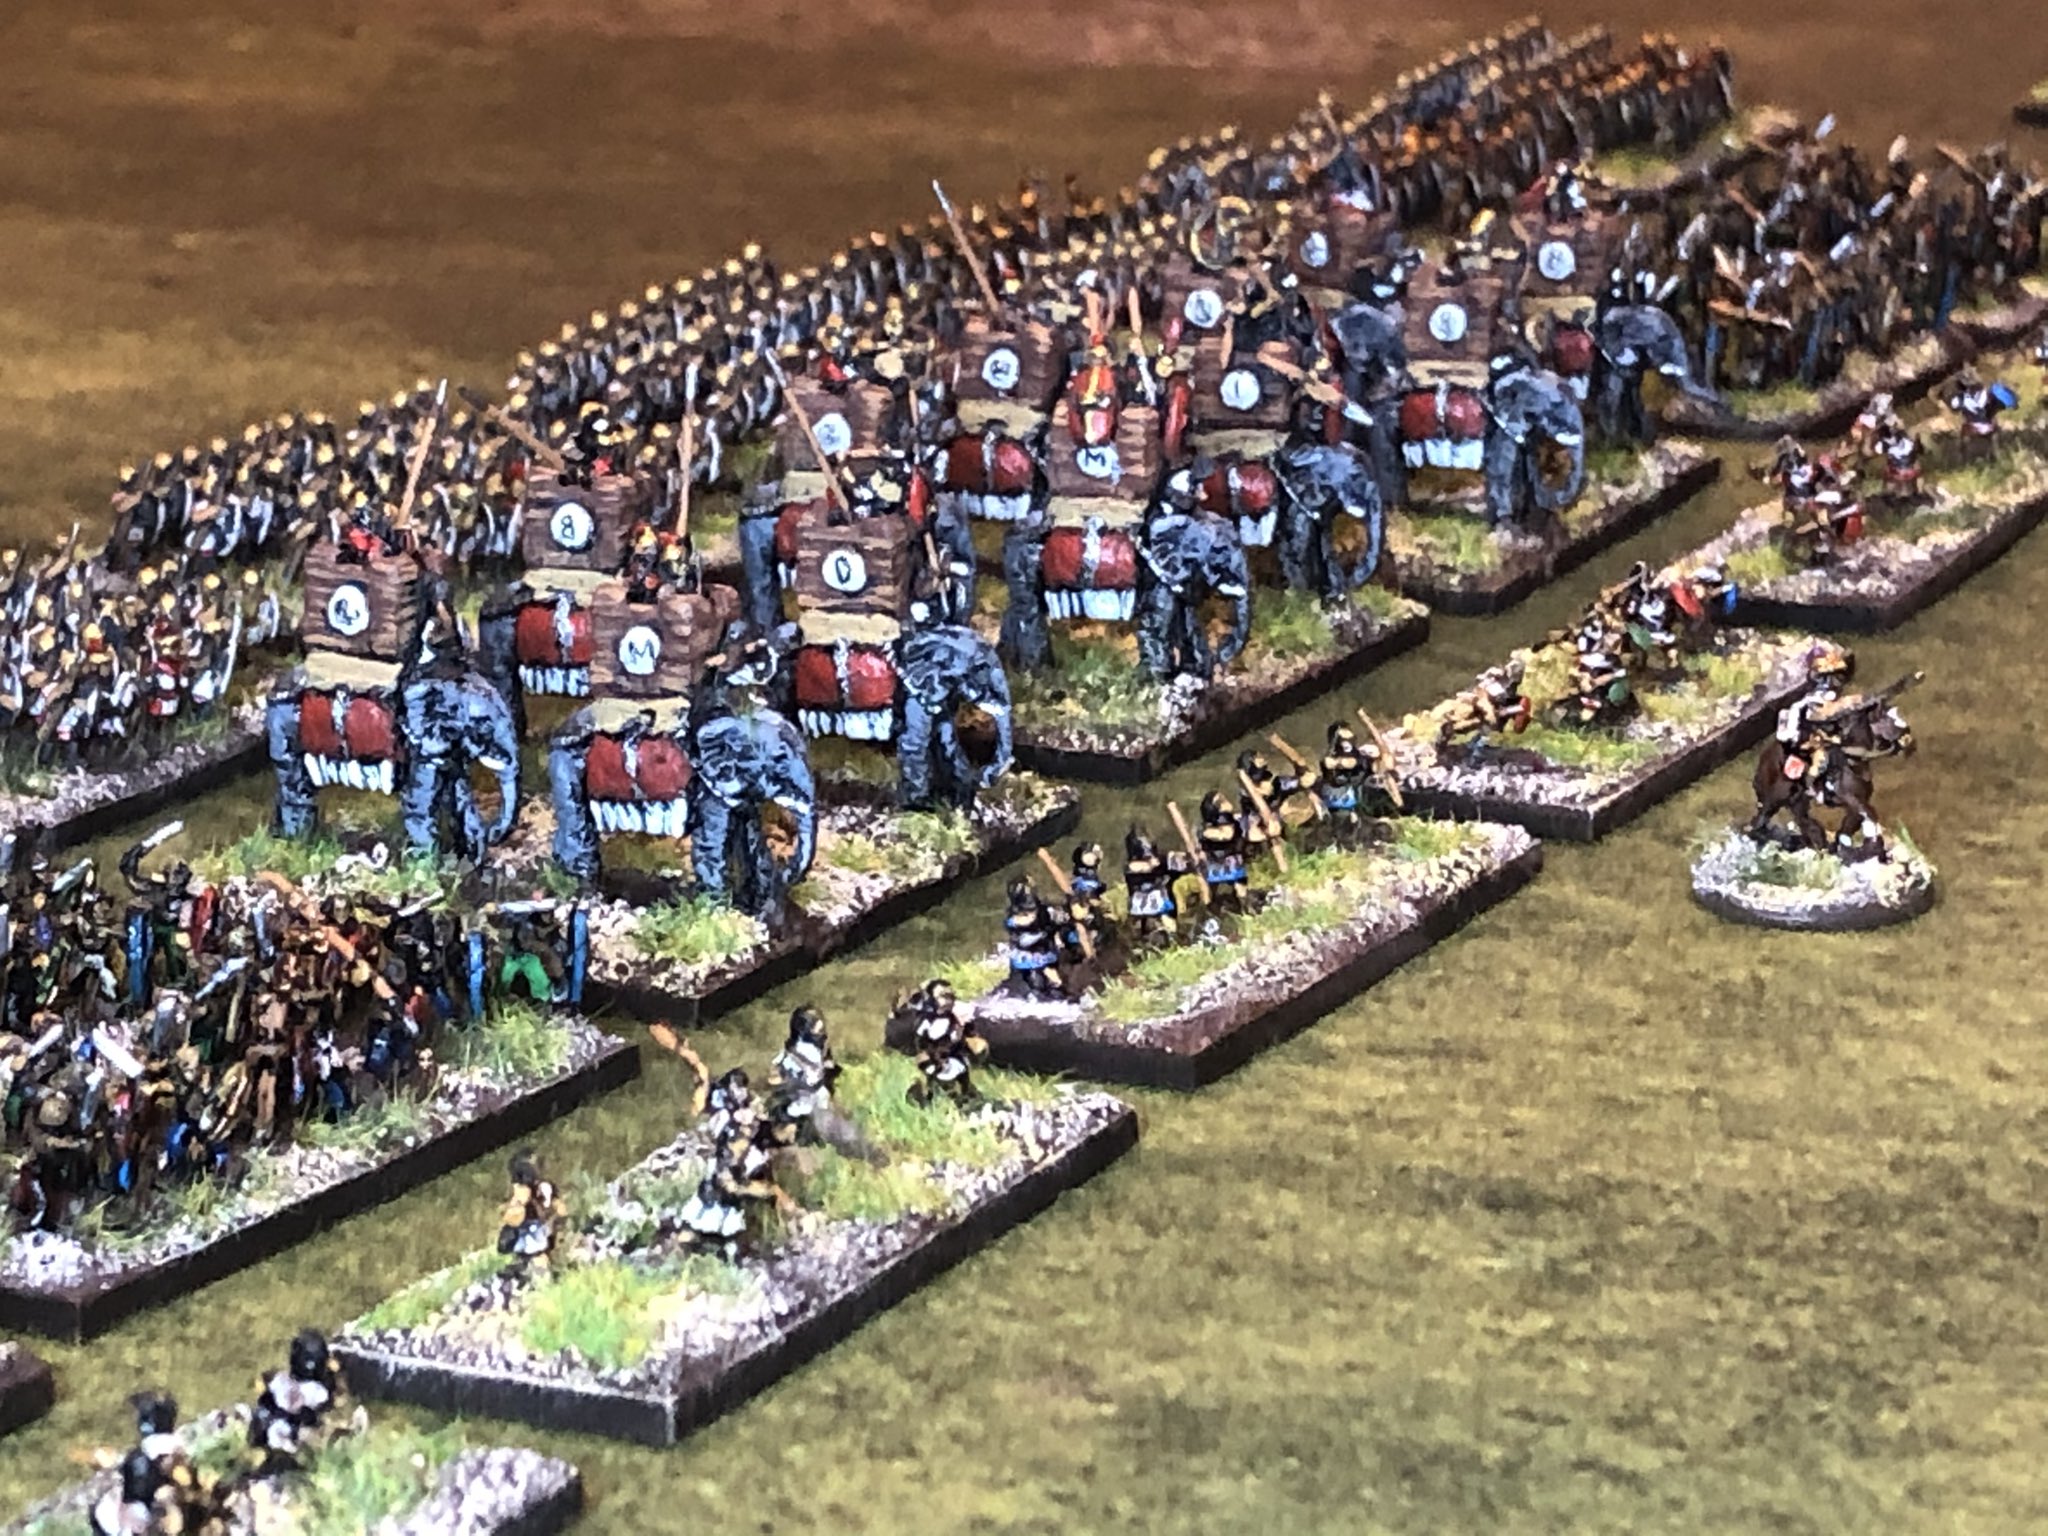
I was flashed a Republican Roman army by Ebay the other day, it looked well painted and there were a lot of miniatures for the £65 asked for including postage, with a mixture of Baccus and Rapier models. Doing a quick calculation I found the metal value was about £62 if the models would have been bought from Baccus and Rapier, the models were really well painted.

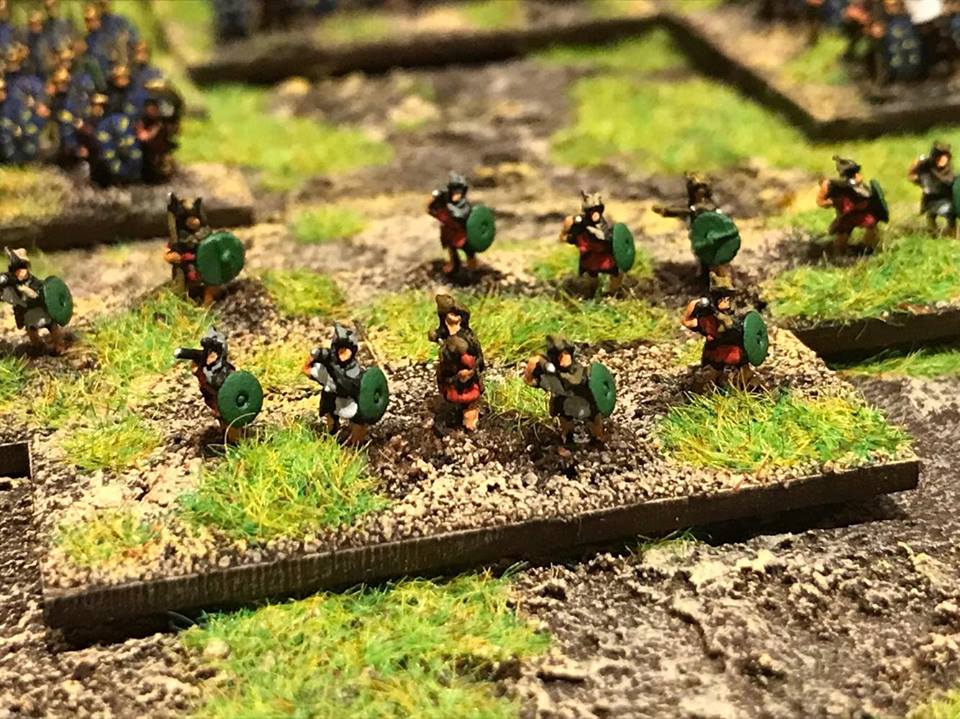
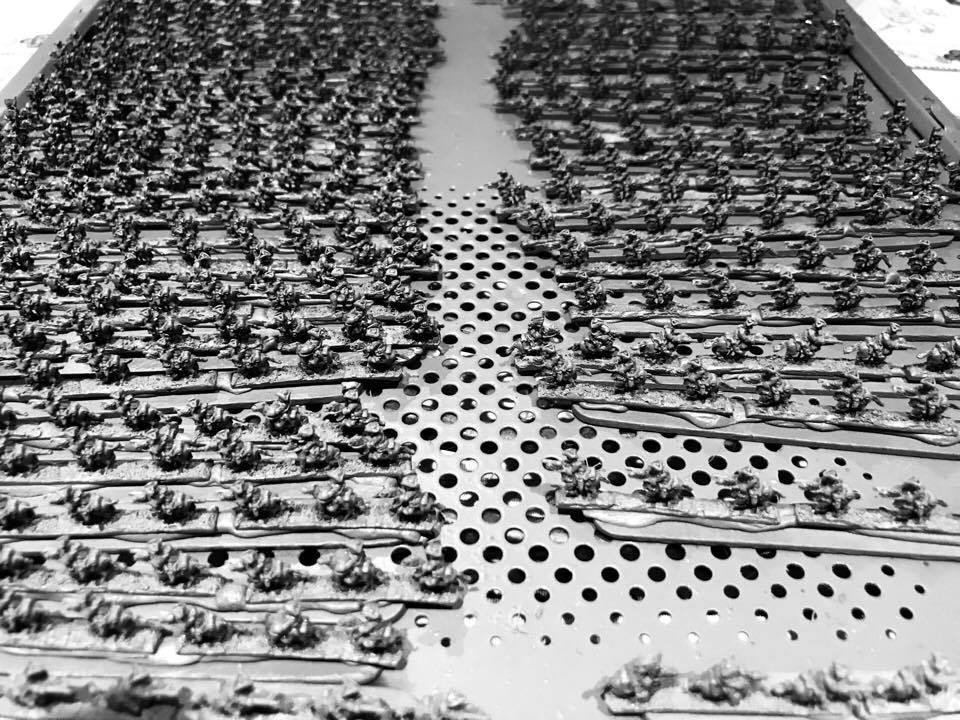
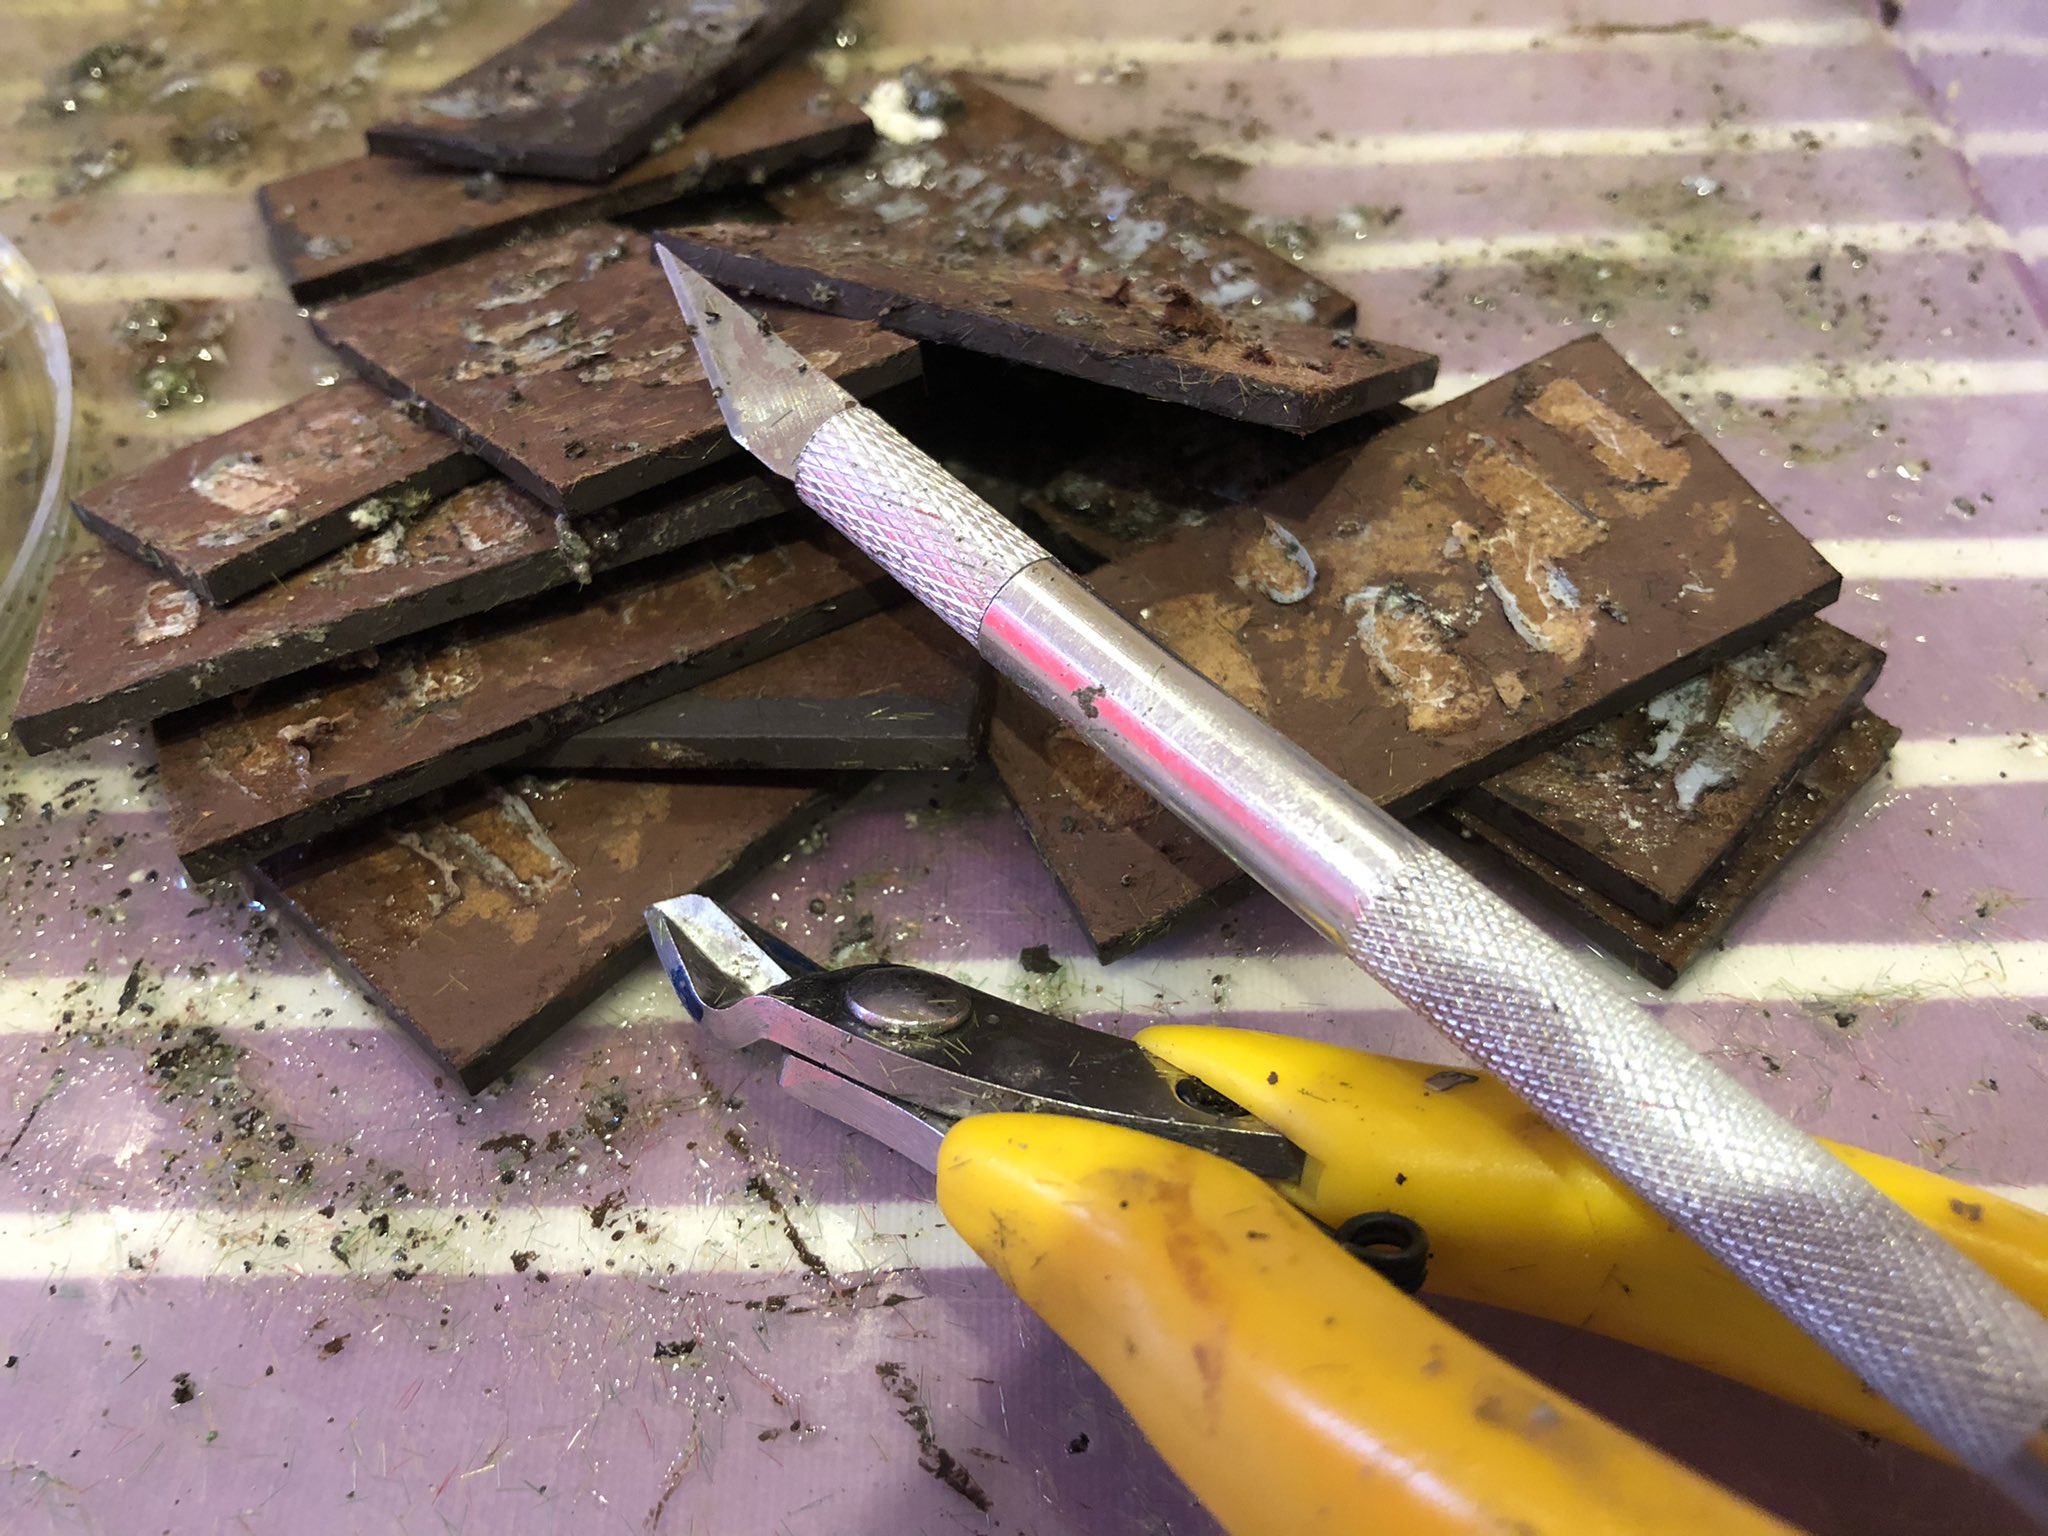
Well for the cost of bare metal and the models already base painted I thought it might be quicker to remove the figures from the bases, add some details and rebase them in my own style and base style – I have based all my ancients on 50 by 20mm bases (based on some Command and Colors stuff I have done). Before you do this it could be worth asking the seller how they based the figures – if they based the modes with sand and pva, it is relatively easy to do this (even if they superglued the models first), if a form of filler were used it is still ok but messier and finally if a superglue was used for both attaching the figures and to bind the sand – I would probably give it a pass. These were glued on then based with PVA and Sand – piece of cake.

The Army as delivered, nothing wrong with it!

Here is the steps I took.

Image
Let it all soak in some water
Image
After this I scraped off all the grass, sand and pva (I used a hobby knife, see below).
Image
It creates an interesting mess
Image
Then I removed the miniatures with the following tools
Image
All lining up nicely
Image
Then I added details to the shields, you will spot a few I forgot
Image
Then I rebased them in my own style.
Image
Image
And here mixing them up with the other part of the collection
Image
A mixture of the new and the old,
Image
This is why I do 6mm!
Image
These are old, but who does not like some Elephants?

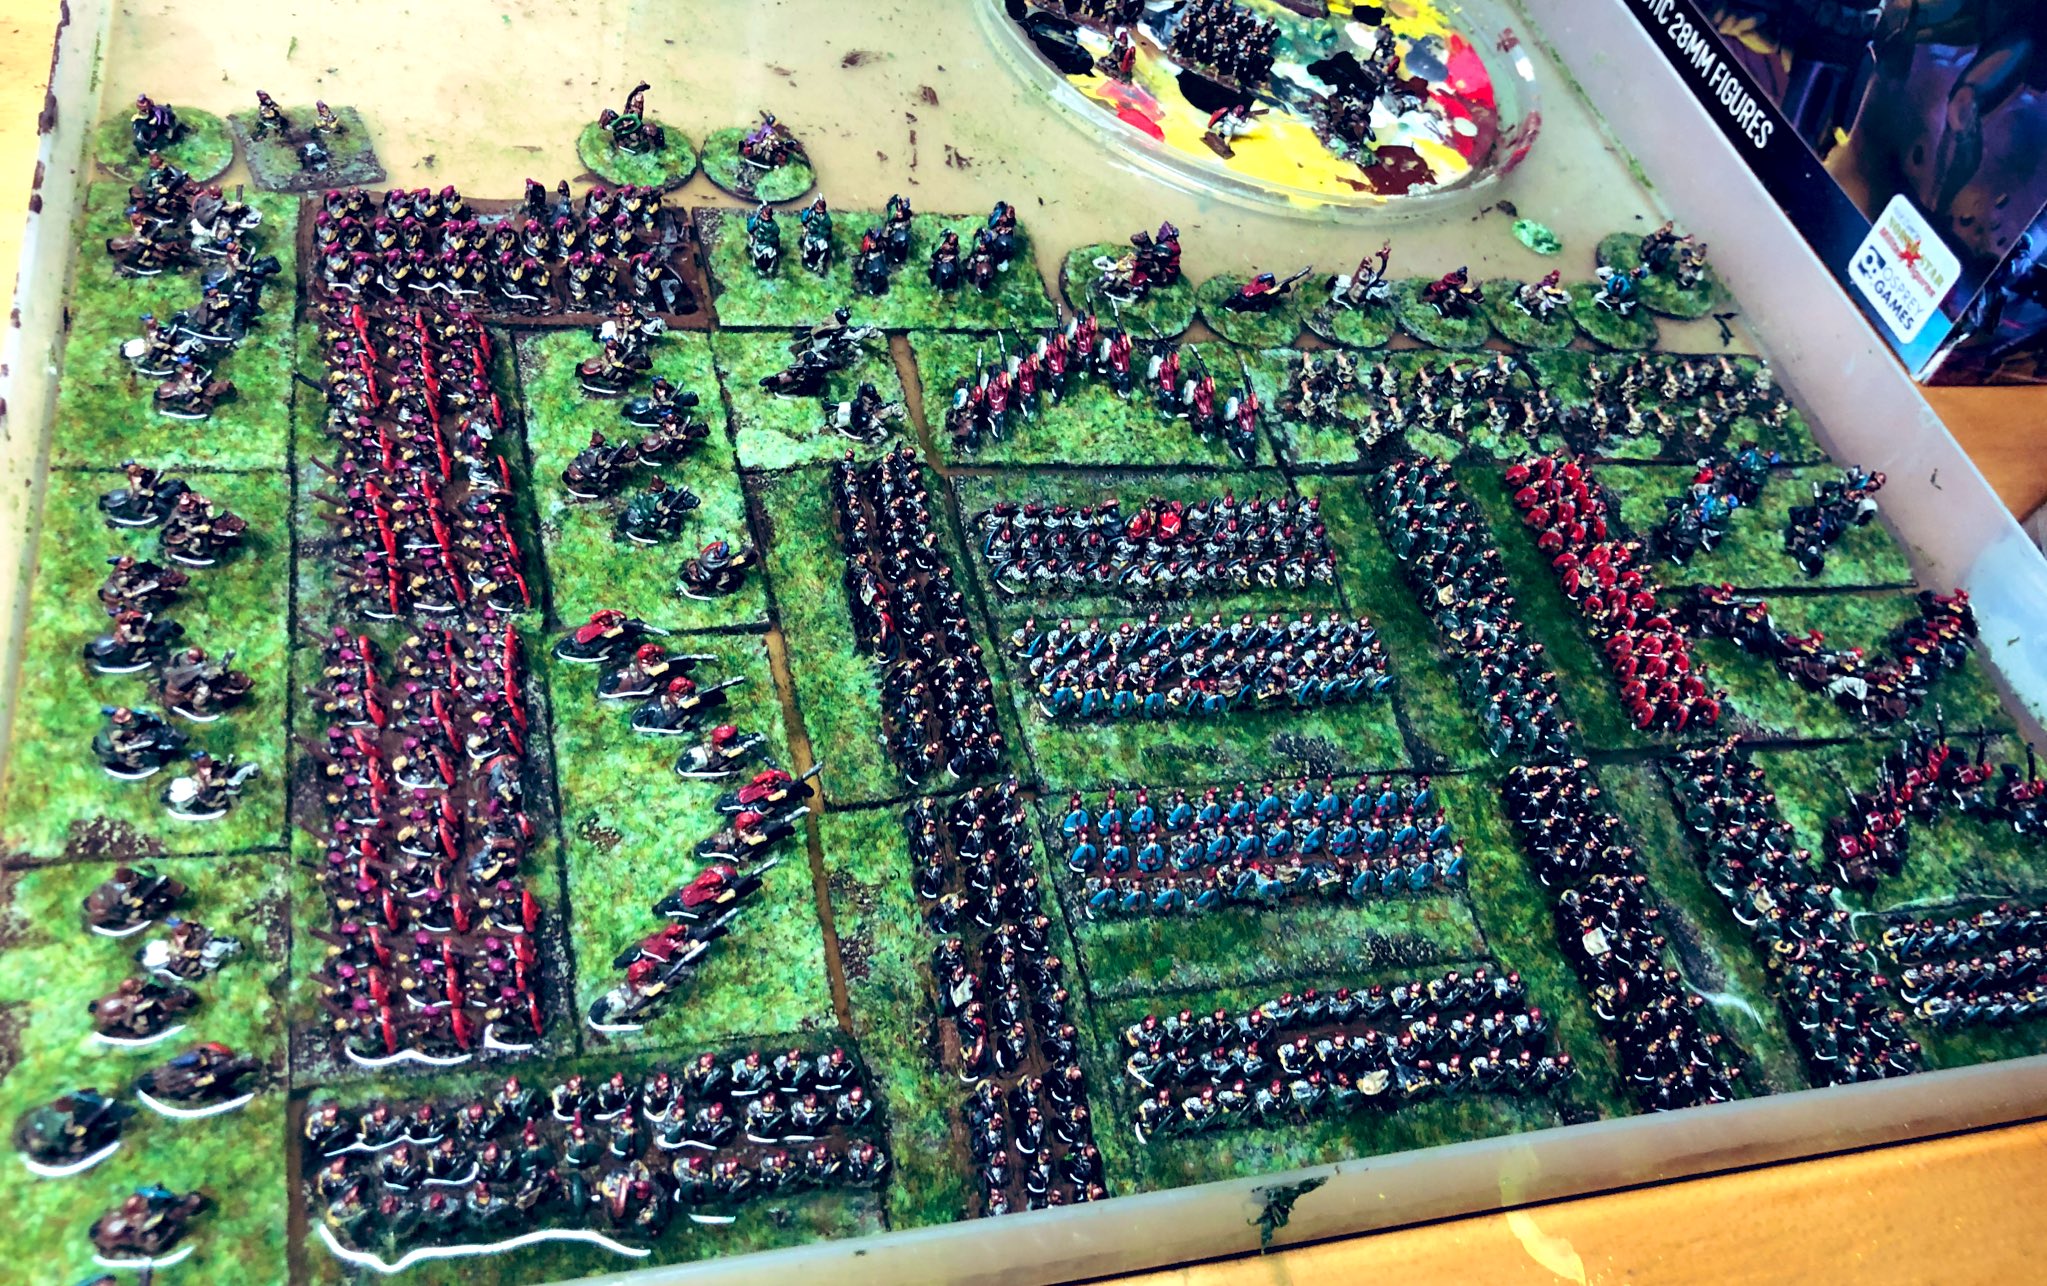
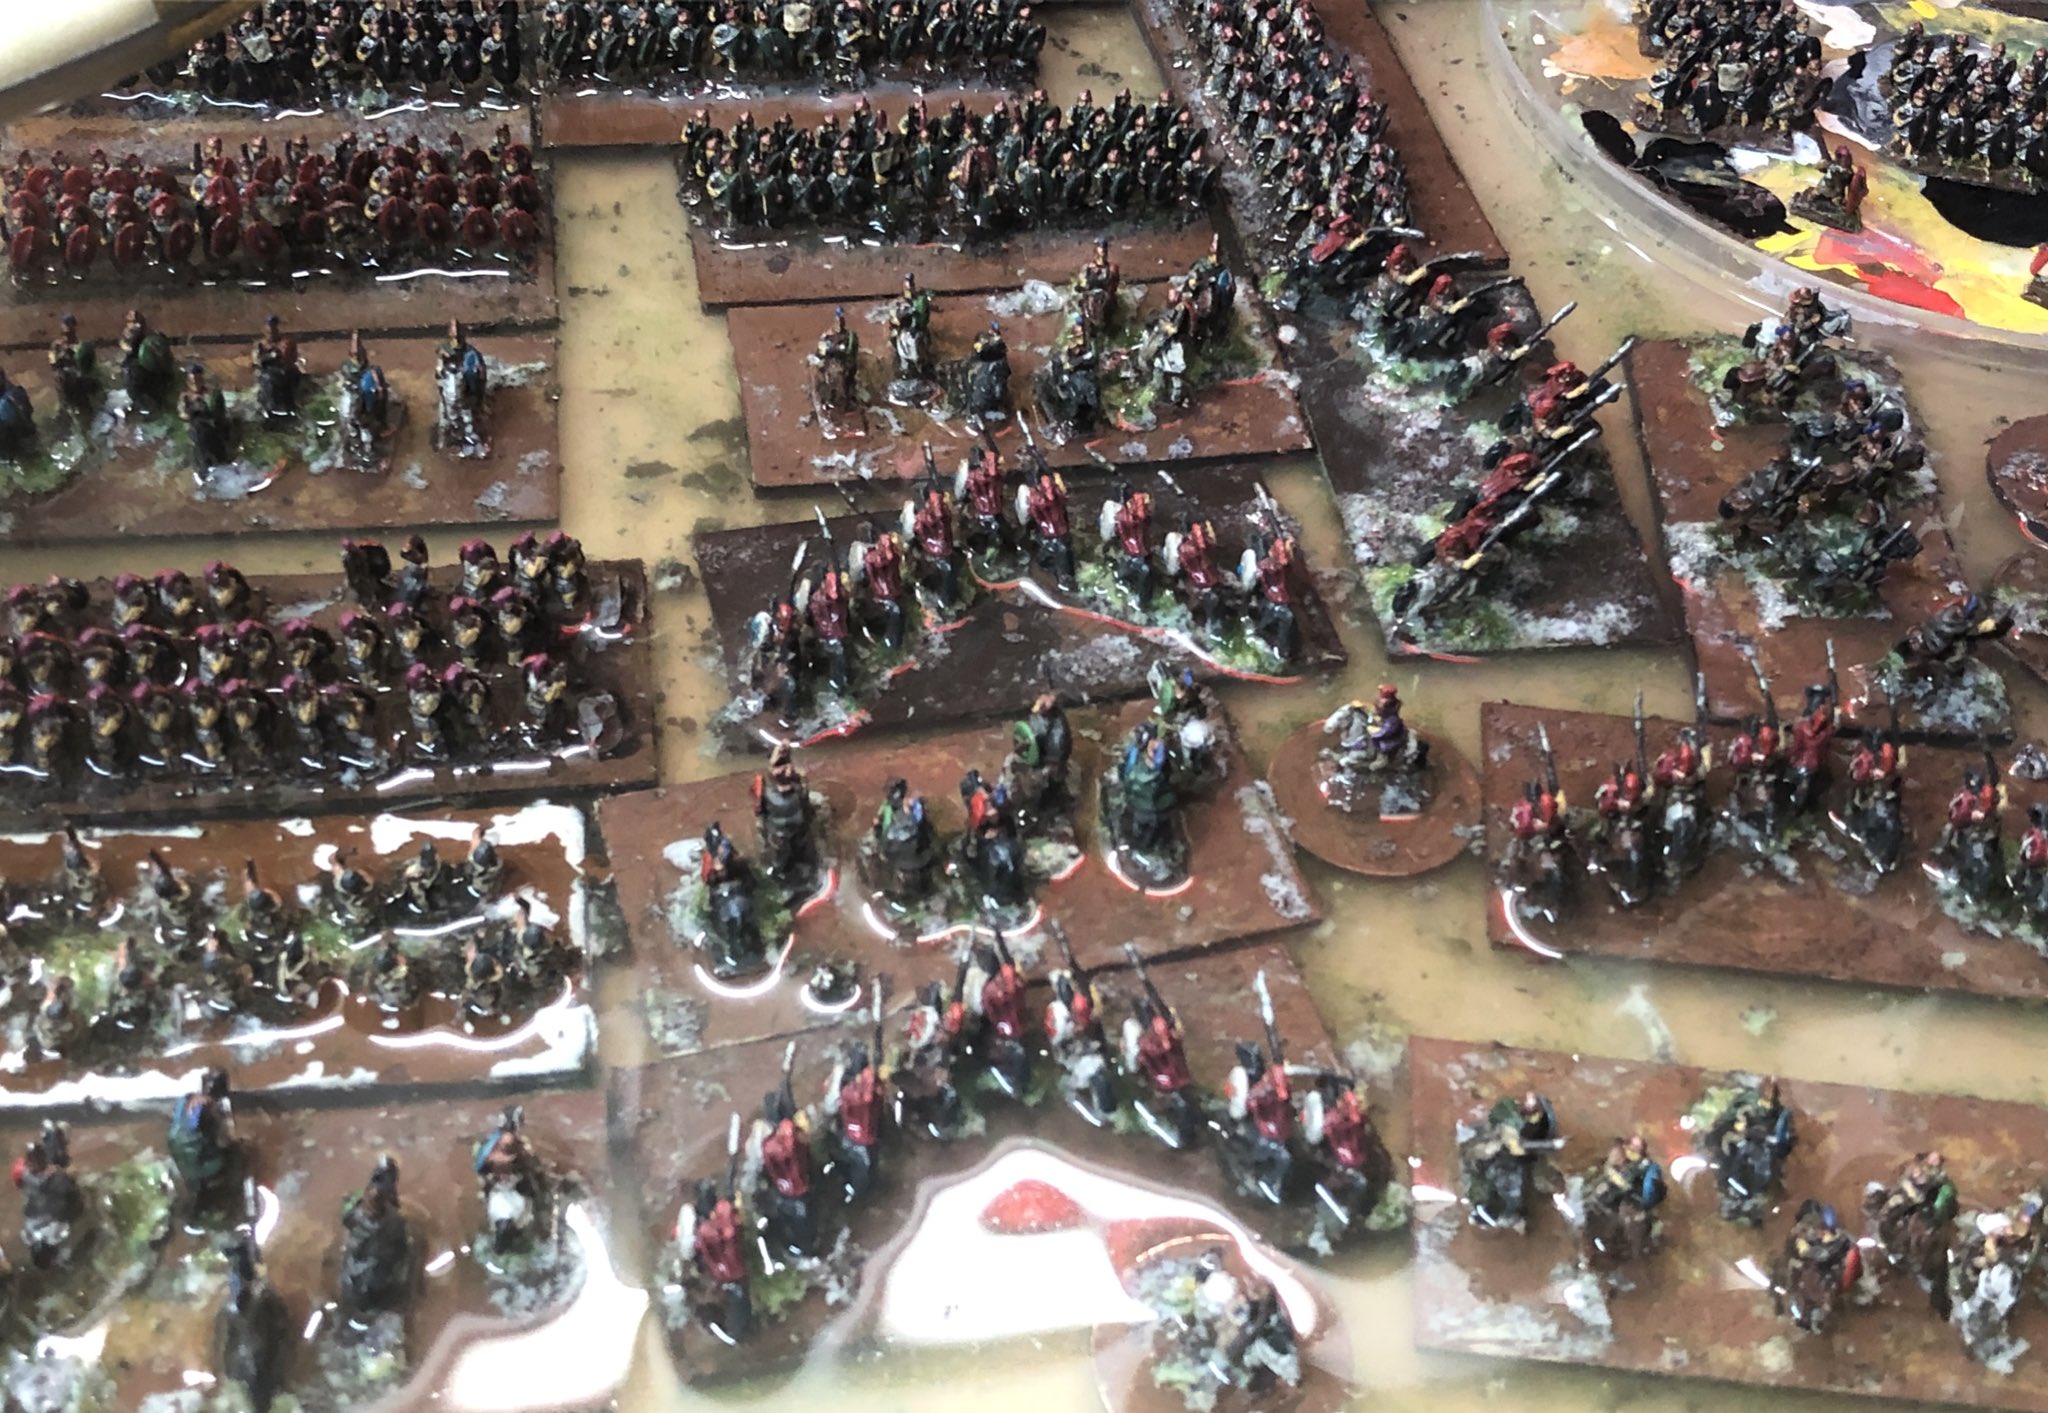
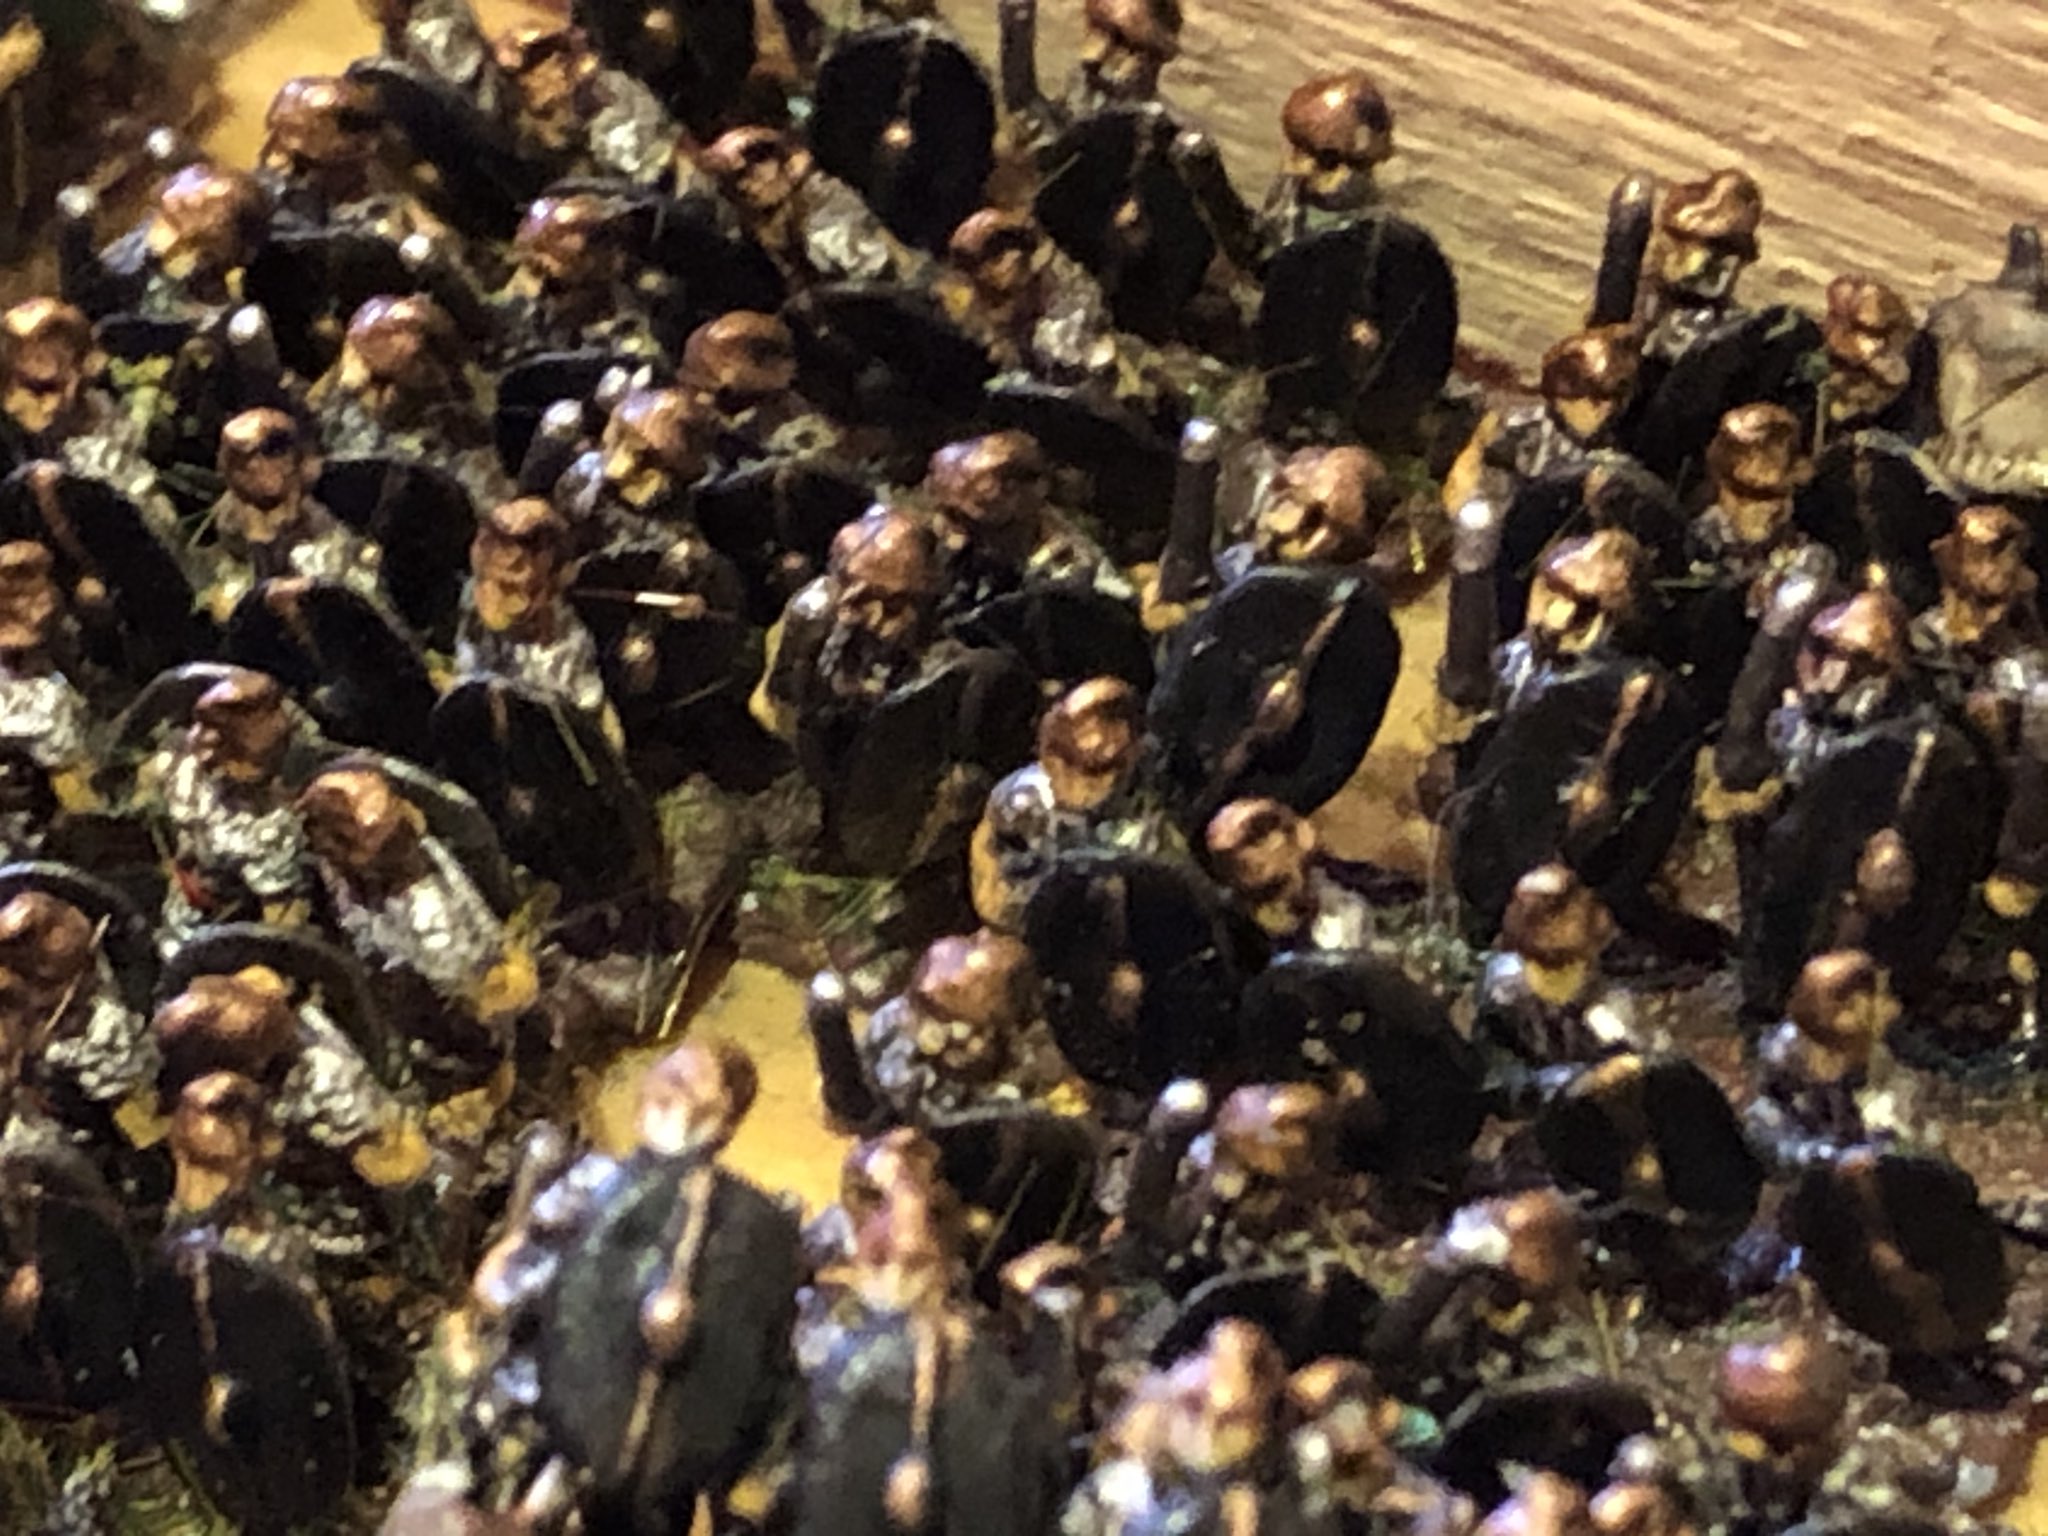
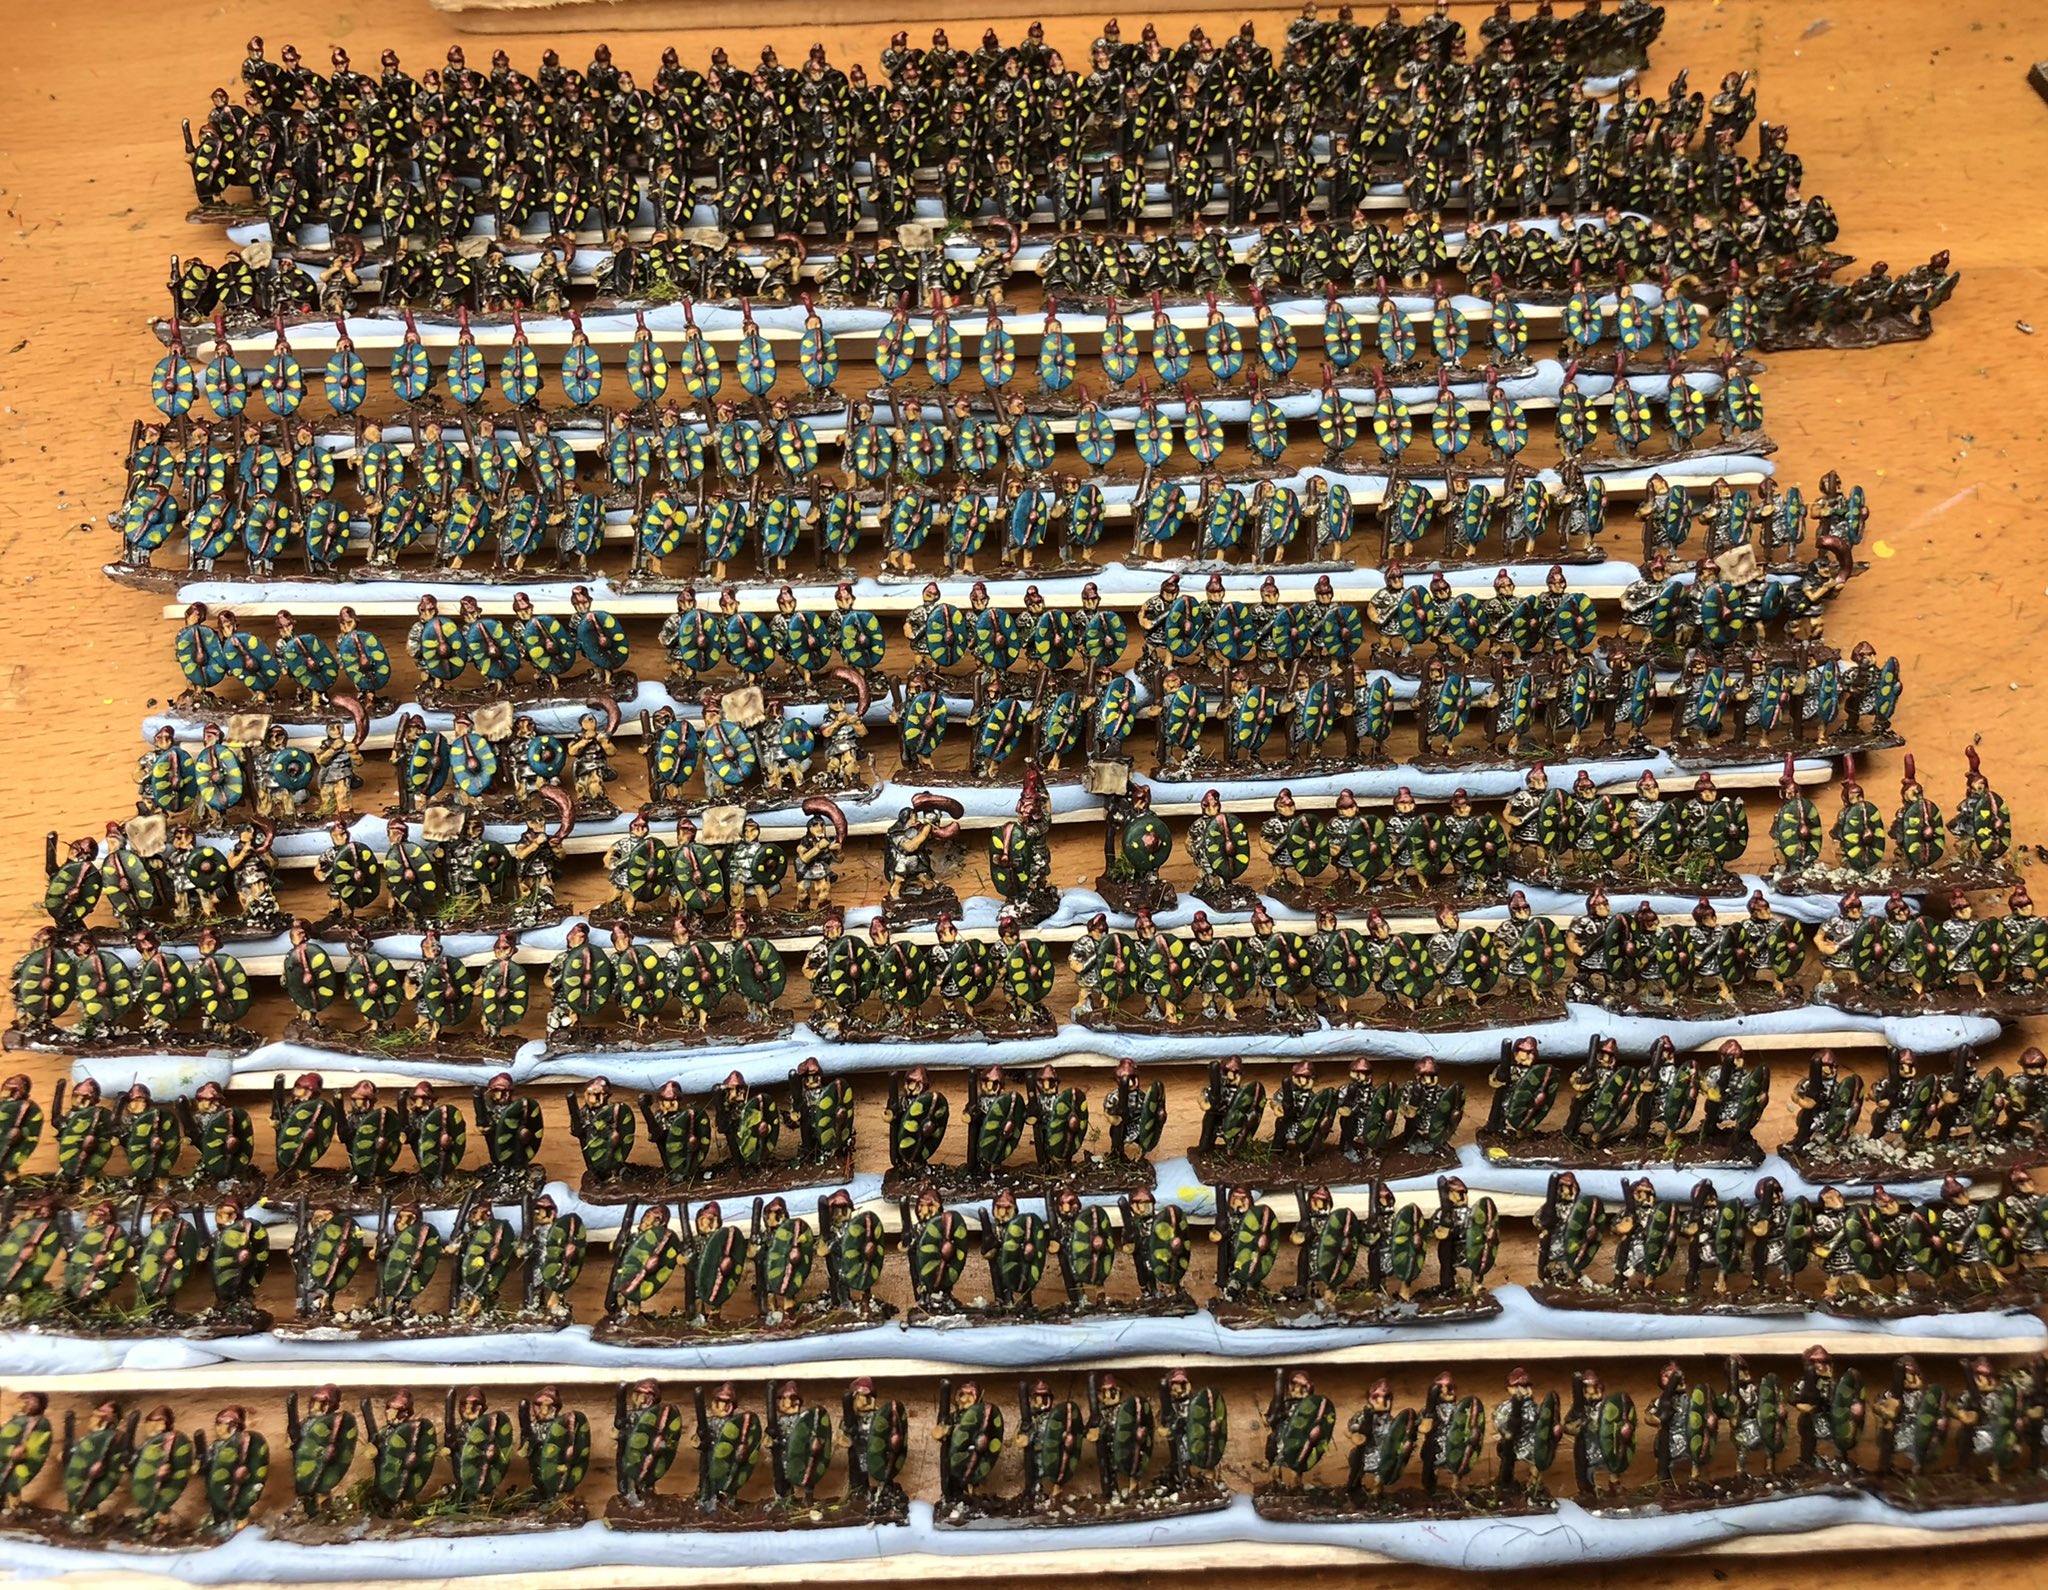
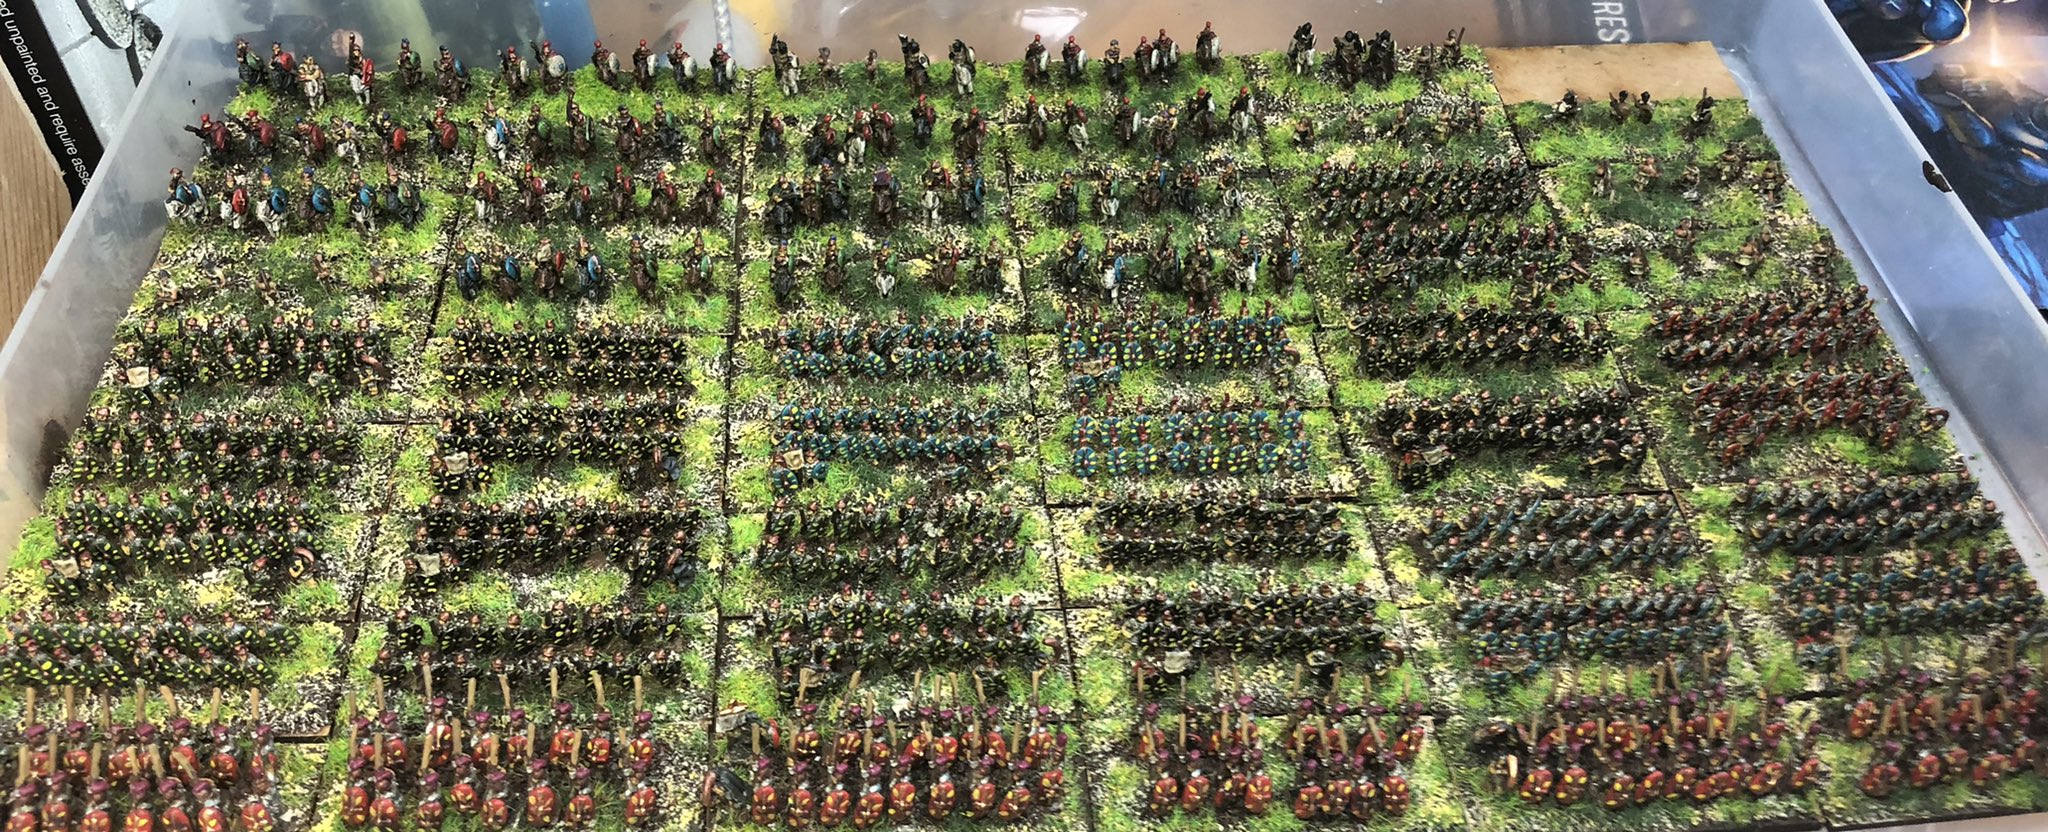
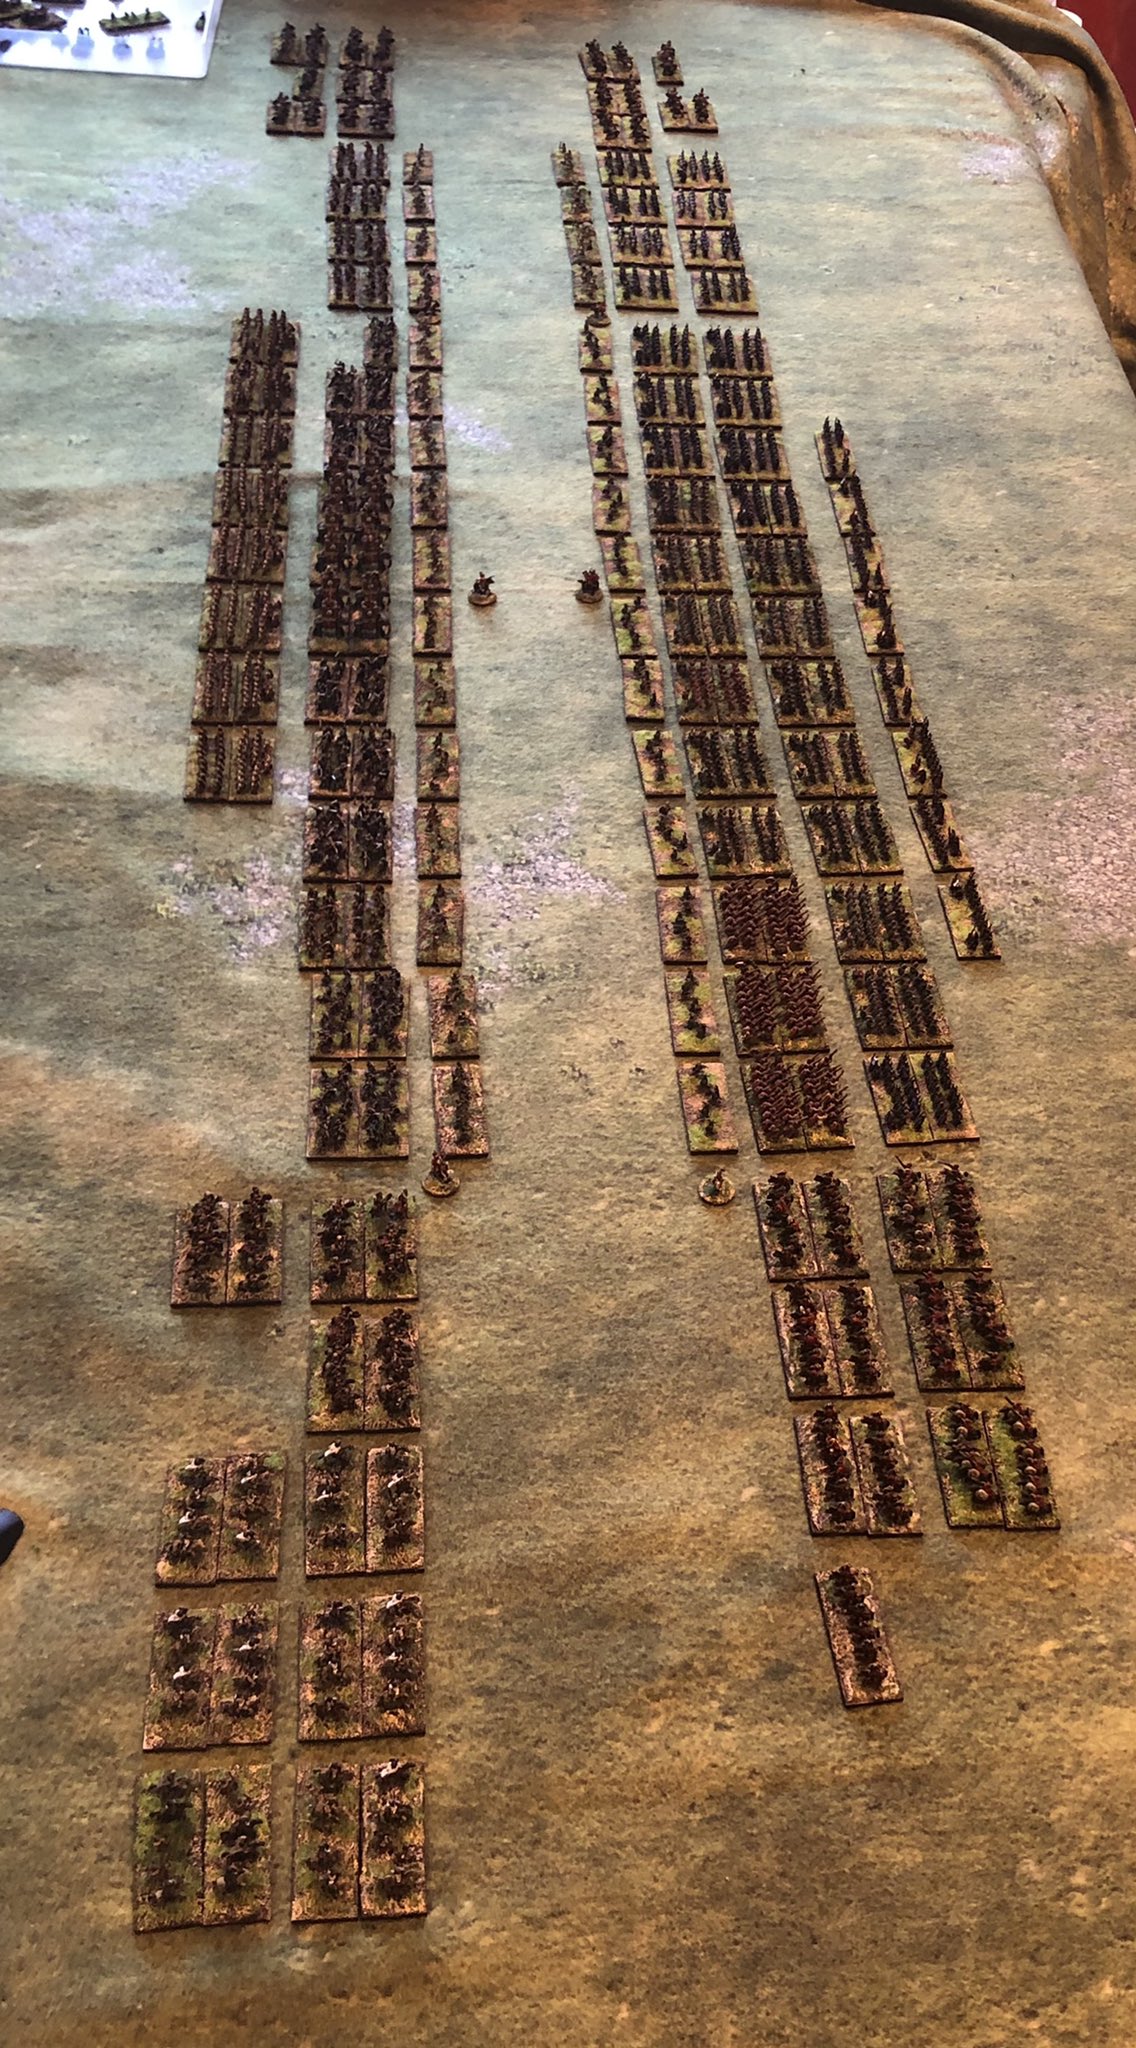
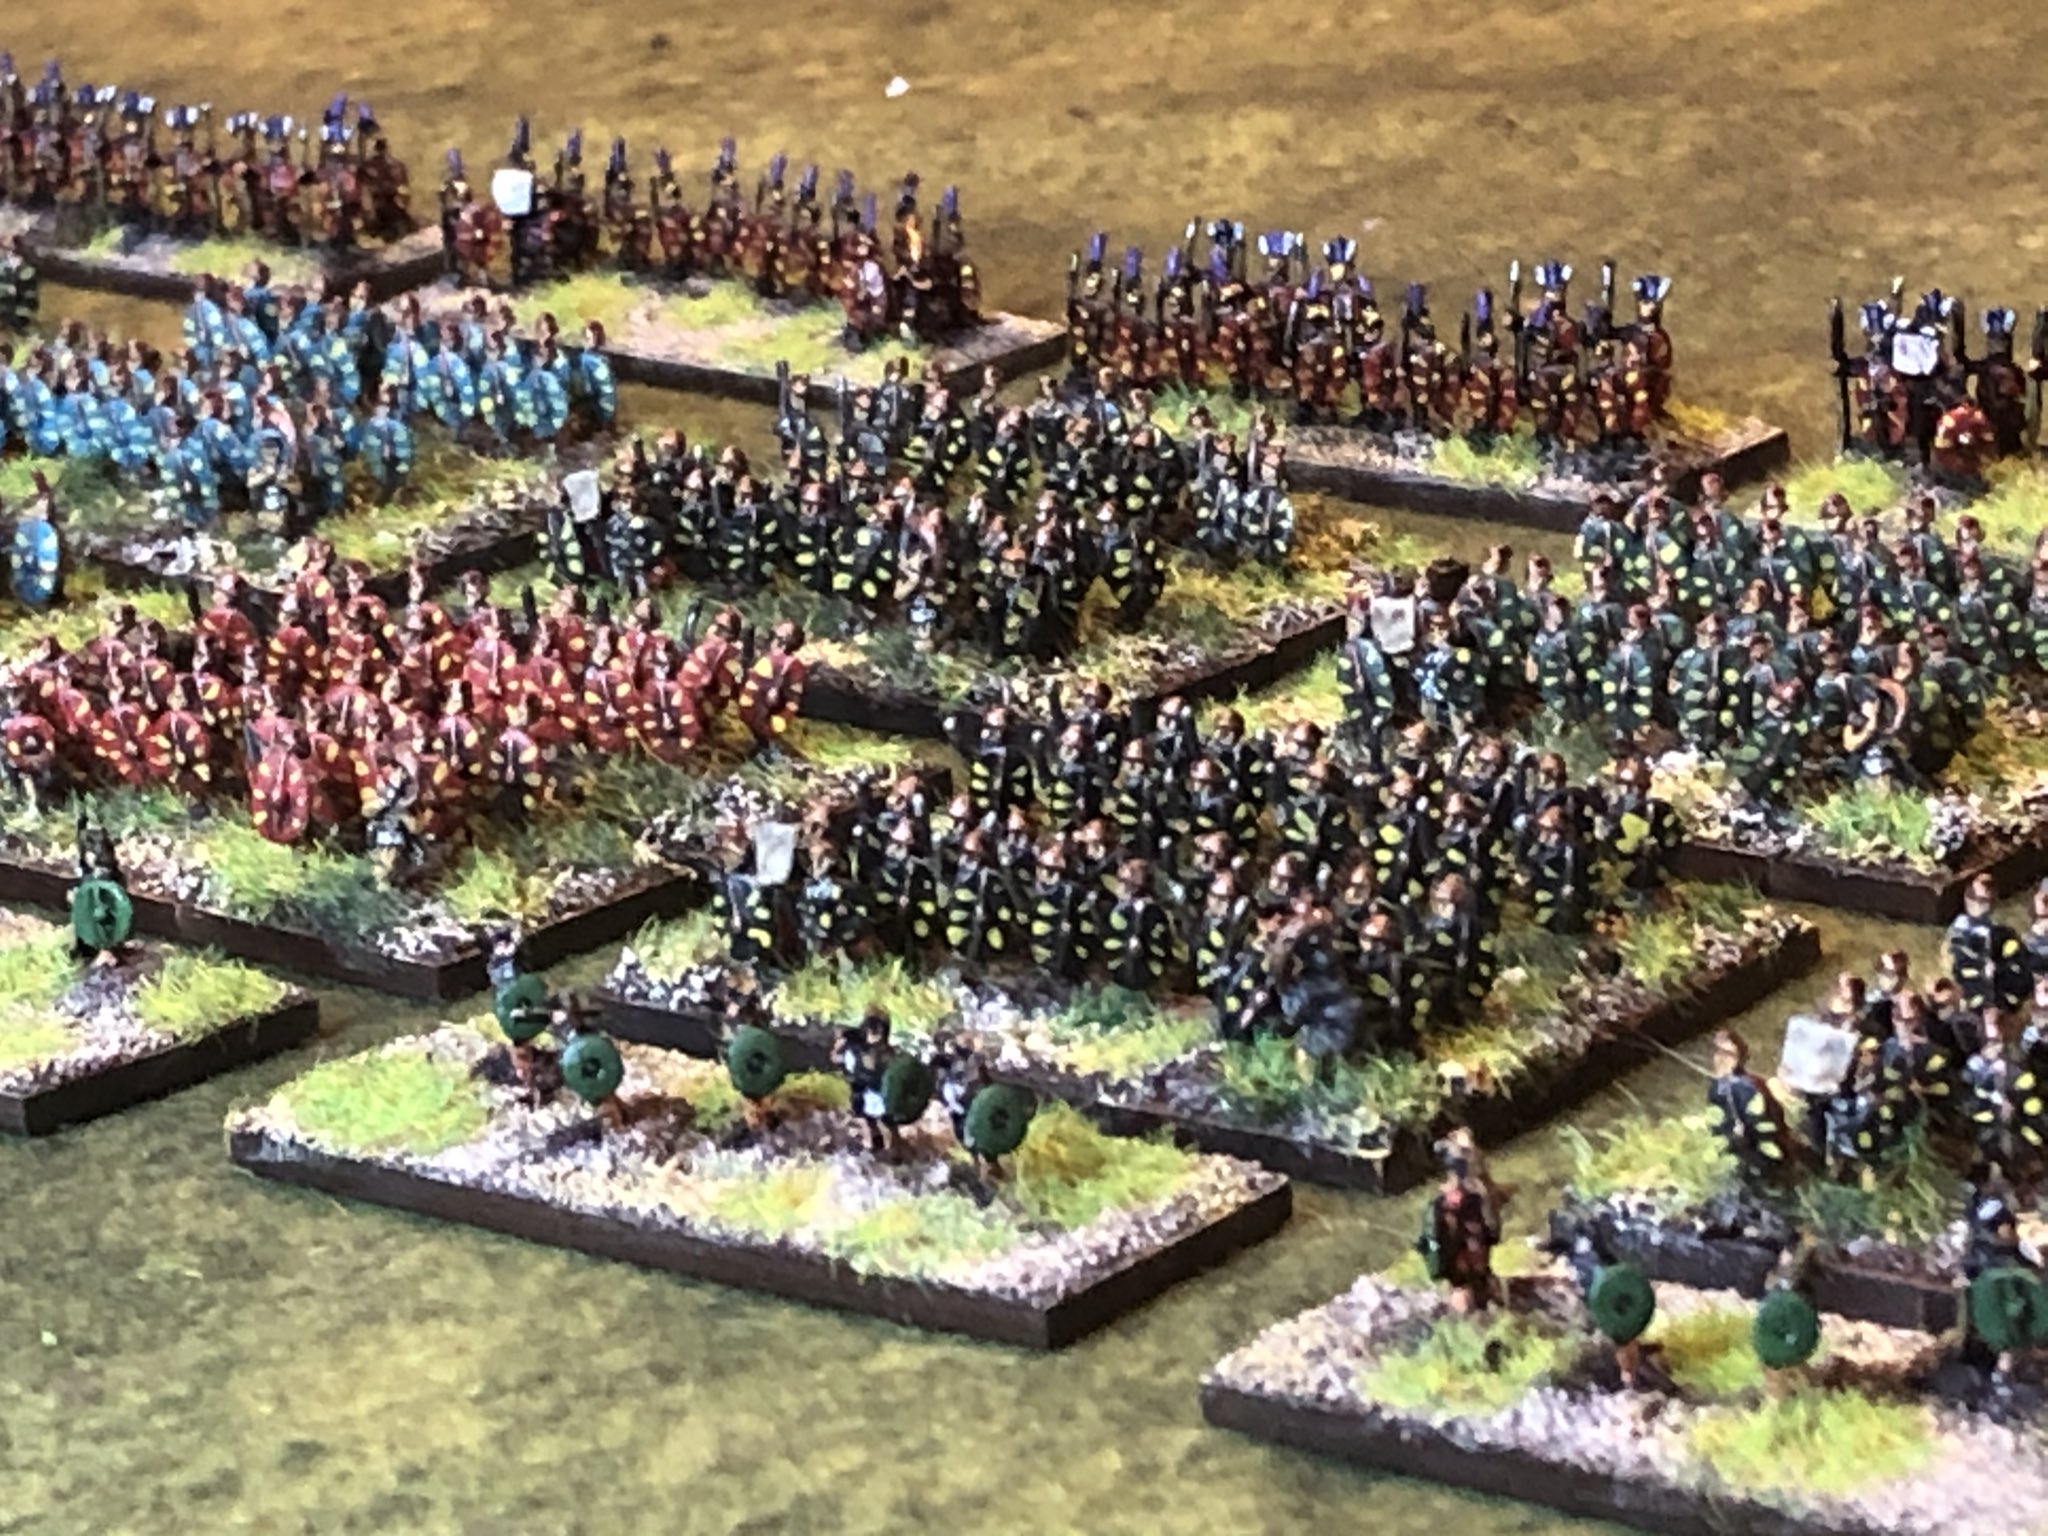
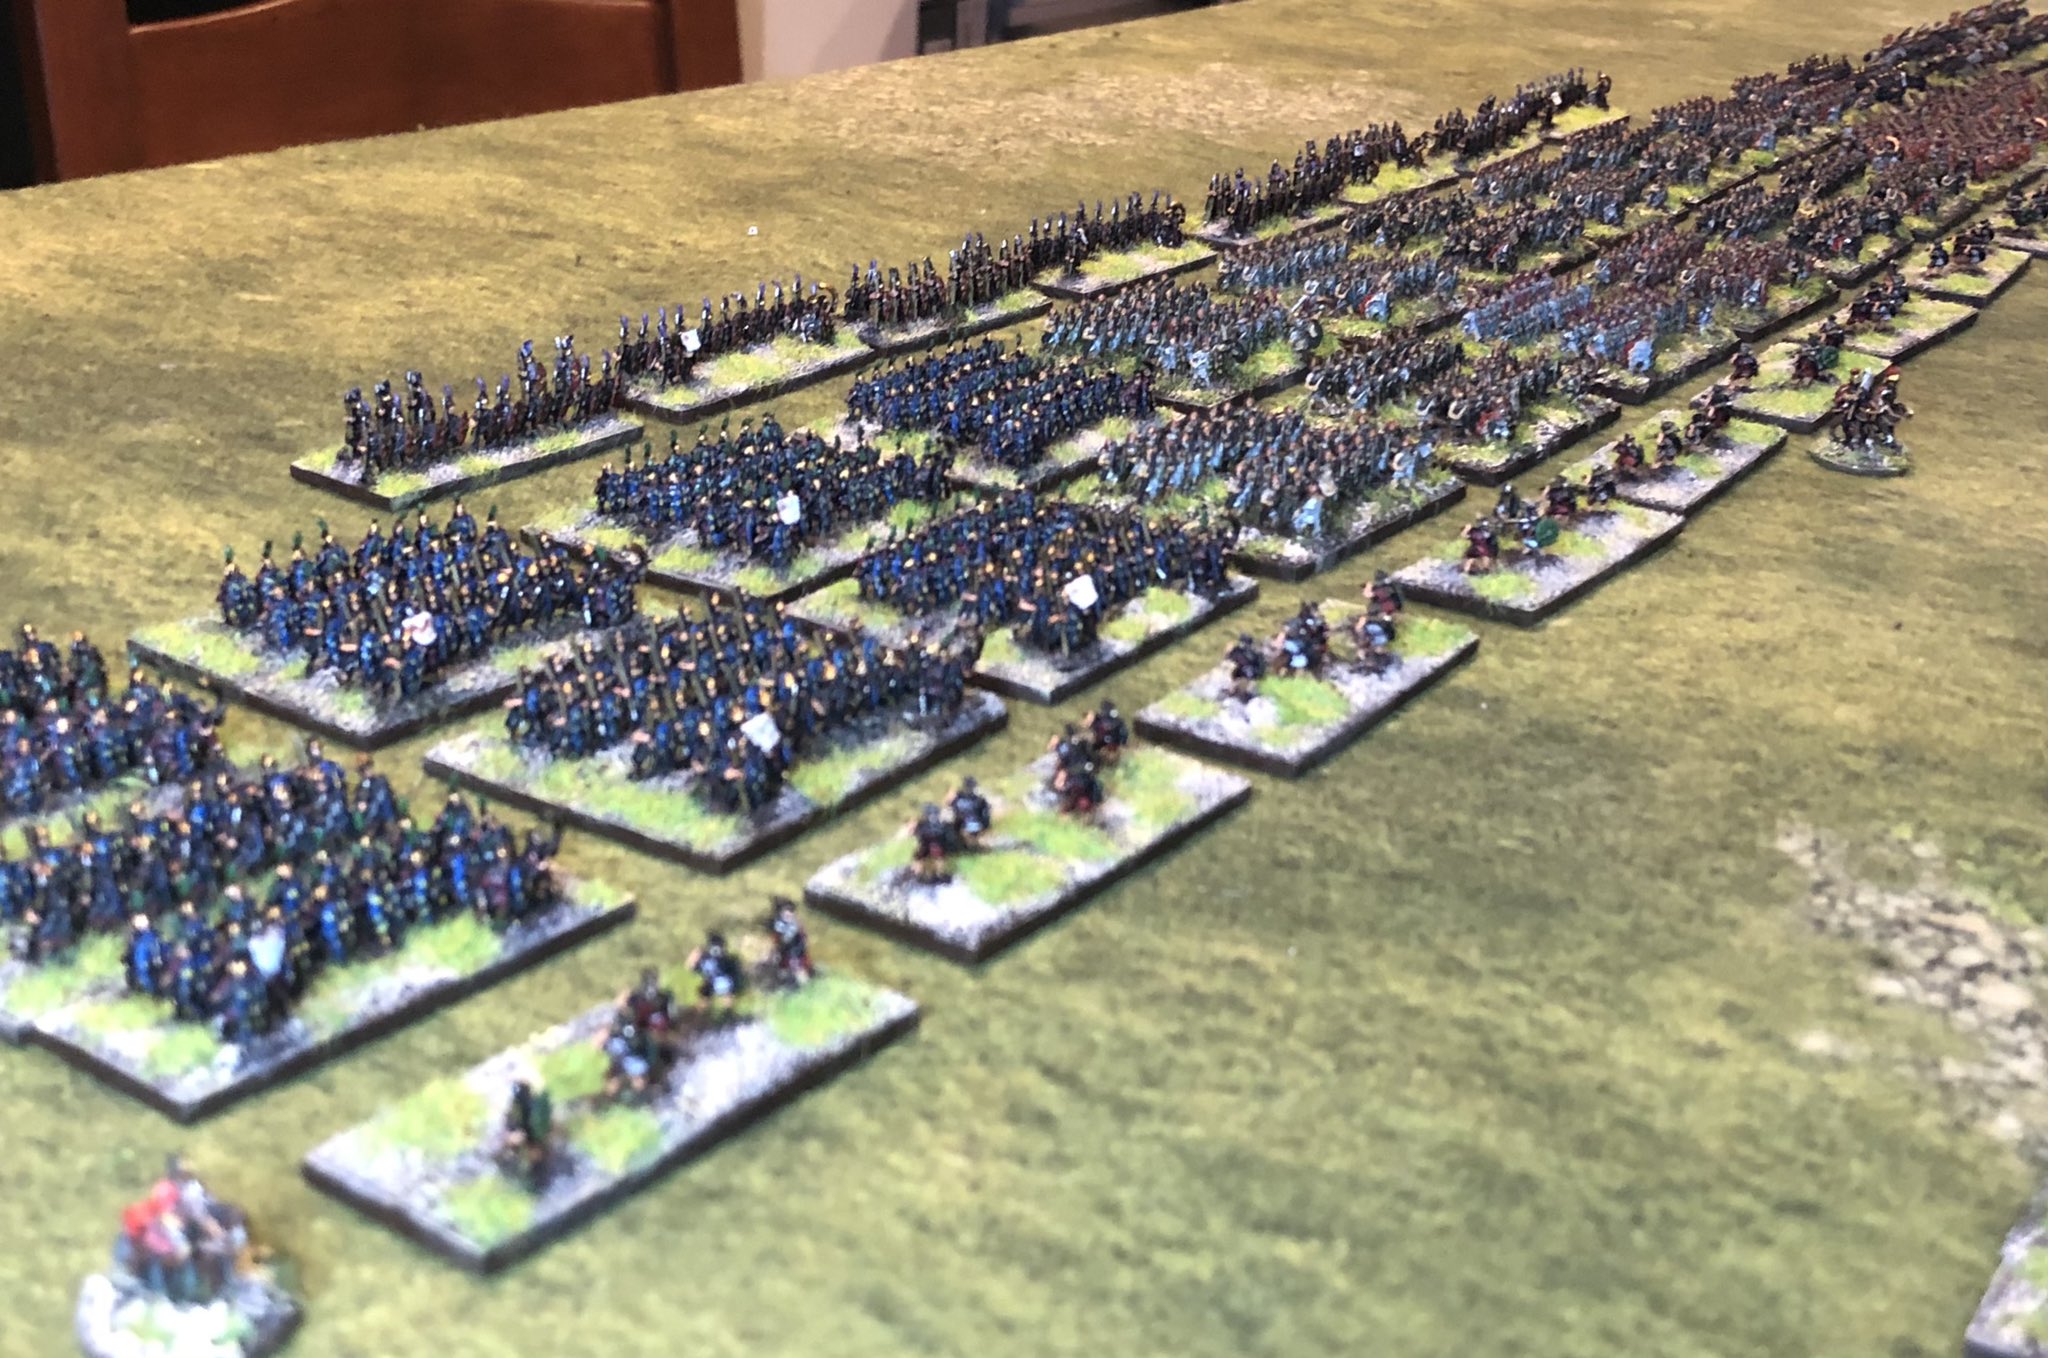
In total it took me a few sessions, about 9 hours to rebase all the miniatures (including doing the shields and a few more highlights) – I would not have been able to paint the bare lead and base up nowhere near this amount, so it was well worth it and fun. With addition of detail and uniform details it is difficult to see any difference between the models I have painted from scratch and the ones I have rebased.

It is messy and I suppose if the basing has been done with superglue and sand it may be tricky to deal with, but otherwise perfectly ok. I managed to increased the size of my Romans significantly to match my Carthagians very quickly.
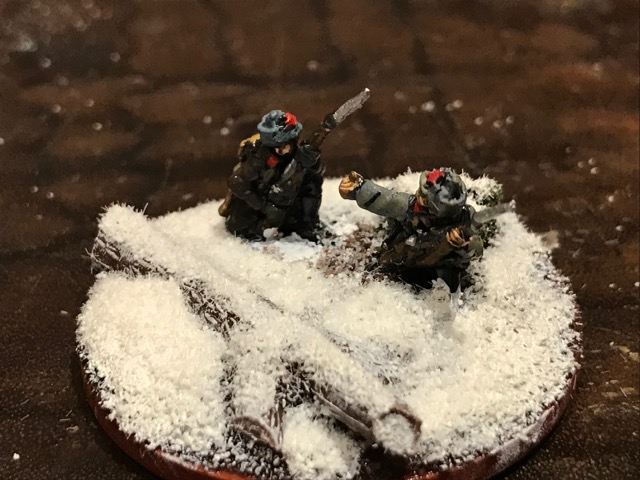
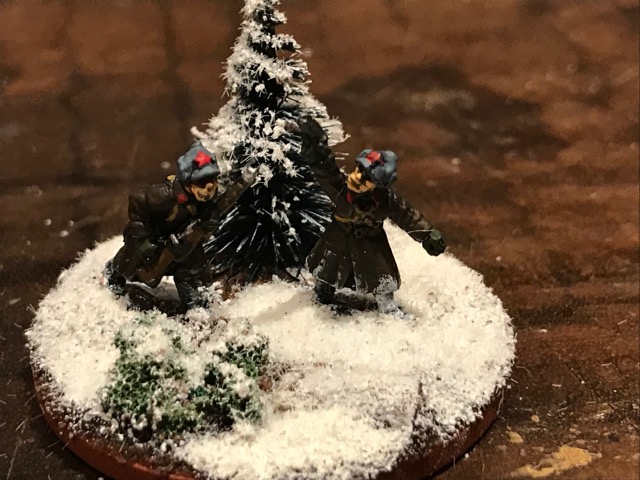
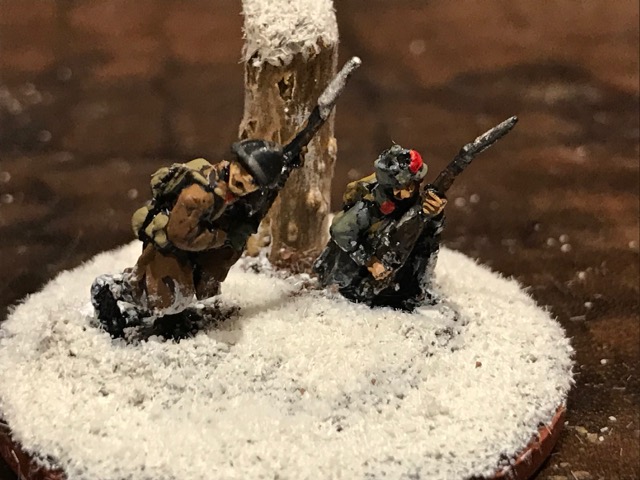
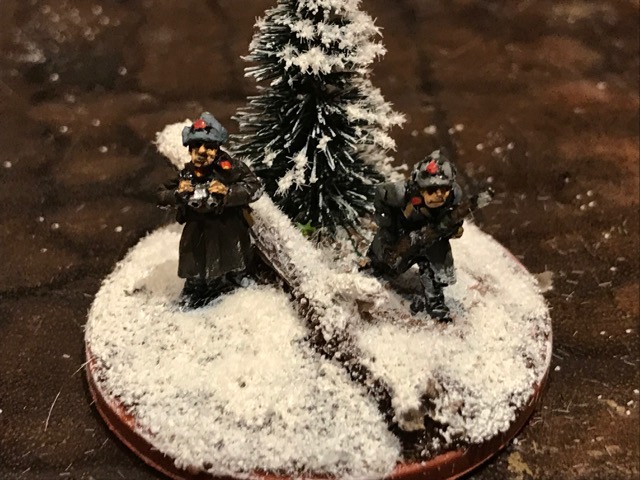
In other news

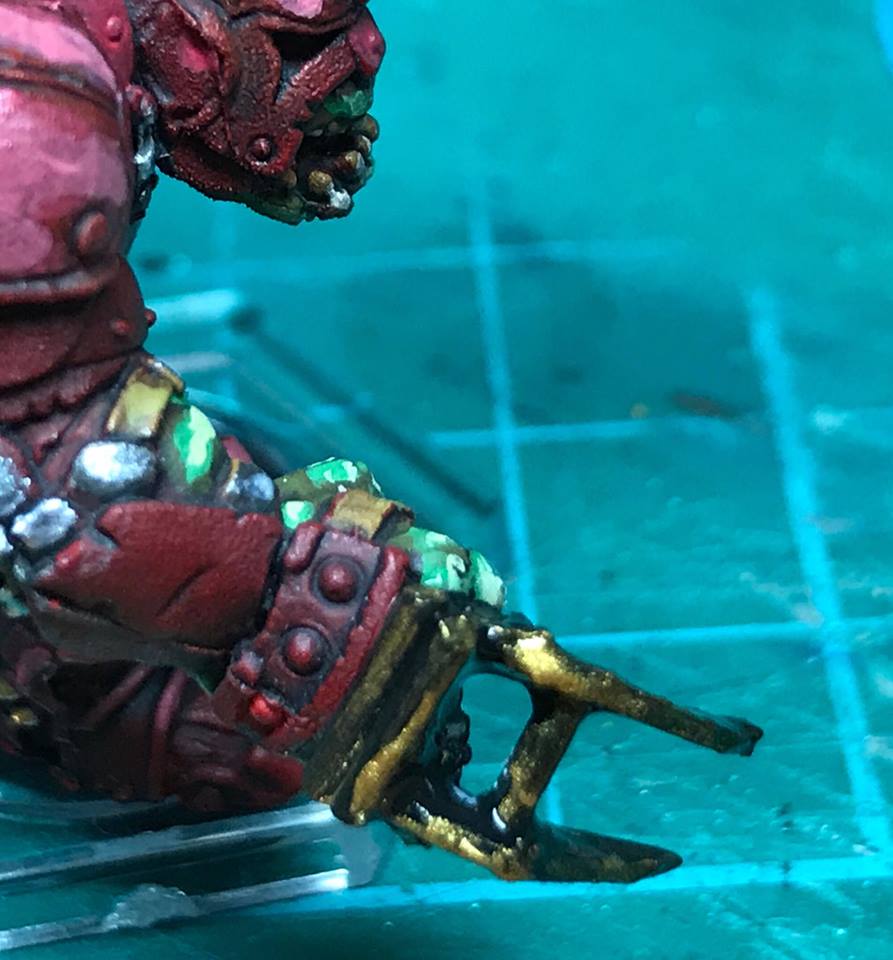
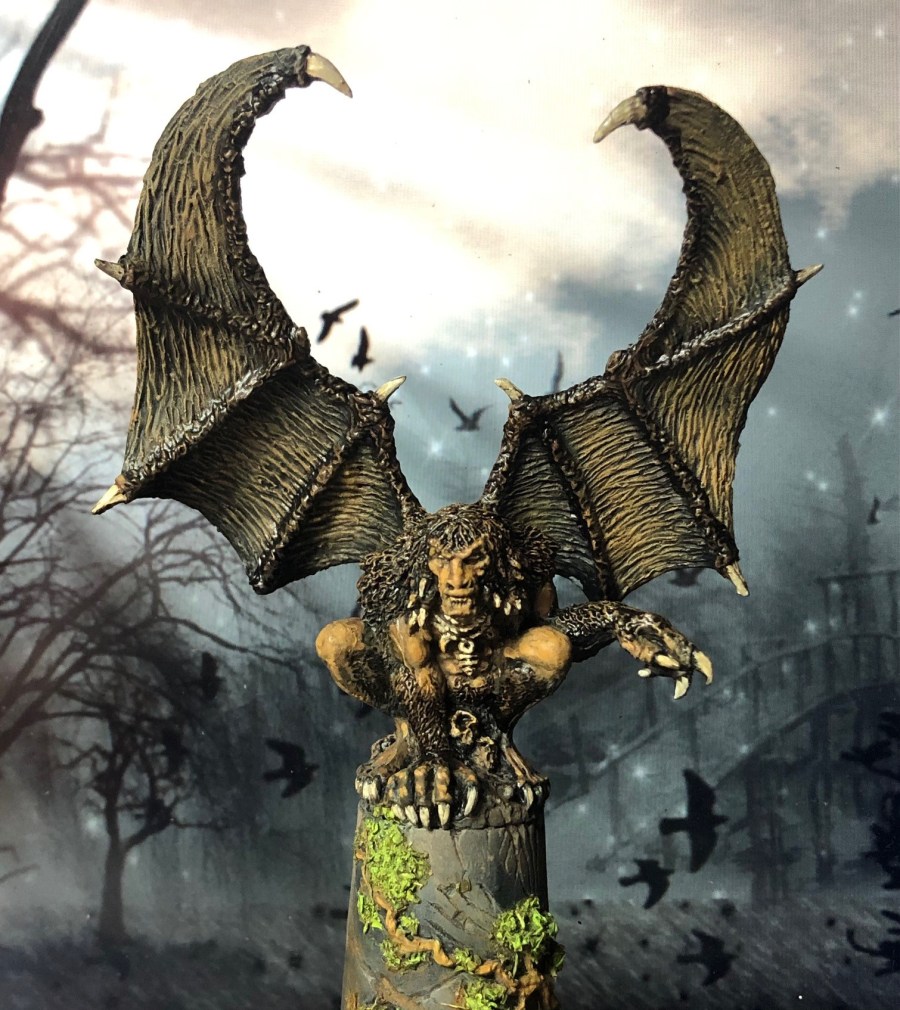
In other news I have enjoyed painting another excellent model I got from Fenris Games – it is called the Dweller in the Ruins and can be bought here in the UK and from Barbaric Splendor, here, in the US. It did not take long and it is an absolute master sculpt – I think a more skilled painter than I could do something really remarkable with the model, but I am more than happy with this result.

/ Hope that was of some interest

More Markers for Chain of Command and Command & Colors Romans

This is a follow-on from the post two weeks show some more Chain of Command markers I need to play the game.  These are the ones I have done (for other markers go here):

  • Patrol Markers – done, see below.
  • Suppression fire – done, see below.

Patrol Markers

John Bond has a good guide on doing patrol markers and I was going to do them in this fashion using poker chips and then put stickers on – elegant and what you need (link here).

Having read the guide I got myself some Poker chips and found some Finnish and Sovietic symbols on the net to make the stickers from. I then thought that it would be cool to add some skiers on the finish ones and then it all went in another direction, adding stumps, trees and bushes.  Overkill – perhaps, but why not? Difficult to turn these around to indicate that they are locked down!  Had great fun doing them.

IMG_4023
The Finnish Patrol Markers on Blue Poker Chips


IMG_4019
“Should I take out the platoon now or tell the others?” (Battle Front Miniature with a twig and some trees)

IMG_4020
“Can’t wait for this patrol phase to be over so I can get into the Sauna again!” (Peter Pig German Ski Trooper with some trees)

IMG_4024
“I wished the Russians could have moved Leningrad instead of the border” (Peter Pig German Ski Trooper with a Piece of Clump Foliage pretending to be a bush)

IMG_4025
“Finally it is a little bit downhill!” (Peter Pig German Skitrooper with clump foliage and twig)

IMG_4029
“The Officer said that the wolves will eat well this winter – I get it now”, (You guessed it another Peter Pig German Ski trooper with a tree).

IMG_4022.JPG
The Sovietic Patrol Markers

IMG_4018
“Do not worry about the yellow snow, it was me. I see Finns over there” (Battlefront Miniatures with Peter Pig Russian Early Helmet head swap, a twig and some clump foliage).

IMG_4021
“Look they are cooking Sausages!” (Battlefront Miniatures , a twig and some clump foliage)

IMG_4026
“Forward comrade, for the Motherland” (Battlefront Miniatures , a tree and some clump foliage).

IMG_4027
“Aren’t we a little expose here Comrade?” (Battlefront Miniatures and a twig).

IMG_4028
“There is something moving over that field” (Battlefront Miniatures , a twig and a tree).

Suppression Fire

I made these from 10mm wide strips of some wood I had lying around – I suppose I could have used lollipop sticks as well. I added some twigs, green foam, stones and winterises and added some fluffy stuffing mixed with pva glue and some white paint. The last part to stimulate snow flying as shots are being fired.

IMG_4031
Bases before snow is added


IMG_4032.JPG
With snow and flying snow, to indicate areas that are being subject to firing.

I am going to make the suppression markers the same, but smaller.

Romans for Command & Colors

I also had my order in from Marching in Colours (link here) of some various miniatures – excellent as always.  I spent the weekend basing and a very limited amount of detailing a large lot of Roman (and allied) infantry that I will be using for my Command and Colors game (see more here although I have changed some of the proposed basing conventions).  I will do a write up of progress so far next week and also discuss the amount of bases and hexagons needed for this project. I am also working on the forces that will serve under the Barca family, but that will take some time to complete as I will need to focus on the Great Northern War stuff for the next few months.

Roman Front.jpg
The Republican War Machine. I am doing 2 bases per Command & Color unit. Loose one get a dead parrot marker, loose two give it back and loose a base. loose three get the dead parrot marker again, etc. 50 by 20mm bases!

HastatiPrinc.jpg
Hastati/Princeps/Triari

Velite.jpg
Velites

Samnites.jpg
Samnite Warriors

Allies5.jpg
Auxilia (Italian Allies)

/ Hope that was of some interest

Sand Dunes, Grey riders, Keeper and Getting Geared up for Command and Colors Ancients

After some fun days in France as reported last time (see here) and visiting a number of places in Bordeaux, I think the most fascinating thing was neither a Chateau nor an old Fortification.  Instead I think the Dune of Pilat was one of the highlights of the Trip.  It is the tallest sand dune in Europe and I have not seen as much sand since I visited Sahara a few years back. After the time there I think I had enough sand in my shoes to cover a 6 by 4 feet table (more about the dune here).  It gave me a strong kick to get on with the Rommel project and the desert bases (But not too strong it seems as I did s**t all on that project this week).

Rising from the Ashes

I realised that I need to do another 46 bases of cavalry for the next Great Northern war project so I prepared them and gave them a coat of grey over the weekend – I will send away most of these to Marching in Colour (link to this excellent painting service here) – as my little Autumn treat (see more here).

greyguys2

Command and Colors

Since I went to Joy of Six earlier this year I have been thinking about the Ancient Command and Colors game staged by the Wyre Foresters (see more here, the game is shown at the end of the post).  Having recently got the Tricorne version of the game my Command and Colors itch has become more difficult to resist.


commands-et-colors-ancient.jpg
Great Game and you can read more about it on Boardgame Geek – here.


I have a fair few unpainted Republican Romans from Baccus (link to their Republicans here), and some Rapier ones too (link to their ancient range here), that I have had in one of the boxes in a dark corner (I recently discuss these boxes of shame here).

The game uses a hexagon board with terrain tiles and wooden blocks. The approach is to replace the hexagon board with sanded and static grasses tiles and the blocks with miniature bases.

I decided to got with 70mm hexagon bases (side to side, being 80mmish at its widest point) and using 2 No. 50mm by 20mm bases for each unit.  I will use the following basing convention for the number of miniatures:

Infantry.jpg
Infantry basing convention – Auxillia (two rows of 8 miniatures – 16 in total per base, 32 per unit), Heavy Infantry (two rows of 10 miniature – 20 in total per base, 40 per unit), Medium Infantry (two rows of 11 miniatures – 22 in total, 44 per unit), Light infantry (6 per base in random order, perhaps more!, 12 per unit)


cavalry.jpg
Cavalry (and war machines and warriors) Basing Convention Heavy Cavalry (one row of 8 horses, 16 per unit), Medium Cavalry (one row of 6 horses, 12 per unit), Elephants/War machines (one row of two miniatures, 4 per unit), Light Cavalry (one row of 4 horses, 8 per unit), Warriors (12 models spread over a base, 24 per unit).

I intend to send a few bases worth of these to Marching in Colours to get this project progressed a little bit more.  I did throw some quick paint on a few to have a look how they would turn out and to give to Chris as a reference for his work.

Romans2
Some Heavy Triarii Infantry – Rapier on the left and Baccus on the right – Note that the Rapier base is slightly bulkier and the figure look taller than they are compared to the Baccus ones. The Miniatures work very well together.


Romans1.jpg


Romans3
Princeps/Hastati from Baccus


Romans4

In addition I need to get some Hexagon bases for the terrain and after surfing around I found that Supreme Littleness Designs (link to them here) sells 6 No. 70mm bases for £1.  I will need to figure out how many I would need, there are 113 hexagons on the board, but I want to have a few more for special terrain, like rivers, forts, hills, shoreline, etc.  For forest I intend to create small canopies that can be placed on top of the units, etc.   I think that there are about 20 scenarios for the Punic wars so I think I will count the units of each type and any terrain features to give me what I need.  I will get back to this in due course.

I could have gone with bigger bases for the units as well as the size of the hexagons but I think it will be big enough side project as it is.

He is a Keeper

I also pimped up one of the Dreadball Guards (Orcs) to a Keeper with a “ball glove” , using an old credit card and some spaghetti.  It ended up looking brutal enough – he is a keeper!


conversion3

A few small steps, but all of them in the right direction!

/Take care!