
Second blog update today, as I was a week behind due to various reasons…
I made a New Year resolution of getting my Winter War progressed and I think I have done so during January and February (if you go back and check some of the previous blogs). However it is time to box it up for now and progress with the hobby day job of getting ready for Joy of Six this year – I have no idea about my current progress on this project as I do some stuff on it every now and then. I will spend the next few weeks getting this back on track – I suspect that I will need to paint a fair few Swedish infantry units. So the Winter war gets packed away …. (links to the relevant blog entries forming part of the winter war stuff at the end of this blog posting).


….and the 6mm Great Northern War is back in focus.


However before the snow melts let us have a look at some of the Winter War stuff I have been working on since the last Winter War blog update 2 weeks ago. First some road tiles and then a log fire.


Doing Winter Roads


I wanted to make some wintery roads and got myself some self-adhesive vinyl planks. I have used these before and they come in 3 foot lengths. At these lengths they are fragile and can easily snap but it allows the creation of longer pieces – which I like. If I am not careful enough I have to make a new one! – no problem. You could make shorter lengths if you are worried about handling and storing them.
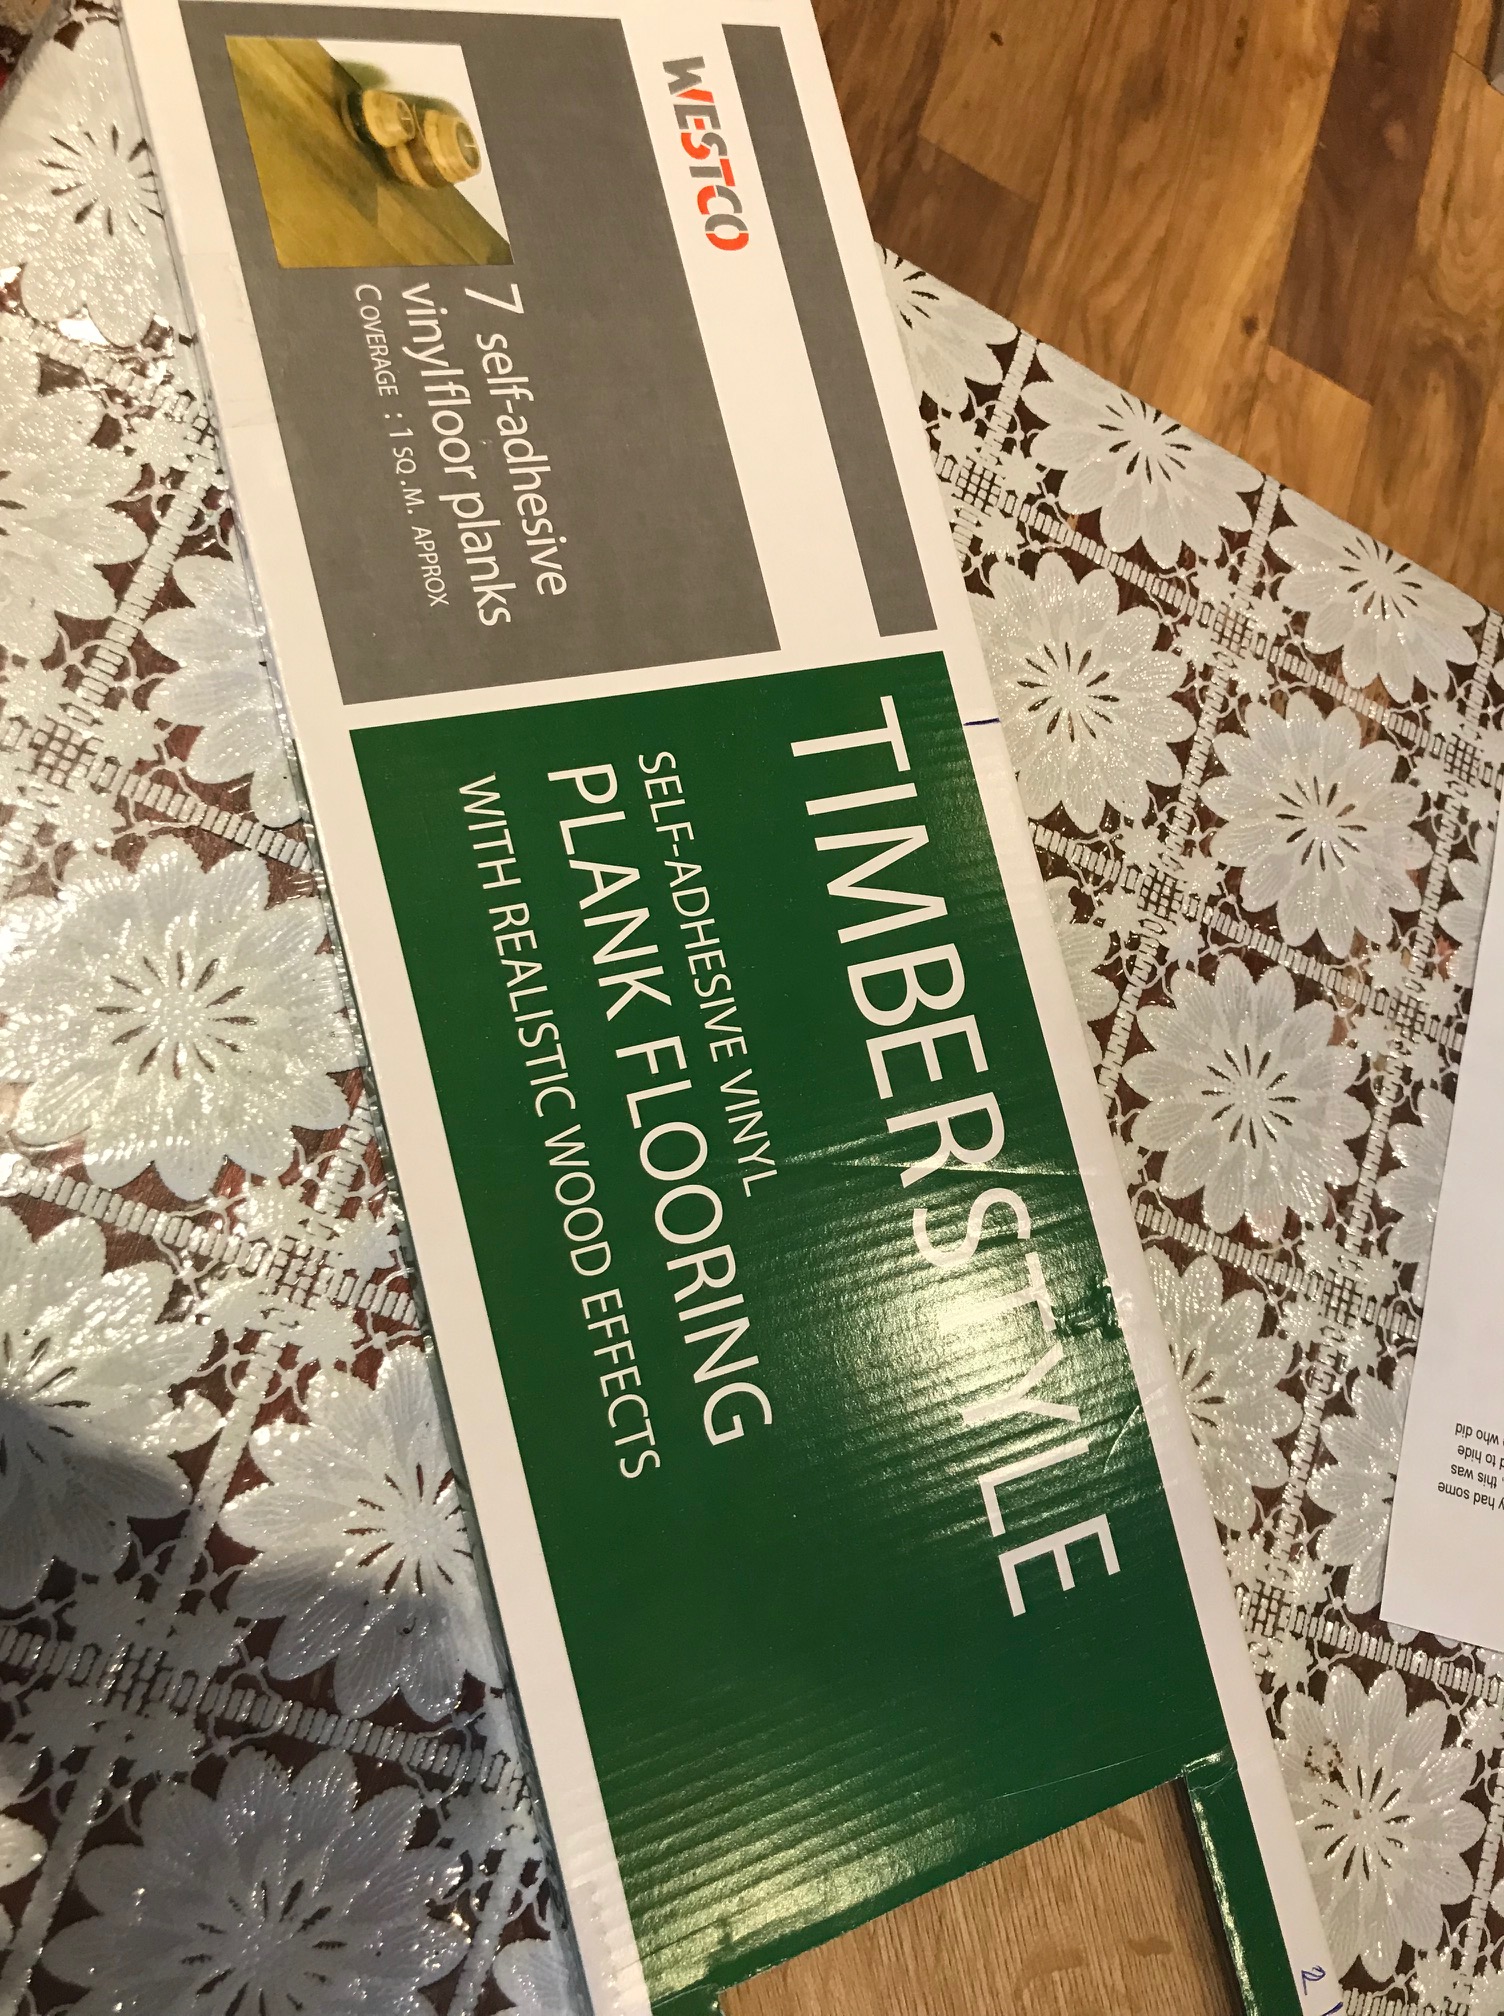
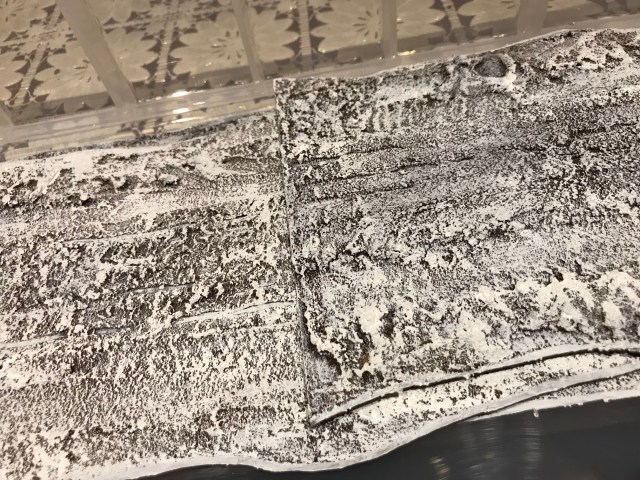
The width of the Raate road was 5m (so in 15mm the same as 50mm). The planks are 150mm so I used the whole plank width to be able to model the cleared sides of the road as well as the elevated road surface in the middle. I did this by cutting 50mm wide lengths from a plank and sticking them on the top of the base plank I was doing.

Then I mixed some brown emulsion, caulk (decorators filler, or alternatively an acrylic sealant), bird sand until I get a Nutella like consistency!
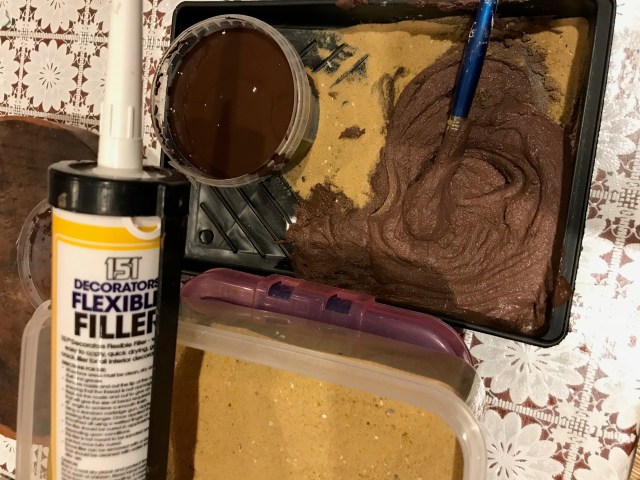
Then I covered the roads with the brown mix, I added some extra sand on the sides and added some tyre tracks with a kebab stick.
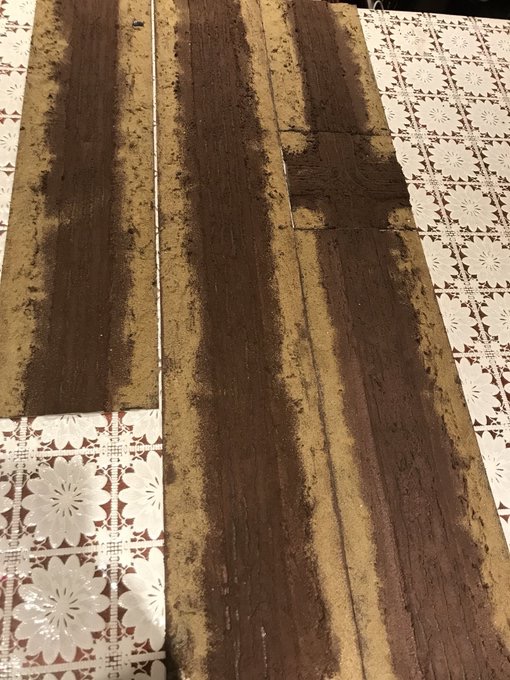
Then I let it dry for a an evening and then shook of any excess sand and trimmed the sides to make them less straight.
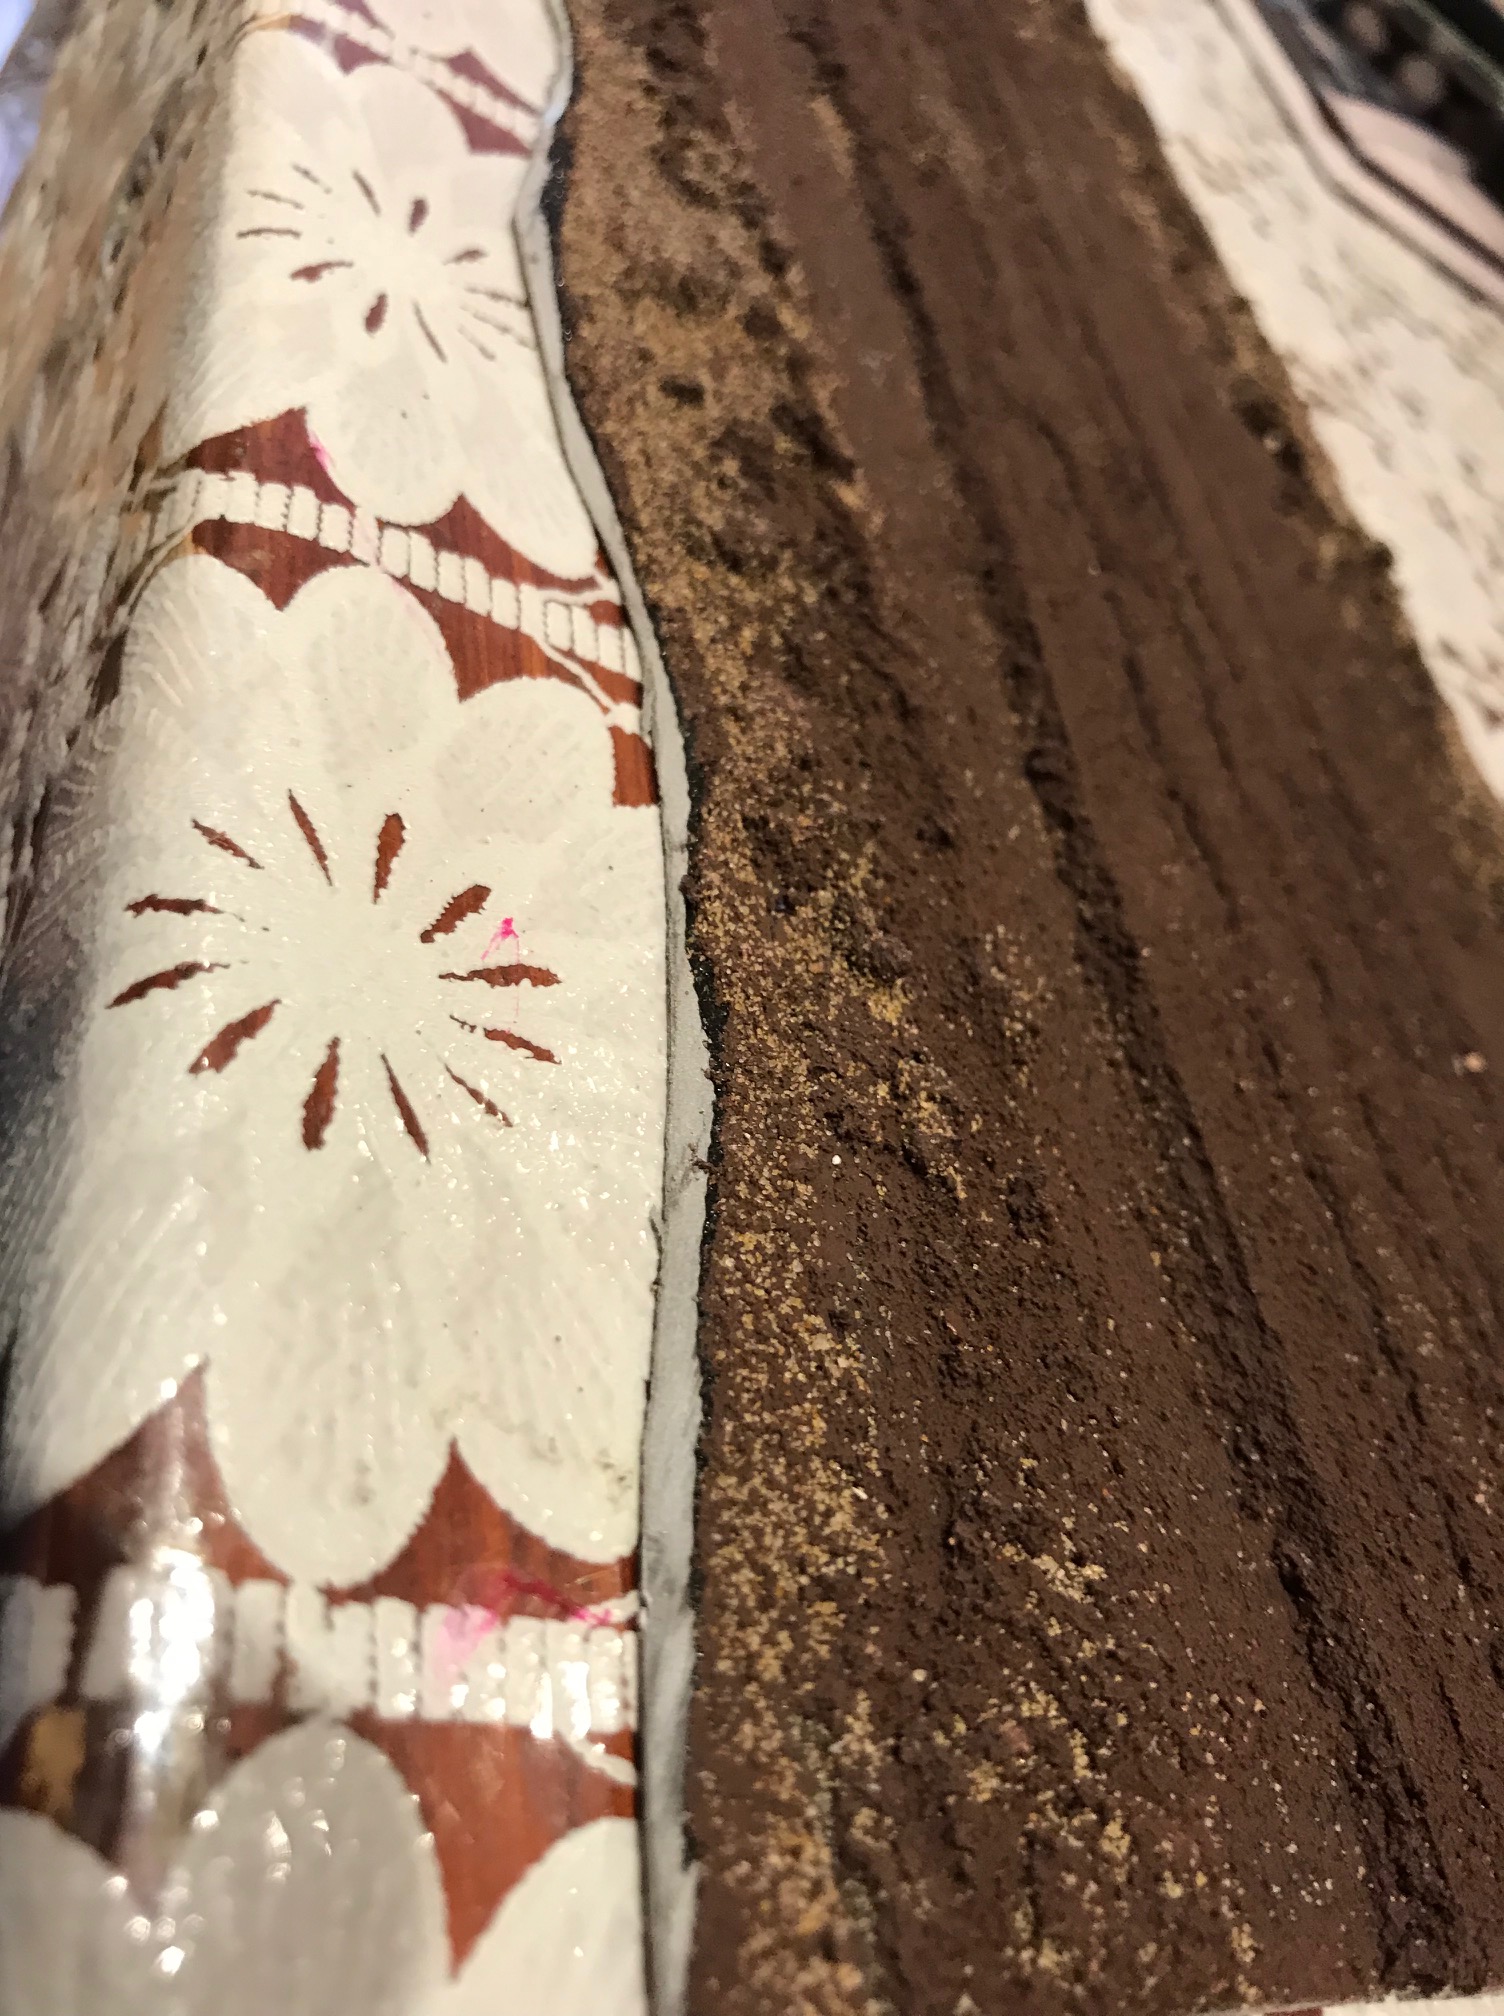
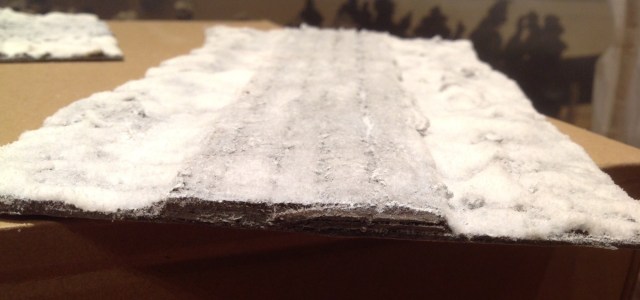
Then I drybrushed the road sections with white acrylic hobby paint.
Then I added (on the sides of the road only) the snow flock mixed with mod podge (matt) or PVA glue and a dash of white paint (acrylic) – I think I prefer the mod podge but pva glue is more affordable. On the top of the road surface I use mod podge mixed 1 to 2.5 with Water (you could use PVA instead of Mod Podge) and sprinkle some snow flock over it (I did not include any acrylic paint in the mix that went of the road). Let it dry and apply some Varnish on top (matte variety).
Log fire prototype
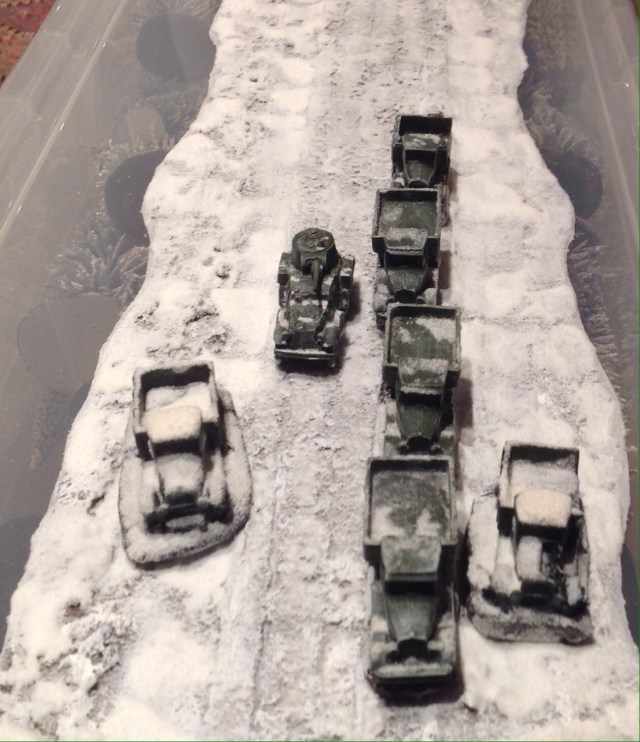
I wanted some fires on the table for a scenario where the column of Sovietic vehicles have stopped and the Sovietic soldiers have dug in and Finns attack at dawn while it is still dark. I had seen some LEDs being used for fire/smoke markers in the past (using the round LED flickering candles).
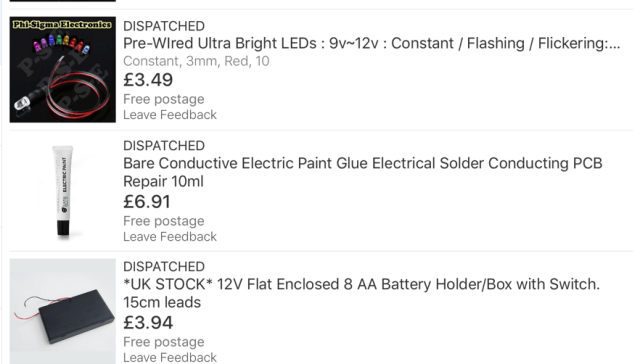
I went on eBay and ordered a set of red constant light LED 3mm 9v-12v (I got ten for £3.99 including postage) and the same but orange flickering (random flashing). I also got a tube of bare conductive electric paint glue (to avoid needing to solder the wire) for £6.91 and a battery holder with a switch for £3.94.
Then I connected up 2 of the orange and one of the red LEDs with the battery box (adding 8 1.5V batteries of course). If you do this, be careful and do not leave it unattended until you are sure it is working as sparks can fly and cause devastation even at these low voltages. Anyway here is how it looks like.
Then I put the construct and some of the cabling on a base and glued it down with hot glue, covered it up with non-drying clay, put some stones around the fire, a dollop of clear silicone on top and pulled it up a little bit to look like flames.
Here is the finished article.
I really enjoyed doing this, a few notes:
- Unless you have a permanent setting where the cabling and LED are in you board there will be an elevation around the fire – I suspect no one would put a fire on top of a little hill surrounded by enemies, if they would make a fire at all! If I develop this further I may look at incorporating this into the roads with fires on the sides (in the ditches) or having small hills on the sides with the fires at the start of the slopes.
- There are some lower voltage LED that would required smaller flat batteries, I may look into this instead.
- It was a fun little diversion.
/Until next
Winter war related blog postings to date
Christmas, TMT Progress and Talvisota / Winter War Chain of Command – Part 1 The Soviet Platoon
Year End and Talvisota / Winter War Chain of Command – Part 2 The Finnish Platoon
Markers for Winter War Chain of Command, Marching Colours and Henry Hyde
The Winter War effort continues – Making tall pine trees
More Markers for Chain of Command and Command & Colors Romans
Vulgar Display of Power – Just a little bit of progress on the Winter War Stuff

Very clever I like the camp fire.
Cheers,
Pete.
LikeLike
Thanks Pete, I will try to do another one a little bit less bulky at some point. It was a fun thing to do and educational for both the Little One and I.
LikeLike