
First a big thank you to all of you who either come by here by chance, occasionally, have registered as followers of the blog, likes the Roll a One page on facebook and/or follow the Per at RollaOne account on twitter (@Roll_a_one). Please feel free to get in touch here, on Facebook or Twitter if you have any questions or comments on this or anything else. Just doing this for fun, thanks for making it more so. Now without further ado…
It has become a tradition in doing a battle board for Joy of Six as a start of the Summer in our house. For the last few years I have made 8 by 4 feet tables for my GNW stuff, but this year I came to the conclusion that I needed a 12 by 5 feet beast (more on the battlefield and how it was derived can be found in a previous blog post, click here).

For the first generation of boards (Fraustadt 1706, Klissow 1702, Gadebush1712 and Kalisz 1706) I used 8 No. 2 by 2 feet mdf boards with underfloor heating boards (blue styromfoam) on top that could be shaped to rivers and hills, etc. This created more sturdy individual blocks but it takes a lot of space, especially when you start getting a fair few of them. There is also a question of warping and its impact on the gap between the boards, unless you make very sturdy ones.


In the process of needing to make two smaller tables (4 by 3 feet) for running Saga in 6mm at Joy of Six in 2016 I tried out a method I had seen on the net. This used a canvas sheet covered in a mix of paint, acrylic sealant and sand (see my notes from then here). This worked really well and creates a mat with some nice texture on top that can be dry brushed and decorated very much in the same way as I would do with the boards (and you can also incorporate roads and rivers directly into the mat).
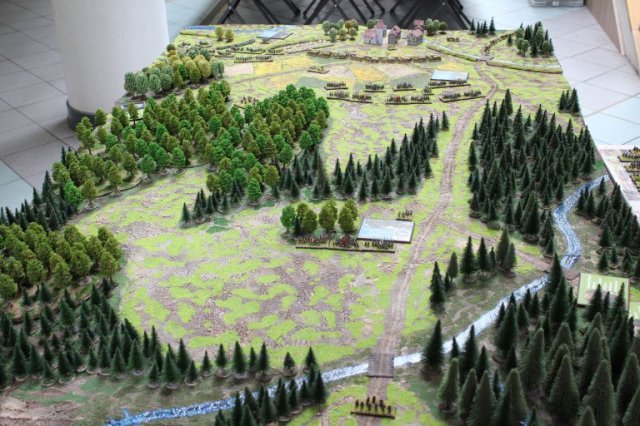
This is the mat I did last year and apart from the houses, trees, bridges, some small elevation markers and miniatures, all the features are in the 8 by 4 mat and it makes set-up very quick (here are some notes on that process here , here, here and here) – no gaps!
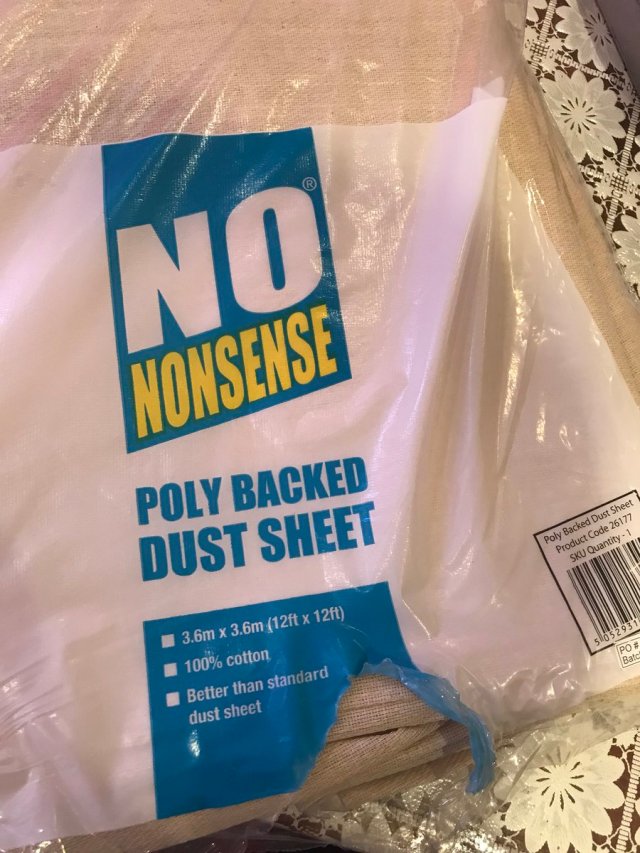
I decided to have another go with the mat approach this year and got myself some backed dust sheet from Screwfix here in the UK (I did get some before but it was not backed, so I kept this for some other day). The reason I use the backed version is that the backing (a layer of plastic/poly) stops the paste going through the sheet when it is applied and I also think it strengthens the actual mat, compared to using a non-backed dust sheet.
The “innvoation” for this year was that I had some paper backed grass sheets lying around that I cut out some fields from and glued straight onto the mat (I used gripfill for this purpose, still not sure they will stay on!) – the colours are very sharp so far but I think it may work better once the shit (sorry, I meant chocolate brown) colour is dampened by my normal 3 colour dry brushing and the static grass is being added. Here are a selection of photos from the work so far.


The issues I have found (so far) in making and using this kind of mat are:
- It is physically harder work to make one than you think – it gives a good workout! My Doctor told me that I need to gain more height so I think this is a good exercise for that purpose – there is a lot of stretching involved!
- It is very difficult to manage a 12 by 5 sheet when you make it. I do not have a big enough space to put the whole sheet down on a flat surface. So I tend to work on it in sections and then roll it up again, meaning that you have to wait for it to dry which means that works have to be done in short burst and then wait for 12 to 24 hours. If you have a flat surface for the full size of the mat then this is not a problem at all (however if the surface is not totally flat this can effect the shape of the acrylic you apply and also the effect of the dry brushing as any edges will show through very well by the technique – something you may not want. I did mine in the lounge but this is honestly not the ideal place if you are not on your own. It is not just the space you occupy but other impacts to consider. I try to use low odour stuff but this does not mean no odour so ensure you have your windows open and create a draught. Health and safety for you and yours are more important than a bloody wargames mat – just be sensible. Luckily, I have a more than understanding family when it comes to these kind of things. They are more than happy to spend the weekend with breathing apparatus in their own rooms (that was a joke, sorry!).
- The sheets seem to be 4 feet standard width. The 12 by 12 sheet I bought from Screwfix was made of 3 no. 12 by 4 feet sheets, it means that there is a border to be dealt with for any greater widths than 4 feet. I covered it with some gripfill before I got the mix on top. This mediocre mitigation is more than likely going to fail in the future but I am ignoring it for now. In general it does crack in places but normally looks decent when it lies flat – be prepared to do some repairs the first few times you roll it out.
- Although I did iron the sheet before I applied the paste (properly I thought, but being mindful not to melt the backing), very often some of the folds seem to reappear and this is less than ideal. I will try to hide this as part of the drybrushing stage by avoiding to make the fold stand out to much by being careful with the brush – you do not want to highlight the fold, it does not look very natural.
- It does not allow you the same artistic freedom compared to a fixed board. Hedges are more difficult to incorporate into the design and rivers obviously can not be filled with resin (but if you apply some varnish it at least gives some reflection to the surface that fools the eye, at least from a distance.
- It goes without saying that the mat is not very versatile with the features built-in (rivers, roads, etc.). This is not an issue for me, and it was the same when I did the boards, but worth considering with regards to how much specific stuff like roads and rivers you incorporate into the mat, especially as it is an investment in money and time to make one.
- Looking back some of the features of those boards some are very difficult to beat using the mat. Maybe some boards next year!?


Obviously none of the points above were showstoppers for me this time, but I hope this discourages you unless you are prepared to get into to something heads on and improvise along the journey. The rest of the family laugh at my swearing and screaming when I mess things up, so if nothing else it is some cheap entertainment – maybe that is why they tolerate me doing this in the first place?
[To be continued when appropriate level of progress achieved]

/ Hope that was of some interest, keep toy soldiering on!
In other news I had the opportunity to see the fabulous Tiger Lillies (the forefathers of Brechtian Punk Cabaret!) last week and it was absolutely brilliant! More on them here. I stumbled upon them a few years ago as they had done an album called Mountains of Madness as a homage to H.P. Lovecraft.


Great work- I’ve seen the homemade mats before and they always look good. Never tried to make my own though.
Cheers,
Pete.
LikeLiked by 1 person
Thanks Pete!
LikeLiked by 1 person
Hi – I was wondering as I had tried a similar mat – how you prevented loss of flock? I used scatter grip but still the abrasive folding meant lots of shedding. thanks
LikeLike
Neil, I added the flock/static grass afterwards using slightly watered down PVA glue, say 1 water to 2 parts of glue, and then apply the flock. I use a bagless vaccum cleaner (without touching the surface) to get the excess off. Once dry I get the vacuum cleaner again and go over the mat (this time as if I would vacuum a normal matt), sometimes I add some more glue and grass after this stage. As for storage I use some long lengths of pipes that are about 10cm/4inches in diameter to avoid it being too tightly rolled up. Seems to work.
LikeLike