
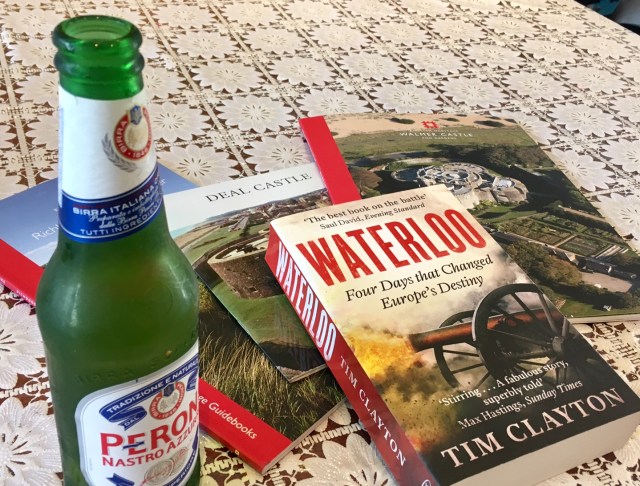
I had a fantastic day on Saturday as the better Ones arranged an early Father’s Day present with a day out that I could not have designed any better myself. I got to see two of the gun forts (Deal and Walmer Castle) that were established following Henry VIII’s break with the Roman Catholic Church and the associated fear of an European invasion. On top of this we went to the old Roman Richborough fort. All of these sites are very close to Dover castle (that is a fantastic place but we did not go there this time) and doing all three sites made an eventful and varied day. All of them are being run by English Heritage (here are links to them should you be interested, Walmer, Deal and Richborough Fort).


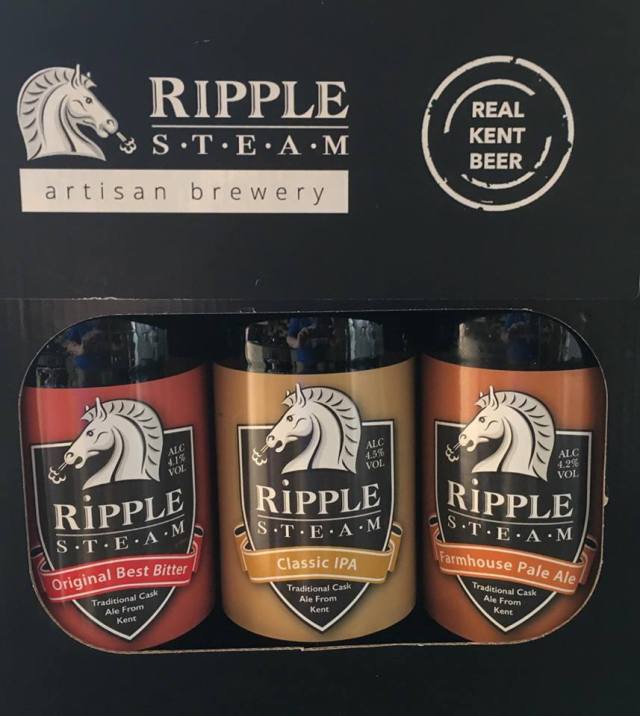
We found a few bottles of fine Kent produce as well.
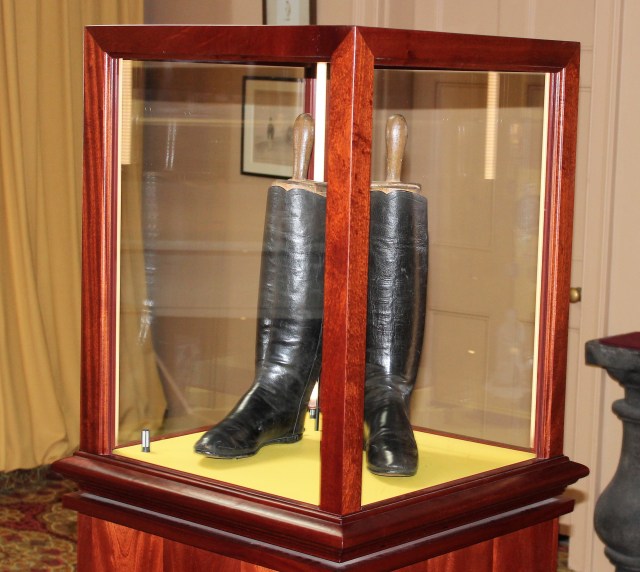
…and we also got to see a pair of Wellington’s own boots. These can be seen at Walmer Castle, where you can also see his field bed that he slept in during this campaigns. This is also the place where the great solider died. Incidentally today is also the anniversary of his most famous battle – Waterloo.
Father’s Day in all glory but the Wargames Show must go on, so on Sunday morning I set out to do the next step of the Lesnaya battlefield – the base mat.
I used the following in doing the mat (base idea from previous posting here, read the external stuff as well as these contains a lot of useful hints and different approach, I am doing the base brown mat first not all of it in one go – for example):
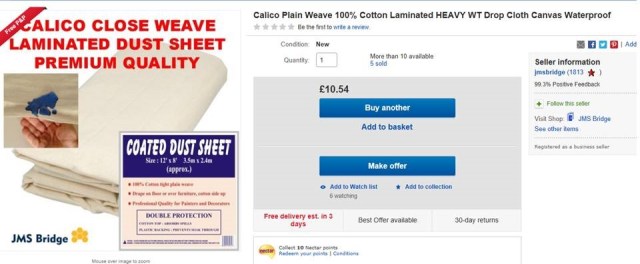
Drop Cloth / Dust Sheet – bought mine from ebay £10.54, it was 12′ by 8′ (I need 4′ by 8′ for my mat, but will do it a little bit wider) – this should be enough to do another larger mat as well. I use the variety that has a weave side and a laminated waterproof side.
- Acrylic Sealant / Decorators Caulk (Note: make sure it is acrylic/paintable not silicone that does not take paint very well) – costs from £1 and upwards – I got a good deal on some brown variety (helps out as I want the base colour of the mat to be brownish) for a little bit more. But white should work, you just need enough paint. I used a total of 10 No. 310ml tubes (for use with applicator gun!).
- Birdcage Sand – this is fine sand with some crushed Oyster shells that helps the cage birds in their digestion and is a source of calcium. For us the crushed shells helps to create additional structure on the surface of the mat that will look good once dry brushed. I got myself a large bag of sand for a fiver (£5) from the Pet Shop.
- Paint – I bought some chocolate brown emulsion paint from a pound shop that I mixed into the overall mix (I used two small pots), this made the Colour less sharp (the basic brown acrylic is not that nice and looks more like something else than a basic ground colour).
Mix it all up and spread it out – let it dry. Not very impressive so far but I now have a 8′ by 4′ structured surface that I can start tailor making for the Lesnaya battle (as presented in the last blog!, see here), with drybrushing, flock and static grasses. I will leave it to dry for the day and then cut it out and roll it up.


But that is for another day, now I am going to go and fully enjoy Father’s Day!
/Take care

Pingback: Towards Moscow Trilogy (TMT) – Part 8: Filling in the brown spots and Plan B – Roll a One
Pingback: Skirmish Wargames Show, DreadBalling and some Great Britons – Roll a One
Pingback: (TMT) Horka 1708 – Making the Battle Mat – Part 1 – Roll a One