
We could not help ourselves and really ought to be cracking on with the main project (whatever that was) but enjoyed the game of Pikeman’s Lament last week (see here) so we thought we give it another try. As usual a lot of pictures, hope you like it… but first a few other things.
Loose ends from Last Week
I got some questions about some of the stuff I used for last weeks battle, especially about the battle board. I will do a similar one for the Joy of Six Sharp Practice game in a few weeks time so I will do a tutorial and post it here, as this will be done in a similar way.
Also I made simple cards for each unit and laminated these – simple but effectual. I did them in Excel and pasted them into PowerPoint and added a picture of each unit, with a national emblem and a background. No more information than on the normal company roster, just one of those things we feel enhances the gaming experience overall.


Some Swedes
I have plenty of Swedish lead hanging around so I thought I do a few of these as well for our trials of the PL rules.
As per the plan a few blogs ago.
| Swedish | No | Pts/ unit | Total Pts | Unit Size | Total Models | Baccus Pack |
| Shot |
5 |
4 |
20 |
12 |
60 |
GNS01 |
| Pike |
2 |
4 |
8 |
12 |
24 |
GNS03 |
| Aggressive Elite Gallopers |
3 |
6 |
18 |
6 |
18 |
GNS05 |
| Total |
9 |
– |
46 |
– |
102 |
– |
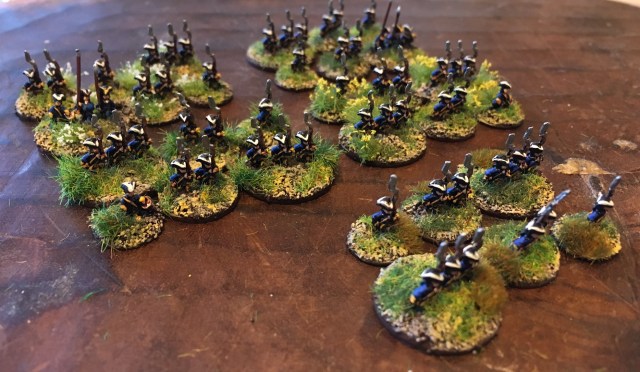
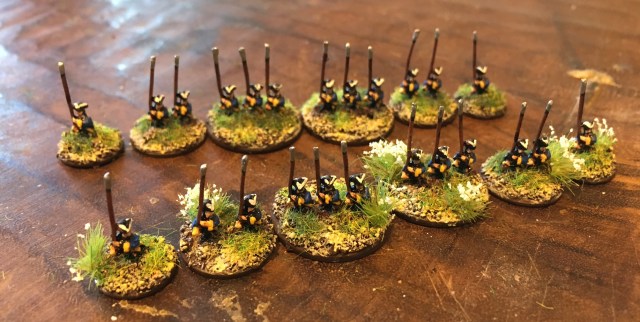
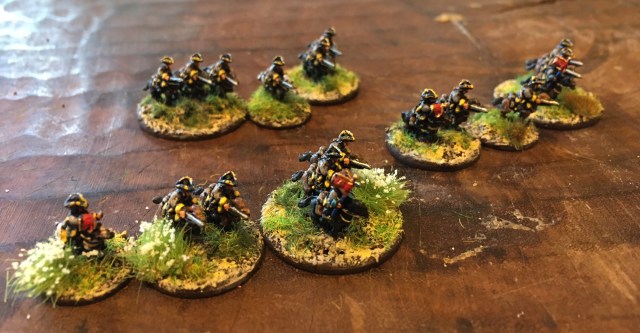
Rebasing the French Indian War Stuff
Whilst I was at it I have also rebased the French Indian War stuff I did for Sharp Practice using the “1-2-3 method” I have discussed before, as it is makes it easier to play especially for smaller skirmish. Here are some pictures of the bases with the “old” shock markers next to them. We will have to get things ready for this one as well pretty soon, as they are showing up at Joy of Six! Note the French Commander from our game last and this week (Lt. Dupont – the younger I suppose?). For the original posting and the previous basing, see here. Note that some of the units are based in a 1-2-2-3 for the 8 model units (line) and 1-2-2-2-3 for the 10 model units (militia).
A What-if Battle to test the Pikeman’s Lament rules again
Forces
We thought we should take the Swedes for a spin against the same Ottoman side as last week (see here).
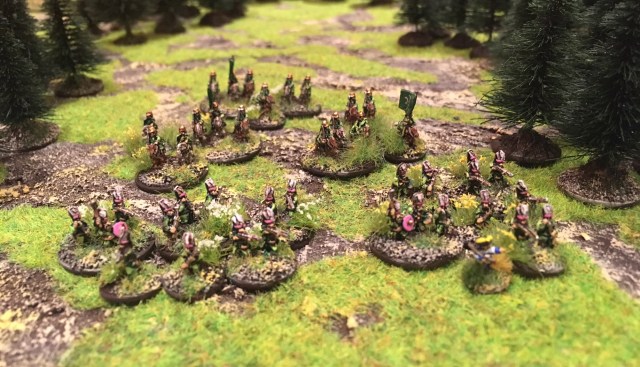
We had a friend of the family visiting so we invited him to be the Swedes and the Little One got the Ottomans again. Unlikely pairing but we wanted to try the Swedes out and the Little One wanted to field the Ottomans again (and hoping to gain some more Honour to his Lt. Dupont). We agreed on doing it but keeping the historical blasphemy quiet.
I actually painted the Swedish infantry above as being part of the Dalregementet in uniforms they had around the time of the Poltava Battle in 1709 were they surrendered. The regiment was then reformed in 1710 and stayed in Sweden until they fought bravely at Gadebusch in 1712 . So they were certainly not around in Pruth.
The regiment was disbanded in 2000 and was the pride of the Dalarna region and fought in many famous Swedish battles throughout history, including Breitenfeld (1631), Lützen (1632), Lund (1676), Narva (1700), Kliszow (1702), Holovczyn (1708), Malatitze (1708), and as mentioned above at Poltava (1709) and Gadebusch (1712).
Their marsch was the famous Stenbocken Marsch to honour Fieldmarshal Magnus Stenbock who was Colonel for the Regiment at the Battle of Narva and later the commander of the Great Victories at Halmstad (1710) and Gadesbusch (1712). The lyrics in Swedish here. The first part of it translated to English (rather hastily) by yours truly below (the rest is as “poetic”, note that I have translate the Gå-På as Go Unto – this was the name of the offensive Swedish tactics used since Gustavus Adolphus days).
March, Soldiers! Go unto in the name of the Lord,
Cock the hammer merrily back, then eagerly present,
Give fire, musket down, take the sword in your hand.
Go unto, fear neither death nor fire
Go unto, for our native land!
To dare your life for king and family,
Is covered both in heaven and on earth,
Therefore we will plucky,
In our blue uniform,
Go unto, stand, thrust and slash,
Yes, beat them all, so
that they lay dead like cut straw

As for the Galloping cavalry I had a few left overs from the ones I did a few weeks back as I only needed one base of the Adelsfanan i Livland och på Ösel but had a fair few of grey coated cavalry I no longer needed. This is the Cavalry Corps of the Nobility in Livonia and Ösel. They were part of the march to Ukraine with Lewenhaupt and also surrendered at Poltava (1709) and a smaller part of the unit that had remained in Riga surrendered in 1710.
In fact, and based on reading the draft of Nick Dorrell’s upcoming book (discussed here), there were a small number of Swedish soldiers with the Crimean Khanate as part of the Ottoman allies most likely cavalry unit and some officers as advisors. I will repent and make another more likely force containing mostly of gallopers from the elite Drabanterna unit and some riders from the Södra Skånska Kavalleriregementet. These would most likely fight side by side with some light cavalry units.
But I digress and back to the what-if battle….
For the Swedes we chose (a 24 point force):
2 units of Shot @ 4 points each
1 unit of Pike @ 4 points
2 Aggressive elite Gallopers @ 6 points each
The Scenario and Set-up
With regards to the battlefield (yet again a 2 by 2 board) we had a little section of river with a bridge, a road, a field, a rocky hill, some houses and a lot of trees.

The starting positions for the Ottoman units were: (1) the Siaphi 3 cavalry units at the south end of the table behind the forest, and (2) the 2 Janissary shoot units in the southeast corner on the road next to the two houses.
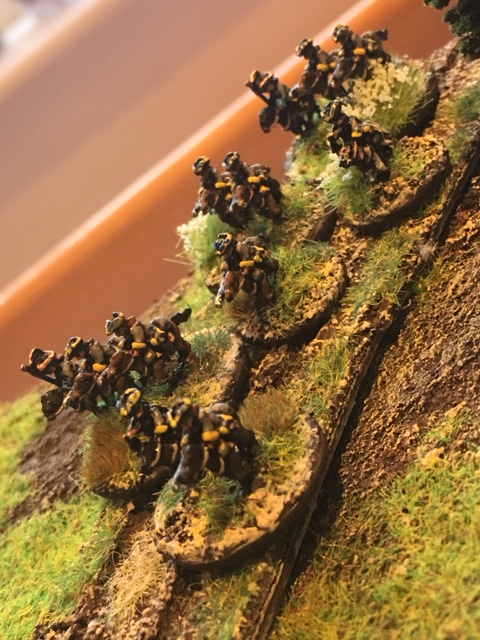
The Swedes, of course, came from the North with the (1) two Adelsfanan cavalry units from the Northeast on the road and (2) the three foot units from the North.
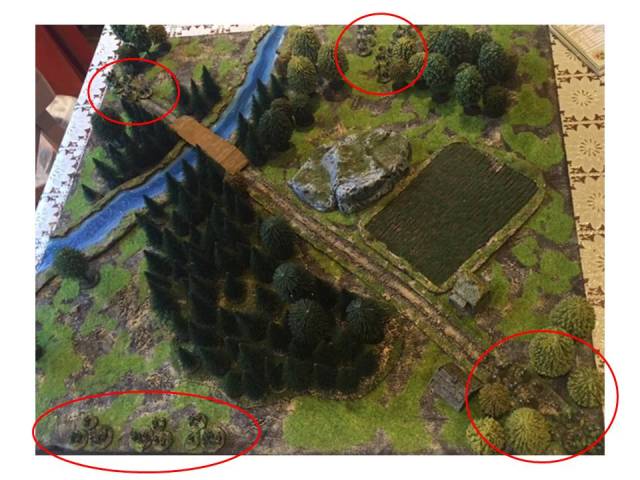
Here some close-ups of those starting positions.




This was a straightforward battle to the end scenario.
The Battle
The Swedish battle plan was to get up on the hill in the middle with one of the shot units (to which the officer was attached) and move the pike units towards the road. The second shot unit would move around the North West forest and move forward from there. The two cavalry units would advance to the other side of the bridge and wait for the foot units to get into position.
The Little One wanted to get his cavalry through the forest and start harassing the enemy as soon as possible but at the same time advance his shot to the middle of the road. He regarded the Elite Gallopers as the biggest threat with their stamina of 4. On me telling him not to underestimate the Swedish infantry he asked me if I had read about Poltava and told me that they would probably get lost in the forest! Fair enough point taken.
Below are the pictures I took during the battle. In short the Ottomans had some problems getting their shot getting to move on the road (perhaps the orders in French by Lt. Dupont were not clear enough). However the Ottoman Cavalry did managed to move through the forest and although it did manage to cause some damage to the Swedish cavalry who had advanced to the other side of the bridge it was not enough and instead the Swedish cavalry (being elite and with Stamina at 4) got the upper hand of that exchange but at very high cost.
The Swedish shot unit (as planned) got up on the top of the hill and from a relatively safe position managed to take out most of the Ottoman cavalry threat and also kill Ottoman shot unit with Lt. Dupont attached to it that had been successfully reduced in power by the pike unit. However it (the shot unit) became a target for the Ottoman Crack shots (the second shot unit) that successfully manage to remove almost half its units in one shot (having previously done the same with the unit coming down on the east flank), killing the commander and making the unit rout (miserable morale roll). But before then a reinforcement unit of Swedish shot had appeared.
The Little One waited for the right moment and managed to clinch victory by routing the newly arrived reinforcement and then manage to get reinforcements in the eleventh hour – but by this time the battle was over. The Little One had rolled brilliantly and turned the tides, yet again! It feels a little bit better not standing there as a looser for a change!
In short we had yet another great time and the reflections this time are:
- The terrain modifiers with regards to movement and combat are simple but yet feel realistic.
- The elite gallopers are a very potent force!
- The pike ability of close order is very good and captures the role of pike in a simple straightforward way. It worsens the ability to attack but makes it better to defend and cause damage to the attacker much better. The Pikes stamina score of 3 is also useful and makes them very strong against attacking- (as opposed to shot) biased units – like gallopers.
- The Little One learned that it is not over until the last dice are rolled although his cavalry was decimated he still had two strong (elite) shot units that made the day.
- The rule of something good happening if you roll a double 6 on activation (and bad on a double 1) created some interesting events during the battle with the Swedish reinforcement about midway through the battle and the Ottoman reinforcement at the end of the battle. Again this adds to the Narrative and fog of war.
- The Little Ones commander Lt. Dupont survived and was saved by the soldiers and he got another 5 honour so he is now “officially” a Lieutenant (at 24 points total) and he got the new trait of Fencing Master (giving him benefits if he challenges another Commander).
But, as you know by now, it is not over until the thumbs are up or down.

So all in all another successful game.
/ I hope that was of some interest, have a good week


I really like your exellent AAR s, exellent work matey!
Nice that you seems to like the 1,2,3 basing 🙂
LikeLiked by 1 person
Thank you. Well we are enjoying the game. Doing it in this scale does make set up and clear up very easy. Trying to make it look good too – I think on balance it works well and looks good enough as well!
LikeLike
Pingback: Gliding into WW2 – Some initial thoughts on IABSM in 6mm – Roll a One
Pingback: FIW – Sharp Practice in 6mm – Part 1 – Roll a One
Pingback: Towards Moscow Trilogy (TMT) – Horka 1708 – Russians and the Field of Battle, GNW Stuff and Podcasts – Roll a One
Pingback: 2017 ending 2018 coming! – Roll a One
Pingback: GNW Horka 1708 update, Tiny Tin Troops, 2nd Edition Saga and Helion Books – Roll a One