
This is the first painting Guide supporting the 6mm Charity project that has now started (you can read more about it in a previous blog here). This is the first of 4 painting guides, covering Horse, Dragoons, Foot and Artillery of the Baccus Wars of the Sun King Range.
I was invited to Sean of the God’s Own Scale Podcast to talk about this project, you can listen to the podcast here. I am really happy to have Sean back on air and his back catalogue has some really inspiring stuff not just from a 6mm perspective. It was also great to listen to Peter Berry about Baccus dealing with the current situation and about things to come.
GENERAL NOTE: There are many ways to paint 6mm miniatures, I believe this approach is a realistic level for painting large batches at a table top standard that when they are presented on your wargames table en masse will look great. I very rarely do any more elaborate work on any of my miniatures and you may be able to get away with less and there are people whose painting is far exceeding this level. It is matter of pitching yourself at a level where you can achieve your projects in realistic timescales.
The painters of each set of horse will be given a coat colour and a cuff colour (in this example the coat will be red and the cuff blue).
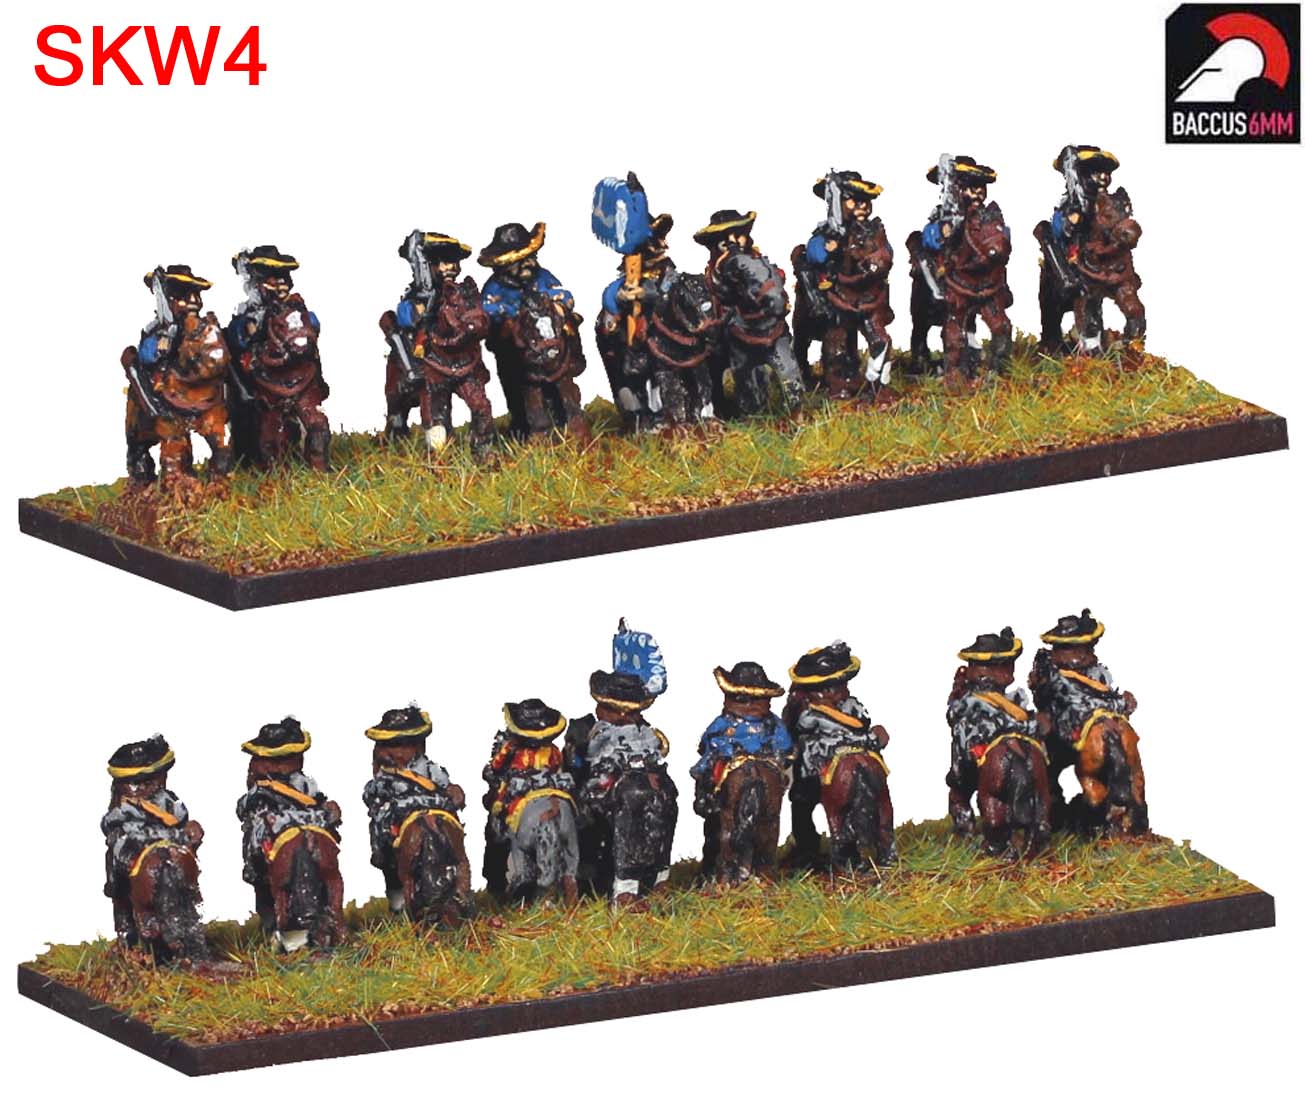
This is the picture from the Baccus catalogue (link here).
Step 1 – mount the miniatures on a Lollipop stick or similar – I use blue tac but some pva glue works as well. The blue tac allows me to jump to Step 1 without waiting.
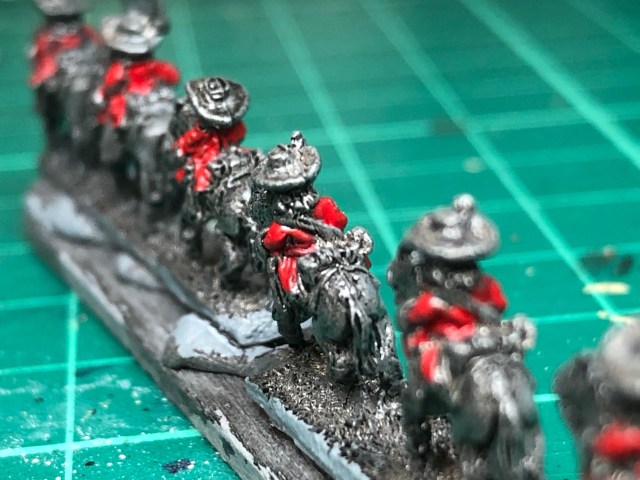
Step 2 – prime with a grey spray paint or paint the miniatures grey (you could use white or black too, but this example uses grey) – let dry.

Step 3 – use a light wash with diluted ink, I use pledge floor polish with some black ink added. But you could use any black wash, you want the black to be in the recesses and add some shadow. As you will see this approach lets us get away with not painting a few elements that can be tricky (as we just leave then black), it also creates a nice shaded effect if we do not overload the model with paint.

Step 4 – Start painting, but lets us talk about a few things I have found useful for painting (6mm):
– Brush, make sure you have a good point on your brush. I used a size 1 brush for all element of this project. You can use smaller brushes but I find then are not able to carry much paint and wear out quickly when you paint in batches (that is normally the case for 6mm).
– Paint – shake your paint well. I tend to use the paint directly from the pot. I clean the brush often in the paint cup then drag it carefully over some tissue paper (check the point) so I pick up new paint with a moist not soaking wet brush – I want to paint sharp colours once not having the paint flowing all over the miniature. Forget the milky consistency approach, paint sharp and once.
– Light – make sure you have good light. You will be able to see clearly and your eyes do not get tired. I used to use all kind of magnifiers and googles to paint in the past – it may help you but what I really needed was enough light.
– Gentle – paint as carefully as you can, but you can always repair any too obvious issues with some black.
– Mood – be in the right spirit of mind when you attempt painting these – especially if you have not painted in the scale before. Listen to a podcast and close the door – try to get into the Joy of Six!
Step 5 – Painting Steps
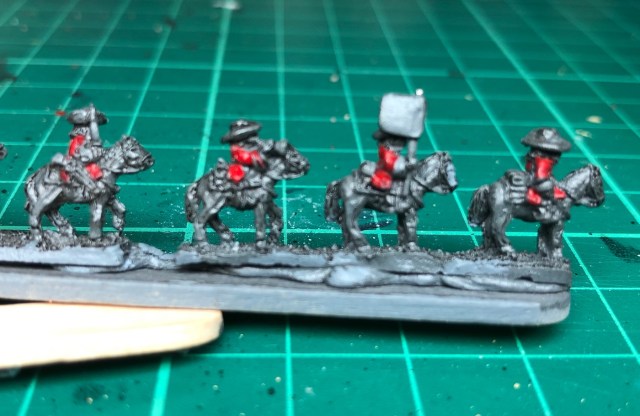
First paint the coat (in this case Red), I also painted the pistol holsters red. 
The troopers has a belt over their shoulder leave it unpainted.. 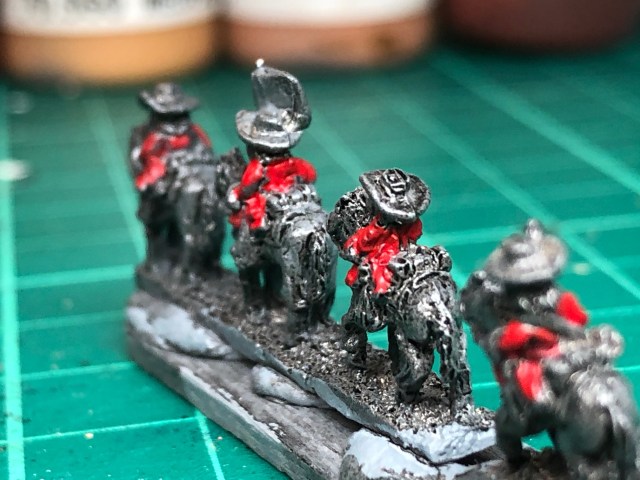

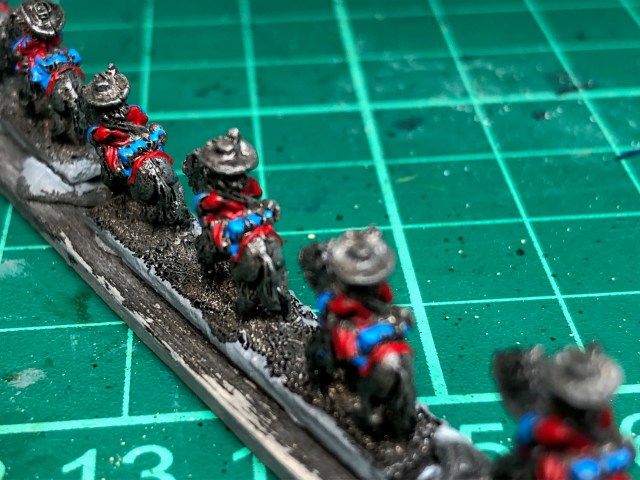
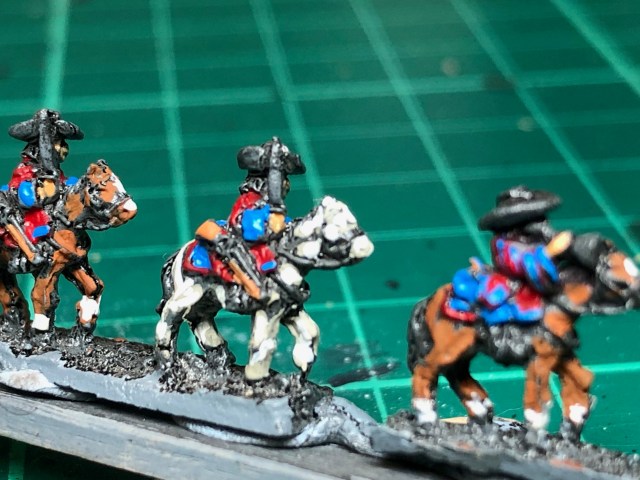
Next the cuff colour, in this case blue, I also went with a blue standard, saddle blanket/cloak and detail on the pistol holster. I then added some red to the fringe of the saddle blanket. 
Horses next… 
I try to avoid painting the horse harness and leave it black. 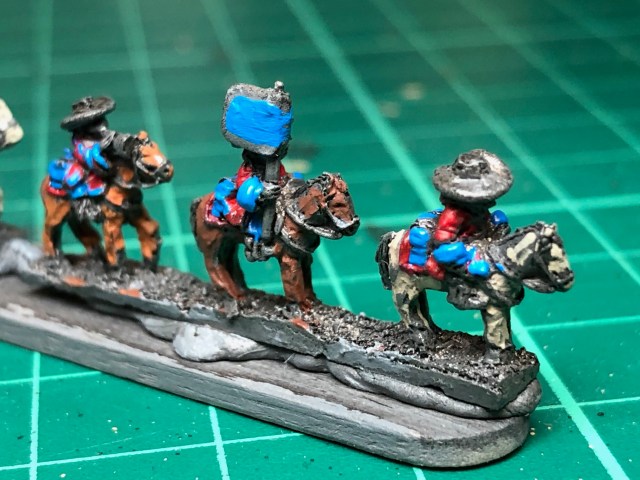

If you are careful you do not need to paint that harness detail at all… 
Flesh colour…. Be easy on the hand. I paint bare hands not gloves – this may not be correct but then it allows the full visibility of the cuffs. 
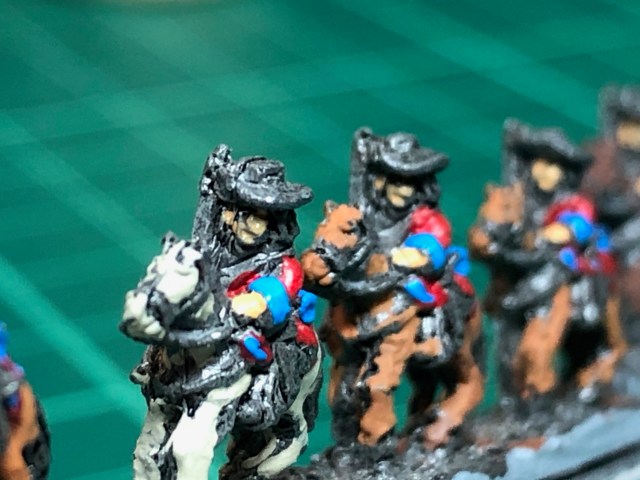
Upfront it looks sloppy but from a distance the black unpainted part will trick your eye better than a solid blob of paint. 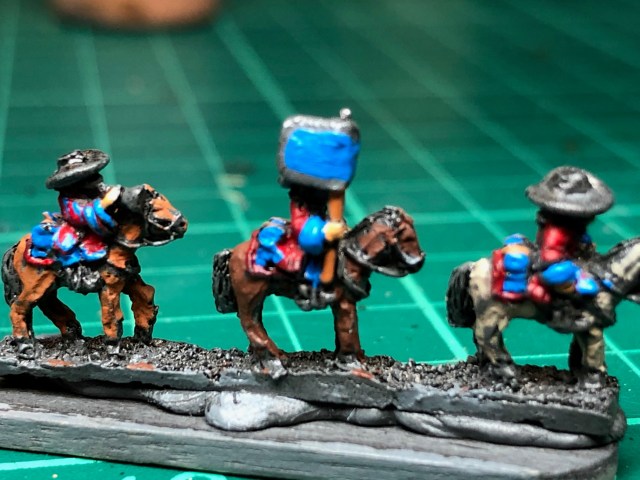
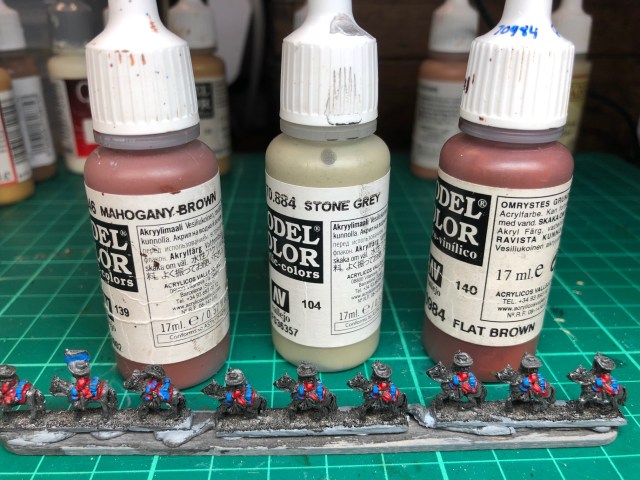
I use a light brown for standard pole (this colour may vary, use what you fancy) 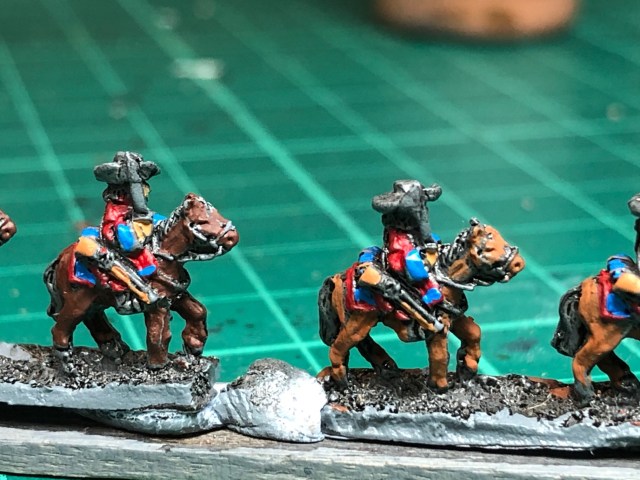
Musket … wood details same brown 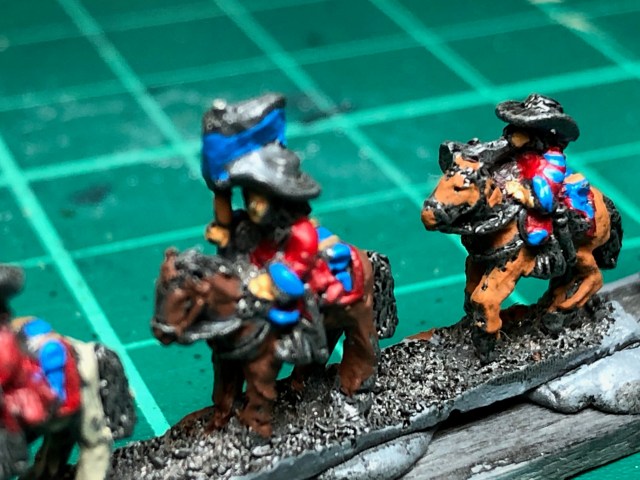

I use the same light brown for the saddle blanket leather strips 
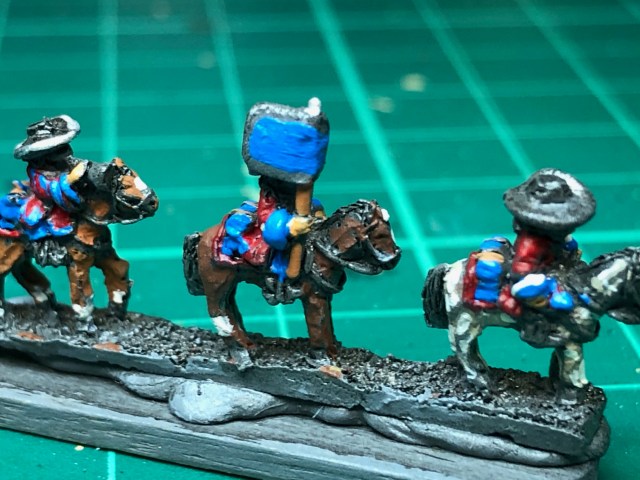
I add some white to the Officers Cuffs…. and some white on the grey horses. 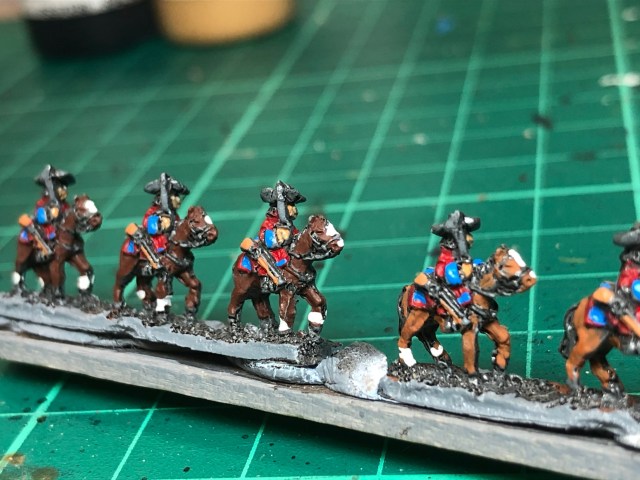
Optional horse facings and socks 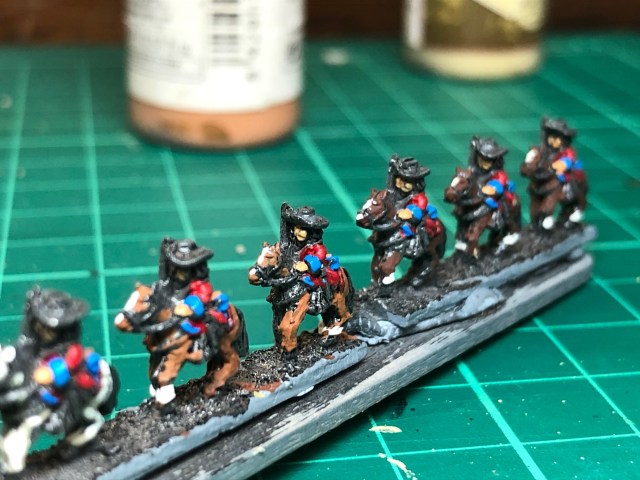

Silver on Trumpeter hat lace and top of standards. 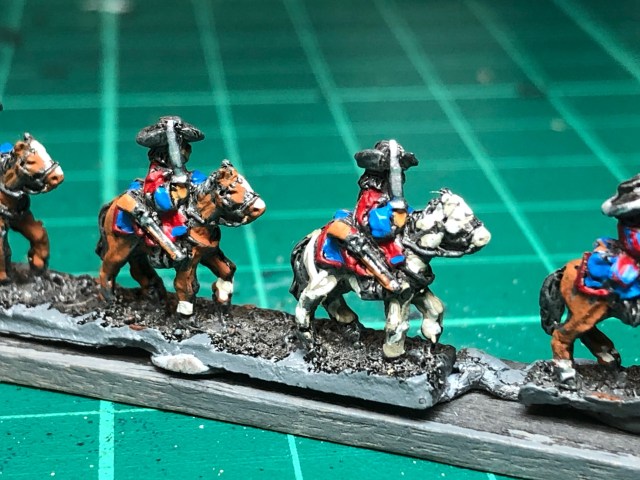
Silver on musket and sword. 
Silver on Scabbard top and bottom. 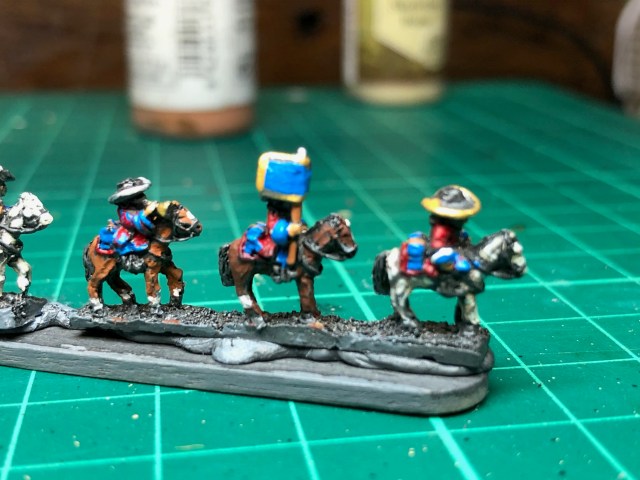
Gold hat lace on ensign and commander, fringees of the standard and the trumpet. 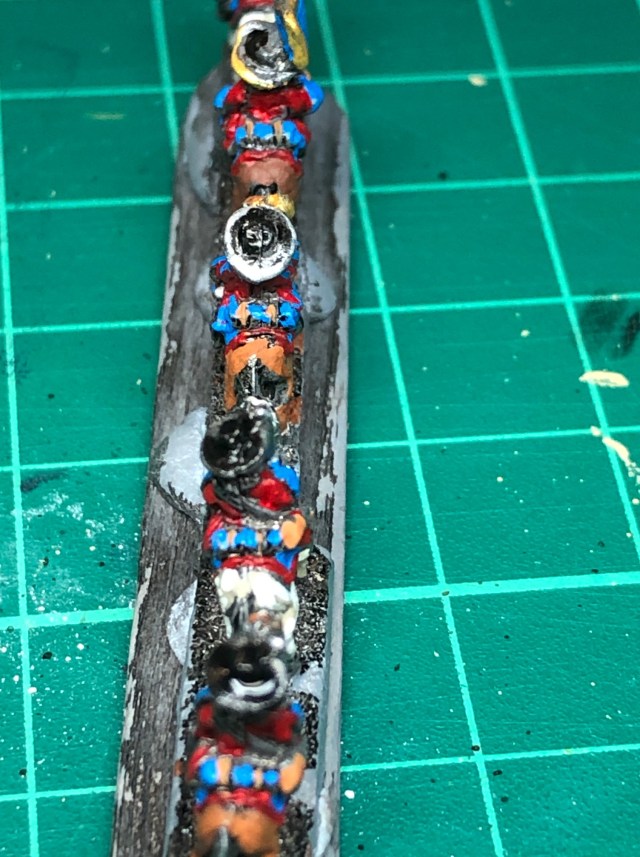
Tidy up the hats with some black (you may want to add hat lace to the troopers, but I did not). 
…and almost done, add some buff to the belt (I used bone white). 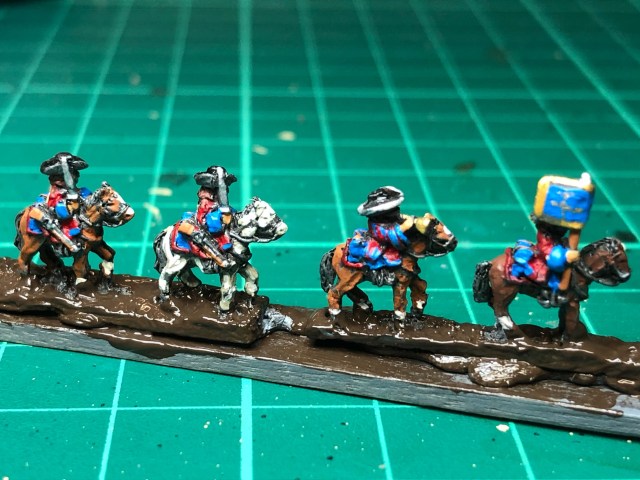
Some detail to the standard….. 
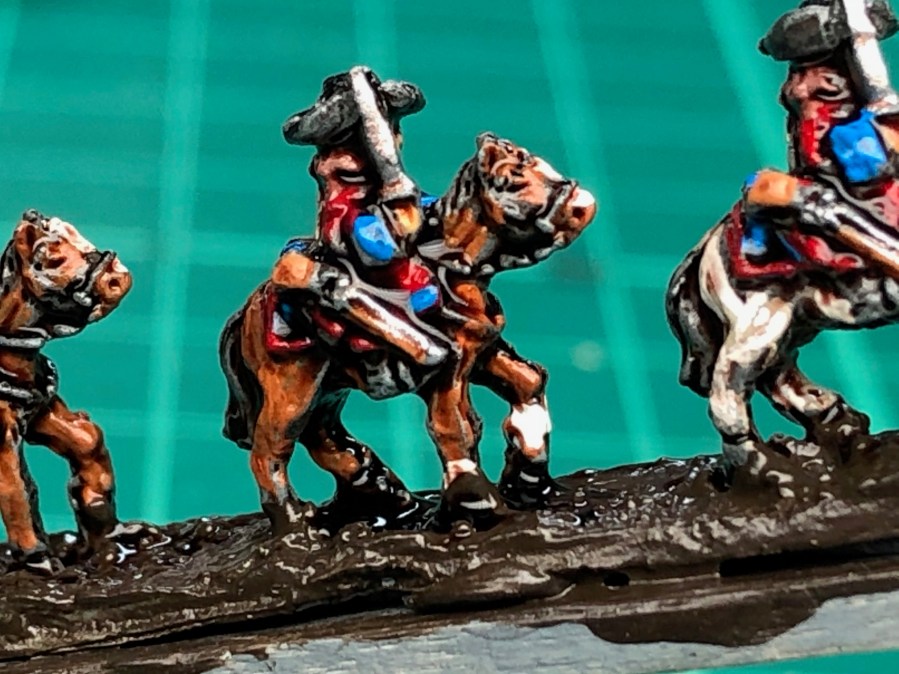
Apply a wash, I use Winsor and Newton Nut Brown Ink straight from the bottle (you could use agrax earthshade or AP Soft Tone or not wash at all). 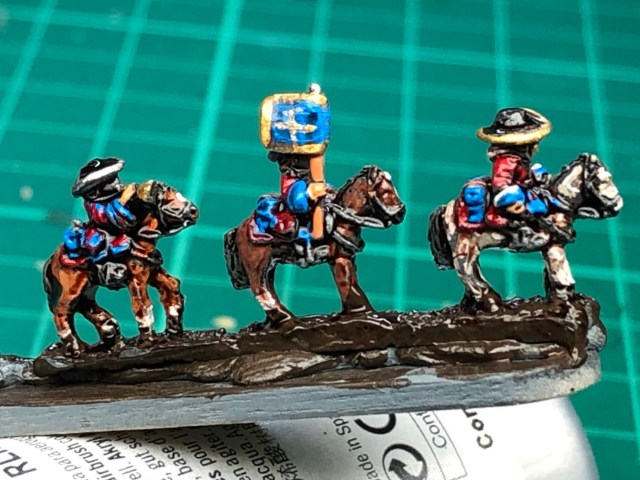
It will look less dramatic when it dries but this is a nice reward for a very straightforward paint job.
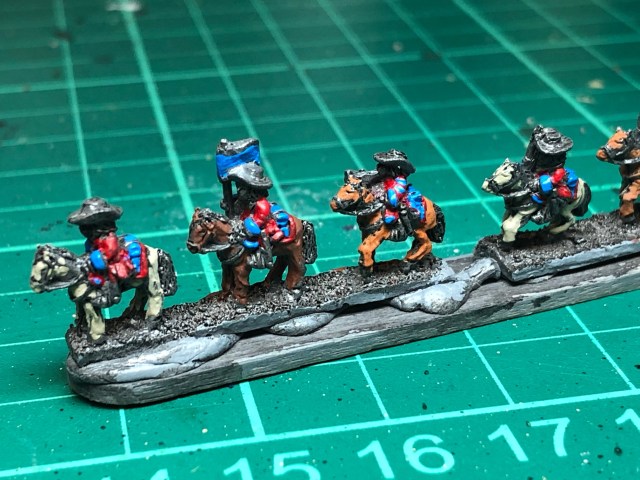
Step 6 – Basing (this will not be done by the painters in the charity project, but I show it here for completeness).

Glue the miniatures to the base 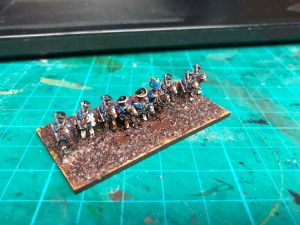
Apply sand (I used coloured sand, because I am lazy) 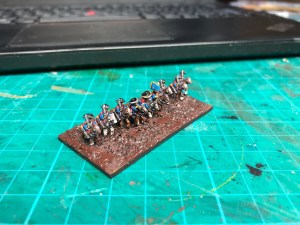
Paint the sand, or in my case the edges (also any metal that may be seen from your bases) 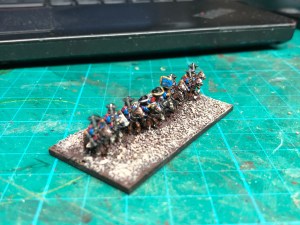
First drybrush 
Second drybrush some terracota 
Third drybrush some yellow 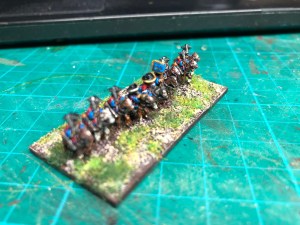
Add static grass, I do about 20% dark and 80% light green. 
Hope that was of some use


Thanks Per, By coincidence I received a bag of Irregular Miniatures early 18th Century cavalry today, so I can get in some painting practice.
Regards Paul
>
LikeLiked by 2 people
Sounds perfect General!
LikeLiked by 1 person
Great tutorial. Being a Cold War GoesHot 6mm gamer I’ve yet to paint any cavalry in that scale.
Cheers,
Pete.
LikeLiked by 2 people
Thanks Pete!
LikeLiked by 2 people
Brilliant Per, well done.
LikeLiked by 2 people
Many thanks
LikeLiked by 1 person
Brilliant as usual Per!
LikeLiked by 1 person
Thanks Mark!
LikeLiked by 1 person
Pingback: Painting guide No 2 – Artillery – Roll a One
Anyway to provide these excellent guides as PSG’S?
LikeLike
I meant Pdf’s, autocorrect!!
LikeLiked by 1 person
Neil, I may look into to it when I have more time. They will sit here on the blog though.
LikeLike
Pingback: Painting Guide 3 – 6mm Dragoons – Roll a One
Pingback: Painting Guide 4 – Infantry – Roll a One
Pingback: A Review of 2020 and another great game of Mutant 1984 – Roll a One