
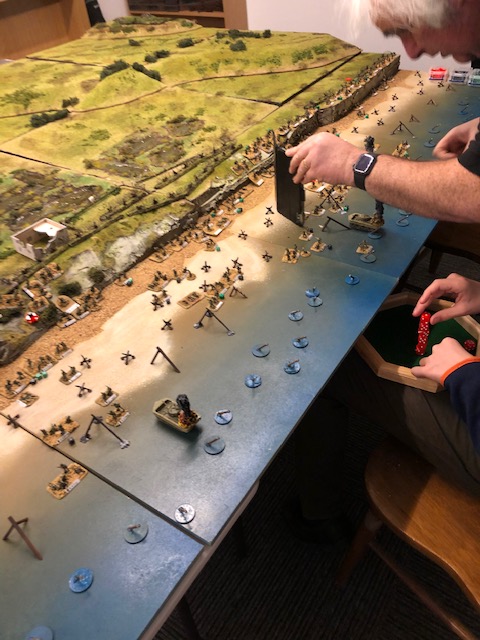
On Saturday the Little One and I had a real treat as we were invited to Mike Whittaker’s Mill Studios (@TaTM_blog on twitter) to play the eminent Omaha Beach game that we had missed to play at Salute this year (see link here). The Little One, Andy (who built the terrain but never played the scenario) and I played the American Side, we were being skillfully empired by Mike who also played the Germans. We
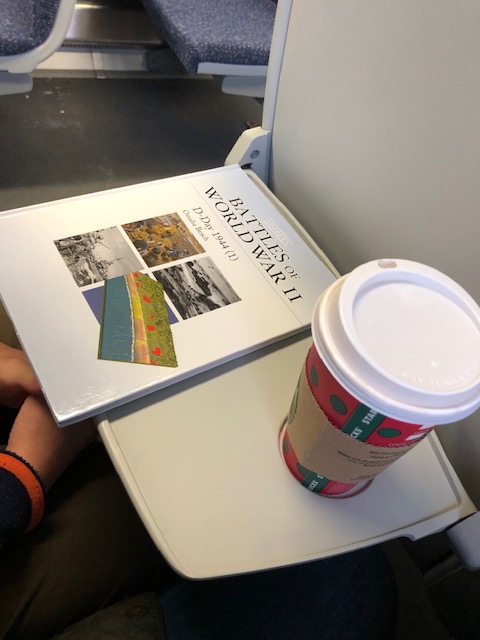
The scenario is from the excellent IABSM scenario book called “Where have you been boys” and can be bought from the Too Fat Lardies website here.

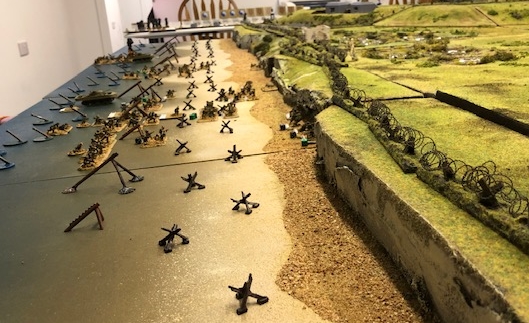
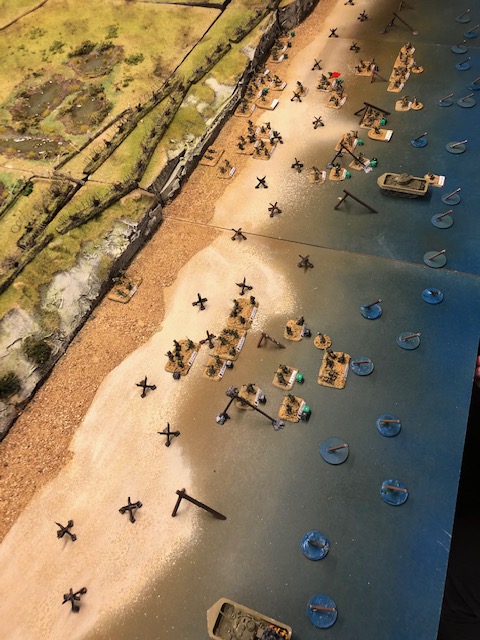
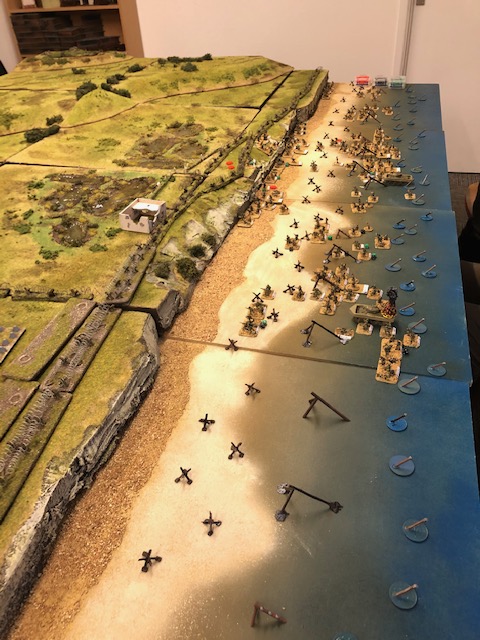
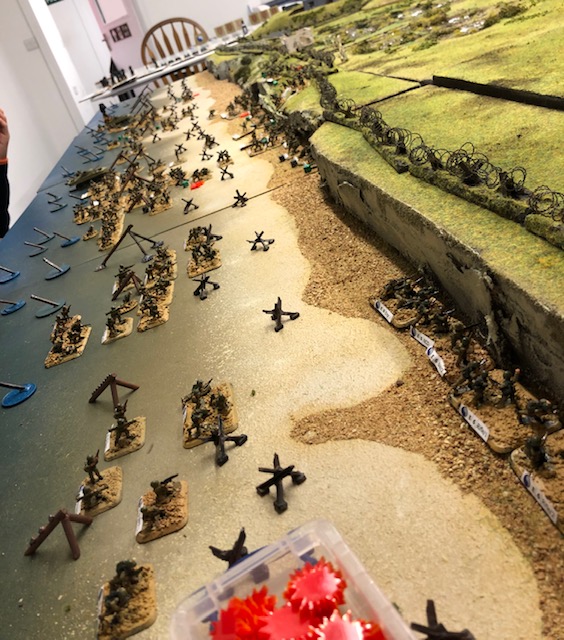
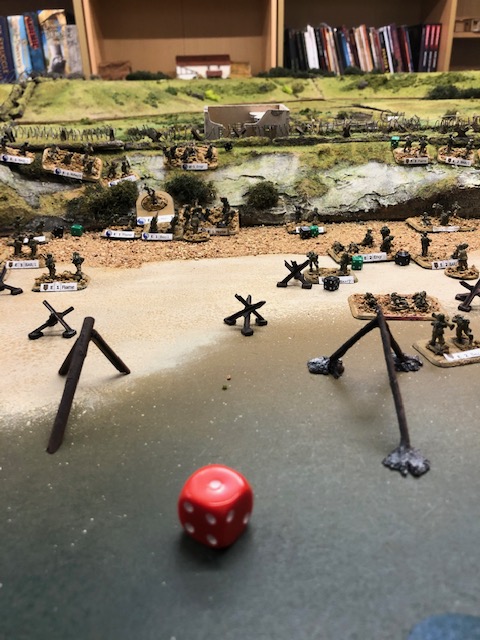
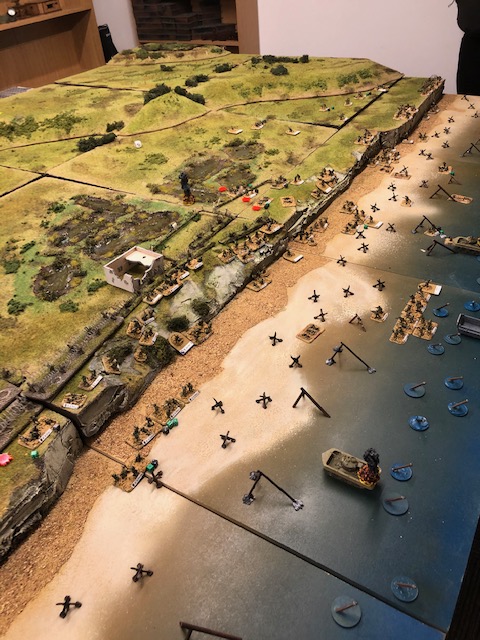
This is scenario Six and in the book and promises “The game will be nasty, bloody and gritty, it shouldn’t be anything else”. It takes place at the eastern end of Omaha beach (Colleville-Sur-Mer) and involves the US 1st Infantry Division – the Big Red One. This is very much the scenes from Saving Private Ryan stuff. The scenario shows the difficulties on the day and for this kind of operation in general. The Germans have relative little Firepower but are in very good protected position whilst the Americans are mainly in the open up to the shingles of the beach, then protected by the cliffs before having to be in the open again trying to get through the wires and mine fields.
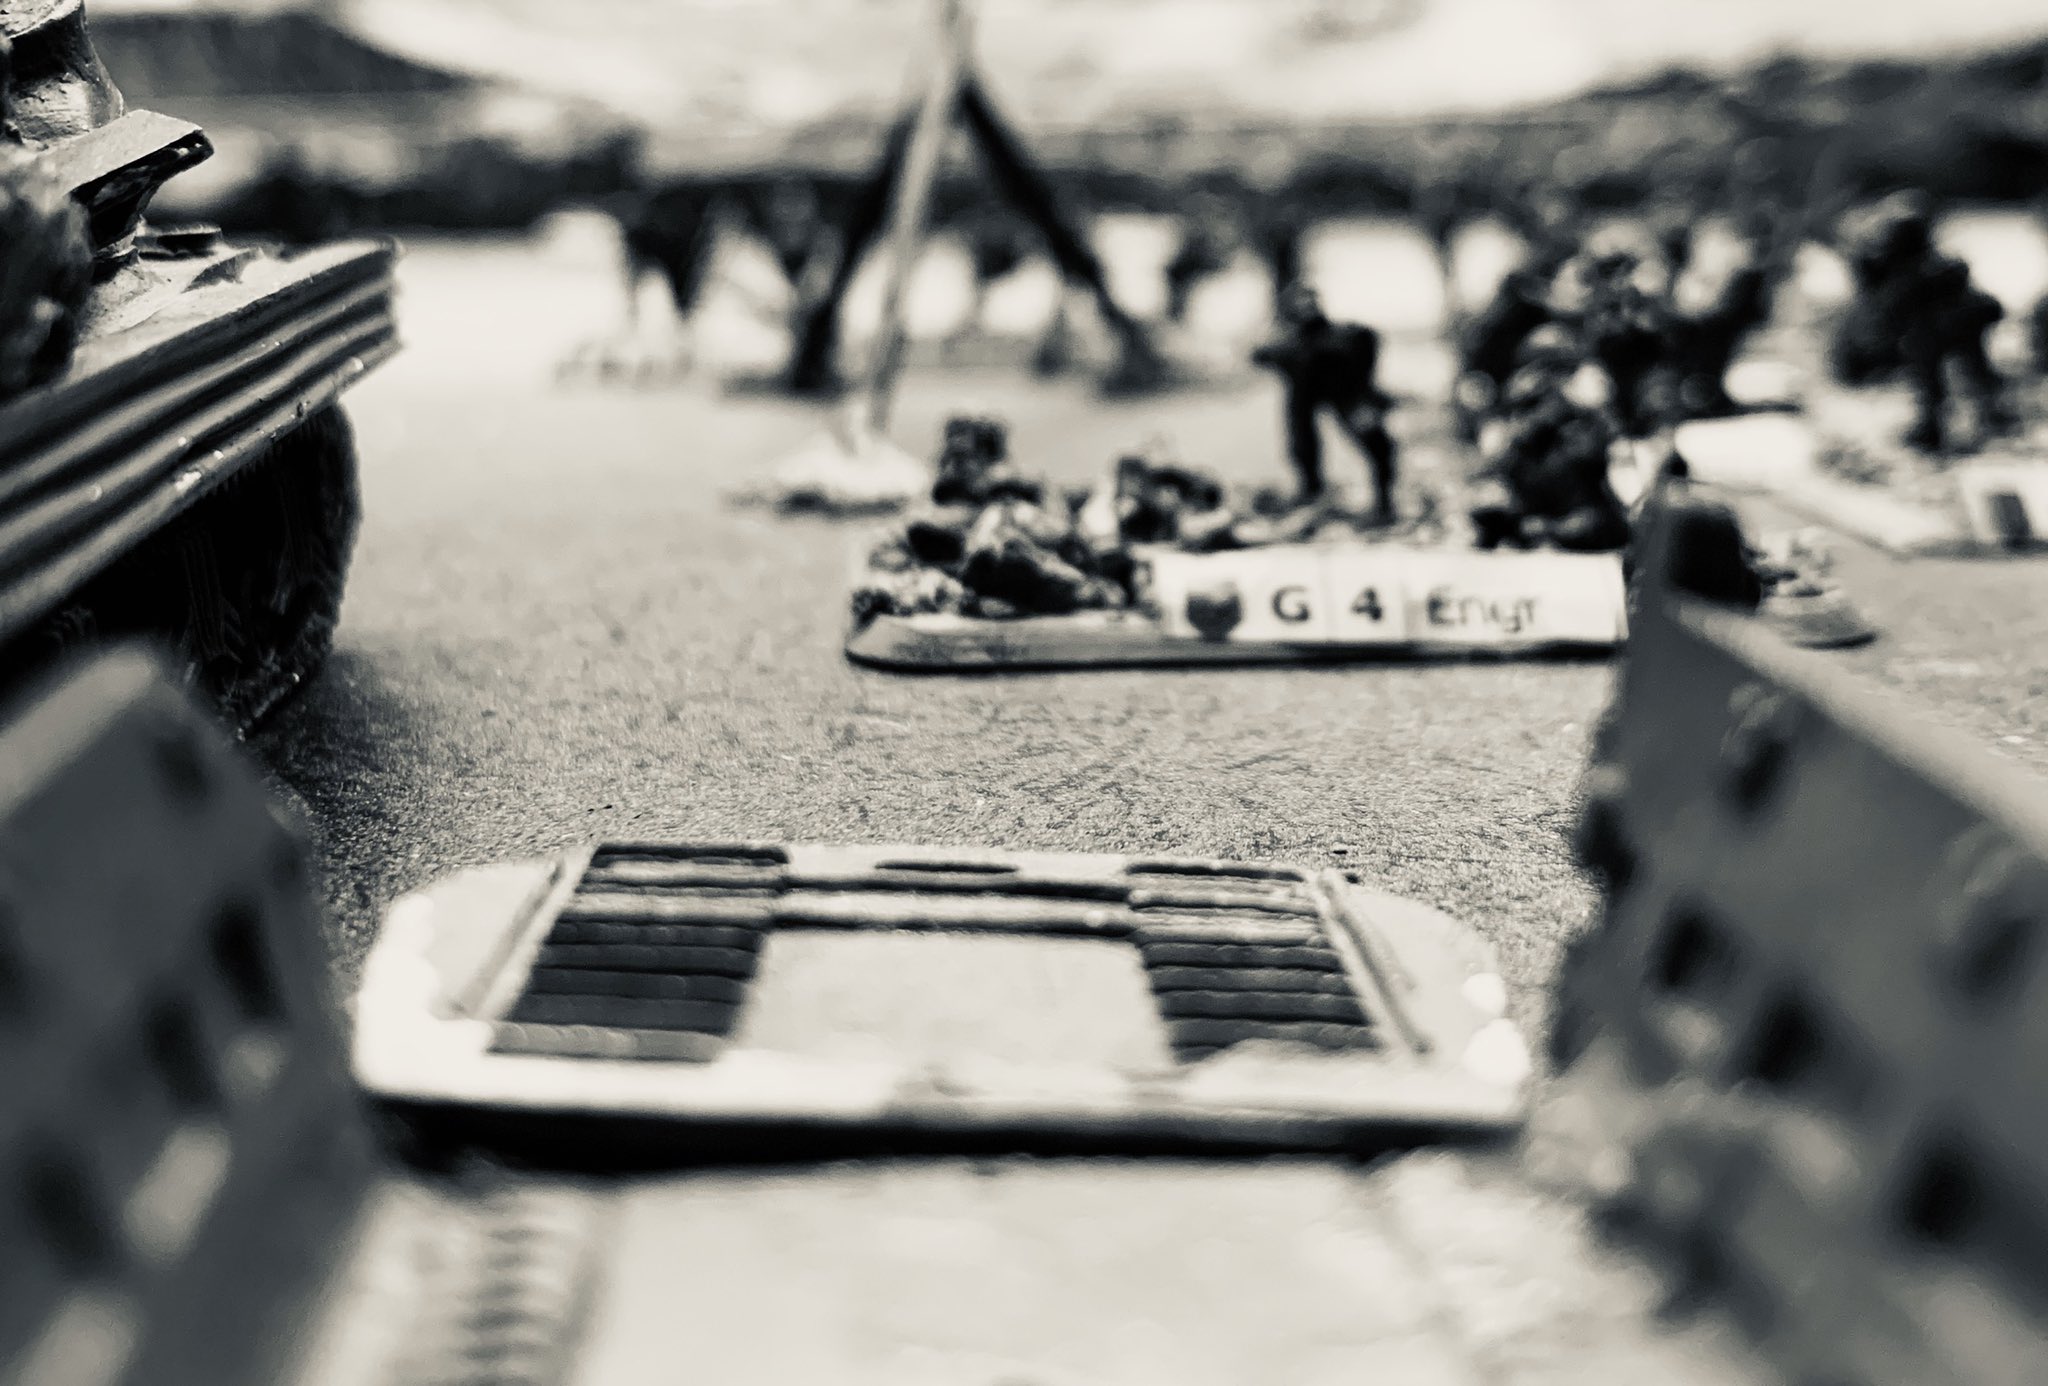
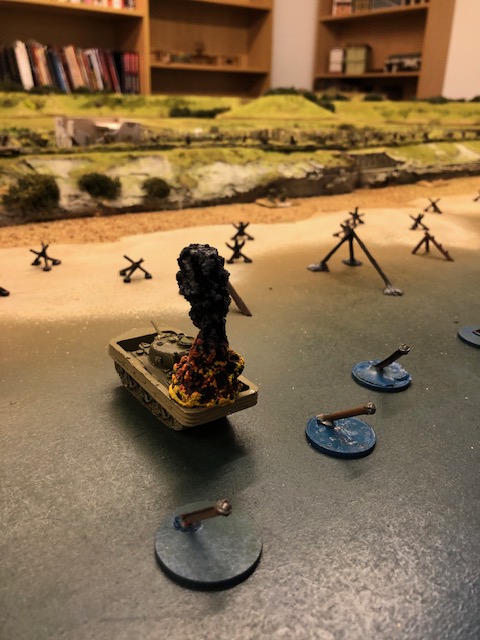
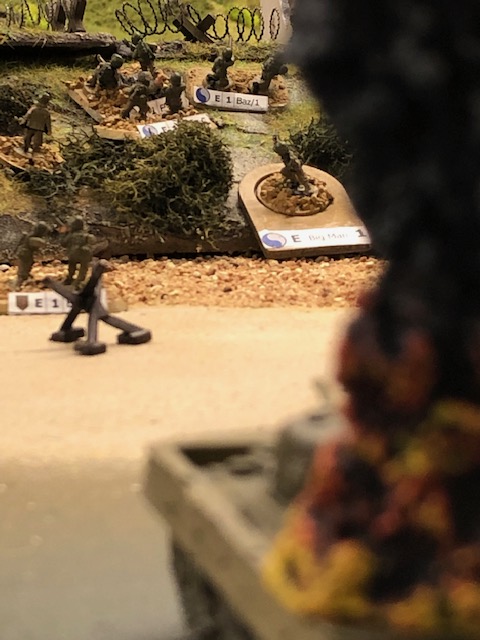
The US forces, just like on the day come in waves, and basically first wave took a lot of damage, so did the second but managed to clear some wires and take out some of the nests form a distance, then the final and third wave started to turn the balance. It was a different wargame in that most of the time, from our American side, was spent hoping that the next barrage of artillery, HE guns, sniper fire and MG would not wipe the whole section out and that some of the men who survive and get to the shingles and momentarily be safe. The two Sherman tanks who had made it to the beach did provide some initial fire power but they were soon taken out. It was very sobering and certainly kept to the promise in the scenario book, as it was indeed “nasty, bloody and gritty” and leaves you with a lot of reflection on the terrors facing the men on that day. We had to leave just as the third wave had arrived, but at this time it looked like the first part of the job was done, at least on the side of the beach I was not responsible for (luckily Andy and the Little One had cleared a lot of wire on their side of the board).
Mike had added a few features like General Norman “Dutch” Cota, coming as part of the second wave, who was useful in rallying and getting some moving on where needed and also Robert Capa who took some iconic photos.
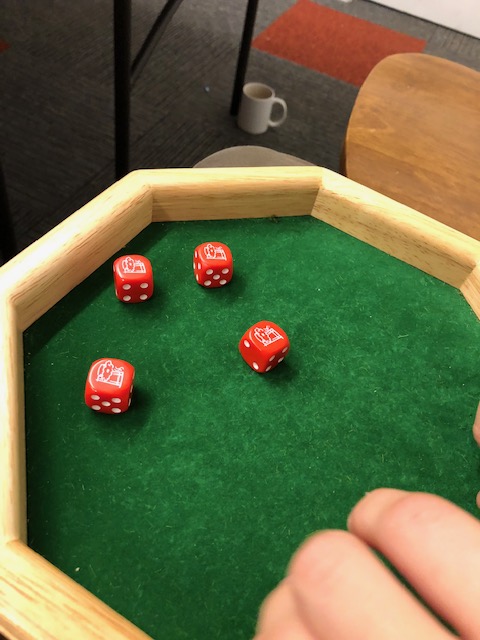
A few other memorable moments was the first shot from the Sherman leading to one of the guns in the bunker getting out of action and the off–table German 88 being taken out by some Royal Navy guns very early. In addition the effect of artillery and the way it works is really effectful and realistic (as is the use of HE weapons) leading to units becoming pinned and stopped in their tracks – not based on casualties in itself – I really like this (keeping your head down). Some of my units arrived without leaders and it was difficult to get these men up to beach to do their job – the unit with the leaders fared better but I was let down by some bad dice rolling (rolling ones, who would have believed that!).
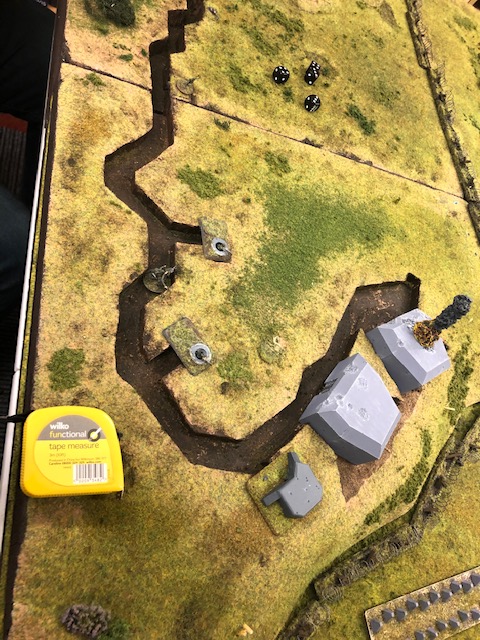
What follows are a lot of pictures from the day. I believe that Mike will be doing a write up of his thoughts from having played the scenario a number of times in the upcoming Lard Magazine that will be out later in the year.
All the miniatures were from Battlefront!, except for a few Peter Pig casualty markers.
As for the Little One and I? I think we both would be tempted to do something similar perhaps in 6mm?, one day!
It was a great day indeed, thanks for having us Mike.


/ Hope that was of some interest!

Looks great. I wish I had that much space to play with.
LikeLiked by 2 people
It was great!
LikeLiked by 1 person
It’s a bit tight – there’s not much room down the back of the boards for the (ok, slimmer than I was, but still) umpire ;D
LikeLike
Wonderful looking game and looks so fun to play.
LikeLike
It was fantastic!
LikeLike
That looks like it was a famtastic game. Can imagine how it was pretty sobering- it certainly was being on the beach itself a few years back.
Cheers,
Pete.
LikeLike
Pete, many thanks. It was pretty hard and rightfully so.
LikeLike
Wow Per, that is one unbelievably gorgeous board – so cool you and your son got to play!
LikeLike
Pingback: GNW, Little One, Sweden 1943, Mutant 1984 and Podcasts – a review of 2019 – Roll a One