
If you have followed this blog you know that I have been doing some Terminator stuff to get the Little One a little bit more involved in the non-electronic side of the gaming hobby. Initially I wanted to get the box, paint a set and get a few games of it before going on to more things. Last week I finished painting another starter set worth of miniatures as well as 7 specialized machines and a handful of resistance specials (this includes the ones with the headswaps from Badsquiddo Games (link here) I showed in the blog last time, see link here). Basic quick paintjobs based on the little ones preferred uniform colours and ready for the table!
I also converted an old German Paratrooper set to a resistance mortar (as these are no longer for sale) and did a headswap from a celtic dog handler to avoid the German look, I then used the three dogs in the set to do some sniffer dogs for the game (Again, these are also sold out. These are dogs that can identify a robot infiltrator and consequently the model can be attacked – in game terms the model can sneak around freely until (1) a dog handler challenges it or (2) it attacks). I felt the game needed some sniffer dogs as well as some mortar support for the resistance.


This was based on the following two packs from Warlord Games (link here).


Obviously the ones originally produced for the game look much better (but this solution works for us!). If they are offered again the resistance of course will be futile, but until then here we are.


The game comes with some cardboard terrain, including some flat ruins as shown in the picture below. On inspection and reflection the little one looked at me and said “These ruins do not look very good Papa, do they?”. I agreed that they didn’t but instead said, “They are ok, we just use our imagination!”, thinking that I had other things to do, like this years installment of the Towards Moscow Project that needs to be ready for the Joy of Six or, even closer, the Kalisz Battle for Salute. I seemed to have wiggled myself of the hook!
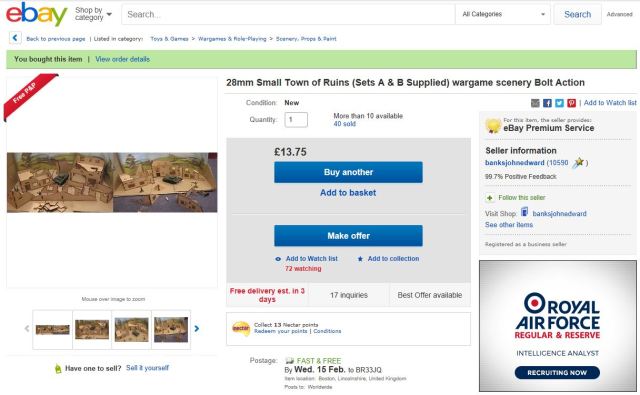
Later that evening when the Little One was visiting Neverland I packed up the stuff from the game we had played and looked at those ruined tiles again – Nice artwork aside, they did not look that good. I went on ebay and ordered some mdf ruins (yes I could have used 6mm floor insulation foam and cut my own shapes) but I this stage I thought I just get some mdf ruins and paint them black and drybrush them in grey – job done!
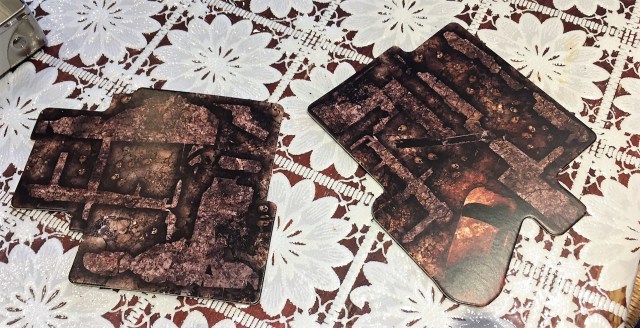
After a few days they arrived but when I had assembled them I got second thoughts about how to finish them and instead of just painting them after assembly I pimped them up a little bit before priming. I cut out some bases from some vinyl floor tiling material I had lying around (left over from the Saga table I did last year) and glued the ruins on top (I used hard as nails adhesive). I then applied some PVA glue on the ground and added sand. For the walls I applied a thin, but rough coat of modelling paste on the walls. I took some stones from the garden, cut some cocktail sticks and matches into small pieces, cut up some pieces of plastic into small squares and mixed it all with PVA glue and applied it here and there. I also added some small stones on the edges of collapsed flooring and wall sections. In addition I added thin sand on top of each wall (using PVA) that was not broken (to take away the evenness of the laser cut). I also had a few crates etc I added here and there. I ended up with this!


Once it was properly dry (With PVA it takes a while) I primed it in Black Gesso, painted the ground brown, then drybrushed it with a light brown. For the walls and rubble I just dry brushed it with a dark grey followed by a light grey. I added a few dry tufts.


I got thumbs up from the Little One and they have already been put to use in a skirmish today. I am just waiting for him to tell me “This game mat does not look very good, does it!” (It is made of paper and from the basic box!)..
Here are some shots from the opening of that game.


So until I get the mat request, I will now fully dedicate my modelling hours to the Towards Moscow Project. Here is the current progress, mostly thanks to Chris at Marching in Colours! A few more models to be inked, detailed, flagged-up and based.

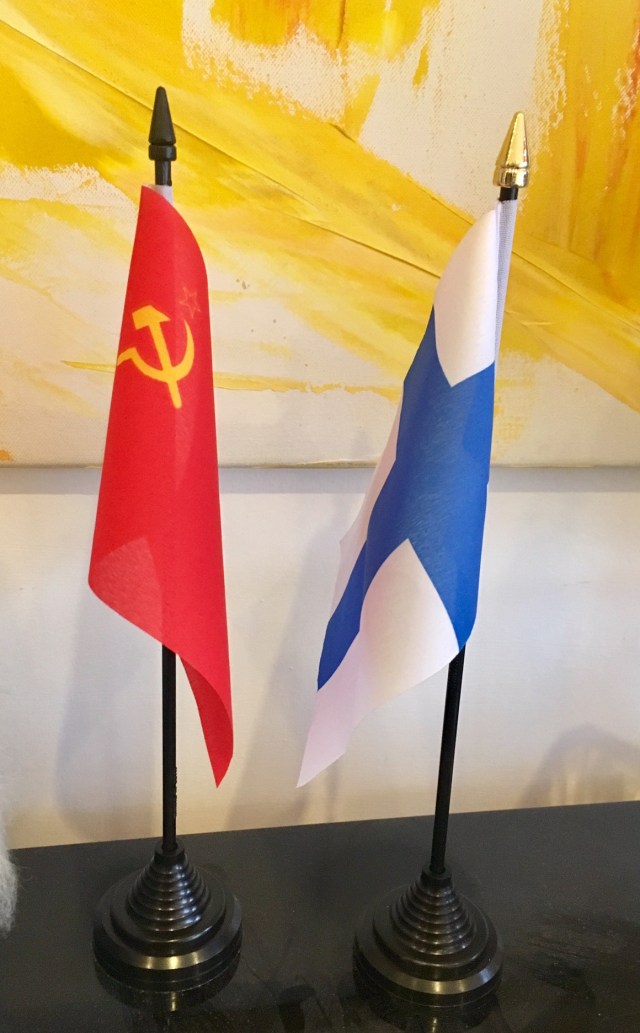
I also got some table flags that I will use when I do Winter War gaming. I thought it added a nice touch, although I did surprise a friend of mine when he came over and noticed the Soviet flag. However, the explanation about using it when I played with toy soldiers seemed to make him think I was more weird than what the flag itself implied. I have also ordered a King’s Colours flag (or Great Union flag, that was used by England and Scotland up to 1801) and a Nouvelle France flag for my French Indian War Battles, and a Swedish and Tsarist Russian Flag for the Towards Moscow Battles.
/ All the best, and although “I will be back!”, there will be no terminators next time, I promise.
