
More Terminators
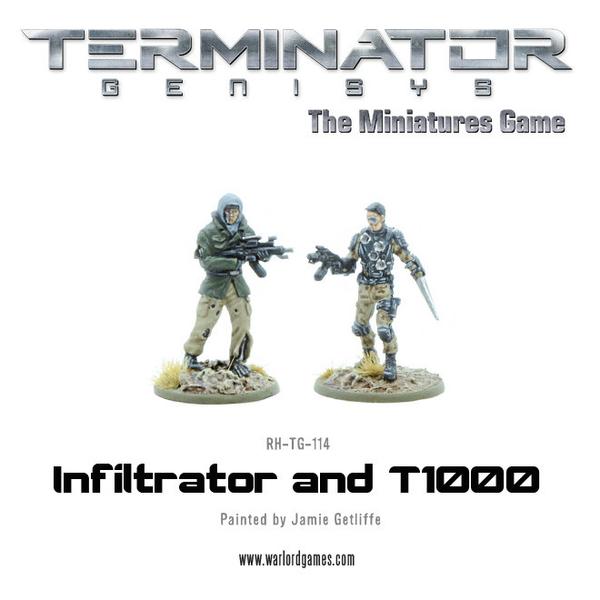
Following on from the last blog about terminators, the Little One and I have been doing a few more games of Terminator Genisys and we are still enjoying it. I actually ended up buying two more miniature sets, the T1000 (the liquid metal one from the second movie or to be correct mimetic polyalloy) & Infiltrator as well as the Special Endoskeletons set. I have also dusted off the old movies and although the first one (here) feels a little bit dated, with regards to the CGI, it is still a damn good movie. The second movie (here) I think is brilliant and the Little One is looking forward seeing the rest.
I have realized that if I want the Little One to get into this hobby it is not by trying to force feed him with 18th century linear tactics battles where we abstract the unit with a few models representing many or elegant mechanisms with built-in firing, damage, moral etc. Instead I think I need to, as well, offer him simple skirmish type of rules where each model represents a man, or a woman or in this case a machine, in a setting that excites him and he understands (the key here is ..as well!). It is fantastic when he gets it and we have not had so much fun since we first played X-wing or Saga together.
Finnishing (and Sovietic) touches
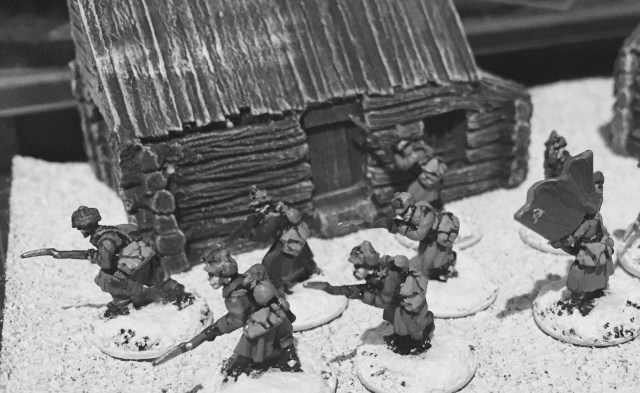
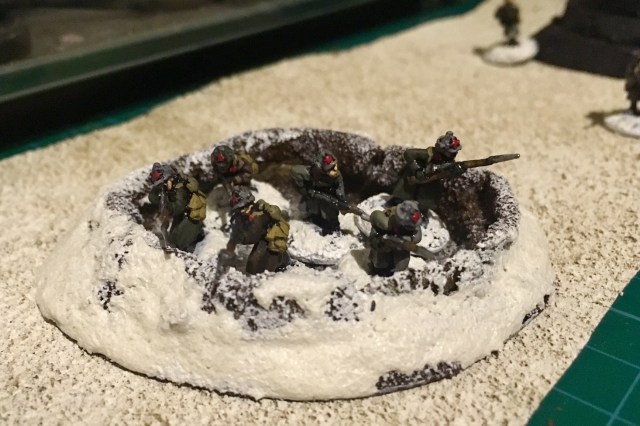
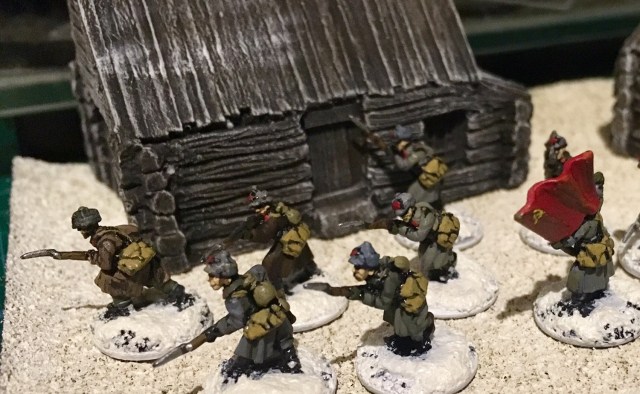
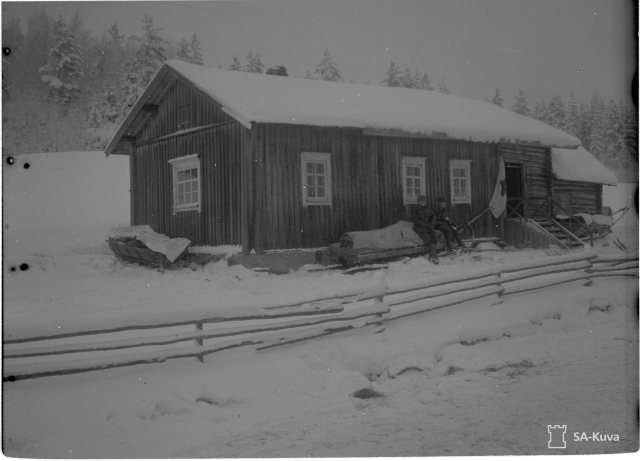
However, science fiction aside, I did feel obliged to continue my Chain of Command Finns and Russians so I could get some games of Chain of Command under my belt – I added some snow flock to the bases and made an entrenchment with some floor insulation blue polystyrene and a plastic base from a DVD cover (Terminator 2 – who needs covers anyway!) – I think I will make more like this. I covered it with glue and added sand, painted it chocolate brown and dry brushed it white and then added some snow around it (actually a mix of snow flock, matte modge podge and a few drops of off-white paint). Here it is.

Here is the first picture in Colour (I need to add some snow to that roof, to make it look authentic).
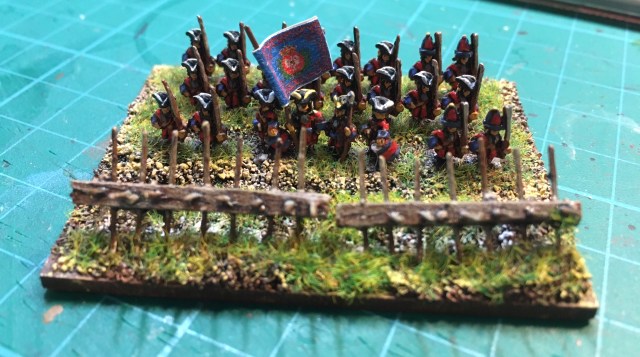
Chevaux de Frise
I got a question through to the blog last week that I thought potentially had some general interest. The question was about how I did the Chevaux de Frise (link to Wikipedia here) shown in some of the pictures in the Polemos Great Northern War rulebook (link here). These were shots based on the armies I did for the Fraustadt 1706 battle where the whole Saxon/Russian front line was standing behind these mobile defensive structures.
Peter Berry kindly included some pictures taken by my daughter of Swedes battling Saxons and Russians in wintery conditions as well as some Polish Panzerni and Winged Hussars in a more summery setting.

This is a high level, but I hope sufficient discussion, on how I made them (but first a few notes):
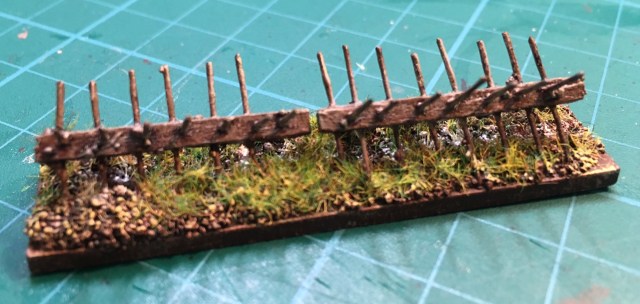
- They are based on 60mm by 10mm bases, these are 2mm thick (the same thickness I use for all my bases)
- They are not to scale, i.e. these are in fact large compared to the models. However, in my opinion, it does work visually.
- Be careful when if you embark on trying to make these. Plan your work to avoid drilling or cutting your fingers. Also when you cut brass rod pieces make sure you are careful as small pieces may fly all over the place and cause direct damage whilst in flight or indirectly when they plant themselves into your foot at a later date. I speak from hard earned experience on (all!) these matters.
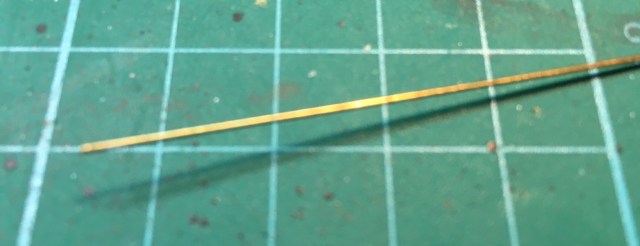
They are basically done by using model making matchsticks (That are about 5cm x 2mm x 2mm) – you can buy about 1000 of them at ebay for about £4. You need one matchstick for each base. You also need round brass rod (0.5mm) or equivalent. You will need a more than you think – normally they are sold in lengths of about 30cm and each will give you 25 pikes/spears at 12mm. Each chevaux de Frise base will need 28 pikes. 10 No. 30cm rods will give you enough to do 8 to 9 bases.
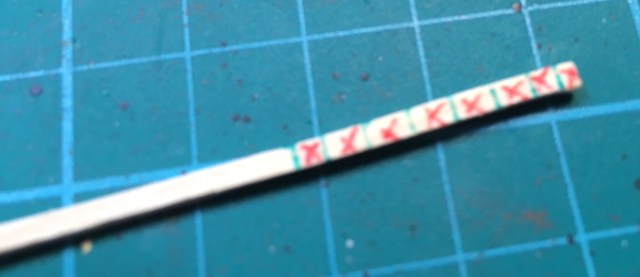
Mark up the matchstick in the middle and make seven lines with the same distance from each other and make a mark on the line in the middle.
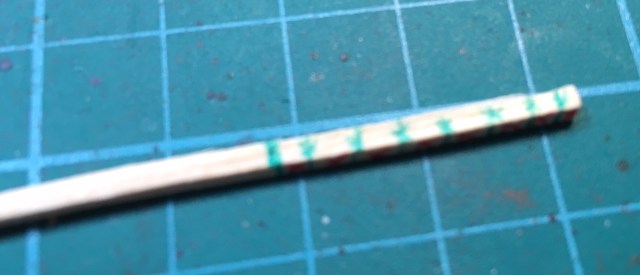
Flip the matchstick 90 degrees and extend the original lines and make a mark in the middle between the original lines (I used a red pen to do this).
Cut it in half (do the same mark-up for the other side, or do both at the same time) – use a razor saw and cut it gently to avoid damage – do not use clippers.
Drill the holes using a 0.6mm drill bit with a model drill. It is tempting to use a sharp object and pierce through a hole but it more than often damages the matchstick, so go for the drill approach.
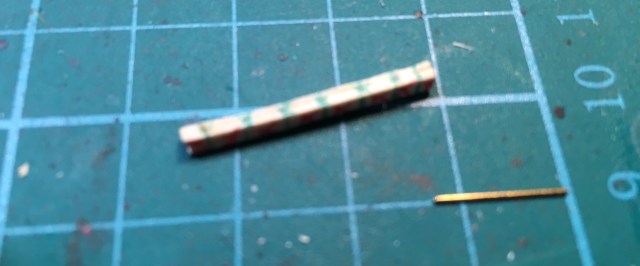
Cut small pieces from the brass rod. I made mine about 12mm long and stick them in your holes.
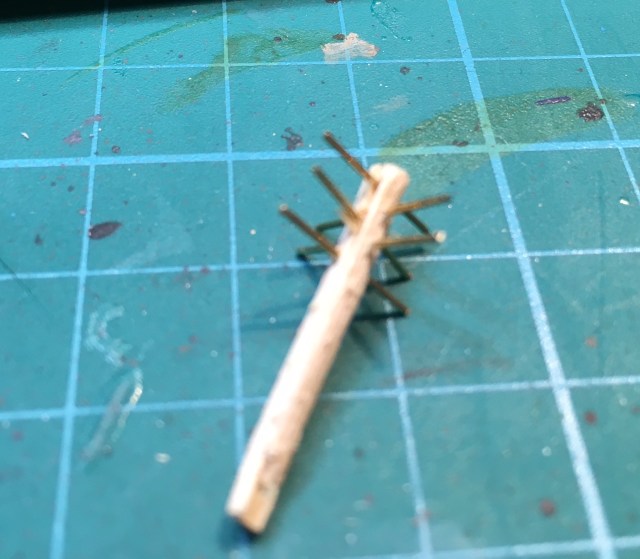
Then do the rest and slab on some PVA/White glue to make it sturdy and avoid the rod pieces to slide off, then paint it and base it up and you are done.
/ Hope that was of some use

Incredibly helpful actually. We’ve recently started using the so-called “Epic” Civil War miniatures from Warlord Games, which are their own unique scale of just over 12 mm. It’s fallen to me to create our table-top terrain, and I was flummoxed by how to create these, as I’m used to dealing with 15mm troops at the very minimum! Thanks!
LikeLiked by 1 person
Many thanks for this and good luck, let us know how it goes.
LikeLike